本文将介绍在MonoDevelop中创建Web应用程序并在其中使用在线设计器的方法。除了online designer这样的按钮,如下载报表给designer并将报表保存到本地计算机将位于页面上 让我们创建一个ASP .Net MVC项目:

我们需要在References中为项目添加库: FastReport Mono,FastReport.Web,System.Net.Http。解压缩归档文件并将WebReportDesigner文件夹添加到项目根目录。
我们还需要一个文件夹,我们将在其中保存报表,存储包含数据的文件。将App_Data文件夹添加到项目根目录。我们将使用FastReport.Mono交付的演示报表,因此我们需要nwind.xml数据库。将其添加到App_Data文件夹。
现在可以开始编程了。在Controller文件夹中是HomeController.cs文件,在使用部分,我们需要库:
using System;
using System.Collections.Generic;
using System.Linq;
using System.Web;
using System.Web.Mvc;
using System.Web.UI;
using System.Text;
using System.IO;
using FastReport;
using FastReport.Web;
using FastReport.Utils;
using System.Web.UI.WebControls;
using FastReport.Export.Html;
using FastReport.Data;
using System.Net.Http.Headers;
using FastReport.Export.Image;
using System.Net.Http;
Web方法索引:
private WebReport webReport = new WebReport(); // Web report object
public ActionResult Index()
 {
 webReport.Width = Unit.Percentage(100);
 webReport.Height = Unit.Percentage(100);
 System.Data.DataSet dataSet = new System.Data.DataSet();
 dataSet.ReadXml("App_Data/nwind.xml"); // Read database
 webReport.Report.RegisterData(dataSet, "NorthWind"); // Register data in the report
if (System.IO.File.Exists("App_Data/report.frx"))
 {
 webReport.Report.Load("App_Data/report.frx");
 }
 webReport.DesignReport = true;
 webReport.DesignerPath = "WebReportDesigner/index.html";
 webReport.DesignerSaveCallBack = "Home/SaveDesignedReport";
 webReport.ID = "DesignReport";
 ViewBag.WebReport = webReport; // Pass the report to View
 return View();
 }
以前,我们创建了一个可在类中访问的Web报表对象。在Index()方法中,我们在开始时设置WebReport对象的大小 - 高度和宽度为100%。之后我们创建一个数据集。然后我们加载到xml数据库中。我们在报表中注册了数据源。我们检查报表模板文件是否存在,如果成功,则将其加载到报表对象中。 接下来是Web报表对象的设置。打开报表编辑模式,可以显示在线设计器。然后,指定设计器页面的路径。在下一步中,我们设置一个视图以在保存报表时显示回调。最后一个设置是报表对象的标识符。我们将来需要这个用于View。
使用ViewBag,我们将报表对象传递给视图。 除了报表设计器之外,该页面还包含用于将报表下载到设计器并将编辑后的报表保存到本地计算机的按钮。 为这些按钮编写Web方法。首先将报表上传到服务器:
[HttpPost] // The attribute indicates that the method processes the Post request.
 public ActionResult Upload(HttpPostedFileBase upload)
 {
 if (upload != null)
 {
 // Save the file on the server
 upload.SaveAs("App_Data/report.frx");
 }
 return RedirectToAction("Index"); // Call web index method
 }
现在报表下载方法到本地计算机:
public FileResult GetFile()
 {
 return File("App_Data/tmp.frx", "application/octet-stream", "tmp.frx");
 }
tmp.frx报表文件的路径在文件参数中指定。您注意到在上一个方法中我们将报表保存为report.frx。但report.frx是已加载报表模板的文件,我们的目标是编辑报表,并以不同的名称保存。因此,我们需要另一种方法 - 保存已编辑报表的方法。我们将创建自己的事件处理程序,用于按下在线设计器中的报表保存按钮:

[HttpPost]
 // call-back for save the designed report
 public ActionResult SaveDesignedReport(string reportID, string reportUUID)
 {
 ViewBag.Message = String.Format("Confirmed {0} {1}", reportID, reportUUID);

 if (reportID == "DesignReport")
 {
 Stream reportForSave = Request.InputStream;
 string pathToSave = "App_Data/tmp.frx";

 using (FileStream file = new FileStream(pathToSave, FileMode.Create))
 {
 reportForSave.CopyTo(file);
 }
 }

 return View();
 }
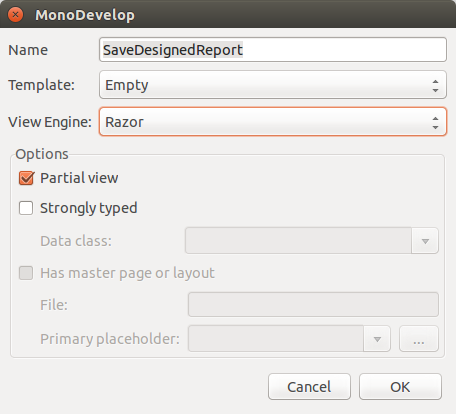
在第一行中,我们会显示一条消息,确认保存报表。然后,我们检查报表标识符,如果它等于“DesignReport”,那么我们将结果发送到流。并基于此流创建新的报表模板文件。 对于此方法,我们需要创建一个视图。右键单击方法签名并创建一个新视图(创建视图):

在“View”代码中,只需显示消息:
<h2>@ViewBag.Message</h2>
因此,第二个文件将出现在主文件夹 - SaveDesignedReport.cshtml中。 在Index()方法中,指定了web报表属性,webReport.DesignerSaveCallBack =“Home / SaveDesignedReport”。如果不知道将调用哪个视图来显示保存报表的回调,则可以设置此属性的值。 现在编写Index.cshtml视图:
@{
 ViewBag.Title = "Home Page";
}
<h3>Select file</h3>
@using (Html.BeginForm("Upload", "Home", FormMethod.Post, new { enctype = "multipart/form-data" }))
{
 <input type="file" name="upload" />
 <input type="submit" value="Upload" />
}
@using (Html.BeginForm("GetFile", "Home", FormMethod.Get))
 {
 <input id="dwn" type="submit" value="Download designed report" />
 }
@ViewBag.WebReport.GetHtml()
在这里,我们显示标题。并使用BeginForm帮助程序创建一个带有文件上载字段和按钮的表单。作为参数,此帮助程序接受来自控制器的Web方法的名称,控制器的名称,请求的类型,数据的编码方式。 在HomeController中创建了两个方法:将报表下载到设计器并将报表下载到本地计算机。帮助程序创建的表单中的Web方法的名称必须与控制器中的名称匹配。 还创建了一个带有按钮的表单,用于将报表从服务器下载到本地计算机。在最后一行代码中,我们将报表转换为HTML格式并显示它。为此,请使用内置方法GetHtml(),这会导致将构造的报表导出为此格式(在我们的示例中为设计器)。 在_Layout.cshtml页面的主文件中,您需要连接FastReport脚本:
<head>
…
@WebReportGlobals.Scripts()
@WebReportGlobals.Styles()
</head>
项目中有两个Web配置。在ASP.Net项目中,web.config仅适用于它所在的目录以及所有子目录。因此,位于Views目录中的Web.config专门用于视图。打开它并在Namspaces部分添加几行:
<system.webServer>
 <namespaces>
…
 <add namespace="FastReport" />
 <add namespace="FastReport.Web" />
 </namespaces>
第二个Web.config位于项目的根目录,这意味着它配置整个应用程序。我们将为其添加一个处理程序,以便将Web报表对象导出为Html格式:
<system.webServer>
 <handlers>
 …
 <add name="FastReportHandler" path="FastReport.Export.axd" verb="*" type="FastReport.Web.Handlers.WebExport"/>
 </handlers>
 </system.webServer>
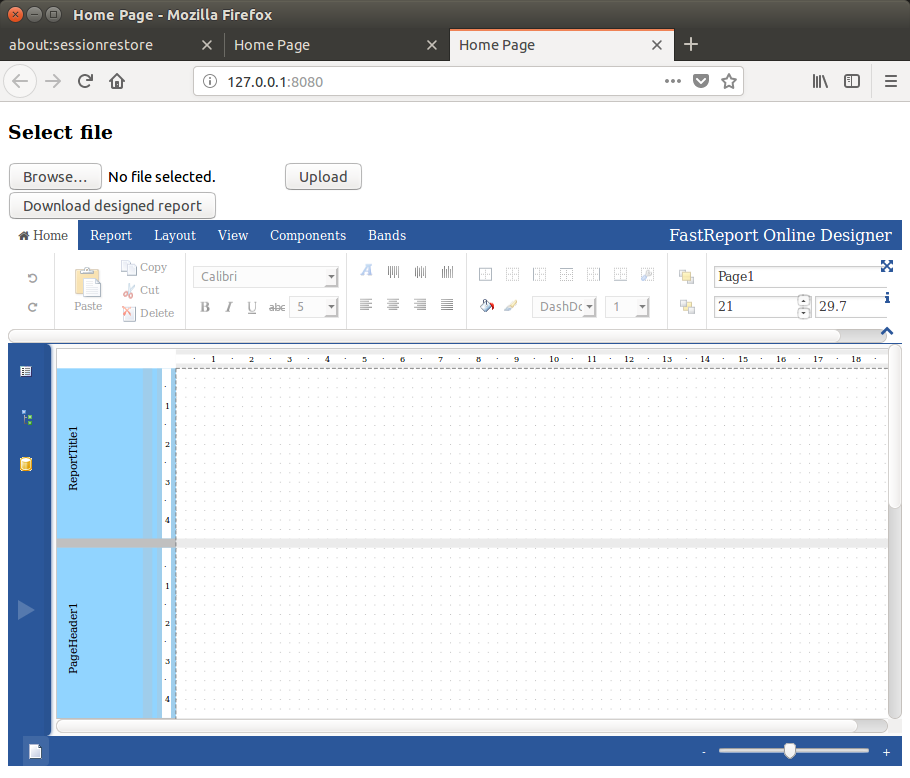
如果web.config中没有和部分,则添加它们。 在此步骤中,我们可以将其视为我们的小型Web应用程序。我们在xsp调试Web服务器上运行它。只需按Ctrl + F5键即可。

由于
<input type =“file”name =“upload”/>
,出现了Browse ...按钮和带有文件名的标签。单击此按钮并选择报表模板文件。

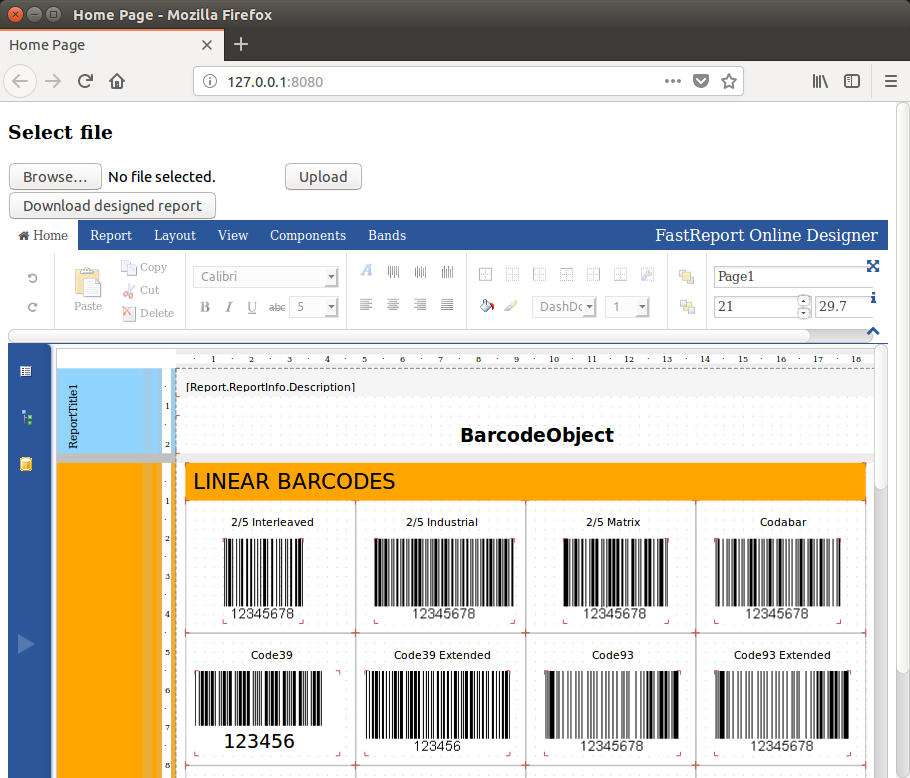
标签现在显示文件名。单击“Upload”按钮:

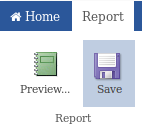
该报表将上传至设计人员。现在我们可以对报表模板进行必要的更改。然后转到“Report”选项卡并单击“save”图标:

报表已准备好下载,因此请单击“下载设计报表”按钮。将出现一个标准浏览器对话框,我们可以在其中下载报表或拒绝操作。下载报表并在下载文件夹中找到它。


