创建验证码图片
前言
基本上,自己接手的项目,只要有用户概念,就有登陆,只要有登陆页面,就可能会用到验证码,今天刚好有时间,便整理下验证码创建的前后端过程
关键字
SecurityUtils BufferedImage Rectangle2D
正文
1-验证码逻辑分析
系统自动生成4位(或6位)随机验证码code,于此同时,做两件事:(1)将code绘制成图片,在前端展示给用户看,(2)将code保存在session中,用于用户输入验证码时进行校验
2-代码分析
2-1-前端代码
<div style="float: left;width:70px;">
    <img style="height:25px;width:70px;margin-top:7px;margin-left:-20px;" id="codeImg" alt="点击更换"
        title="点击更换" src="" />
</div>

//页面初始化时
$(document).ready(function() {
    changeCode();//加载验证码
    $("#codeImg").bind("click", changeCode);//绑定点击事件
});

//改变验证码
function changeCode() {
    $("#codeImg").attr("src", "code.do?t=" + genTimestamp());
}
2-2-后台代码
import java.awt.Color;
import java.awt.Font;
import java.awt.Graphics2D;
import java.awt.font.FontRenderContext;
import java.awt.geom.Rectangle2D;
import java.awt.image.BufferedImage;
import java.io.ByteArrayOutputStream;
import java.io.IOException;
import java.util.Random;

import javax.imageio.ImageIO;
import javax.servlet.ServletOutputStream;
import javax.servlet.http.HttpServletResponse;

import org.apache.shiro.session.Session;
import org.apache.shiro.subject.Subject;
import org.springframework.stereotype.Controller;
import org.springframework.web.bind.annotation.RequestMapping;

import com.hs.common.util.Logger;
import com.hs.web.boot.util.SecurityUtils;

@Controller
@RequestMapping("/code")
public class SecCodeController {

    private static Logger logger = Logger.getLogger(SecCodeController.class);
    //1-接口:创建验证码图片并返回
    @RequestMapping
    public void generate(HttpServletResponse response){
        //1-创建验证码图片
        ByteArrayOutputStream output = new ByteArrayOutputStream();
        String code = drawImg(output);
        //2-将验证码保存在redis的session中
        Subject currentUser = SecurityUtils.getSubject();
        Session session = currentUser.getSession();
        session.setAttribute("sessionSecCode", code);

        try {
            //3-返回验证码图片
            ServletOutputStream out = response.getOutputStream();
            output.writeTo(out);
        } catch (IOException e) {
            logger.warn(e);
        }
    }

    //2-子方法:生成验证码图片
    private String drawImg(ByteArrayOutputStream output){
        String code = "";
        //1-随机生成4位数验证码,大写字母+数字
        for(int i=0; i<4; i++){
            code += randomChar();
        }
        //2-设置图片的宽高
        int width = 70;
        int height = 25;
        //3-创建一个BufferedImage图片缓冲对象
        BufferedImage bi = new BufferedImage(width,height,BufferedImage.TYPE_3BYTE_BGR);//第三个参数表示图像字节灰度图像
        //4-获取Graphics2D对象,用在底图对象上绘图
        Graphics2D g = bi.createGraphics();
        //5-设置绘图内容的字体、颜色,背景色、
        Font font = new Font("Times New Roman",Font.PLAIN,20);
        g.setFont(font);
        Color color = new Color(66,2,82);
        g.setColor(color);
        g.setBackground(new Color(226,226,240));
        //6-在缓冲图片内清空一个矩形区域,用于绘制验证码区域
        g.clearRect(0, 0, width, height);
        FontRenderContext context = g.getFontRenderContext();
        Rectangle2D bounds = font.getStringBounds(code, context);
        //7-计算code的开始位置
        double x = (width - bounds.getWidth()) / 2;
        double y = (height - bounds.getHeight()) / 2;
        double ascent = bounds.getY();
        double baseY = y - ascent;
        //8-code在图片上的位置是((int)x, (int)baseY)
        g.drawString(code, (int)x, (int)baseY);
        g.dispose();
        try {
            ImageIO.write(bi, "jpg", output);
        } catch (IOException e) {
            logger.warn(e);
        }
        return code;
    }
    //3-随机字符串
    private char randomChar(){
        Random r = new Random();
        String s = "ABCDEFGHJKLMNPRSTUVWXYZ0123456789";//字符限定于大写字母和数字
        return s.charAt(r.nextInt(s.length()));
    }
}
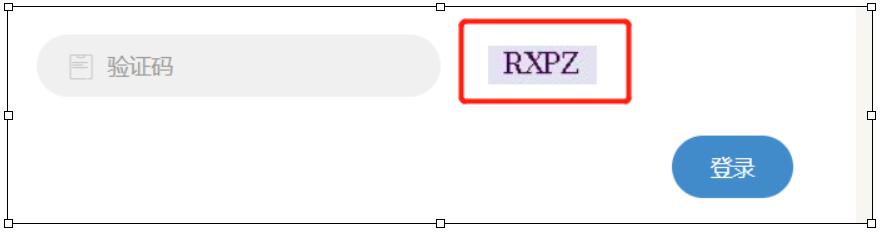
3-效果示例