
系统

环境
vue nginx
步骤
1、打包vue项目
2、配置nginx
打包vue项目
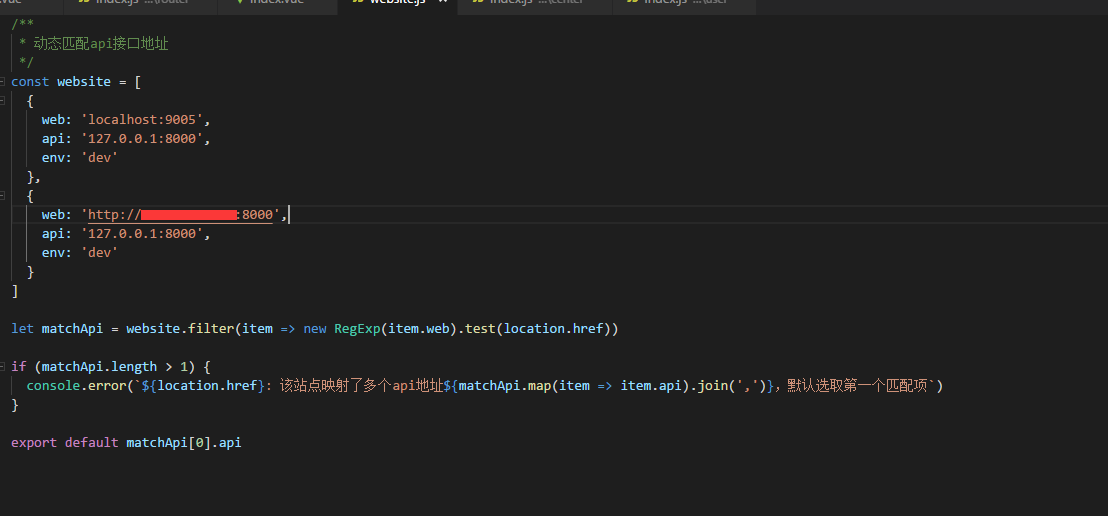
1、项目配置 我们使用服务器的8000端口
2、修改配置文件
build/utils.js
if (options.extract) {
      return ExtractTextPlugin.extract({
        use: loaders,
        fallback: 'vue-style-loader',
        publicPath: '../../'    //增加
      })
    } else {
      return ['vue-style-loader'].concat(loaders)
    }
config/index.js
 build: {
        // Template for index.html
        index: path.resolve(__dirname, '../dist/index.html'),

        // Paths
        assetsRoot: path.resolve(__dirname, '../dist'),
        assetsSubDirectory: 'static',
        assetsPublicPath: './',
3、打包
# npm run build
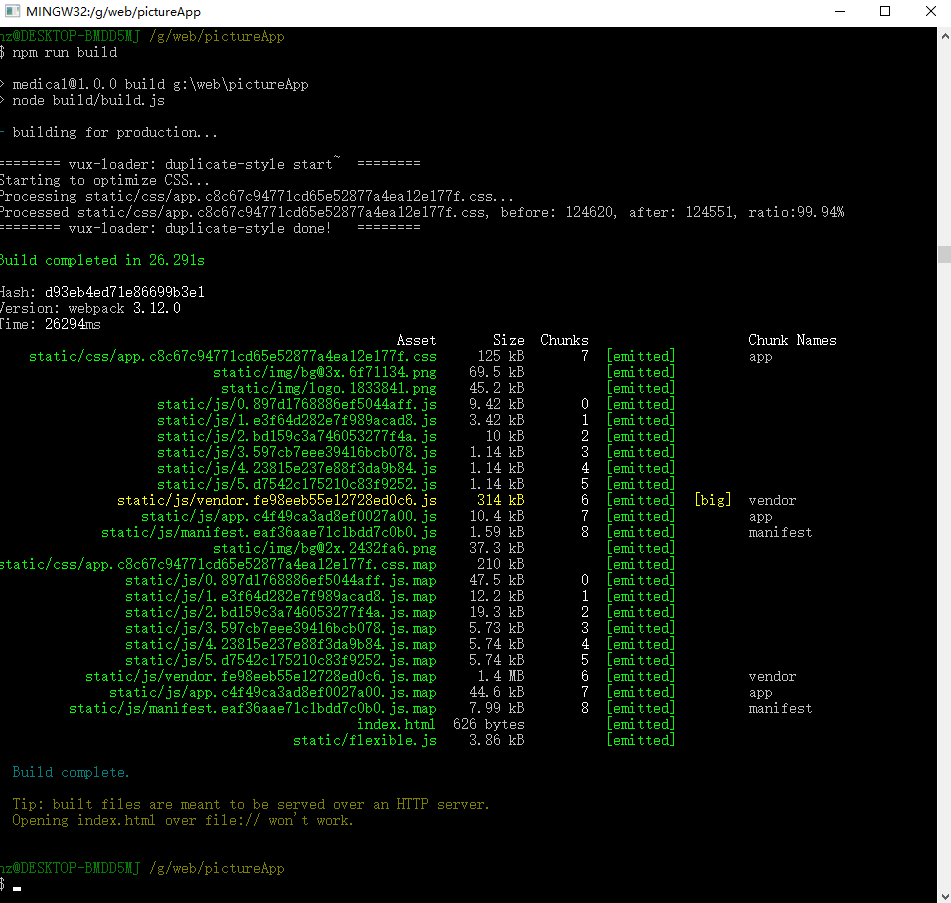
打包成功会创建dist目录

4、上传到服务器

配置nginx
4.1、进入nginx
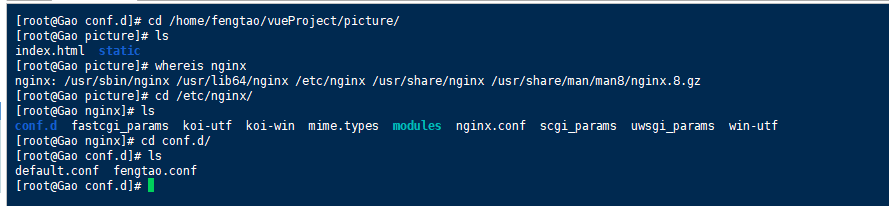
4.2、复制默认的配置文件default.conf -> fengtaoconf
# cp default.conf fengtao.conf
# vim fengtao.conf 修改端口 和 路径
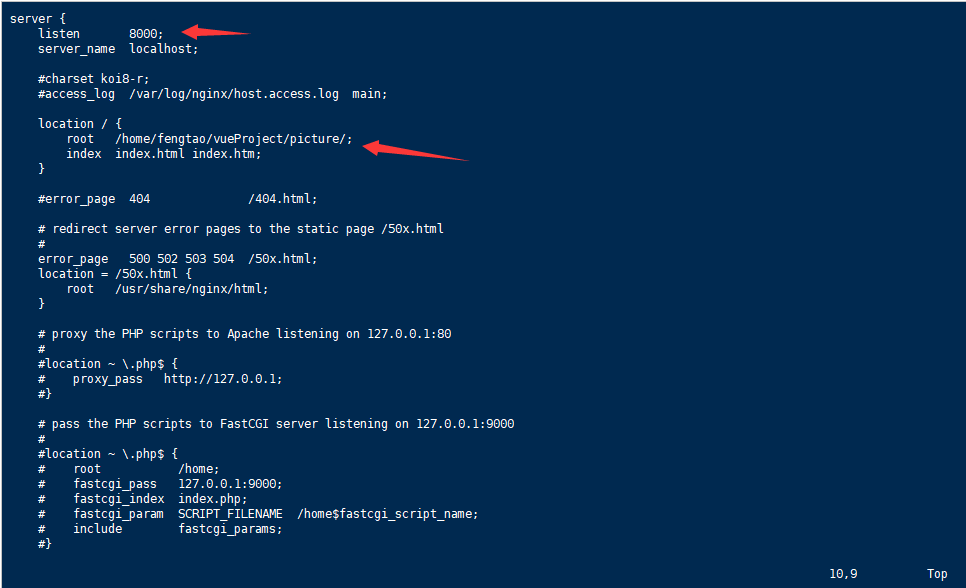
不行的话就使用这种
server {
    listen 80;
    listen [::]:80;
    server_name m.yiqipingjia.com;

    location /medical
    {
        alias /usr/web/medicalApp/;
        index index.html index.php index.htm;
    }

    location /pc
    {
        alias /usr/web/medicalPc/;
        index index.html index.php index.htm;
    }
    location /business
    {
        alias /usr/web/business/;
        index index.html index.php index.htm;
    }
    location /hr     ## vue pro
    {
        alias   /usr/web/hr;
        try_files   $uri $uri/ @router;
        index  index.html;
    }

}
5、有的服务器还需控制台开启端口

6、防火墙开启端口
# firewall -cmd --zone=public --add-port=8000/tcp -permanent //开启端口
# systemctl restart firewalld.service // 重启firewall
访问
今ならできます。

 浙公网安备 33010602011771号