
1、安装electron插件
yarn add --dev electron
yarn add -D electron-builder
2、修改vite.config.js/vite.config.ts
base 指向dist
base: './'
3、增加electron的配置文件
electron\electron.js
// electron/electron.js
const path = require('path');
const { app, BrowserWindow } = require('electron');

const isDev = process.env.IS_DEV == "true" ? true : false;

function createWindow() {
  // Create the browser window.
  const mainWindow = new BrowserWindow({
    width: 800,
    height: 600,
    icon: `${path.join(__dirname, '../dist/favicon.ico')}`,
    webPreferences: {
      preload: path.join(__dirname, 'preload.js'),
      nodeIntegration: true,
    },
  });

  // and load the index.html of the app.
  // win.loadFile("index.html");
  mainWindow.loadURL(
    `file://${path.join(__dirname, '../dist/index.html')}`
  );
  // Open the DevTools.
  if (isDev) {
    mainWindow.webContents.openDevTools();
  }
}

// This method will be called when Electron has finished
// initialization and is ready to create browser windows.
// Some APIs can only be used after this event occurs.
app.whenReady().then(() => {
  createWindow()
  app.on('activate', function () {
    // On macOS it's common to re-create a window in the app when the
    // dock icon is clicked and there are no other windows open.
    if (BrowserWindow.getAllWindows().length === 0) createWindow()
  })
});

// Quit when all windows are closed, except on macOS. There, it's common
// for applications and their menu bar to stay active until the user quits
// explicitly with Cmd + Q.
app.on('window-all-closed', () => {
  if (process.platform !== 'darwin') {
    app.quit();
  }
});
electron\preload.js
// electron/preload.js

// All of the Node.js APIs are available in the preload process.
// It has the same sandbox as a Chrome extension.
window.addEventListener('DOMContentLoaded', () => {
  const replaceText = (selector, text) => {
    const element = document.getElementById(selector)
    if (element) element.innerText = text
  }

  for (const dependency of ['chrome', 'node', 'electron']) {
    replaceText(`${dependency}-version`, process.versions[dependency])
  }
})
4、修改package.json
在里面增加配置内容
"scripts": {
    "serve": "vite --mode development",
    "serve:prod": "vite --mode prodtest",
    "serve:production": "vite --mode production",
    "electron:serve": "electron .",
    "preview": "vite preview --port 8878 --mode production",
    "build": "vite build",
    "electron:build.win": "npm run build && electron-builder --win --dir",
    "electron:build.linux": "npm run build && electron-builder --linux appImage",
    "electron:build.test": "npm run build && electron-builder --dir",
    "electron:build.exe": "npm run build && electron-builder --win"
  },
  "build": {
    "appId": "com.my-website.my-app",
    "productName": "myViteApp",
    "copyright": "Copyright © 2019 ${author}",
    "mac": {
      "category": "public.app-category.utilities"
    },
    "win": {
      "icon": "./public/app.ico",
      "target": [{
        "target": "nsis",
        "arch": [
          "x64",
          "ia32"
        ]
      }]
    },
    "nsis": {
      "oneClick": false,
      "allowToChangeInstallationDirectory": true
    },
    "files": [
      "dist/**/*",
      "electron/**/*"
    ],
    "directories": {
      "buildResources": "assets",
      "output": "dist_electron"
    }
  },
  "main": "electron/electron.js",
5、build 文件
yarn build
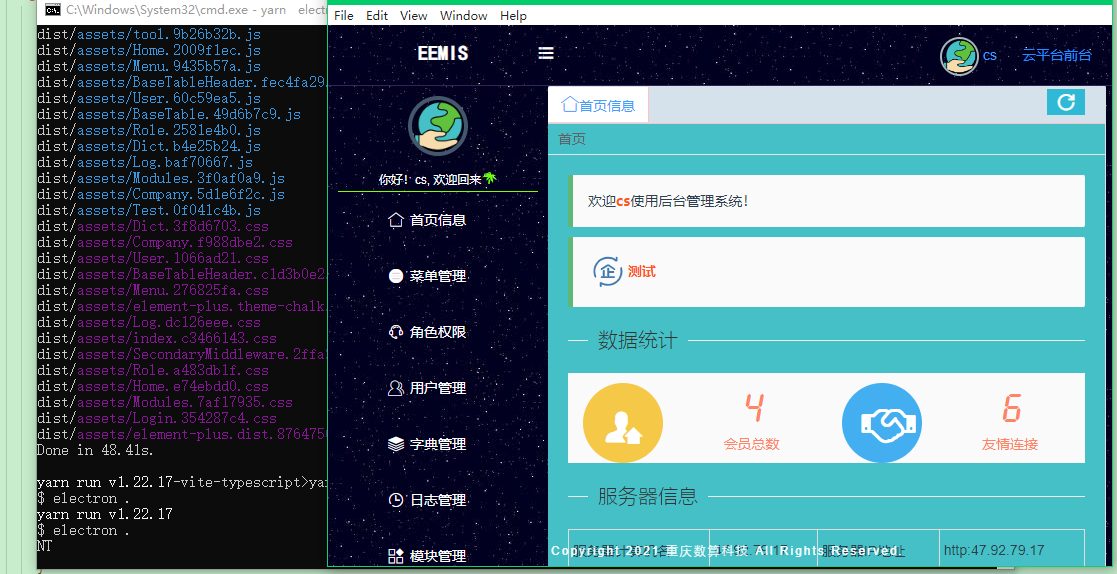
6、预览文件
yarn electron:serve
7、打包文件
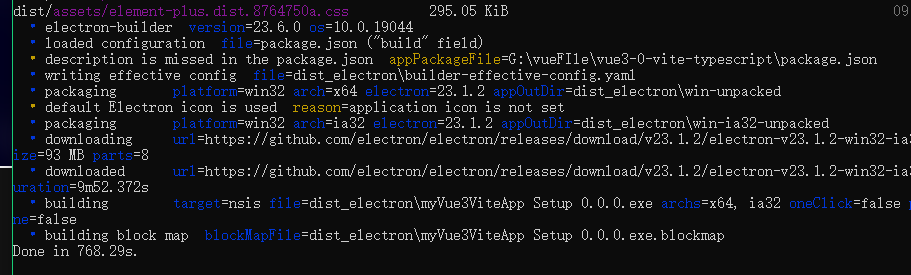
yarn electron:build.exe


打包的话比较慢。
如果因为网络的问题,一些文件无法下载。
文件下载地址 :https://npm.taobao.org/mirrors/electron-builder-binaries/
1.下载 与当前elecron本版一致的 electron-v13.2.3-win32-x64 然后放到 参考路径 : C:\Users\Admin/AppData\Local\electron\Cache
2 下载 对应的 winCodeSign 解压后 放到 C:\User\Admin/AppData\Local\electron-builder\Cache 没有 winCodeSign 文件夹 自己新建
3. 下载对应的 nsis 和 对应的 nsis-resources 放到 C:\User\Admin/AppData\Local\electron-builder\Cache/nsis 下面
完成。

今ならできます。
