
Spring Boot:
目的:这个框架帮助开发者更容易地创建基于Spring的应用程序和服务,使得pring开发者能够最快速地获得所需要的Spring功能。
优点:完全不需要XML配置,让spring应用从配置到运行更加快速。但并没有增加spring额外的功能。
提供了非功能性的大型项目类特性,如(如内嵌服务器、安全、度量、健康检查、外部化配置),
内部封装了tomcat的一些核心jar包,将发布封装了,因此不需要将项目(war包)发布到tomcat上。
搭建一个简单的Spring web mvc Rest
环境:
eclipse-4.5
java version :"1.7.0_21"
maven:3.2.1
Servlet3容器(tomcat)
创建maven项目:
1:配置maven的settings.xml,如下:
<?xml version="1.0" encoding="UTF-8"?>
<settings xmlns="http://maven.apache.org/SETTINGS/1.0.0"
xmlns:xsi="http://www.w3.org/2001/XMLSchema-instance"
xsi:schemaLocation="http://maven.apache.org/SETTINGS/1.0.0 http://maven.apache.org/xsd/settings-1.0.0.xsd">
<!-- 仓库的地址-->
<localRepository>I:\work\apache-maven-3.2.1\springBootMvnRes</localRepository>
<pluginGroups>
</pluginGroups>
<proxies>
</proxies>
<servers>
</servers>
<mirrors>
</mirrors>
<profiles>
</profiles>
</settings>
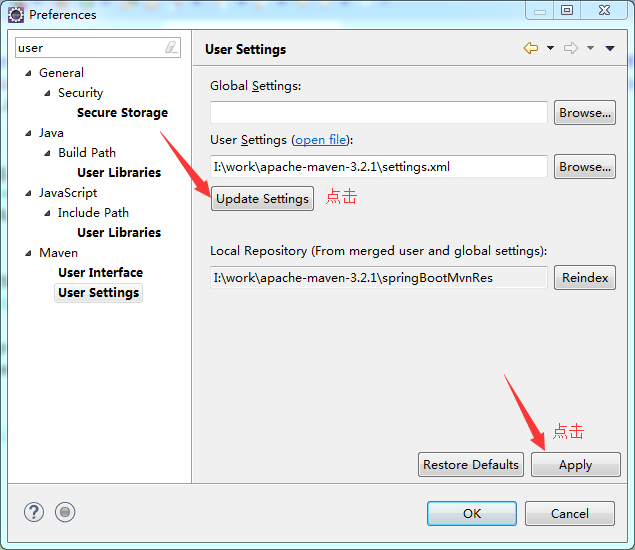
2:eclipse配置maven如下图所示:
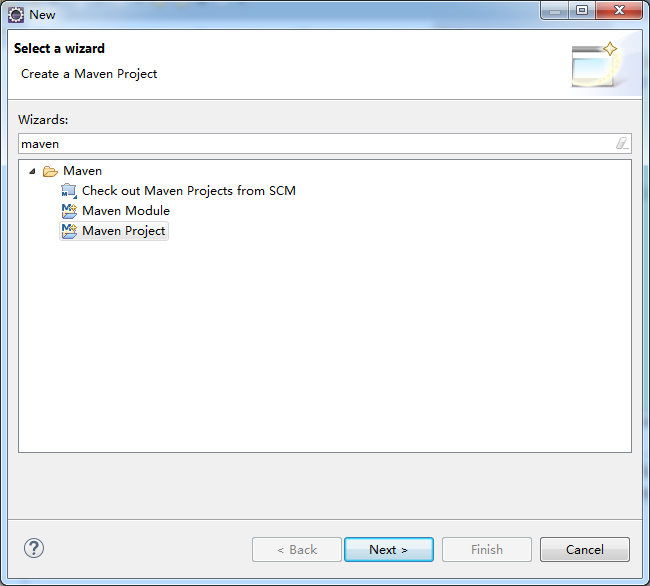
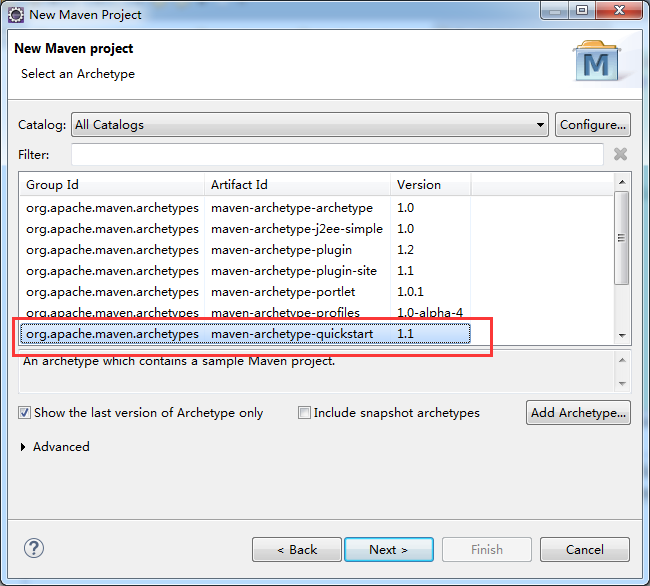
3:创建maven项目
new-->other-->maven-->Maven Project-->next-->finsh,maven项目就建好了
4:配置pom文件,如下:
<project xmlns="http://maven.apache.org/POM/4.0.0" xmlns:xsi="http://www.w3.org/2001/XMLSchema-instance"
xsi:schemaLocation="http://maven.apache.org/POM/4.0.0 http://maven.apache.org/xsd/maven-4.0.0.xsd">
<modelVersion>4.0.0</modelVersion>
<parent>
<groupId>org.springframework.boot</groupId>
<artifactId>spring-boot-starter-parent</artifactId>
<version>1.4.0.RELEASE</version>
</parent>
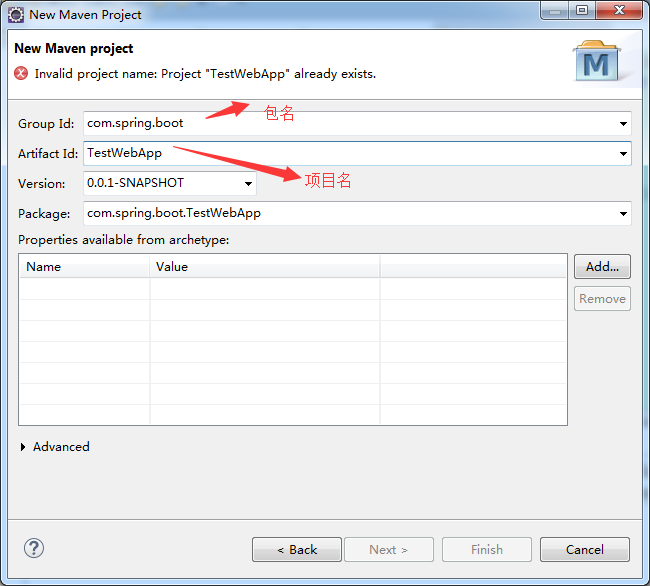
<artifactId>TestWebApp</artifactId>
<packaging>jar</packaging>
<name>TestWebApp</name>
<url>http://maven.apache.org</url>
<properties>
<project.build.sourceEncoding>UTF-8</project.build.sourceEncoding>
</properties>
<dependencies>
<dependency>
<groupId>org.springframework.boot</groupId>
<artifactId>spring-boot-starter-web</artifactId>
</dependency>
</dependencies>
<!-- Package as an executable JAR -->
<build>
<plugins>
<plugin>
<groupId>org.springframework.boot</groupId>
<artifactId>spring-boot-maven-plugin</artifactId>
</plugin>
</plugins>
</build>
</project>
5:编写测试代码:
java代码如下:
package com.spring.boot.TestWebApp;
public class User
{
private Long id;
private String name;
public Long getId() {
return id;
}
public void setId(Long id) {
this.id = id;
}
public String getName() {
return name;
}
public void setName(String name) {
this.name = name;
}
@Override
public boolean equals(Object o) {
if (this == o) return true;
if (o == null || getClass() != o.getClass()) return false;
User user = (User) o;
if (id != null ? !id.equals(user.id) : user.id != null) return false;
return true;
}
@Override
public int hashCode() {
return id != null ? id.hashCode() : 0;
}
}
控制器代码:
package com.spring.boot.TestWebApp;
import org.springframework.boot.SpringApplication;
import org.springframework.boot.autoconfigure.EnableAutoConfiguration;
import org.springframework.web.bind.annotation.PathVariable;
import org.springframework.web.bind.annotation.RequestMapping;
import org.springframework.web.bind.annotation.RestController;
@EnableAutoConfiguration
@RestController
@RequestMapping("/user")
public class UserController {
@RequestMapping("/{id}")
public User view(@PathVariable("id") Long id) {
User user = new User();
user.setId(id);
user.setName("qinbb");
return user;
}
public static void main(String[] args) {
SpringApplication.run(UserController.class);
}
}
这时候项目就可以运行了,在controller中run as-->java application

控制台打印出:
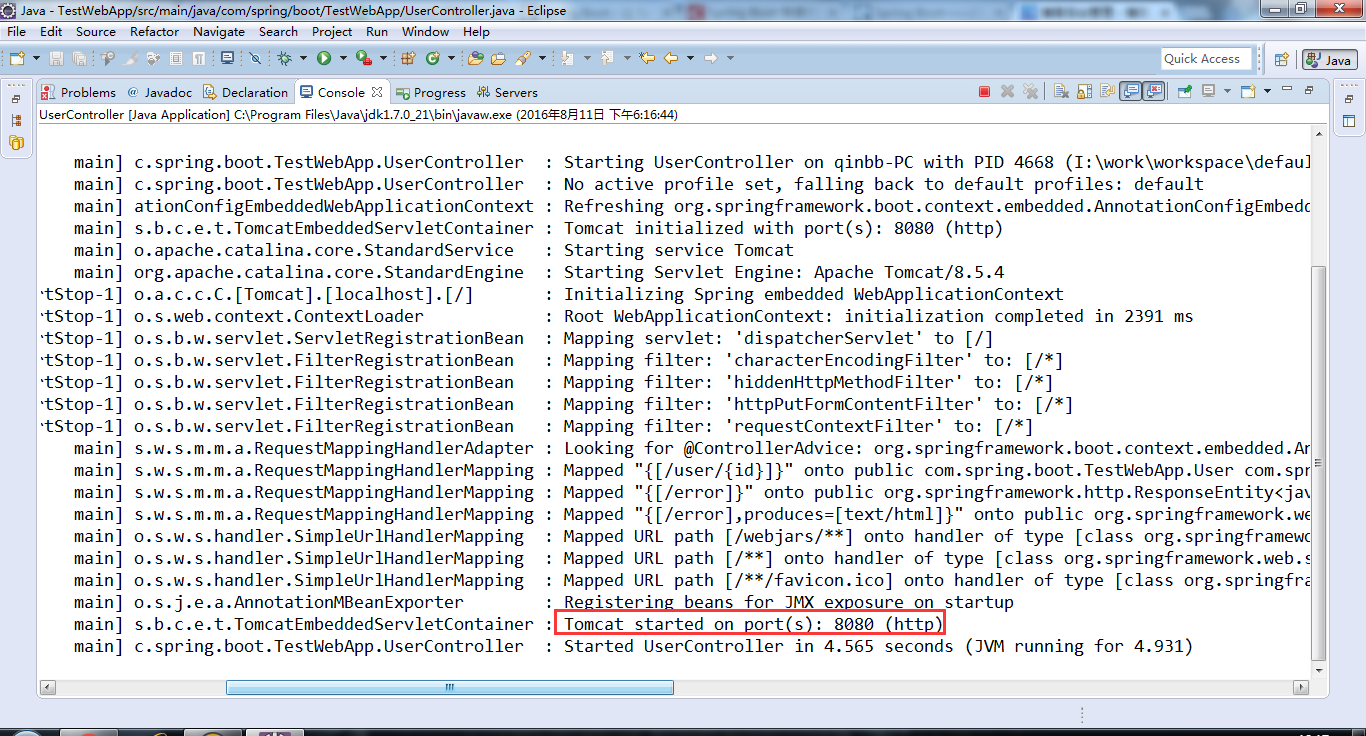
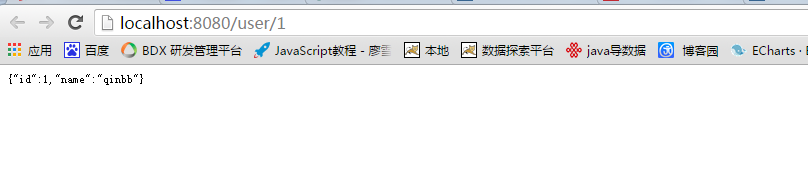
此时在浏览器输入:http://localhost:8080/user/1即可看到页面效果:
上面的控制器controller:通过在UserController中加上@EnableAutoConfiguration开启自动配置,然后通过SpringApplication.run(UserController.class);运行这个控制器;这种方式只运行一个控制器比较方便;下面介绍的这个适合多个控制器
代码如下(这时候需要将控制器中的@EnableAutoConfiguration和main方法注释):
package com.spring.boot.TestWebApp;
import org.springframework.boot.SpringApplication;
import org.springframework.boot.autoconfigure.EnableAutoConfiguration;
import org.springframework.context.annotation.ComponentScan;
import org.springframework.context.annotation.Configuration;
@Configuration
@ComponentScan
@EnableAutoConfiguration
public class Application {
public static void main(String[] args) {
SpringApplication.run(Application.class);
}
}
执行main 这个方法就OK

 浙公网安备 33010602011771号