
Ubuntu 搭建 DHCP ivp6 server 步骤
1、安装 DHCP server
sudo apt-get install isc-dhcp-server
2、修改配置文件 /etc/dhcp/dhcpd6.conf
default-lease-time 2592000;
preferred-lifetime 604800;
option dhcp-renewal-time 3600;
option dhcp-rebinding-time 7200;

# Enable RFC 5007 support (same than for DHCPv4)
allow leasequery;

# Global definitions for name server address(es) and domain search list
#
#
option dhcp6.name-servers 3ffe:501:ffff:100:200:ff:fe00:3f3e;
option dhcp6.domain-search "test.example.com","example.com";

option dhcp6.info-refresh-time 21600;


# The subnet where the server is attached
subnet6 2022:: /64 {
        # Range for clients
        range6 2022::db8:0:1:129 2022::db8:0:1:139;

        # Range for clients requesting a temporary address
        range6 2022:: /64 temporary;

        # Additional options
        option dhcp6.name-servers fec0:0:0:1::1;
        option dhcp6.domain-search "domain.example";
        # Prefix range for delegation to sub-routers
        #prefix6 2022::db8:0:1:100 2022::db8:0:1:f00 /56;

        # Example for a fixed host address
        host specialclient {
                host-identifier option dhcp6.client-id 00:01:00:01:4a:1f:ba:e3:60:b9:1f:01:23:45;
                fixed-address6 2022::db8:0:1:127;
        }
}
3、新建数据文件
touch /var/lib/dhcp/dhcpd6.leases
chmod 777 /var/lib/dhcp/dhcpd6.leases #赋予权限
4、修改网卡接口为server网口,配置静态地址(使用vim工具,vim /etc/netplan/01-network-manager-all.yaml,并执行netplan apply)

5、启动dhcp server服务
例如我现在网卡名为enp2s0,则命令为: /usr/sbin/dhcpd -6 -d -cf /etc/dhcp/dhcpd6.conf enp2s0
6、安装 radvd(实现局域网路由功能)
sudo apt-get install radvd
7、新建配置文件,注意文件权限不能为777,可以使用755
touch /etc/radvd.conf
chmod 755 /etc/radvd.conf
修改配置文件内容 vim /etc/radvd.conf
#log-level 8
#log-mode full
#stateless
interface enp2s0 {
        AdvSendAdvert on;
        AdvOtherConfigFlag on;
        AdvManagedFlag on;
        MinRtrAdvInterval 10;
        MaxRtrAdvInterval 15;
        AdvDefaultPreference medium;
        AdvDefaultLifetime 45;
        prefix 2022:: /64 {
                AdvOnLink on;
                AdvAutonomous off;
                AdvRouterAddr on;
                AdvPreferredLifetime 3600;
                AdvValidLifetime 7200;
        };
        route 2022:: /64 {
        };
};
8、启动 radvd 路由服务,主要其中配置信息要和网卡设置静态 IP 对应
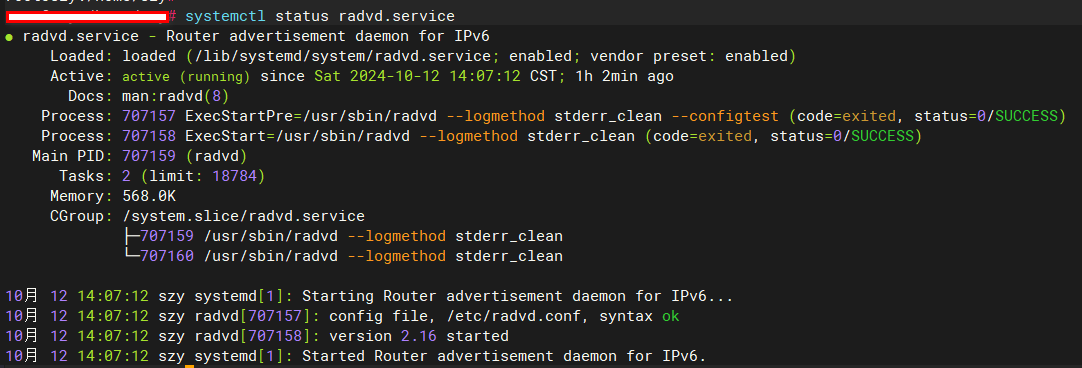
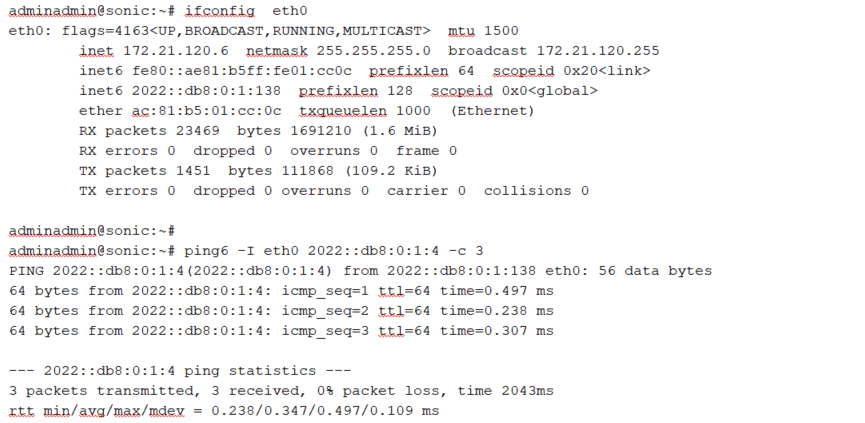
9、测试运行

 浙公网安备 33010602011771号