

Ocelot是.Net程序员常用的网关实现方式,我今天跟大家分享一个简单的实现,作为Ocelot学习的第一次分享,希望能够帮助到其他人。
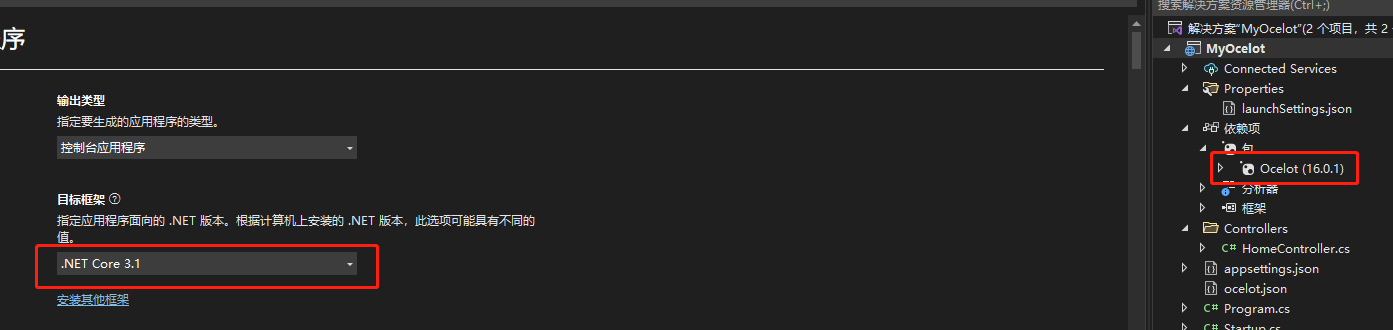
首先,确定.Net的版本,我这里因为用的是比较老的版本.net core 3.1 与之对应的Ocelot的包的版本我用的是16.0.1,这里不赘述具体操作了,简单说就是新建一个webapi项目,在Nuget中引用Ocelot。
第二步,修改Startup文件

 public void ConfigureServices(IServiceCollection services)
        {
            services.AddOcelot();
        }
     // This method gets called by the runtime. Use this method to configure the HTTP request pipeline.
    public void Configure(IApplicationBuilder app, IWebHostEnvironment env)
    {
        app.UseOcelot().Wait();  // .Wait()可以不加,加了的话可能会更安全
    }
第三步,添加ocelot.json配置文件,这块有一个小坑,Ocelot16.x以后的,配置文件配置Routes,而不是老版本 ReRoutes.
{
  "Routes": [
    {
      "DownstreamPathTemplate": "/api/xxx/entity",
      "DownstreamScheme": "http",
      "DownstreamHostAndPorts": [
        {
          "Host": "域名/ip",
          "Port": 80
        }
      ],
      "UpstreamPathTemplate": "/test/xxx/entity",
      "UpstreamHttpMethod": [ "Get" ]
    },
    {
      "DownstreamPathTemplate": "/api/xxx/entity",
      "DownstreamScheme": "https",
      "DownstreamHostAndPorts": [
        {
          "Host": "域名/",
          "Port": 443
        }
      ],
      "UpstreamPathTemplate": "/product/xxx/entity",
      "UpstreamHttpMethod": [ "Get" ]
    }
  ]
}
第四步,修改program文件
public static IHostBuilder CreateHostBuilder(string[] args) =>
Host.CreateDefaultBuilder(args)
.ConfigureAppConfiguration(conf =>
{
conf.AddJsonFile("ocelot.json", false, true);
})
.ConfigureWebHostDefaults(webBuilder =>
{
webBuilder.UseUrls("http://localhost:5400");
webBuilder.UseStartup<Startup>();
});
就这样,Ocelot最简单的实现就完成了,熔断,过滤等高级配置会在后续博客中逐步更新。


【推荐】国内首个AI IDE,深度理解中文开发场景,立即下载体验Trae
【推荐】编程新体验,更懂你的AI,立即体验豆包MarsCode编程助手
【推荐】抖音旗下AI助手豆包,你的智能百科全书,全免费不限次数
【推荐】轻量又高性能的 SSH 工具 IShell:AI 加持,快人一步
· winform 绘制太阳,地球,月球 运作规律
· 震惊!C++程序真的从main开始吗?99%的程序员都答错了
· AI与.NET技术实操系列(五):向量存储与相似性搜索在 .NET 中的实现
· 【硬核科普】Trae如何「偷看」你的代码?零基础破解AI编程运行原理
· 超详细:普通电脑也行Windows部署deepseek R1训练数据并当服务器共享给他人