


参考:准备工作:微服务项目搭建(一)_哔哩哔哩_bilibili
1、创建项目
new=>project

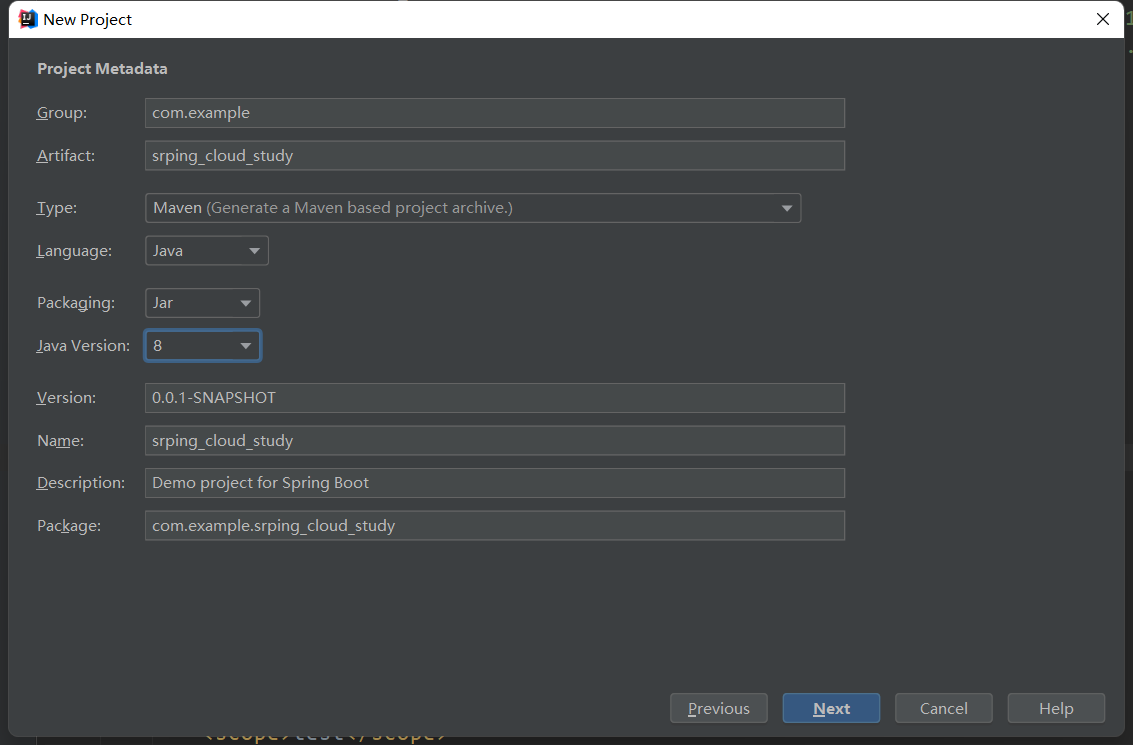
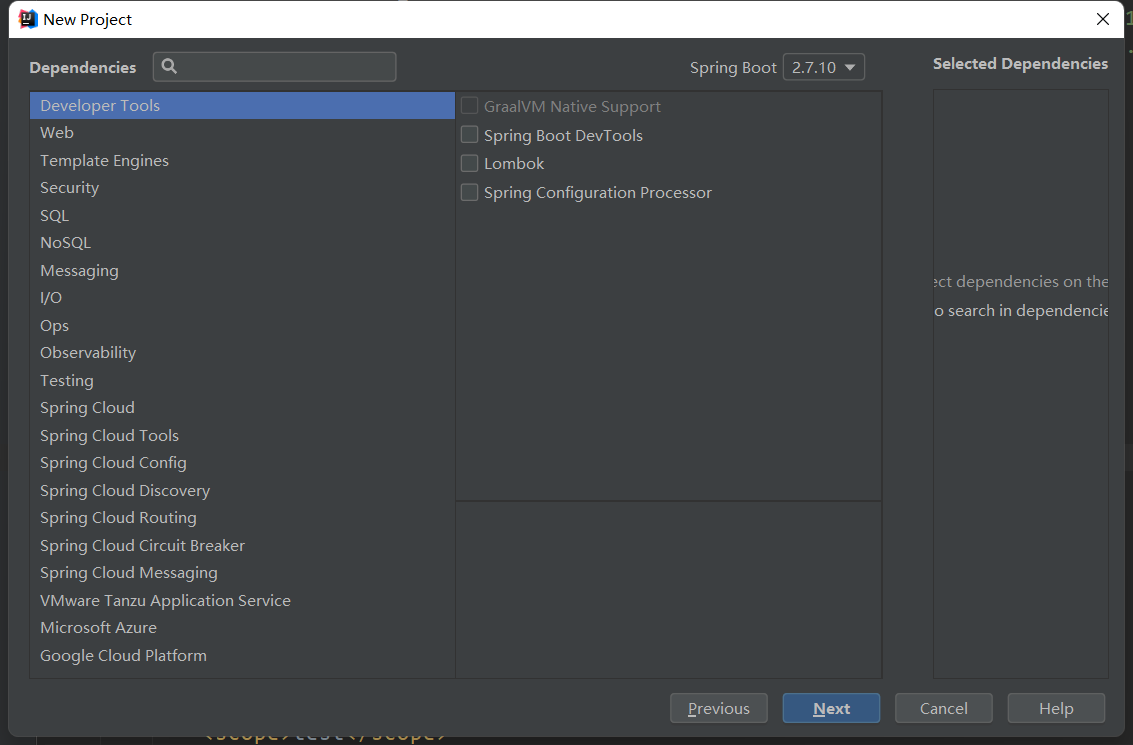
这里什么都不选,下一步,finish
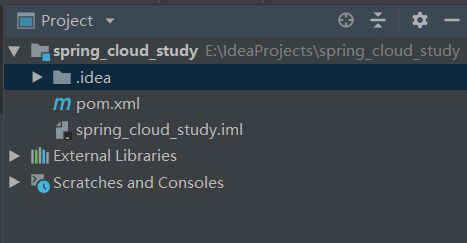
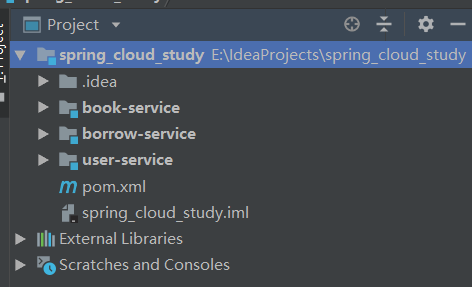
删除文件,只剩下这几个
2、创建模块user-service

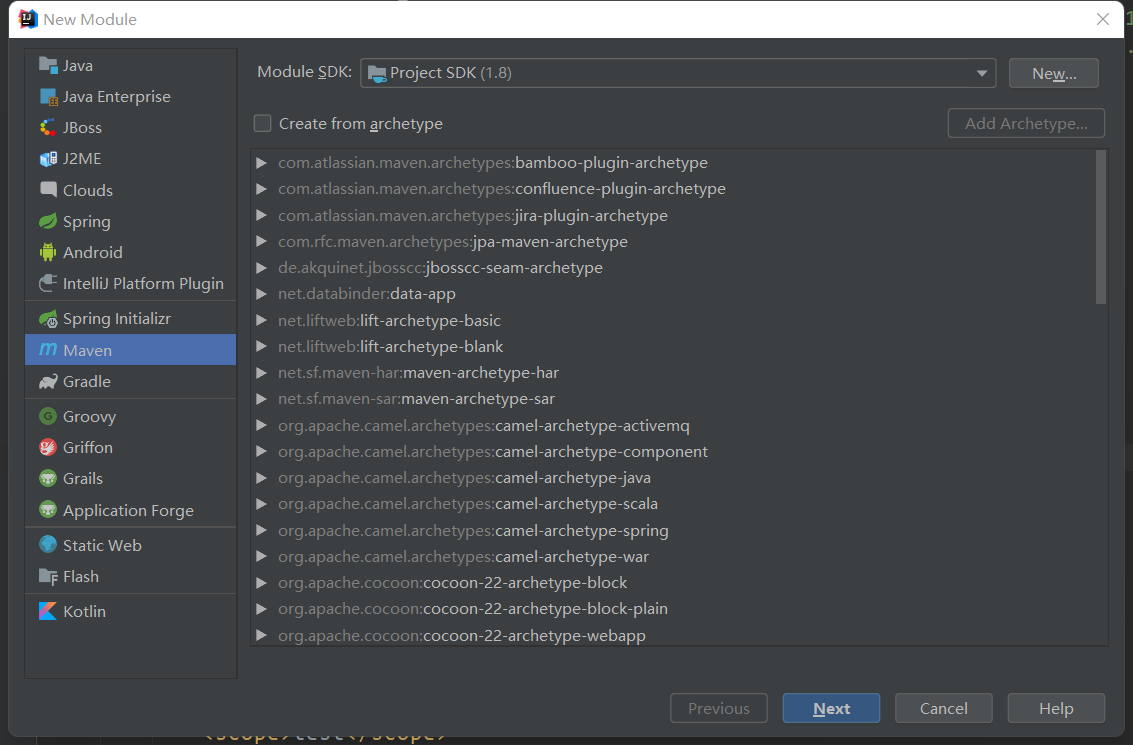
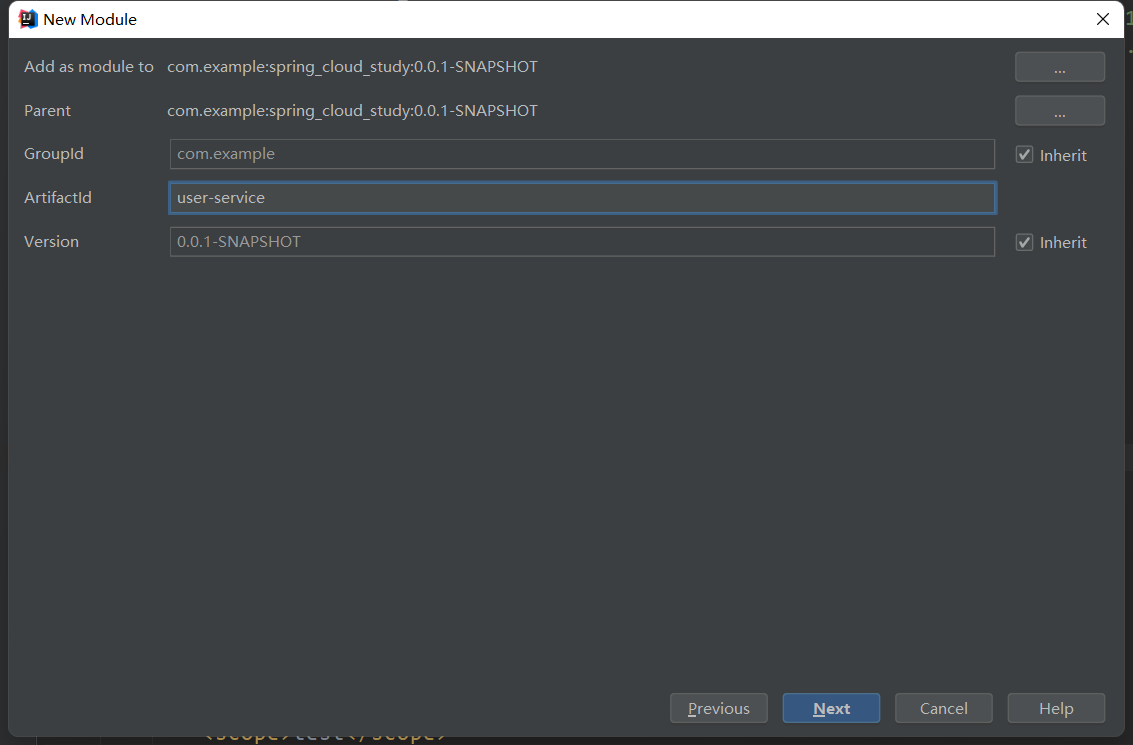
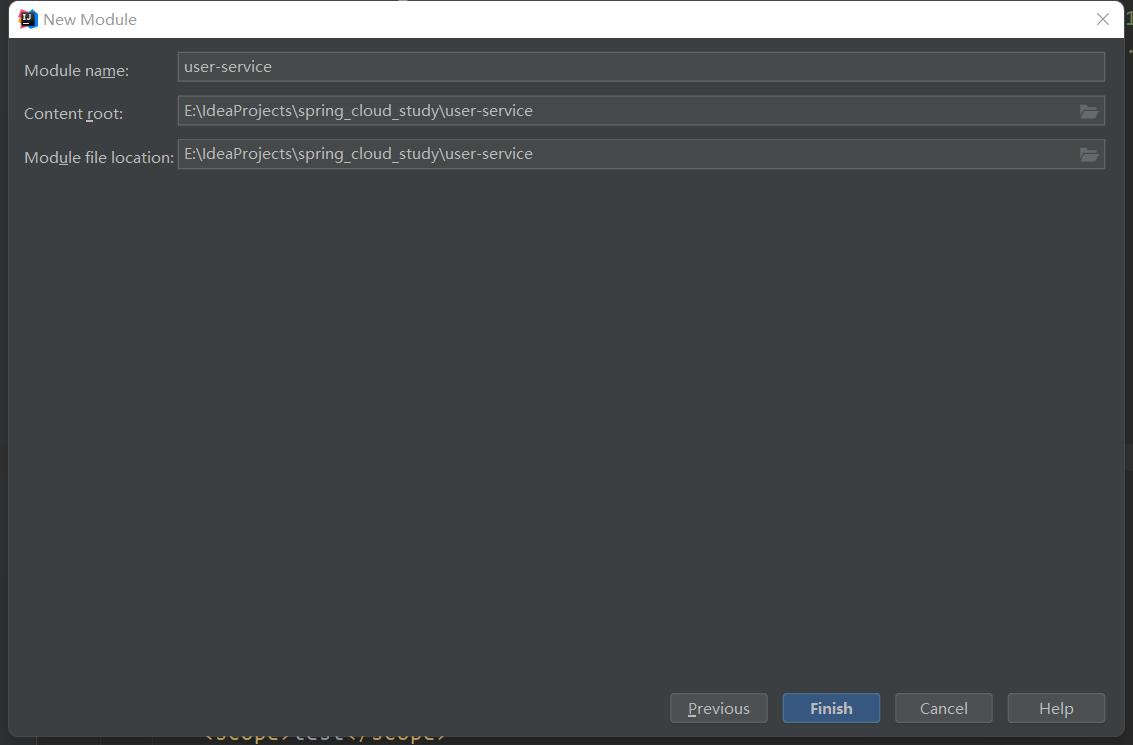
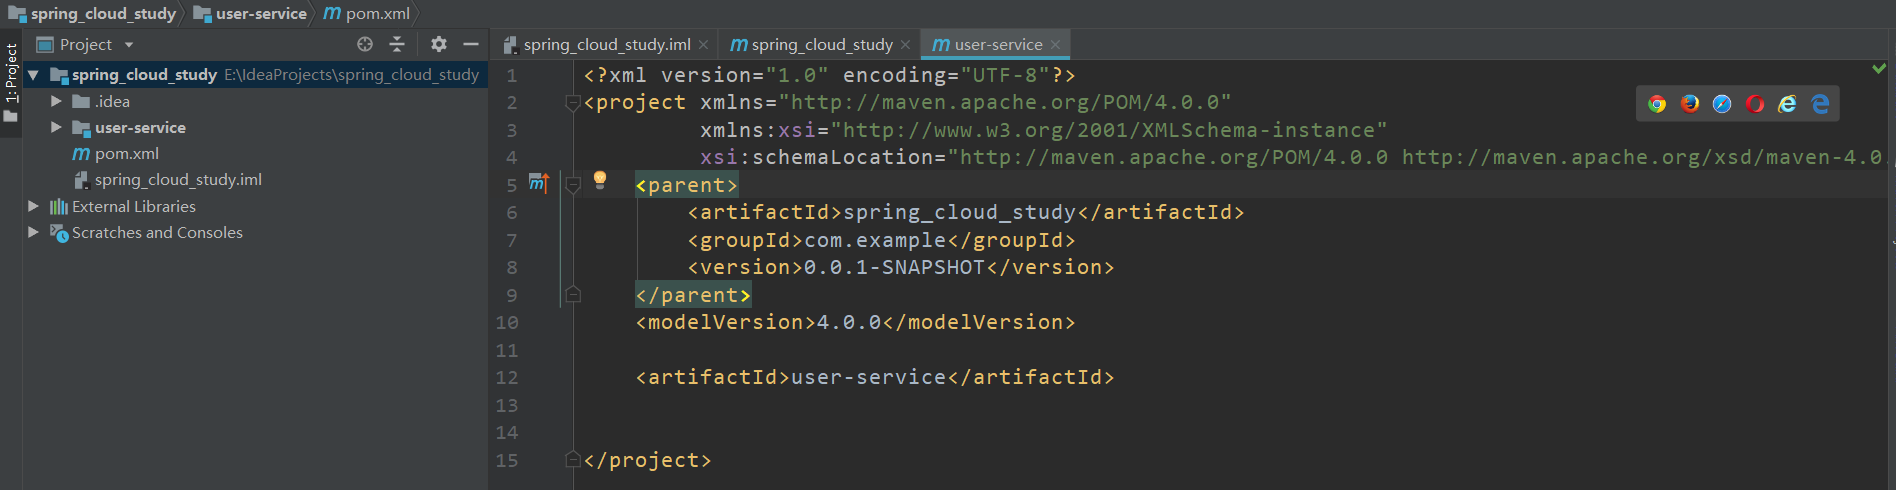
同样创建book-service、borrow-service
3、创建启动主类
再book-service=>src=>main=>java下创建包com.test
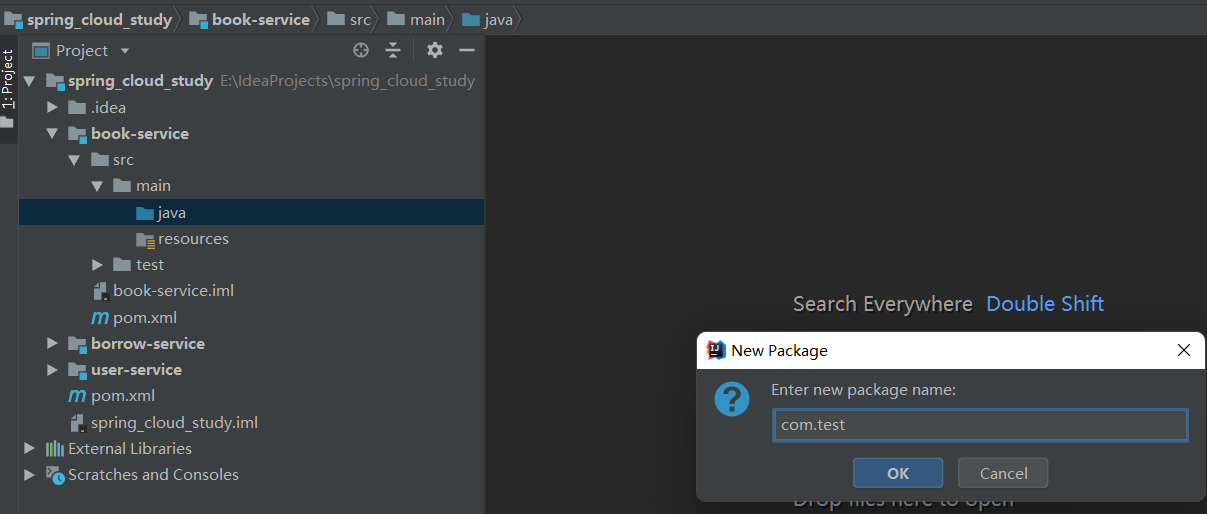
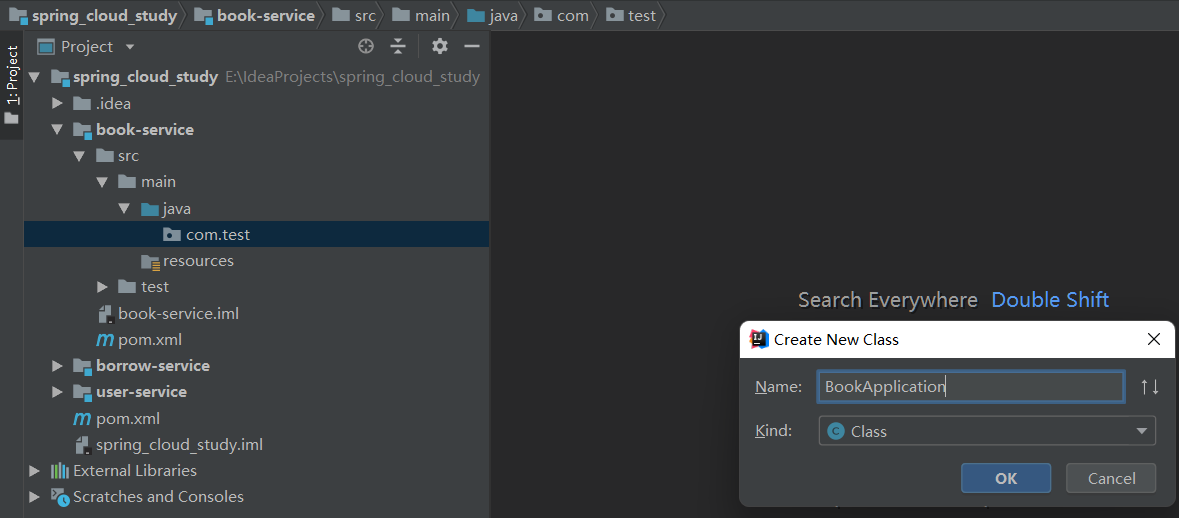
再com.test包下创建启动类BookApplication
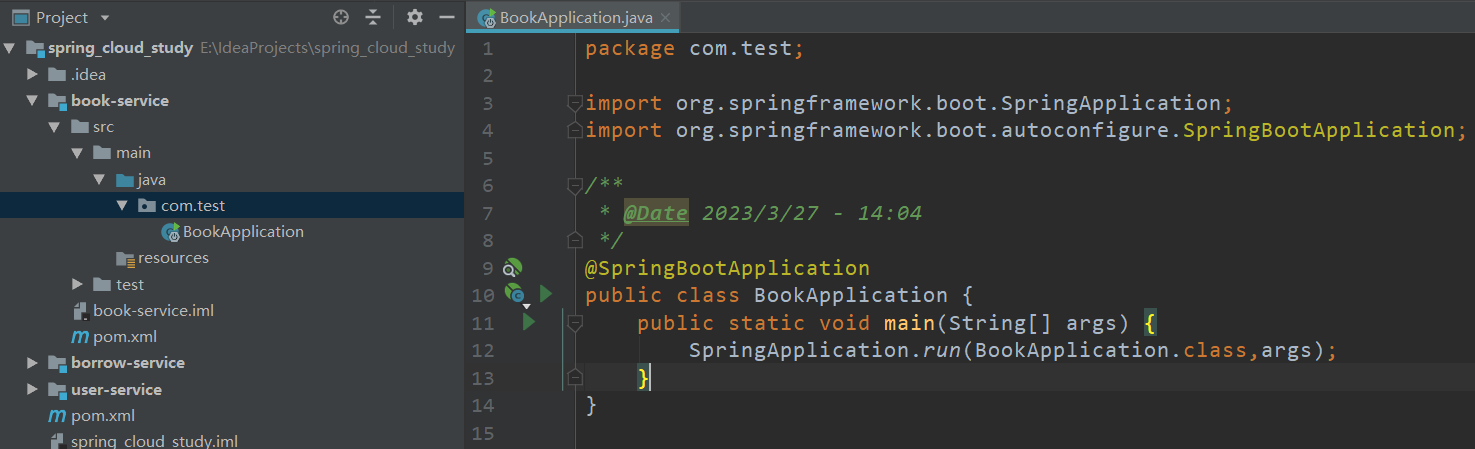

package com.test;

import org.springframework.boot.SpringApplication;
import org.springframework.boot.autoconfigure.SpringBootApplication;

/**
 * @Date 2023/3/27 - 14:04
 */
@SpringBootApplication
public class BookApplication {
    public static void main(String[] args) {
        SpringApplication.run(BookApplication.class,args);
    }
}
同样给user-service和borrow-service加启动类
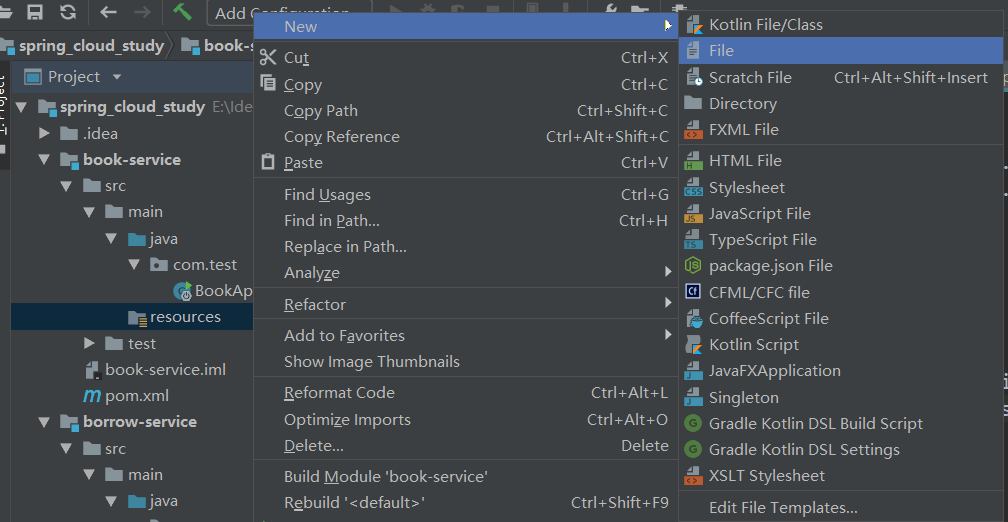
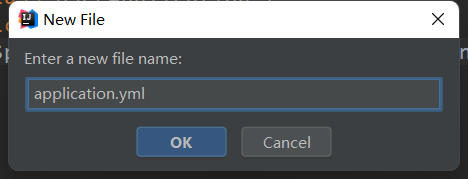
4、给三个服务加配置文件application.yml
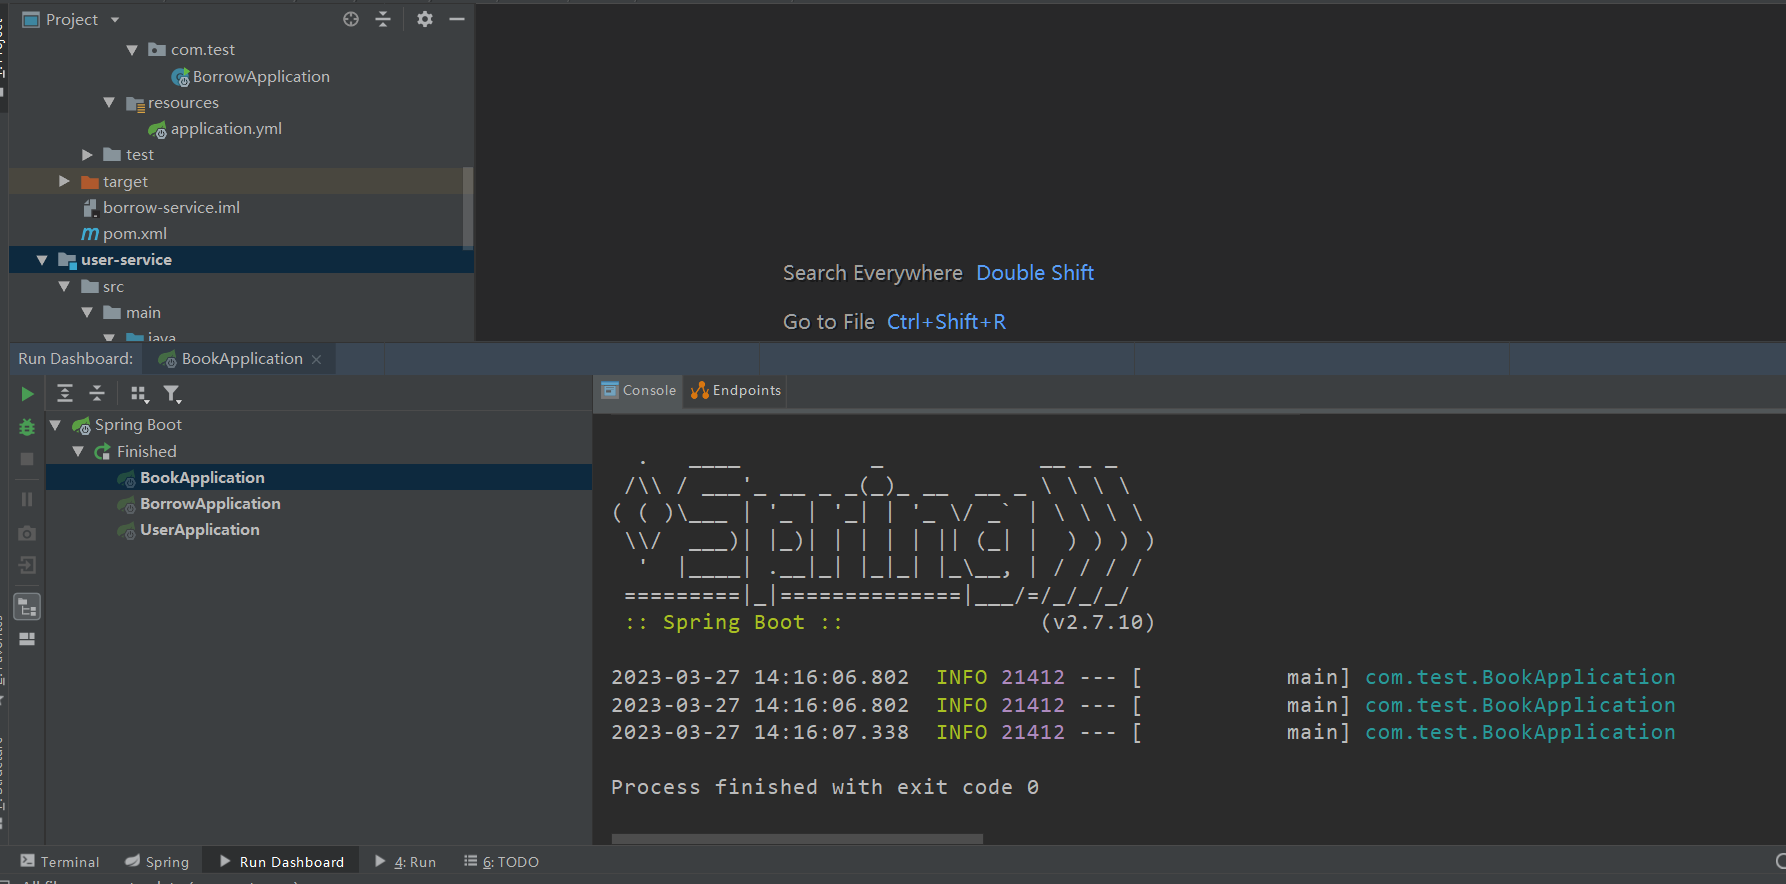
启动测试
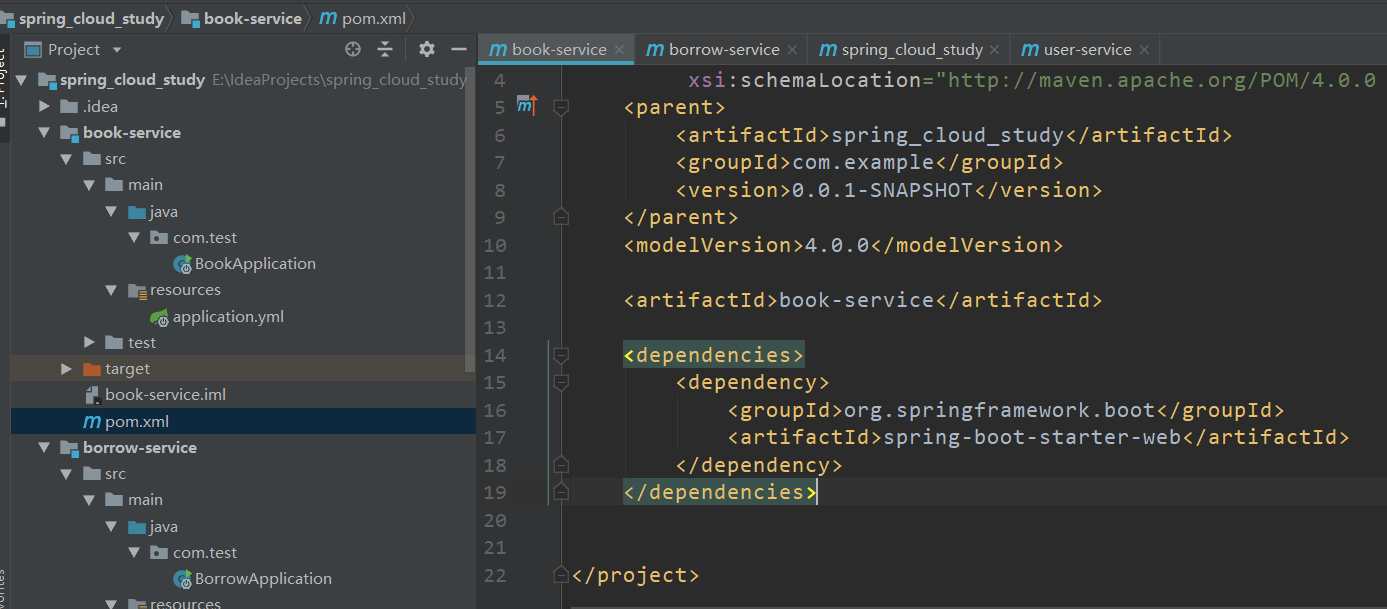
5、给三个服务添加依赖
<dependencies>
        <dependency>
            <groupId>org.springframework.boot</groupId>
            <artifactId>spring-boot-starter-web</artifactId>
        </dependency>
    </dependencies>
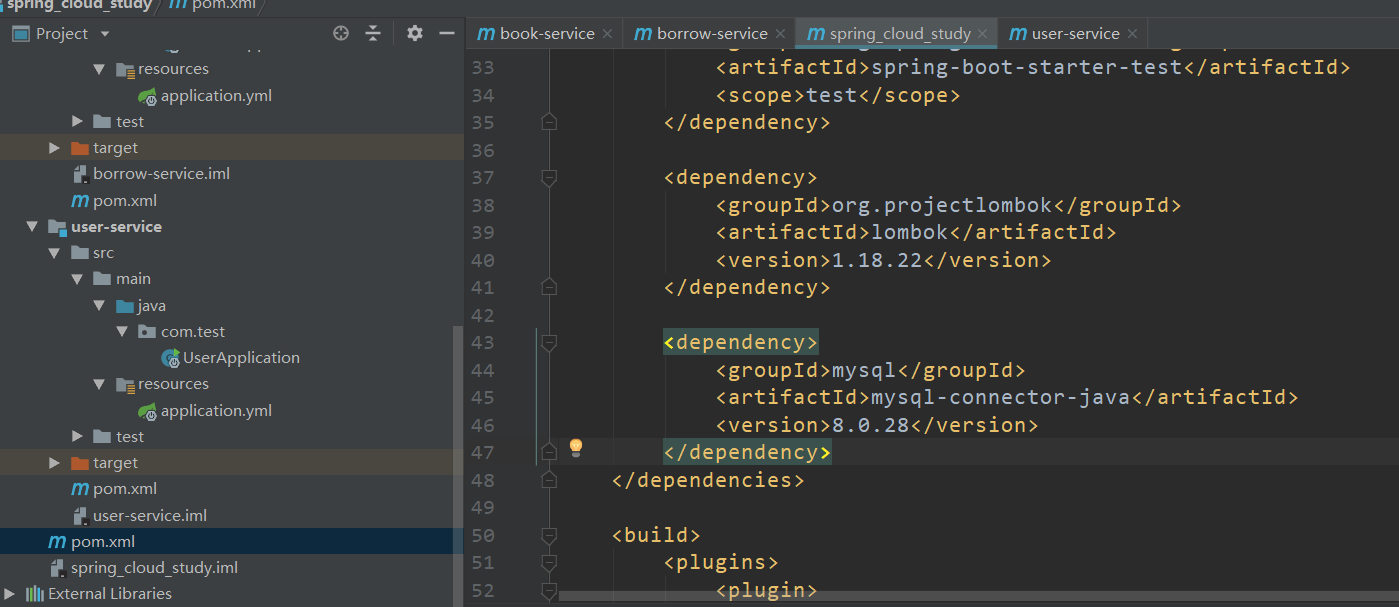
6、由于都要用lombok所以父项目中加lombok依赖和mysql驱动依赖
<dependency>
            <groupId>org.projectlombok</groupId>
            <artifactId>lombok</artifactId>
            <version>1.18.22</version>
        </dependency>
mysql驱动依赖
<dependency>
            <groupId>mysql</groupId>
            <artifactId>mysql-connector-java</artifactId>
            <version>8.0.28</version>
        </dependency>
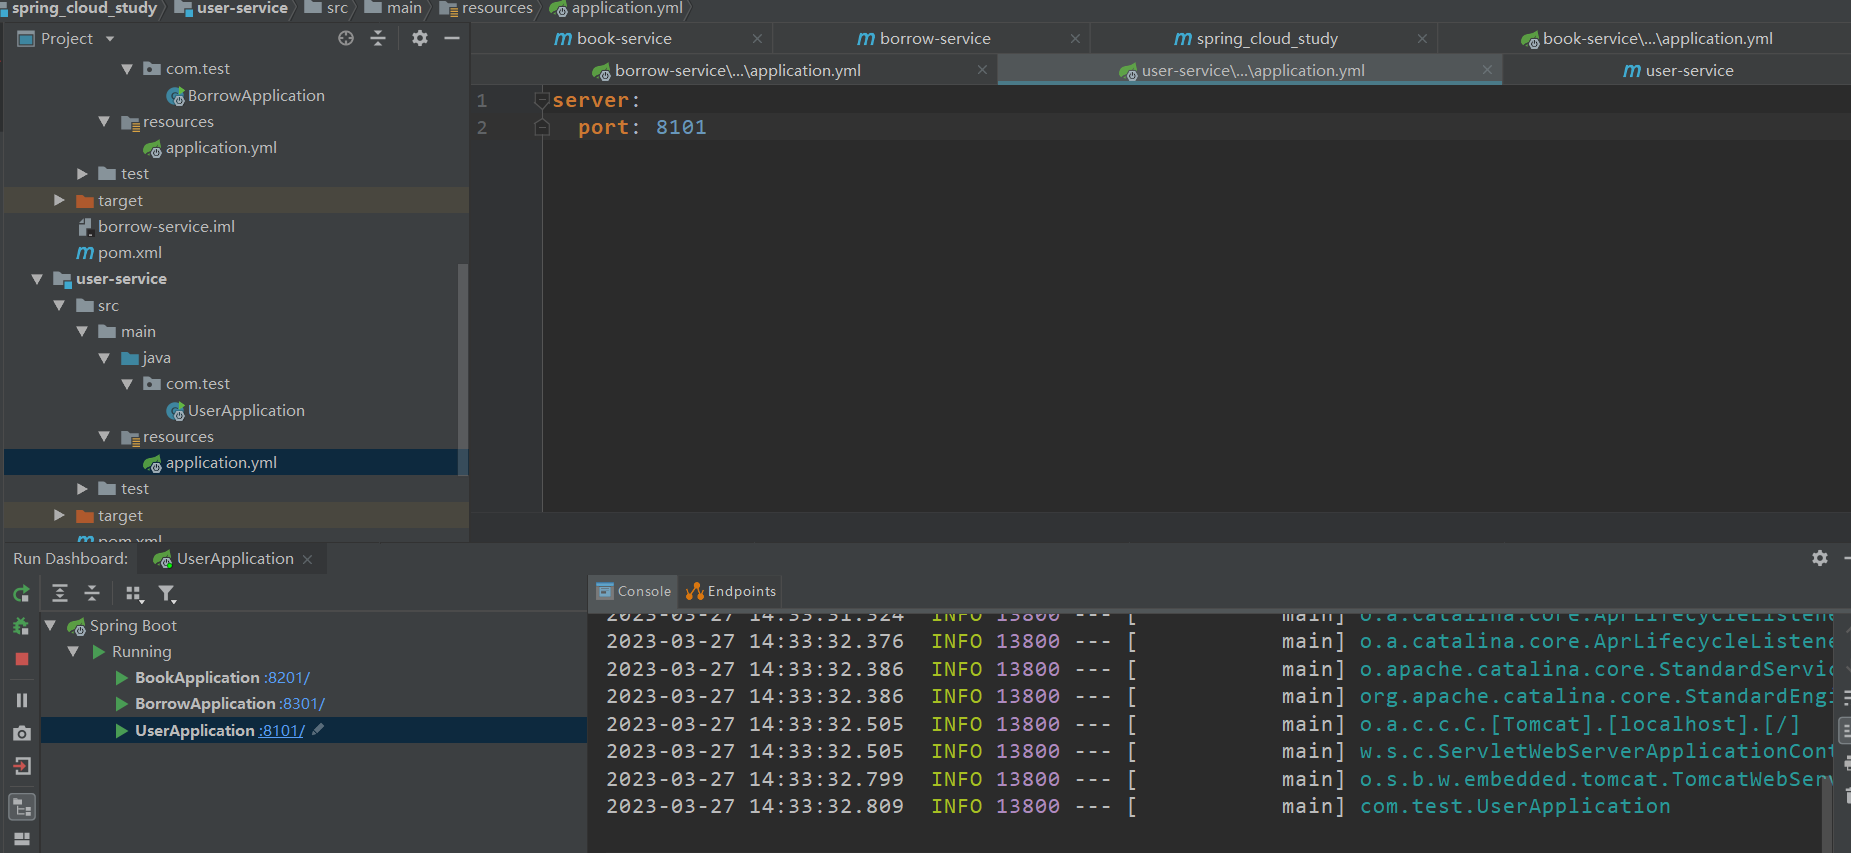
7、配置端口
给三个服务分别配置8101、8201、8301端口
application.yml
server:
  port: 8101
启动测试
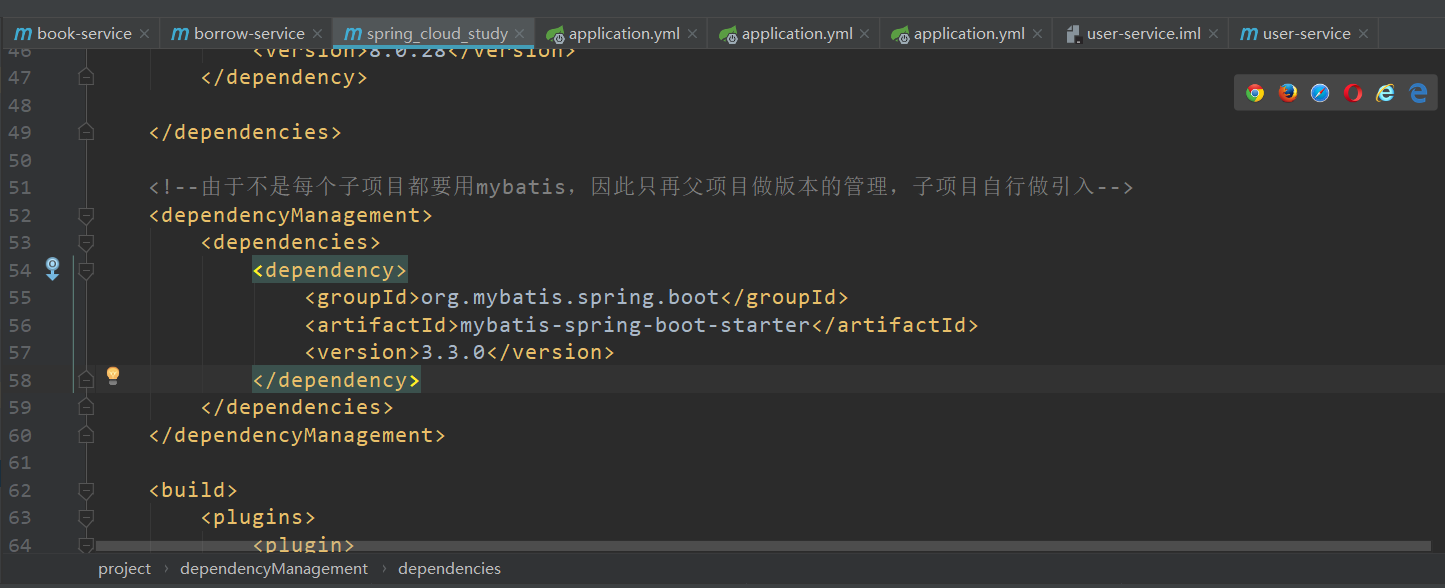
8、导入mybatis依赖(根据需求来)
由于不是每个子项目都要用mybatis,因此只在父项目做版本的管理,子项目自行导入
spring-cloud-study=>pom.xml
<!--由于不是每个子项目都要用mybatis,因此只再父项目做版本的管理,子项目自行做引入-->
    <dependencyManagement>
        <dependencies>
            <dependency>
                <groupId>org.mybatis.spring.boot</groupId>
                <artifactId>mybatis-spring-boot-starter</artifactId>
                <version>3.3.0</version>
            </dependency>
        </dependencies>
    </dependencyManagement>
再三个子项目中导入mybatis依赖
<dependency>
            <groupId>org.mybatis.spring.boot</groupId>
            <artifactId>mybatis-spring-boot-starter</artifactId>
        </dependency>
配置数据源信息
再三个子项目中配置
#  配置数据源信息
spring:
  datasource:
    driver-class-name: com.mysql.cj.jdbc.Driver
    url: jdbc:mysql://localhost:3306/test?characterEncoding=utf-8
    username: root
    password: root
...
9、给三个子项目都加controller层并且写一个简单的逻辑,需要能正常访问
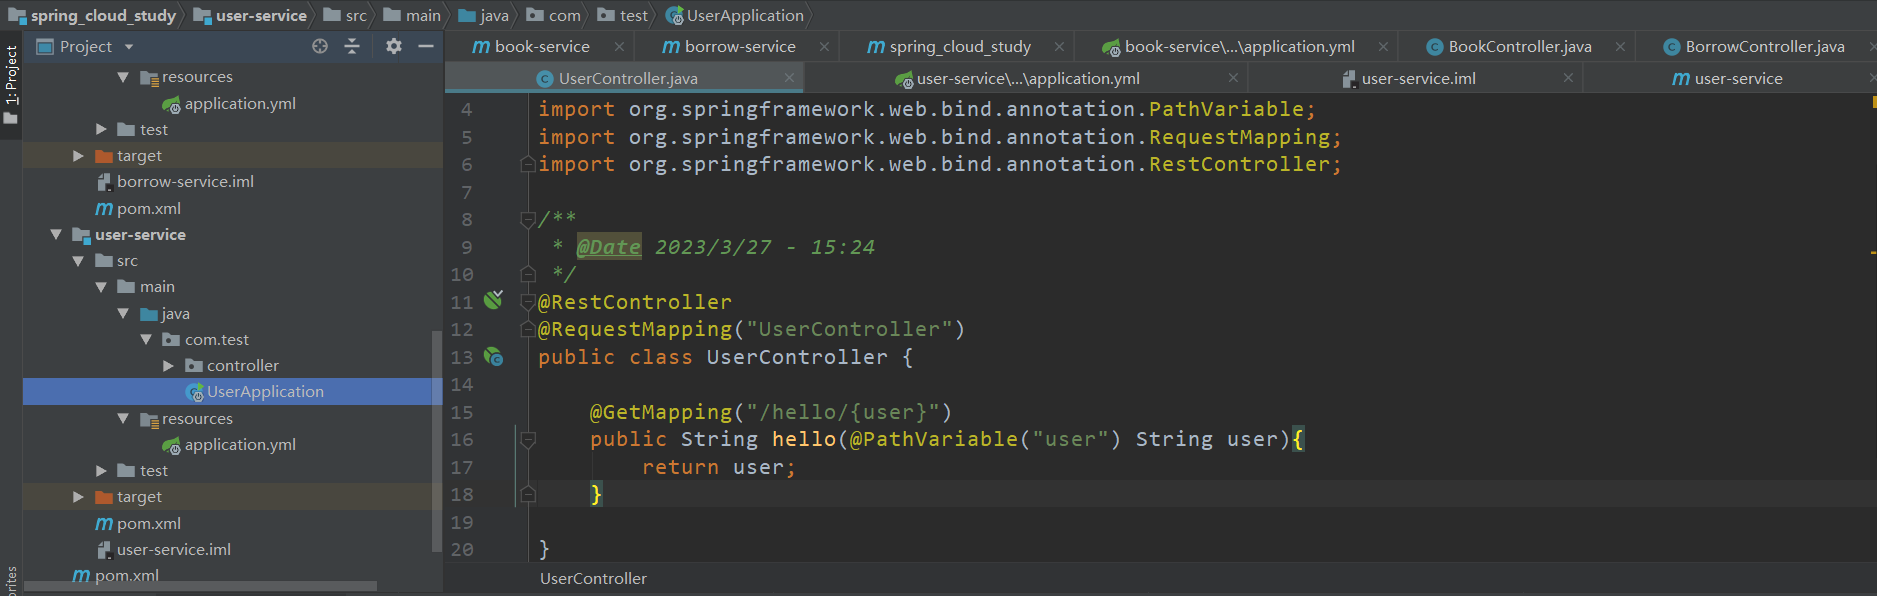
package com.test.controller;

import org.springframework.web.bind.annotation.GetMapping;
import org.springframework.web.bind.annotation.PathVariable;
import org.springframework.web.bind.annotation.RequestMapping;
import org.springframework.web.bind.annotation.RestController;

/**
 * @Date 2023/3/27 - 15:24
 */
@RestController
@RequestMapping("UserController")
public class UserController {

    @GetMapping("/hello/{user}")
    public String hello(@PathVariable("user") String user){
        return user;
    }

}
三个子项目都一样
启动测试
10、用RestTemplate来做服务之间的请求
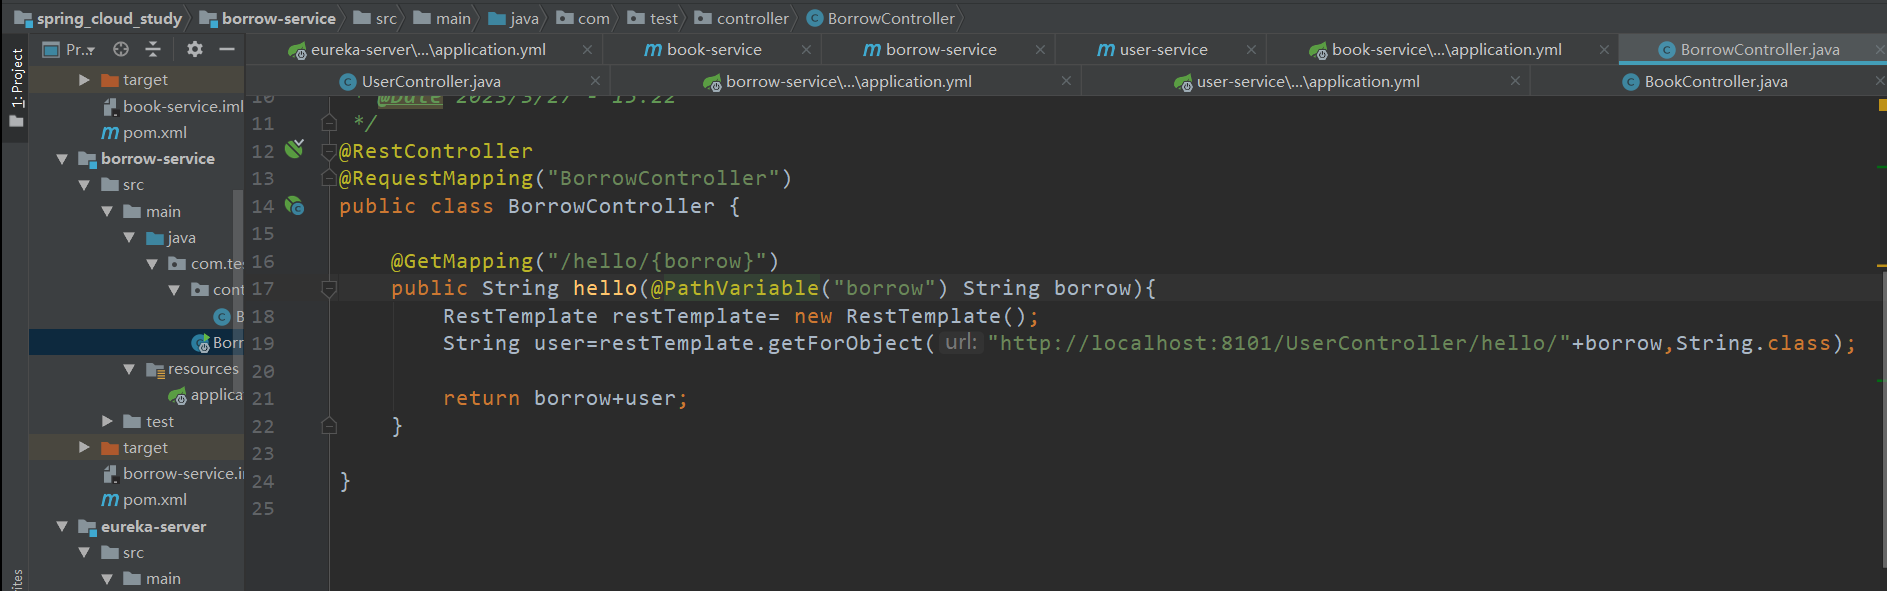
BorrowController.java
package com.test.controller;

import org.springframework.web.bind.annotation.GetMapping;
import org.springframework.web.bind.annotation.PathVariable;
import org.springframework.web.bind.annotation.RequestMapping;
import org.springframework.web.bind.annotation.RestController;
import org.springframework.web.client.RestTemplate;

/**
 * @Date 2023/3/27 - 15:22
 */
@RestController
@RequestMapping("BorrowController")
public class BorrowController {

    @GetMapping("/hello/{borrow}")
    public String hello(@PathVariable("borrow") String borrow){
        RestTemplate restTemplate= new RestTemplate();
        String user=restTemplate.getForObject("http://localhost:8101/UserController/hello/"+borrow,String.class);

        return borrow+user;
    }

}

1、新建个module
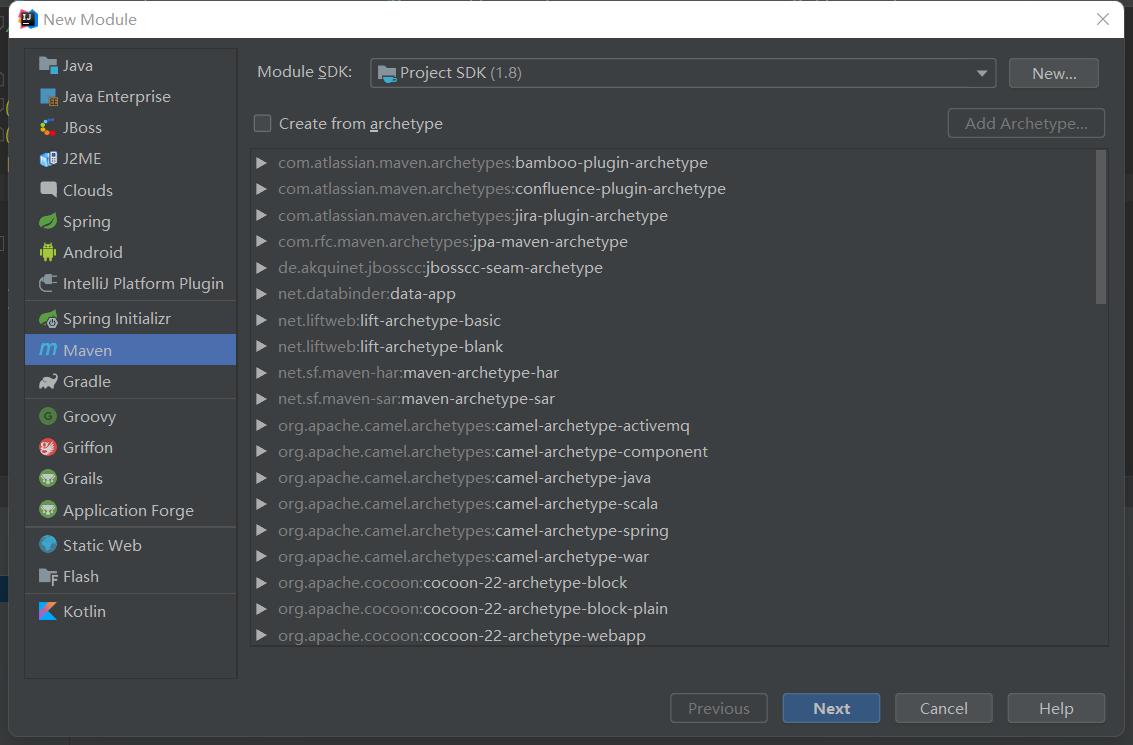

下一步=>完成
2、父类项目中添加版本控制依赖
 <dependency>
            <groupId>org.springframework.cloud</groupId>
            <artifactId>spring-cloud-dependencies</artifactId>
            <version>2021.0.1</version>
            <type>pom</type>
            <scope>import</scope>
        </dependency>

3、再eureka-server子项目中添加依赖
<dependencies>
        <dependency>
            <groupId>org.springframework.cloud</groupId>
            <artifactId>spring-cloud-starter-netflix-eureka-server</artifactId>
        </dependency>
    </dependencies>
4、给eureka-server子项目中添加启动类和配置文件
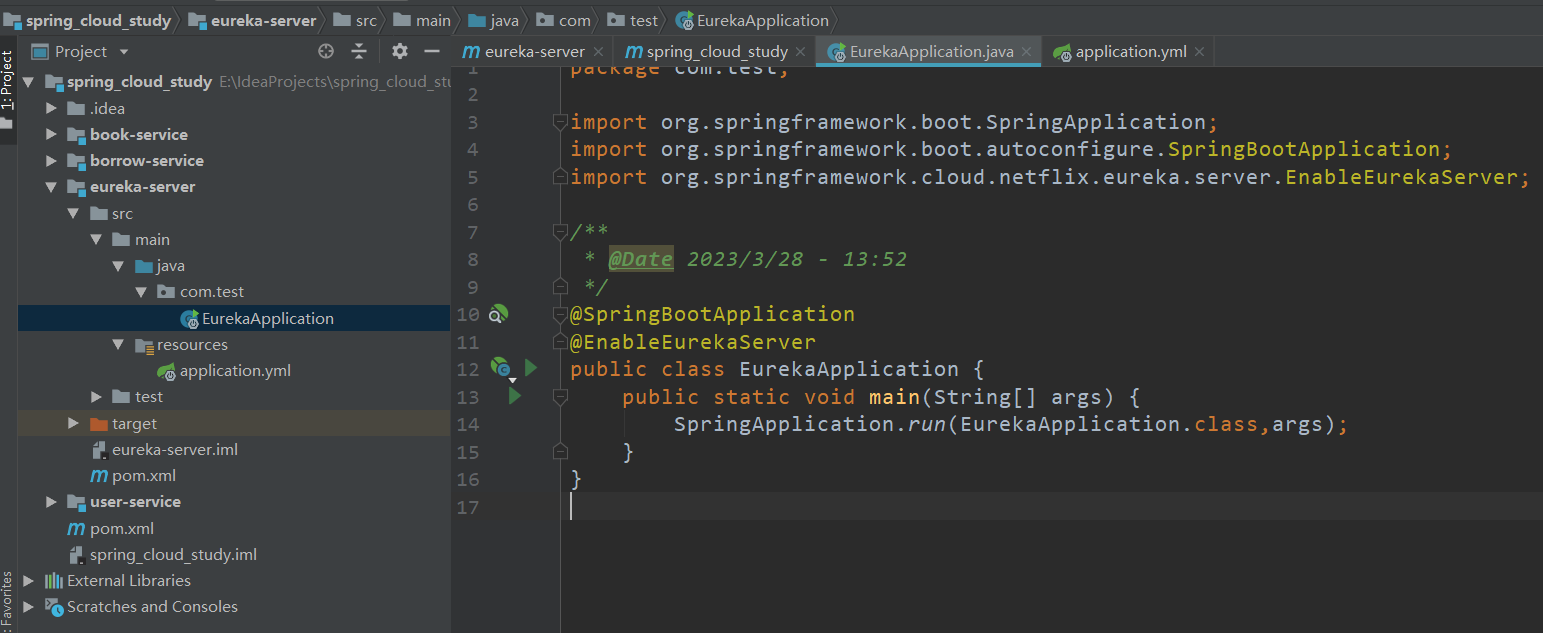
EurekaApplication.java
package com.test;

import org.springframework.boot.SpringApplication;
import org.springframework.boot.autoconfigure.SpringBootApplication;
import org.springframework.cloud.netflix.eureka.server.EnableEurekaServer;

/**
 * @Date 2023/3/28 - 13:52
 */
@SpringBootApplication
@EnableEurekaServer
public class EurekaApplication {
    public static void main(String[] args) {
        SpringApplication.run(EurekaApplication.class,args);
    }
}
application.yml
server:
  port: 8889
eureka:
  client:
    #由于我们是作为服务端角色,所以不需要获取服务器,改为false,默认true
    fetch-registry: false
    #暂时不需要将自己也注册到eureka
    register-with-eureka: false
    #将eureka服务端指向自己
    service-url:
      defaultZone: http://localhost:8889/eureka
启动测试
5、给另外三个子项目添加eureka客户端的依赖以及添加配置
pom.xml
<dependency>
            <groupId>org.springframework.cloud</groupId>
            <artifactId>spring-cloud-starter-netflix-eureka-client</artifactId>
        </dependency>
application.yml
#配置eureka
eureka:
  client:
    #需要指向eureka服务端地址,这样才能进行注册
    service-url:
      defaultZone: http://localhost:8889/eureka

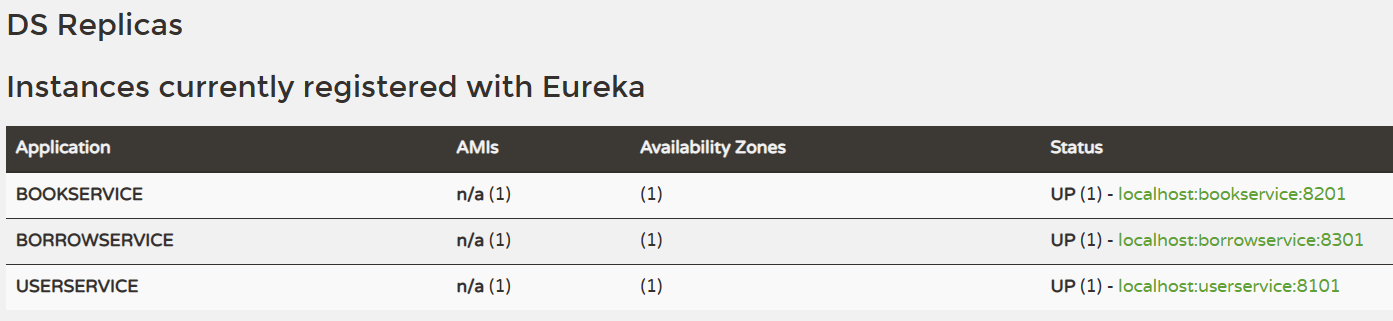
启动后去eureka中查看

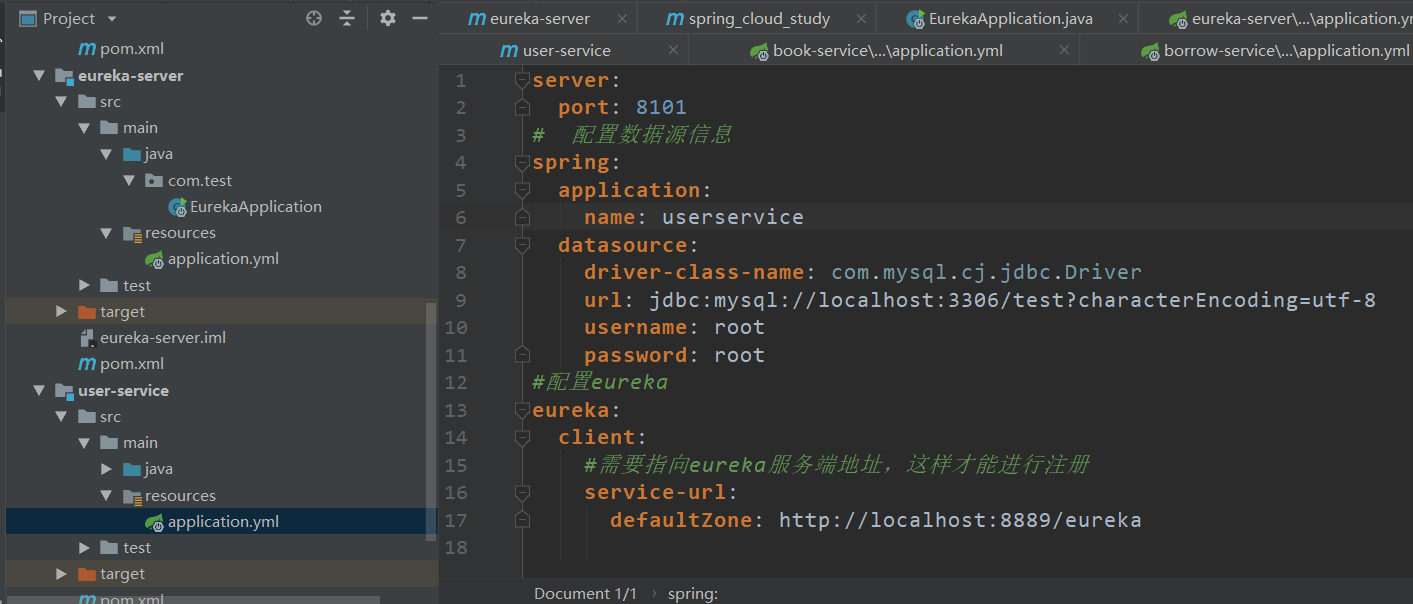
6、给三个子项目服务设置名字
application.yml
spring:
  application:
    name: userservice
重启查看
7、服务的发现
之前需要对其他的服务进行调用必须得知道被调用服务的地址,有了eureka后我们可以直接向它进行查询,得到对应的微服务地址,直接将它的服务名称替换就可以。
我们手动将RestTemplate声明成一个Bean,然后添加@LoadBalanced注解,这样Eureka就会对服务的调度进行自动发现,提供负载均衡。
再borrow-service子项目中的src=>mian=>java=>con.test下创建config=>BeanConfiguration.java
BeanConfiguration.java
package com.test.config;

import org.springframework.cloud.client.loadbalancer.LoadBalanced;
import org.springframework.context.annotation.Bean;
import org.springframework.context.annotation.Configuration;
import org.springframework.web.client.RestTemplate;

/**
 * @Date 2023/3/28 - 14:56
 */
@Configuration
public class BeanConfiguration {

    @Bean
    @LoadBalanced
    public RestTemplate restTemplate(){
        return new RestTemplate();
    }

}
然后再borrow-service子项目中的BorrowController中就可以吧BeanConfiguration.java中的bean注入进来,并且吧之前的ip换成服务名字
BorrowController.java
package com.test.controller;

import com.netflix.discovery.converters.Auto;
import org.springframework.beans.factory.annotation.Autowired;
import org.springframework.web.bind.annotation.GetMapping;
import org.springframework.web.bind.annotation.PathVariable;
import org.springframework.web.bind.annotation.RequestMapping;
import org.springframework.web.bind.annotation.RestController;
import org.springframework.web.client.RestTemplate;

import javax.annotation.Resource;

/**
 * @Date 2023/3/27 - 15:22
 */
@RestController
@RequestMapping("BorrowController")
public class BorrowController {

    @Resource
    private RestTemplate restTemplate;

    @GetMapping("/hello/{borrow}")
    public String hello(@PathVariable("borrow") String borrow){
        String user=restTemplate.getForObject("http://userservice/UserController/hello/"+borrow,String.class);

        return borrow+user;
    }

}
测试

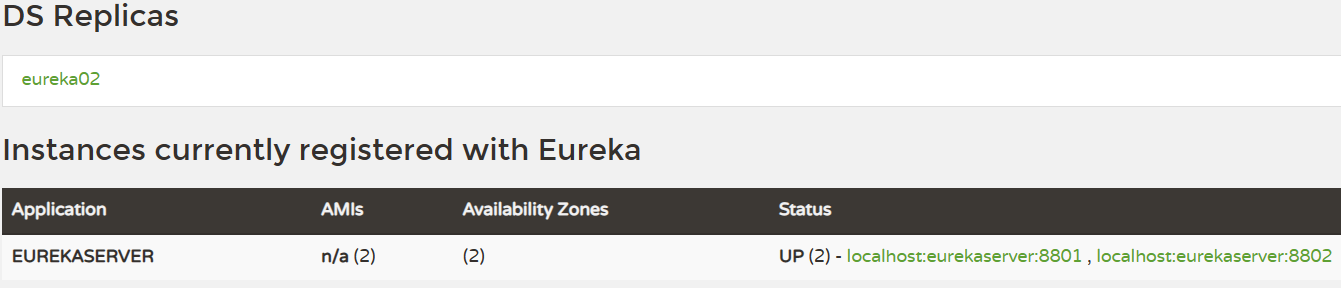
8、eureka的高可用配置(集群)
首先复制一份eureka的配置文件,并且修改两个配置文件的名字为application-01和application-02,并且修改里边的配置
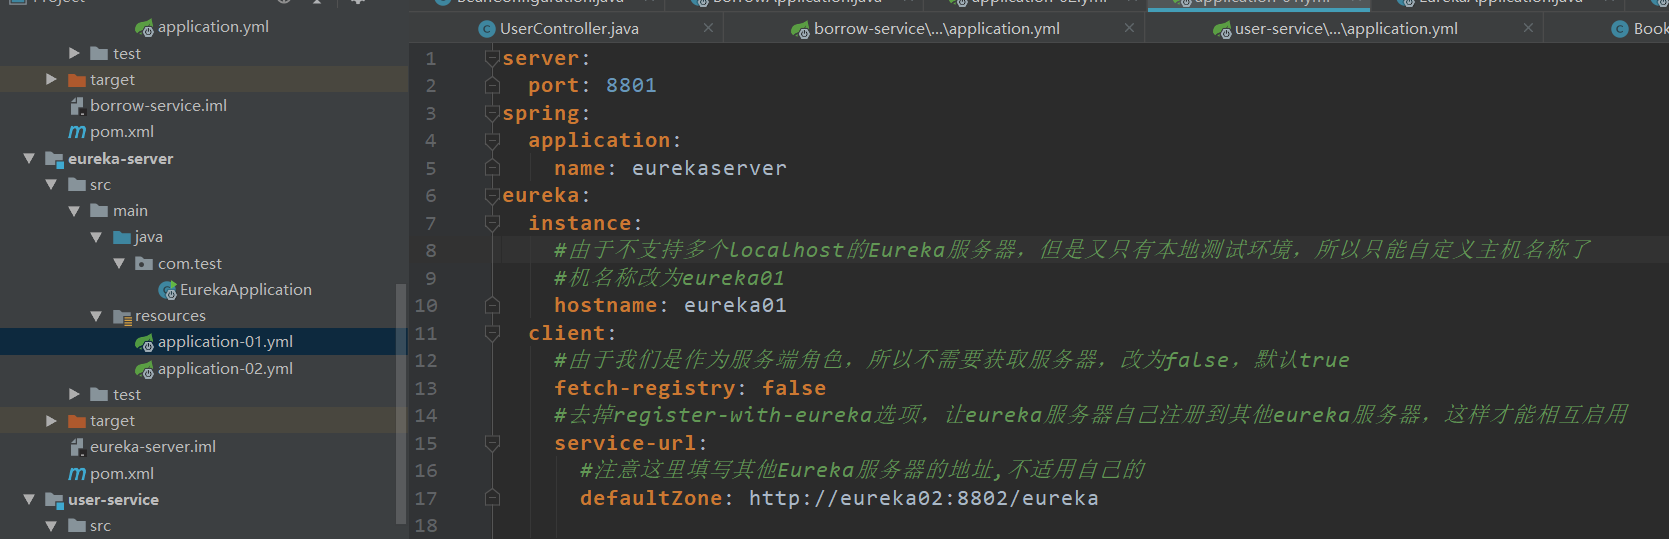
application-01.yml
server:
  port: 8801
spring:
  application:
    name: eurekaserver
eureka:
  instance:
    #由于不支持多个localhost的Eureka服务器,但是又只有本地测试环境,所以只能自定义主机名称了
    #机名称改为eureka01
    hostname: eureka01
  client:
    #由于我们是作为服务端角色,所以不需要获取服务器,改为false,默认true
    fetch-registry: false
    #去掉register-with-eureka选项,让eureka服务器自己注册到其他eureka服务器,这样才能相互启用
    service-url:
      #注意这里填写其他Eureka服务器的地址,不适用自己的
      defaultZone: http://eureka02:8802/eureka
application-02.yml
server:
  port: 8802
spring:
  application:
    name: eurekaserver
eureka:
  instance:
    #由于不支持多个localhost的Eureka服务器,但是又只有本地测试环境,所以只能自定义主机名称了
    #机名称改为eureka01
    hostname: eureka02
  client:
    #由于我们是作为服务端角色,所以不需要获取服务器,改为false,默认true
    fetch-registry: false
    #去掉register-with-eureka选项,让eureka服务器自己注册到其他eureka服务器,这样才能相互启用
    service-url:
      #注意这里填写其他Eureka服务器的地址,不适用自己的
      defaultZone: http://eureka01:8801/eureka
再C:\Windows\System32\drivers\etc\hosts下添加
127.0.0.1 eureka01
127.0.0.1 eureka02
不能修改再设置里边修改权限
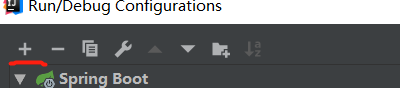
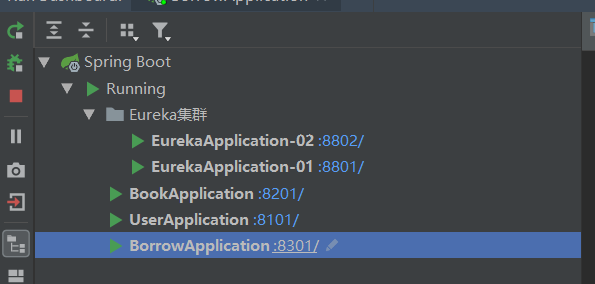
然后搭建eureka集群:
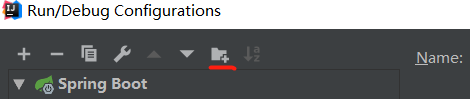
这个来分类
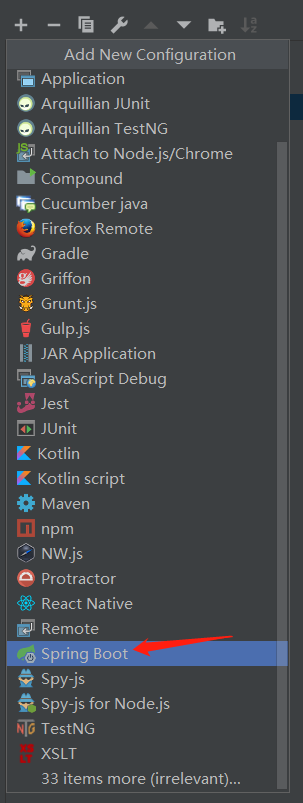
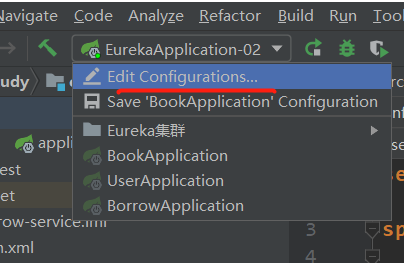
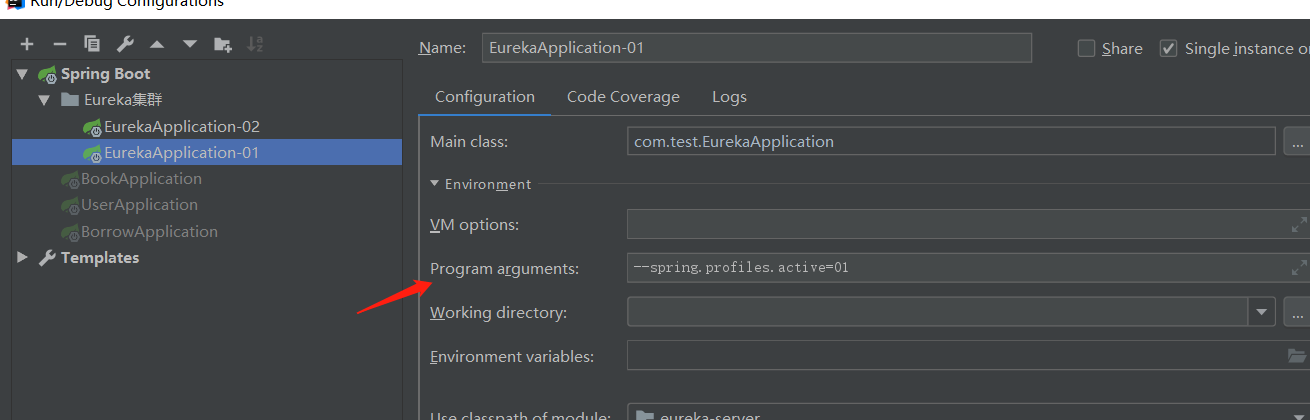
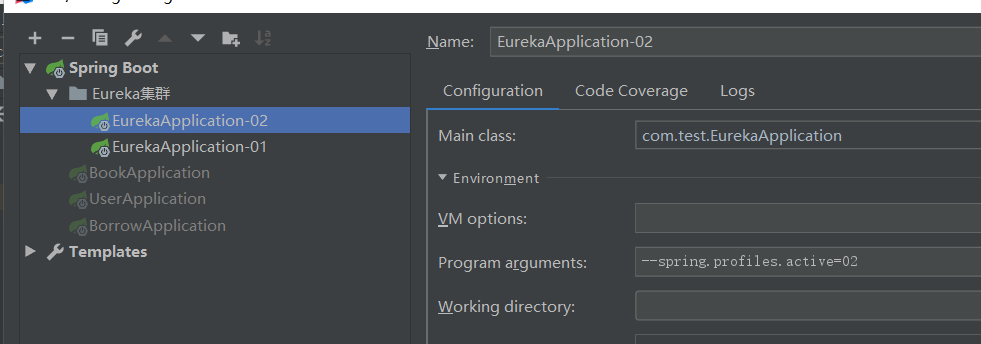
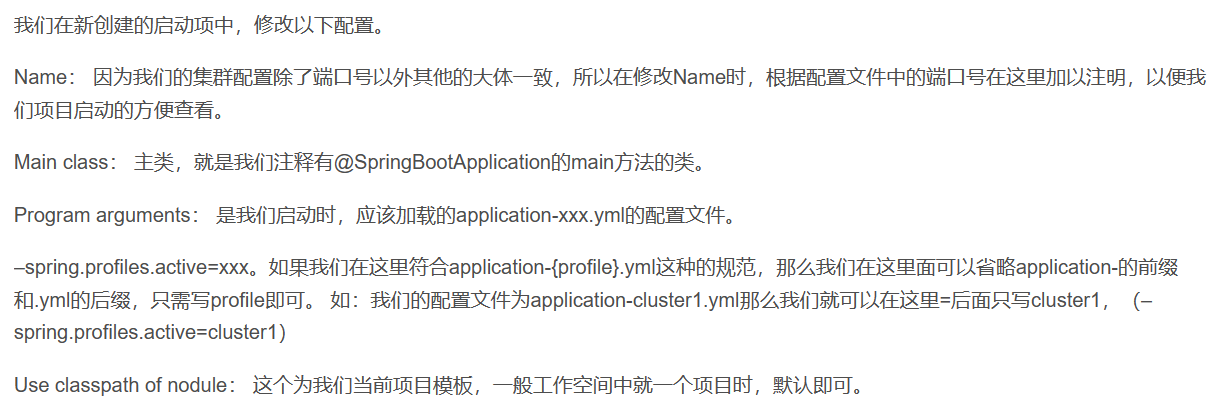
创建springboot后修改name为EurekaApplication-02,并且将EurekaApplication名字修改为EurekaApplication-01以便区分
点开这个

再Program arguments中填写--spring.profiles.active=01为指定配置文件
同样
规则:
(23条消息) Eureka集群的搭建(idea多配置文件和单配置文件)_eureka idea_起止洺的博客-CSDN博客
Apply=>OK后启动测试
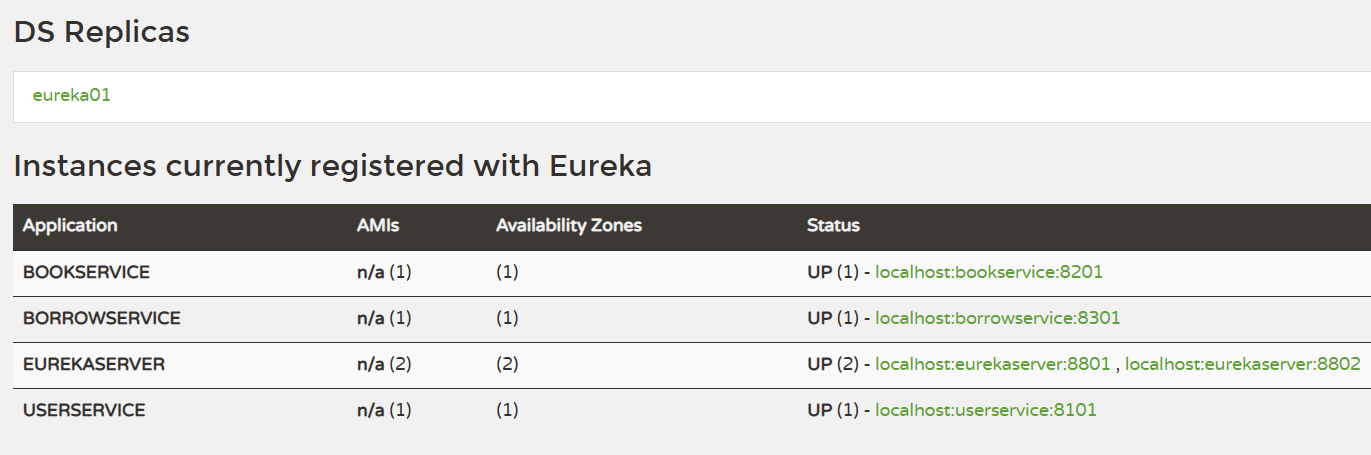
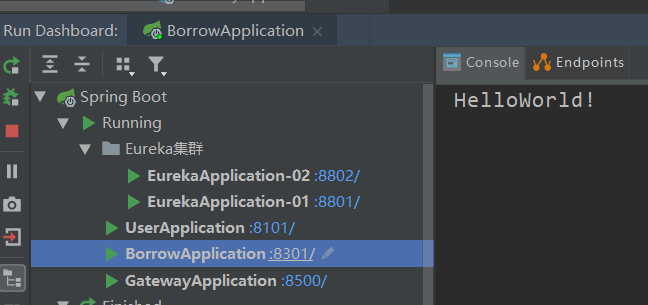
9、将三个子项目都注册到这两个eureka中
修改三个子项目的application.yml中的defaultZone
http://localhost:8801/eureka,http://localhost:8802/eureka

启动三个子项目测试
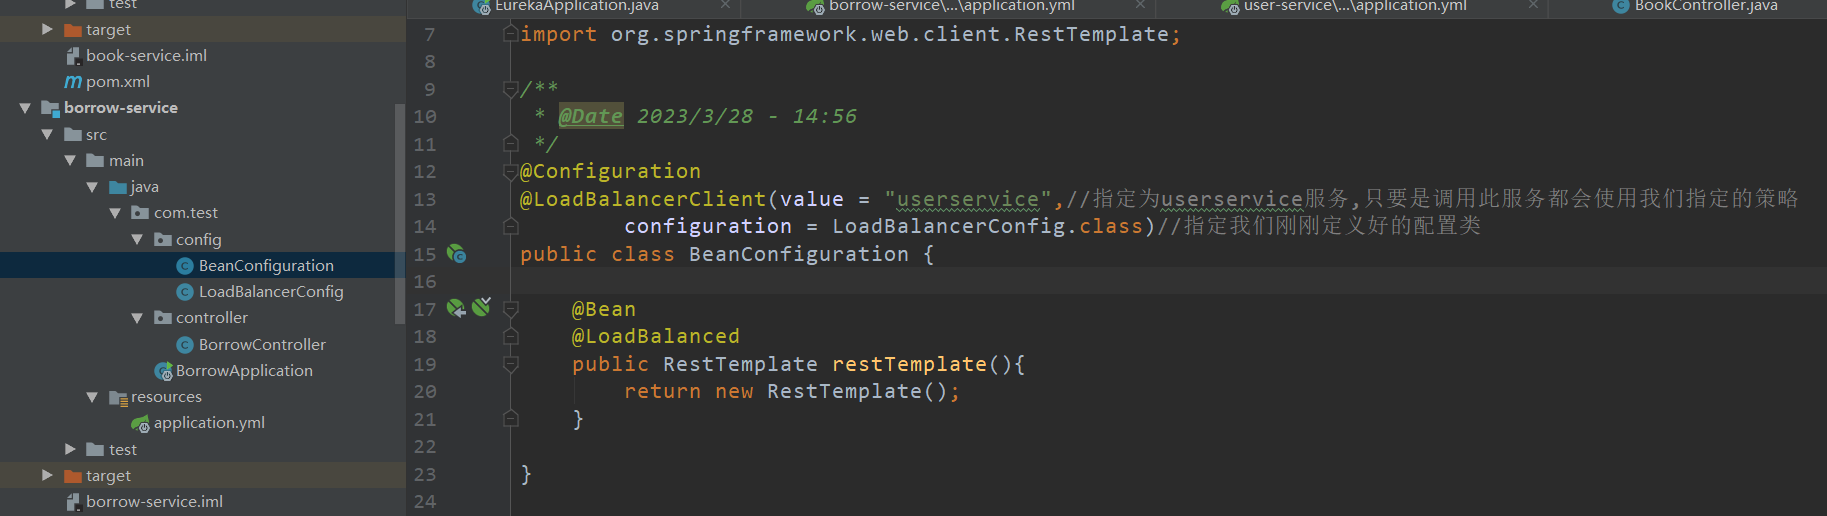
1、自定义负载均衡策略
再borrow-service子项目中的config包下创建类LoadBalancerConfig.java
LoadBalancerConfig.java
package com.test.config;

import org.springframework.cloud.client.ServiceInstance;
import org.springframework.cloud.loadbalancer.core.RandomLoadBalancer;
import org.springframework.cloud.loadbalancer.core.ReactorLoadBalancer;
import org.springframework.cloud.loadbalancer.core.ServiceInstanceListSupplier;
import org.springframework.cloud.loadbalancer.support.LoadBalancerClientFactory;
import org.springframework.context.annotation.Bean;
import org.springframework.core.env.Environment;

/**
 * @Date 2023/3/29 - 13:26
 */
public class LoadBalancerConfig {

//    将官方提供的RandomLoadBalancer注册为Bean
    @Bean
    public ReactorLoadBalancer<ServiceInstance> randomLoadBalancer(Environment environment, LoadBalancerClientFactory loadBalancerClientFactory){
        String name=environment.getProperty(LoadBalancerClientFactory.PROPERTY_NAME);
        return new RandomLoadBalancer(loadBalancerClientFactory.getLazyProvider(name, ServiceInstanceListSupplier.class),name);
    }

}
并且再BeanConfiguration.java中加入注解
@LoadBalancerClient(value = "userservice",//指定为userservice服务,只要是调用此服务都会使用我们指定的策略
        configuration = LoadBalancerConfig.class)//指定我们刚刚定义好的配置类
2、使用OpenFeign
再borrow-service子项目中添加依赖(那个服务需要就再那个服务中加依赖)
<dependency>
            <groupId>org.springframework.cloud</groupId>
            <artifactId>spring-cloud-starter-openfeign</artifactId>
        </dependency>
再启动类上加注解@EnableFeignClients
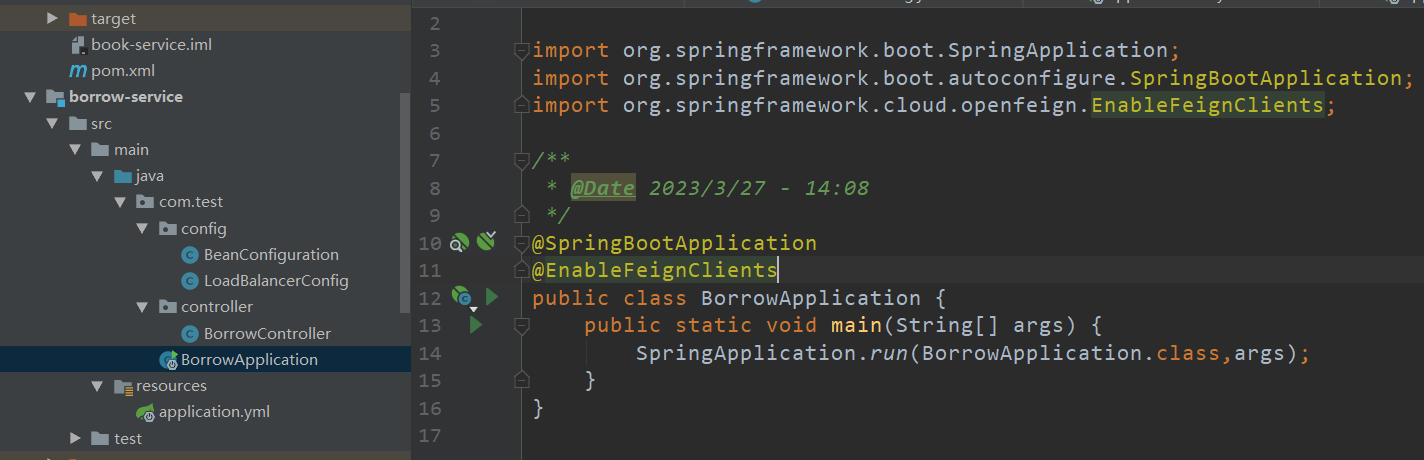
再borrow-service子项目中创建包client,里边创建接口UserClient.java
UserClient.java
package com.test.client;

import org.springframework.cloud.openfeign.FeignClient;
import org.springframework.web.bind.annotation.PathVariable;
import org.springframework.web.bind.annotation.RequestMapping;

/**
 * @Date 2023/3/29 - 13:53
 */
@FeignClient("userservice")//声明为userservice服务的HTTP请求客户端
public interface UserClient {

    @RequestMapping("/UserController/hello/{user}")
    String hello(@PathVariable("user") String user);

}
使用openfeign后就不用RestTemplate了,意思就是可以吧之前的config包删了
修改BorrowController.java为
package com.test.controller;

import com.netflix.discovery.converters.Auto;
import com.test.client.UserClient;
import org.springframework.beans.factory.annotation.Autowired;
import org.springframework.web.bind.annotation.GetMapping;
import org.springframework.web.bind.annotation.PathVariable;
import org.springframework.web.bind.annotation.RequestMapping;
import org.springframework.web.bind.annotation.RestController;
import org.springframework.web.client.RestTemplate;

import javax.annotation.Resource;

/**
 * @Date 2023/3/27 - 15:22
 */
@RestController
@RequestMapping("BorrowController")
public class BorrowController {

    @Resource
    private UserClient userClient;

    @GetMapping("/hello/{borrow}")
    public String hello(@PathVariable("borrow") String borrow){
        String user=userClient.hello(borrow);

        return borrow+user;
    }

}
启动测试

1、服务降级:
服务降级和服务熔断不一样,服务降级并不会直接返回错误,而是可以提供一个补救措施,正常响应给请求者,这样相当于服务依然可用,但是服务能力下降。
在borrow-service子项目中导入Hystrix依赖:
<dependency>
            <groupId>org.springframework.cloud</groupId>
            <artifactId>spring-cloud-starter-netflix-hystrix</artifactId>
            <version>2.2.10.RELEASE</version>
        </dependency>
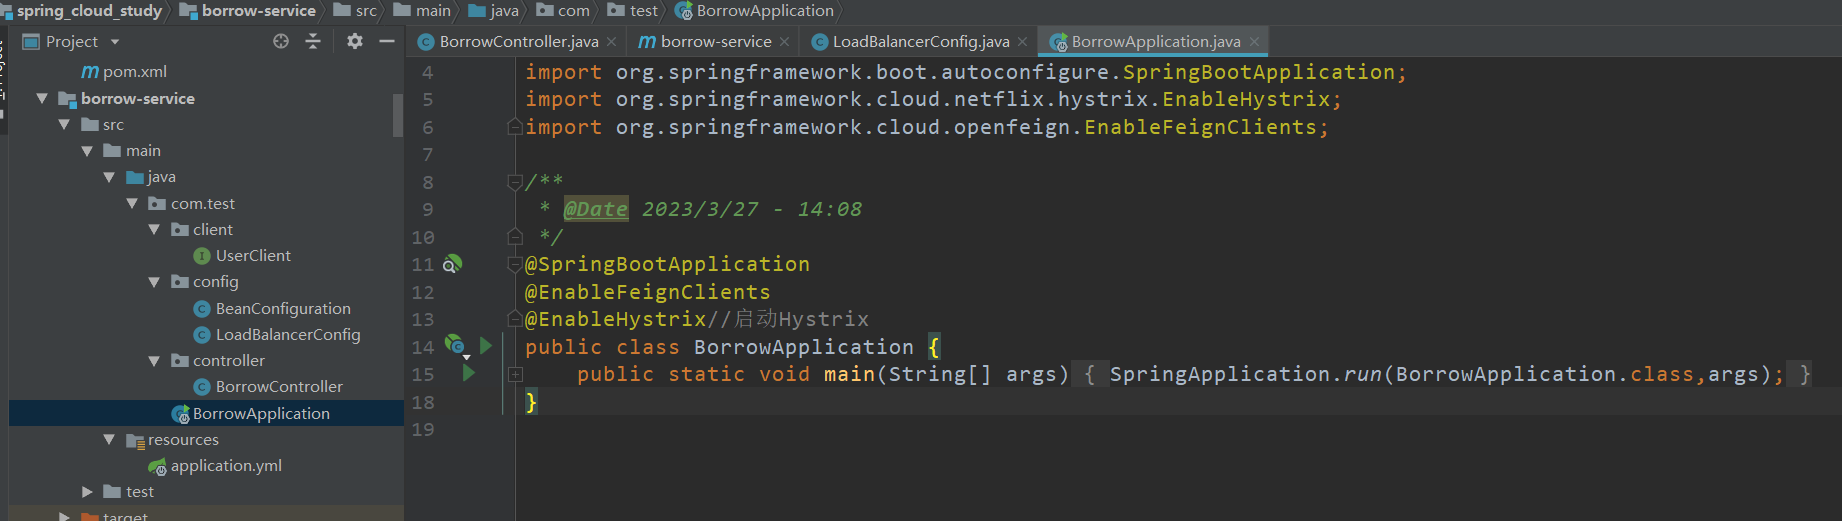
在启动类添加注解:
@EnableHystrix
提供一个备选方案,如果服务出现异常时,返回我们备选方案:
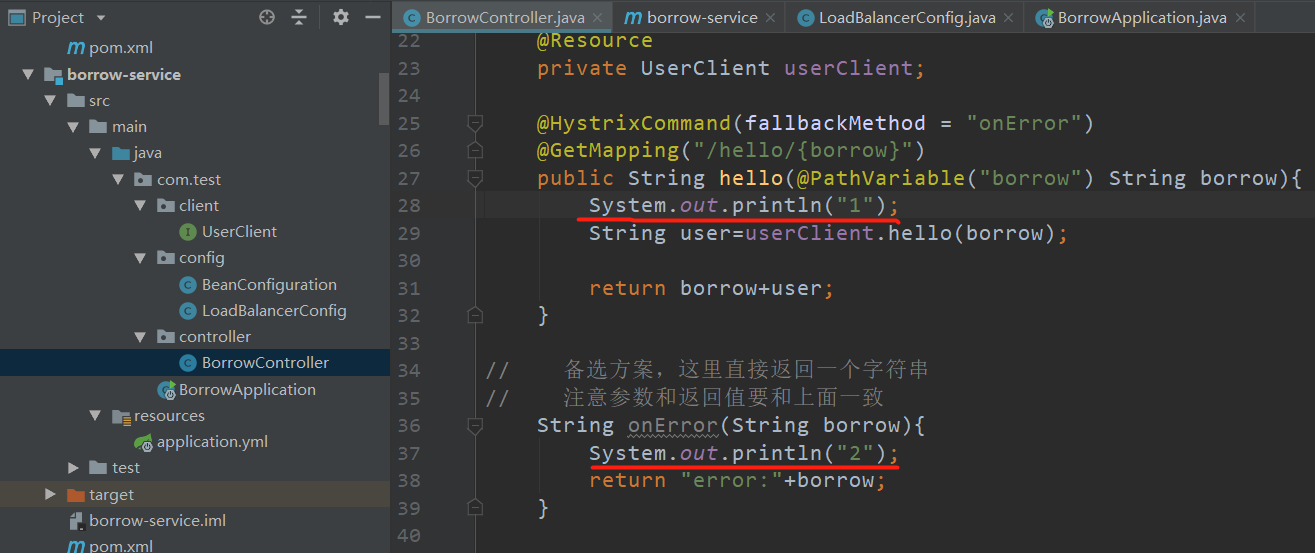
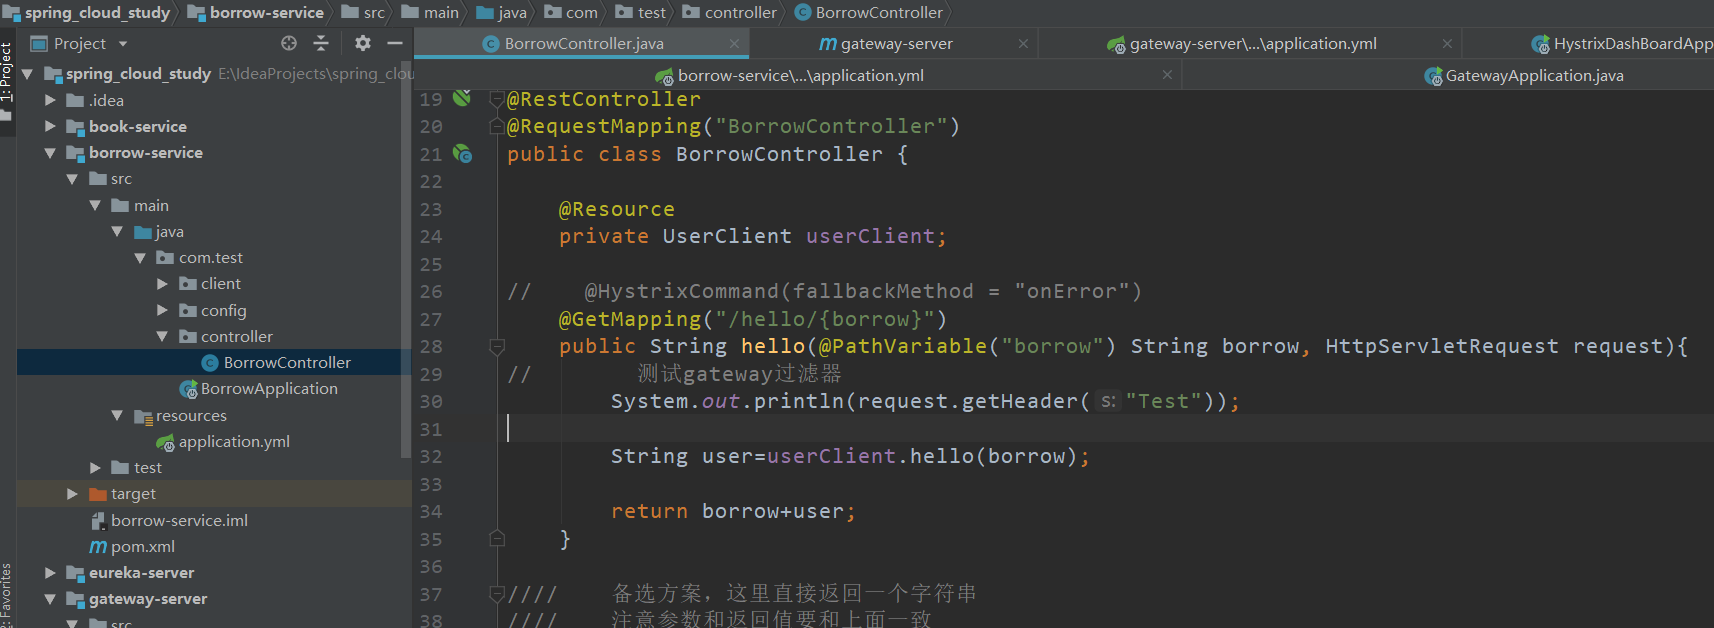
在BorrowController中写备选方案,并且在需要降级的方法上边加注解
BorrowController.java
package com.test.controller;

import com.netflix.discovery.converters.Auto;
import com.netflix.hystrix.contrib.javanica.annotation.HystrixCommand;
import com.test.client.UserClient;
import org.springframework.beans.factory.annotation.Autowired;
import org.springframework.web.bind.annotation.GetMapping;
import org.springframework.web.bind.annotation.PathVariable;
import org.springframework.web.bind.annotation.RequestMapping;
import org.springframework.web.bind.annotation.RestController;
import org.springframework.web.client.RestTemplate;

import javax.annotation.Resource;

/**
 * @Date 2023/3/27 - 15:22
 */
@RestController
@RequestMapping("BorrowController")
public class BorrowController {

    @Resource
    private UserClient userClient;

    @HystrixCommand(fallbackMethod = "onError")
    @GetMapping("/hello/{borrow}")
    public String hello(@PathVariable("borrow") String borrow){
        String user=userClient.hello(borrow);

        return borrow+user;
    }

//    备选方案,这里直接返回一个字符串
//    注意参数和返回值要和上面一致
    String onError(String borrow){
        return "error:"+borrow;
    }

}

测试:只启动borrow-service子项目,请求后因为userservice没启动异常,服务降级返回onError

2、服务熔断:
在请求多次,并且一直错误一直降级,熔断器会打开,所有请求会直接响应失败,一段时间后,只执行一定数量的请求,如果还是错误,则熔断器继续保持打开状态,否则说明服务恢复正常运行,熔断器关闭。

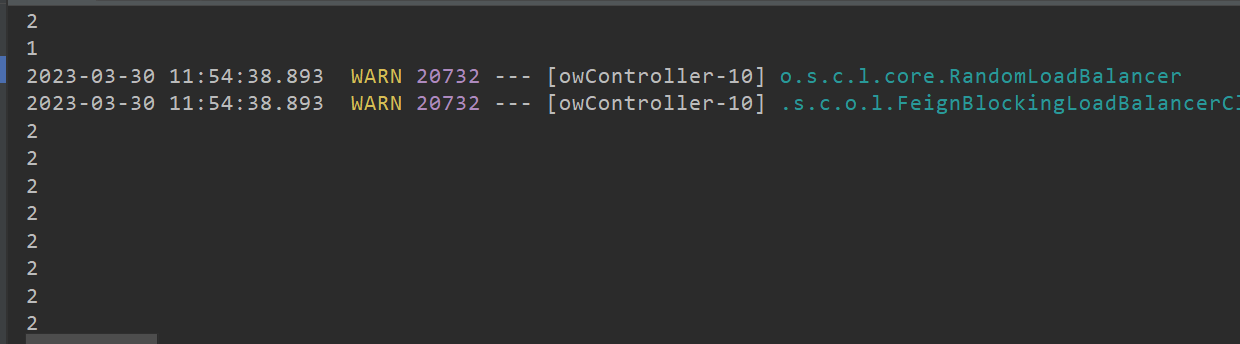
测试:在BorrowController.java中hello方法中加个打印语句,在onError中也加打印语句,重起服务后多次请求。
刚开始:
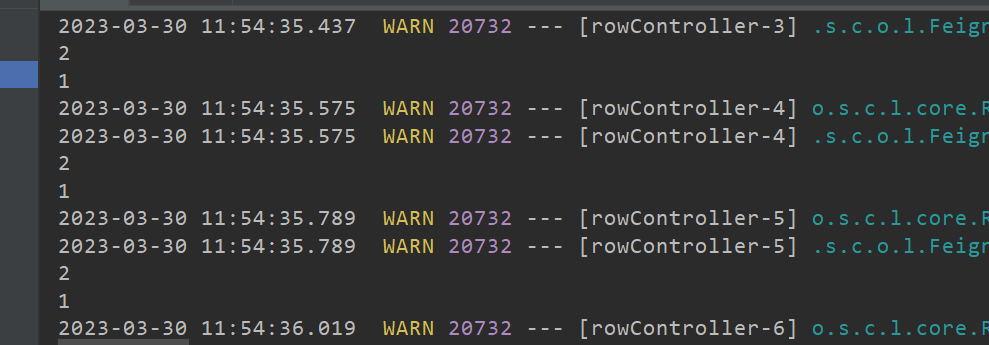
在多请求几次:熔断器启动
3、OpenFeign实现降级:
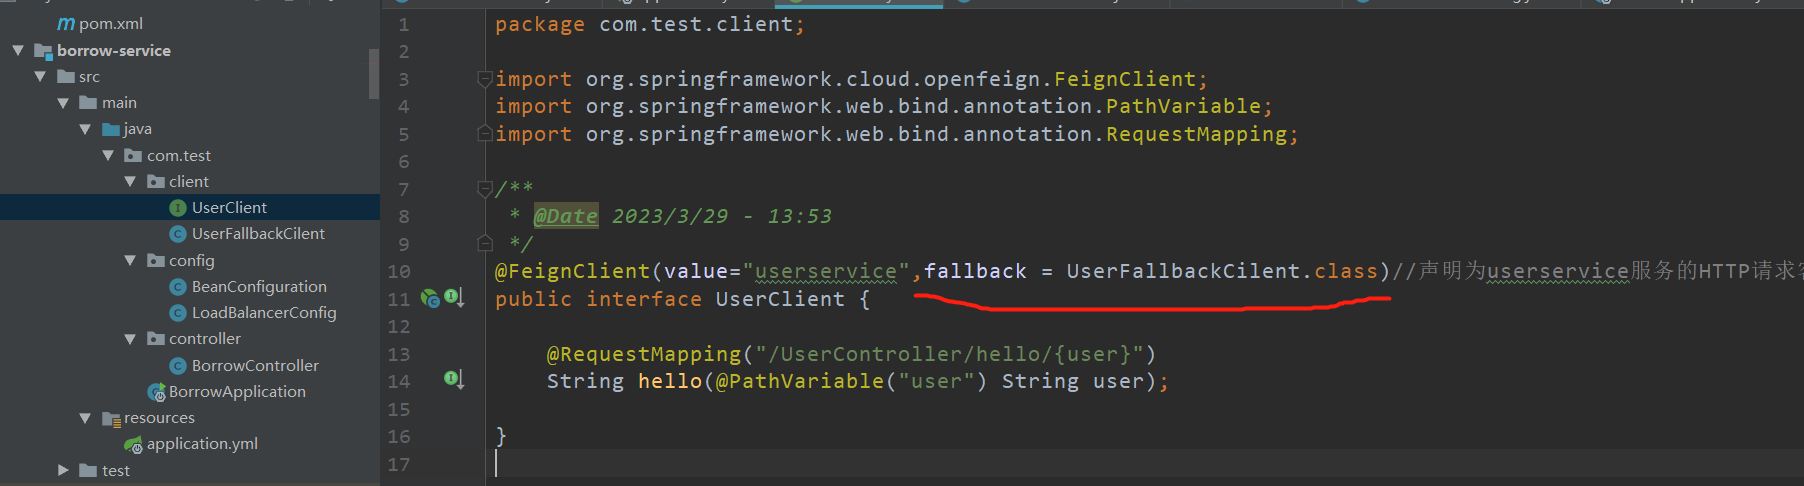
在borrow-service子项目中client包中创建实现类UserFallbackCilent.java来作为降级返回结果
UserFallbackCilent.java
package com.test.client;

import org.springframework.stereotype.Component;

/**
 * @Date 2023/3/30 - 14:22
 */
@Component
public class UserFallbackCilent implements UserClient {
    @Override
    public String hello(String user) {
        return "error:"+user;
    }
}
在UserClient.java中修改注解添加设置
package com.test.client;

import org.springframework.cloud.openfeign.FeignClient;
import org.springframework.web.bind.annotation.PathVariable;
import org.springframework.web.bind.annotation.RequestMapping;

/**
 * @Date 2023/3/29 - 13:53
 */
@FeignClient(value="userservice",fallback = UserFallbackCilent.class)//声明为userservice服务的HTTP请求客户端
public interface UserClient {

    @RequestMapping("/UserController/hello/{user}")
    String hello(@PathVariable("user") String user);

}
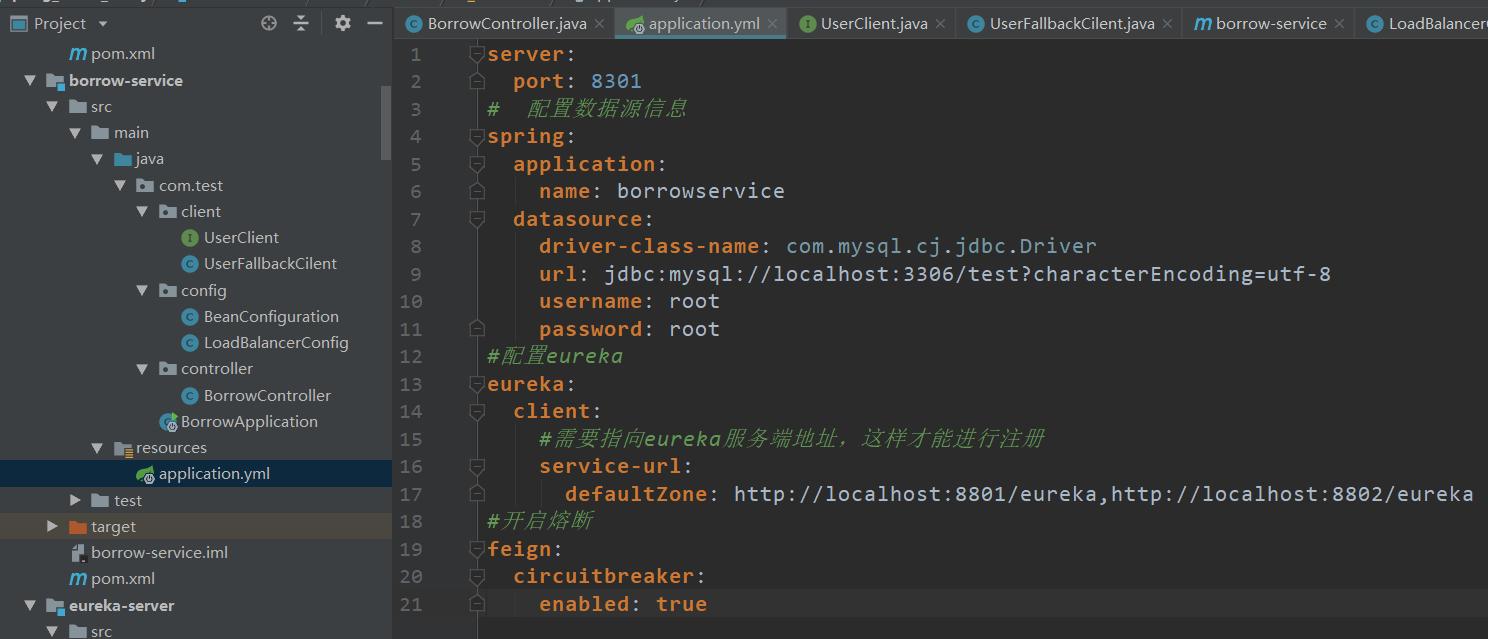
在application.yml中开启feign的熔断机制
#开启熔断
feign:
  circuitbreaker:
    enabled: true
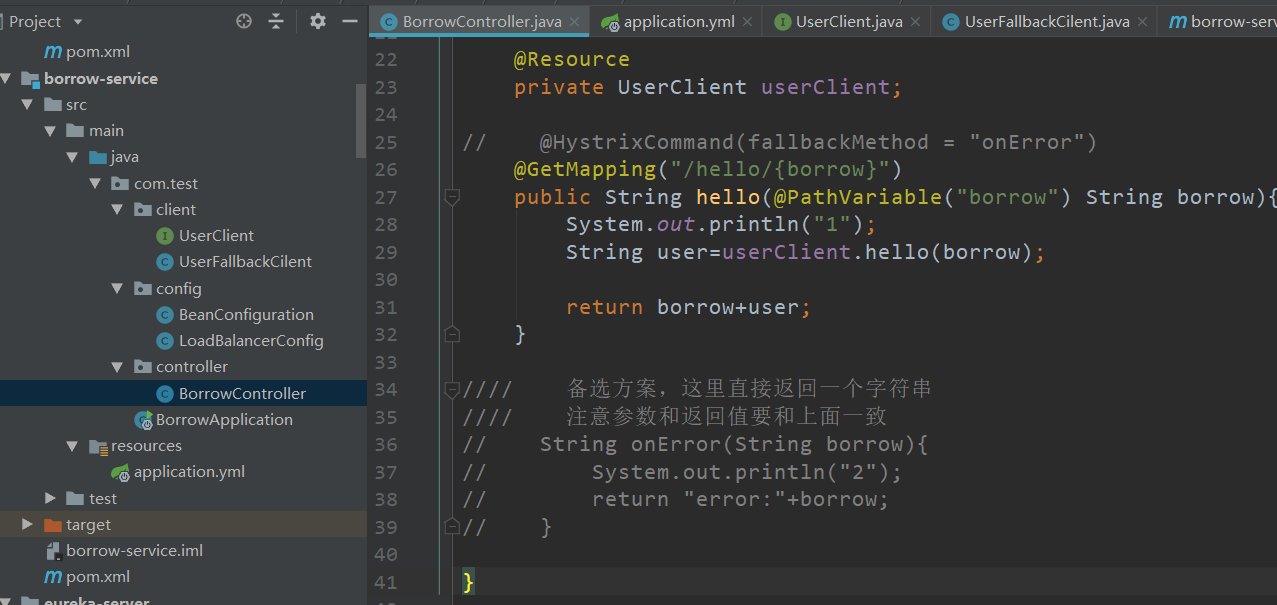
在BorrowController.java中吧之前用的Hystrix熔断机制注销重启测试
package com.test.controller;

import com.netflix.discovery.converters.Auto;
import com.netflix.hystrix.contrib.javanica.annotation.HystrixCommand;
import com.test.client.UserClient;
import org.springframework.beans.factory.annotation.Autowired;
import org.springframework.web.bind.annotation.GetMapping;
import org.springframework.web.bind.annotation.PathVariable;
import org.springframework.web.bind.annotation.RequestMapping;
import org.springframework.web.bind.annotation.RestController;
import org.springframework.web.client.RestTemplate;

import javax.annotation.Resource;

/**
 * @Date 2023/3/27 - 15:22
 */
@RestController
@RequestMapping("BorrowController")
public class BorrowController {

    @Resource
    private UserClient userClient;

//    @HystrixCommand(fallbackMethod = "onError")
    @GetMapping("/hello/{borrow}")
    public String hello(@PathVariable("borrow") String borrow){
        System.out.println("1");
        String user=userClient.hello(borrow);

        return borrow+user;
    }

////    备选方案,这里直接返回一个字符串
////    注意参数和返回值要和上面一致
//    String onError(String borrow){
//        System.out.println("2");
//        return "error:"+borrow;
//    }

}
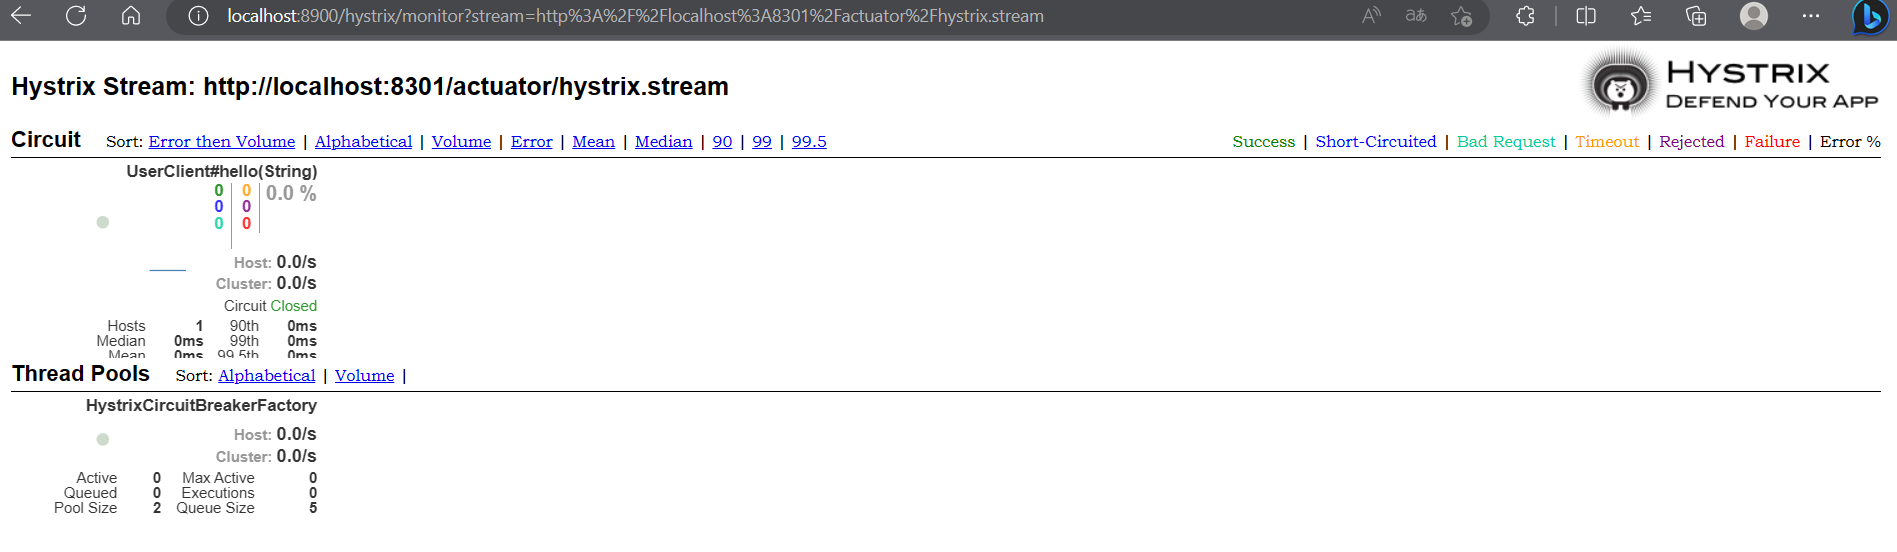
4、监控页面部署
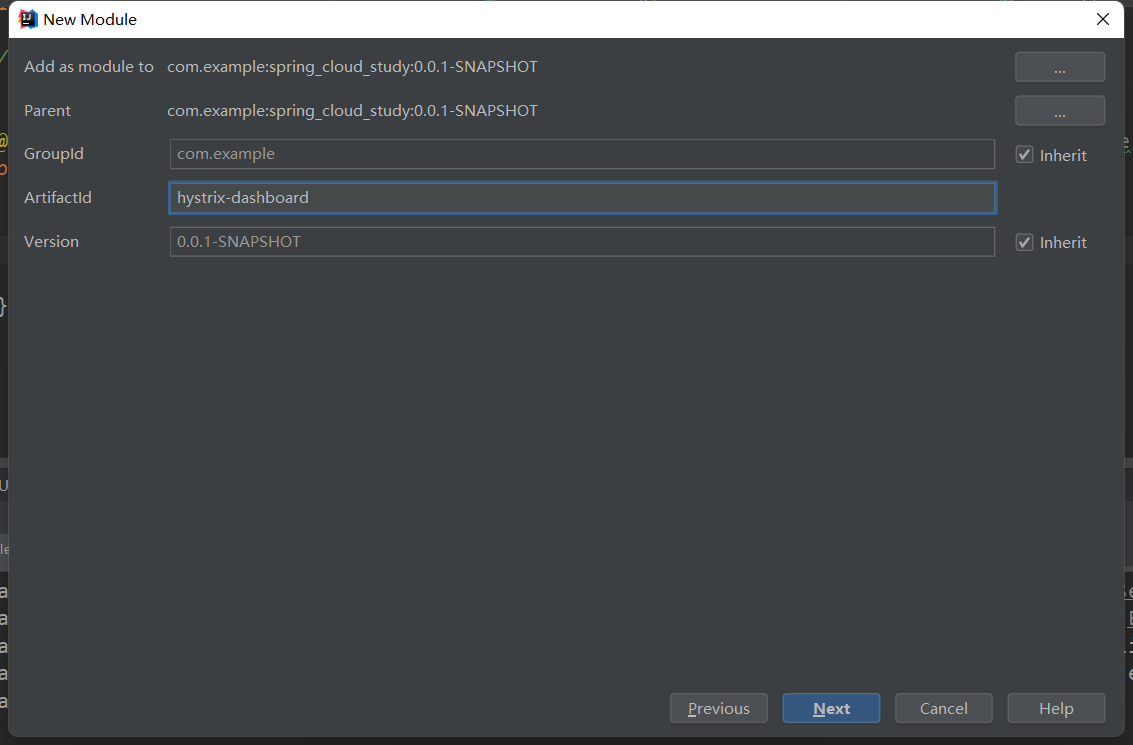
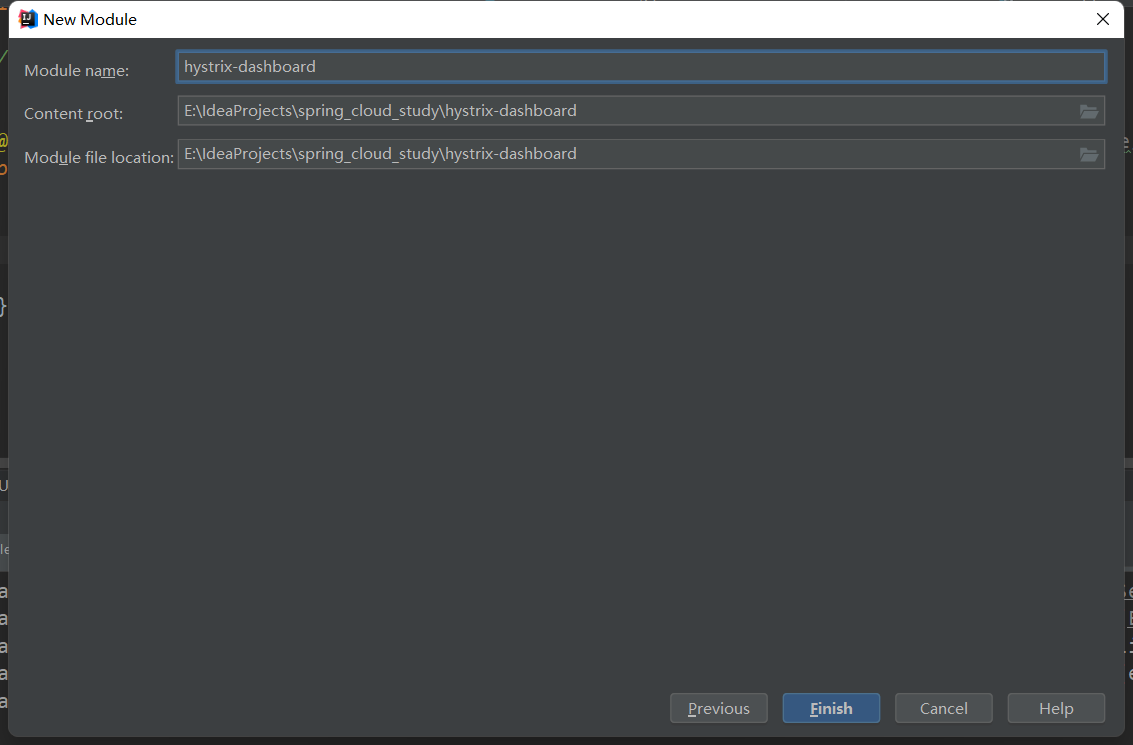
新建模块

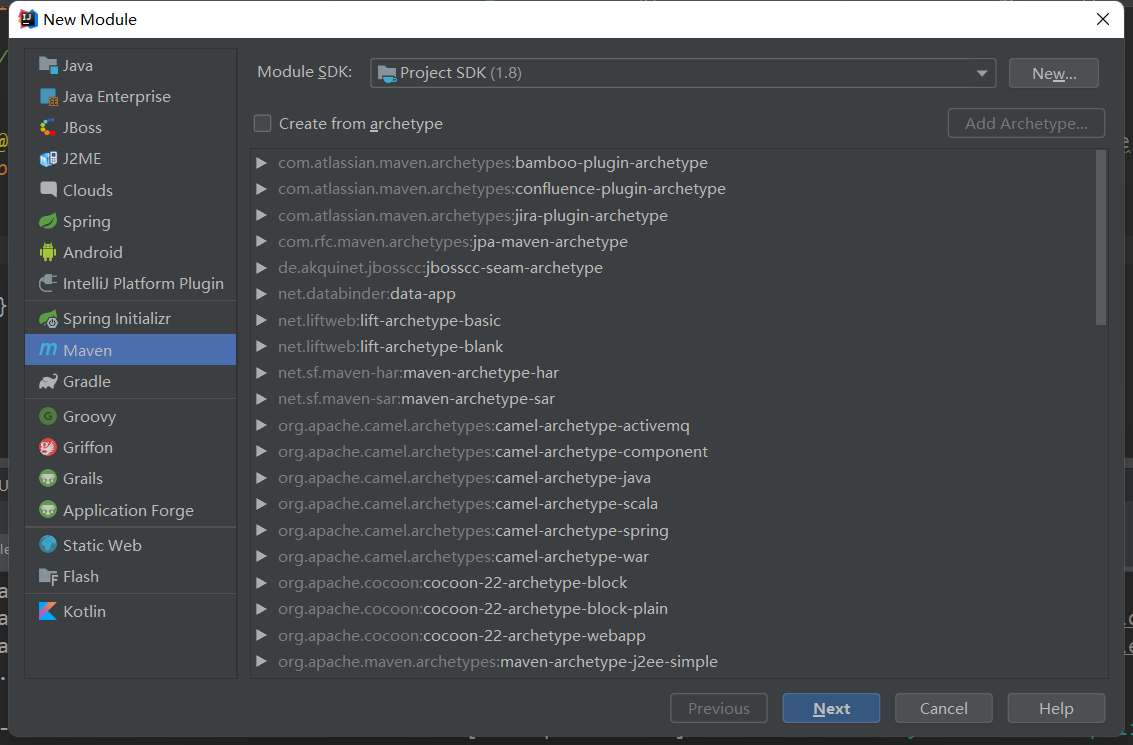
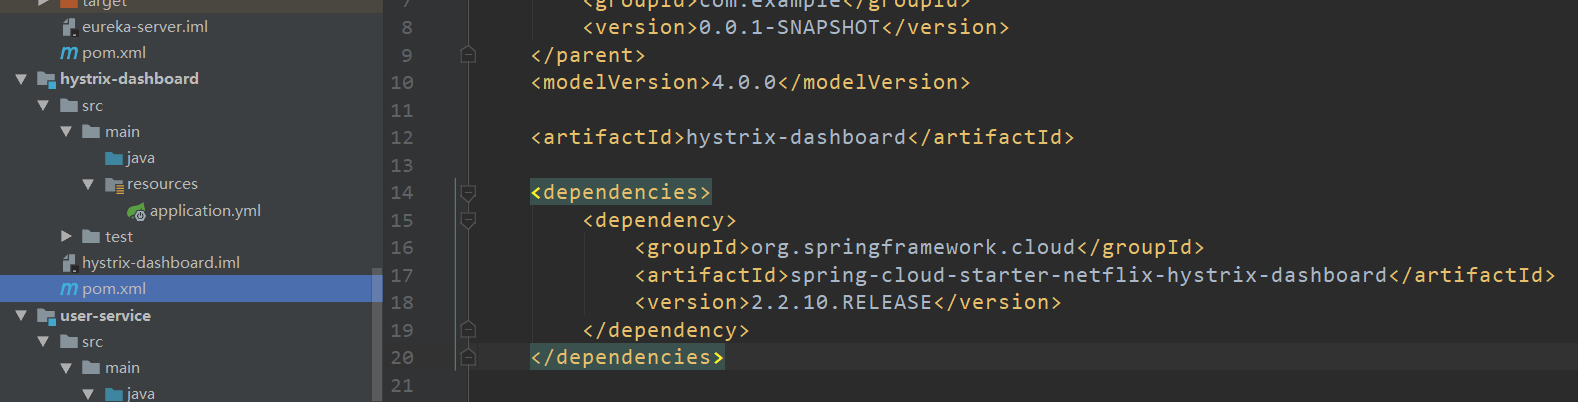
在hystrix-dashboard子项目下添加依赖
<dependency>
            <groupId>org.springframework.cloud</groupId>
            <artifactId>spring-cloud-starter-netflix-hystrix-dashboard</artifactId>
            <version>2.2.10.RELEASE</version>
        </dependency>
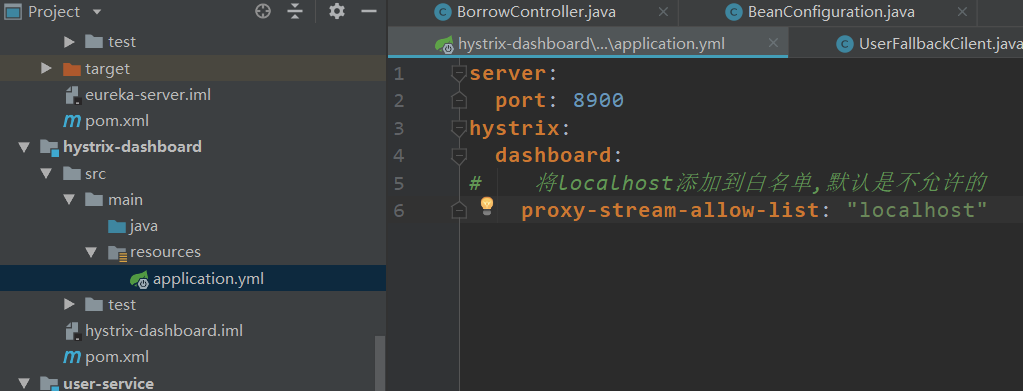
创建application.yml并且添加配置
server:
  port: 8900
hystrix:
  dashboard:
#    将localhost添加到白名单,默认是不允许的
    proxy-stream-allow-list: "localhost"
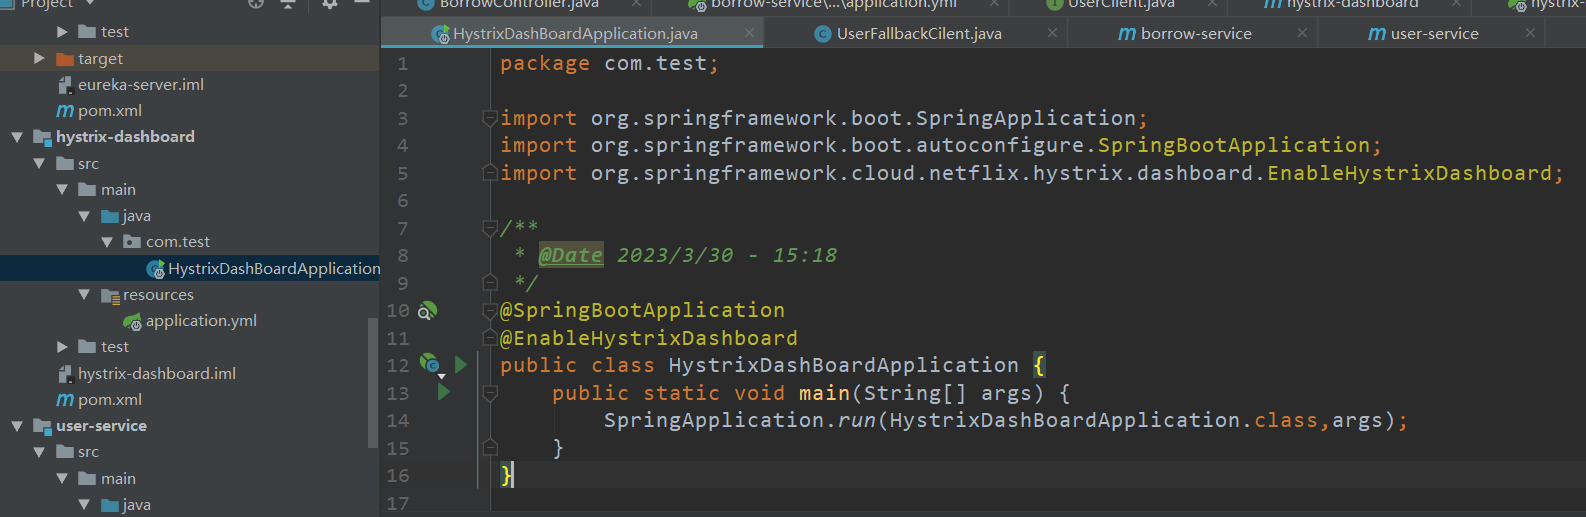
创建启动类HystrixDashBoardApplication.java
package com.test;

import org.springframework.boot.SpringApplication;
import org.springframework.boot.autoconfigure.SpringBootApplication;
import org.springframework.cloud.netflix.hystrix.dashboard.EnableHystrixDashboard;

/**
 * @Date 2023/3/30 - 15:18
 */
@SpringBootApplication
@EnableHystrixDashboard
public class HystrixDashBoardApplication {
    public static void main(String[] args) {
        SpringApplication.run(HystrixDashBoardApplication.class,args);
    }
}
启动Hystrix管理页面服务,然后需要在要进行监控的服务中添加Actuator依赖:
在borrow-service添加依赖
<dependency>
            <groupId>org.springframework.boot</groupId>
            <artifactId>spring-boot-starter-actuator</artifactId>
        </dependency>
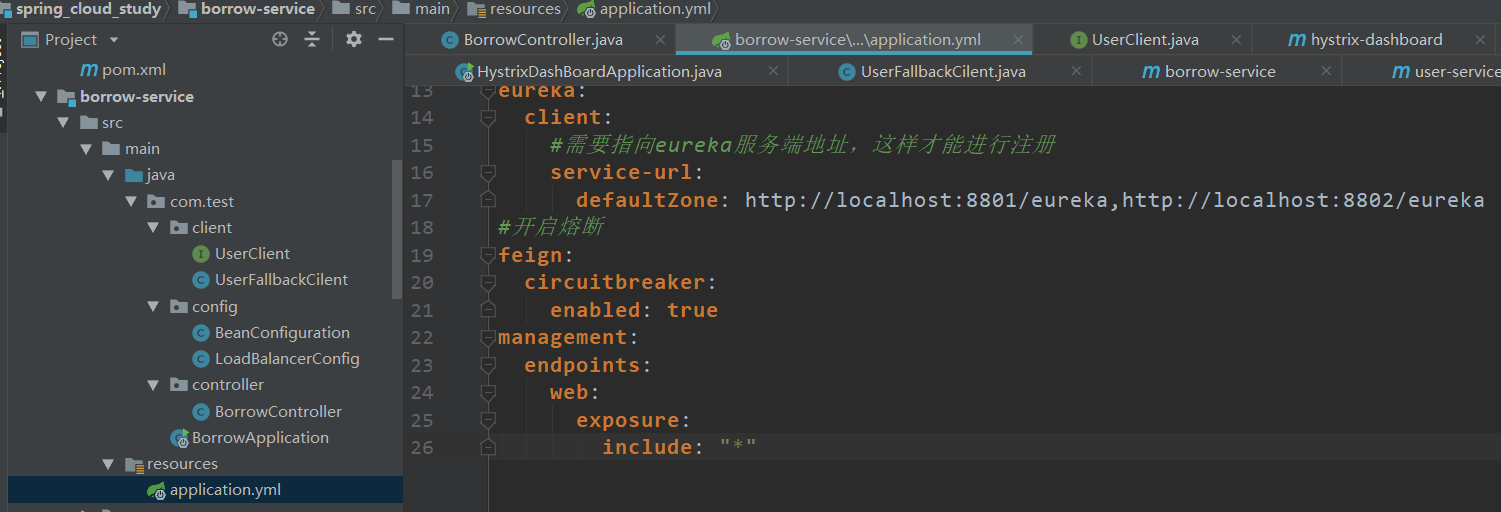
在borrow-service添加配置
application.yml
server:
  port: 8301
#  配置数据源信息
spring:
  application:
    name: borrowservice
  datasource:
    driver-class-name: com.mysql.cj.jdbc.Driver
    url: jdbc:mysql://localhost:3306/test?characterEncoding=utf-8
    username: root
    password: root
#配置eureka
eureka:
  client:
    #需要指向eureka服务端地址,这样才能进行注册
    service-url:
      defaultZone: http://localhost:8801/eureka,http://localhost:8802/eureka
#开启熔断
feign:
  circuitbreaker:
    enabled: true
management:
  endpoints:
    web:
      exposure:
        include: "*"
浏览器访问http://localhost:8900/hystrix/
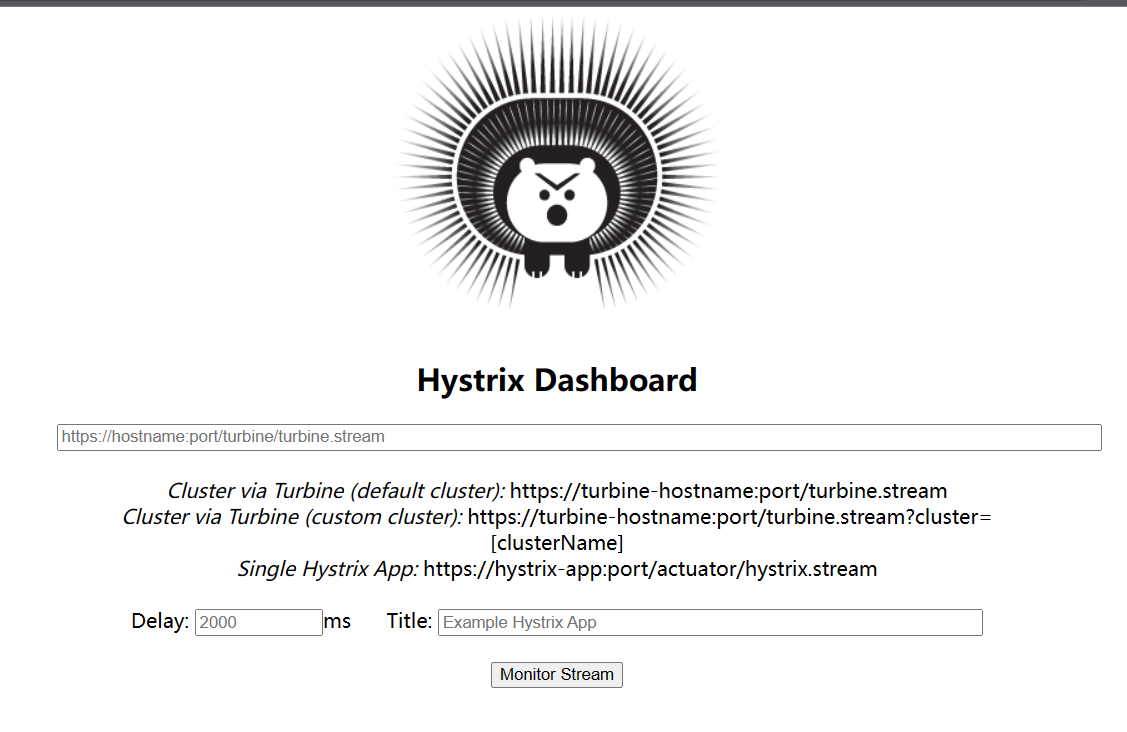
在中间填写要监控的服务,比如http://localhost:8301/actuator/hystrix.stream,意思就是要监控的端口+actuator/hystrix.stream,然后Monitor Stream进入监控页面。
1、创建网关module

向gateway-server子项目中导入依赖
<dependency>
            <groupId>org.springframework.cloud</groupId>
            <artifactId>spring-cloud-starter-gateway</artifactId>
        </dependency>
        <!--eureka客户端依赖-->
        <dependency>
            <groupId>org.springframework.cloud</groupId>
            <artifactId>spring-cloud-starter-netflix-eureka-client</artifactId>
        </dependency>
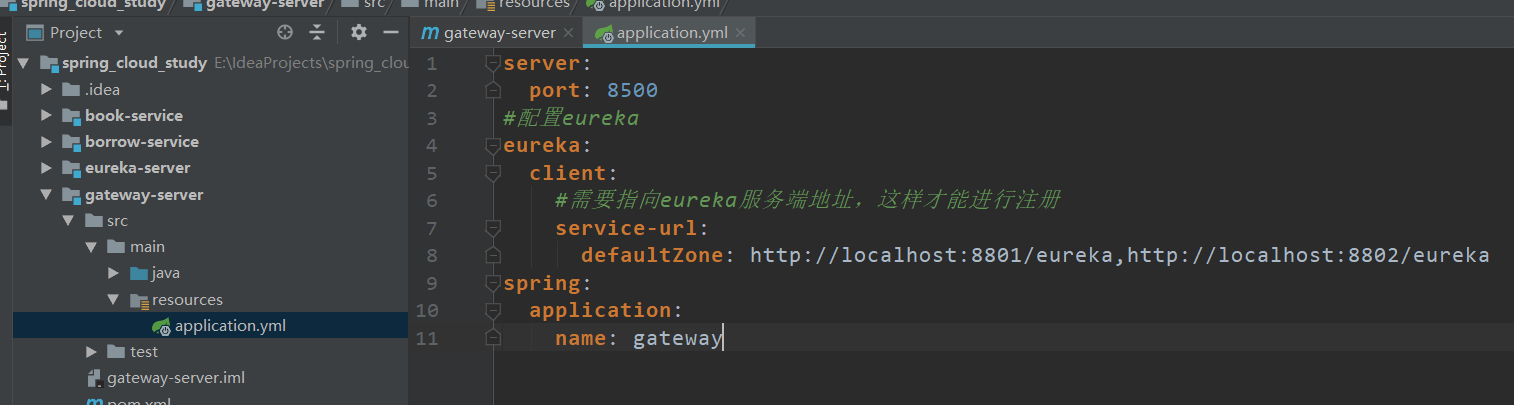
创建application.yml配置文件并且写入配置信息
application.yml
server:
  port: 8500
#配置eureka
eureka:
  client:
    #需要指向eureka服务端地址,这样才能进行注册
    service-url:
      defaultZone: http://localhost:8801/eureka,http://localhost:8802/eureka
spring:
  application:
    name: gateway
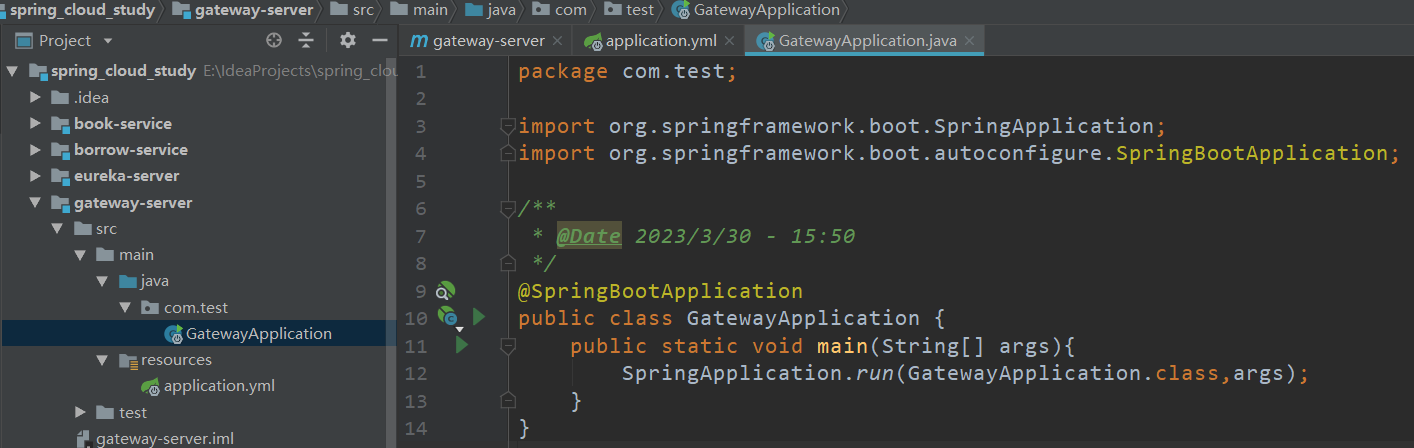
创建启动类GatewayApplication.java
GatewayApplication.java
package com.test;

import org.springframework.boot.SpringApplication;
import org.springframework.boot.autoconfigure.SpringBootApplication;

/**
 * @Date 2023/3/30 - 15:50
 */
@SpringBootApplication
public class GatewayApplication {
    public static void main(String[] args){
        SpringApplication.run(GatewayApplication.class,args);
    }
}
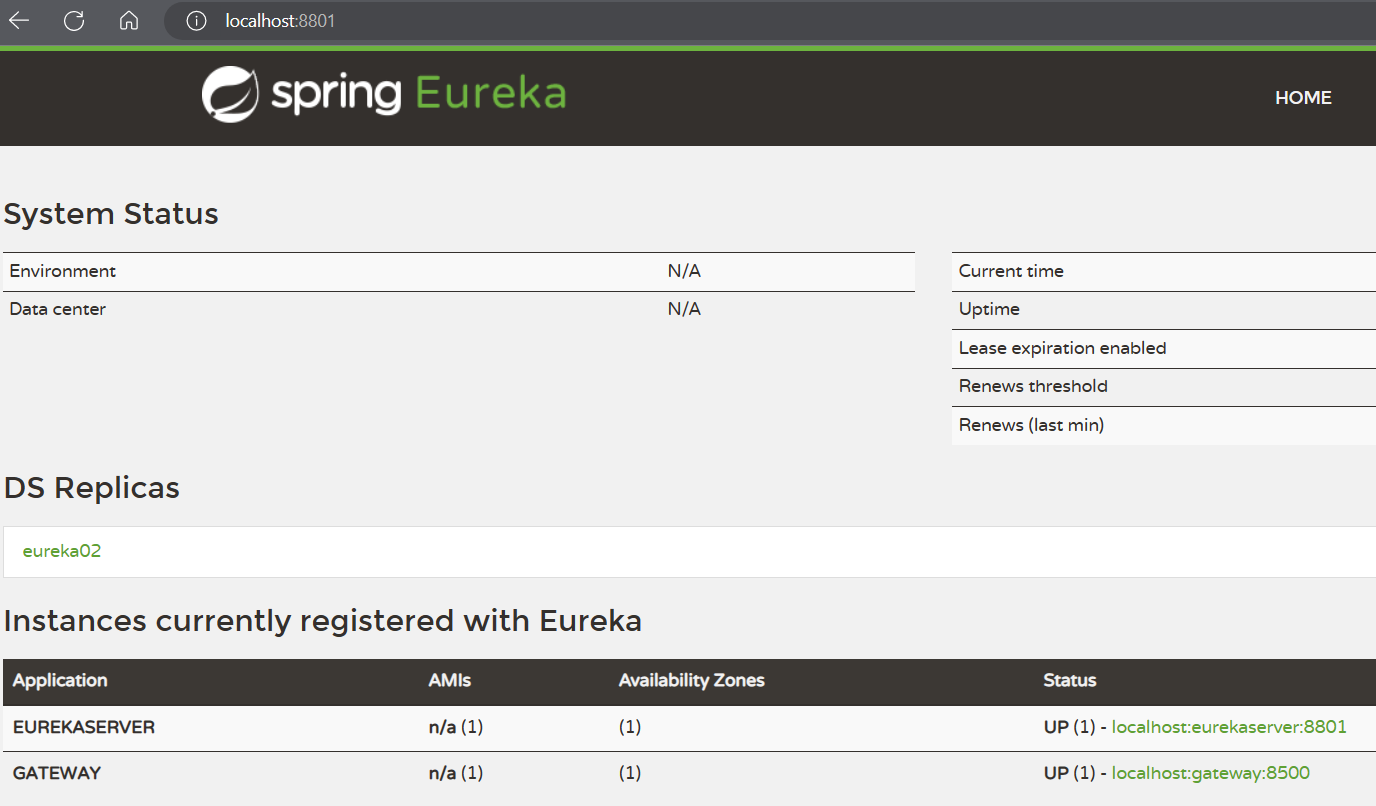
启动测试看注册到eureka中没
2、给gateway-server子项目添加配置
application.yml
server:
  port: 8500
#配置eureka
eureka:
  client:
    #需要指向eureka服务端地址,这样才能进行注册
    service-url:
      defaultZone: http://localhost:8801/eureka,http://localhost:8802/eureka
spring:
  application:
    name: gateway
  cloud:
    gateway:
      #配置路由,注意这里是个列表,每一项都包含了很多信息
      routes:
      - id: borrow-service  #路由名称
        uri: lb://borrowservice #路由的地址,lb表示使用负载均衡到微服务,也可以使用http正常转发
        predicates: #路由规则,断言什么请求会被路由
        - Path=/BorrowController/hello/** #只要是访问的这个路径,一律都被路由到上面指定的服务

https://docs.spring.io/spring-cloud-gateway/docs/current/reference/html/#gateway-request-predicates-factories
启动测试
3、 路由过滤器
给gateway-server子项目添加配置
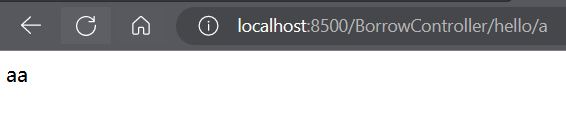
server:
  port: 8500
#配置eureka
eureka:
  client:
    #需要指向eureka服务端地址,这样才能进行注册
    service-url:
      defaultZone: http://localhost:8801/eureka,http://localhost:8802/eureka
spring:
  application:
    name: gateway
  cloud:
    gateway:
      #配置路由,注意这里是个列表,每一项都包含了很多信息
      routes:
      - id: borrow-service  #路由名称
        uri: lb://borrowservice #路由的地址,lb表示使用负载均衡到微服务,也可以使用http正常转发
        predicates: #路由规则,断言什么请求会被路由
        - Path=/BorrowController/hello/** #只要是访问的这个路径,一律都被路由到上面指定的服务
        filters: #添加过滤器
        - AddRequestHeader=Test, HelloWorld!
        #AddRequestHeader 就是添加请求头信息,给请求头添加一个Test,值为HelloWorld!,其他工厂查阅官网
在borrow-service子项目中的控制器中加打印获取请求头的信息
package com.test.controller;

import com.netflix.discovery.converters.Auto;
import com.netflix.hystrix.contrib.javanica.annotation.HystrixCommand;
import com.test.client.UserClient;
import org.springframework.beans.factory.annotation.Autowired;
import org.springframework.web.bind.annotation.GetMapping;
import org.springframework.web.bind.annotation.PathVariable;
import org.springframework.web.bind.annotation.RequestMapping;
import org.springframework.web.bind.annotation.RestController;
import org.springframework.web.client.RestTemplate;

import javax.annotation.Resource;
import javax.servlet.http.HttpServletRequest;

/**
 * @Date 2023/3/27 - 15:22
 */
@RestController
@RequestMapping("BorrowController")
public class BorrowController {

    @Resource
    private UserClient userClient;

//    @HystrixCommand(fallbackMethod = "onError")
    @GetMapping("/hello/{borrow}")
    public String hello(@PathVariable("borrow") String borrow, HttpServletRequest request){
//        测试gateway过滤器
        System.out.println(request.getHeader("Test"));

        String user=userClient.hello(borrow);

        return borrow+user;
    }

////    备选方案,这里直接返回一个字符串
////    注意参数和返回值要和上面一致
//    String onError(String borrow){
//        System.out.println("2");
//        return "error:"+borrow;
//    }

}
测试:

4、全局过滤器
在gateway-server子项目中添加filter包,并在里边创建TestFilter.java来作为过滤器
TestFilter.java
package com.test.filter;

import org.springframework.cloud.gateway.filter.GatewayFilterChain;
import org.springframework.cloud.gateway.filter.GlobalFilter;
import org.springframework.http.server.reactive.ServerHttpRequest;
import org.springframework.stereotype.Component;
import org.springframework.web.server.ServerWebExchange;
import reactor.core.publisher.Mono;

import java.util.List;

/**
 * @Date 2023/3/30 - 17:45
 */
//比如我们要实现拦截没有携带指定请求参数的请求:
@Component //需要注册为Bean
public class TestFilter implements GlobalFilter {
    @Override
    public Mono<Void> filter(ServerWebExchange exchange, GatewayFilterChain chain) { //只需要实现此方法
//        先获得ServerHttpRequest对象,注意不是HttpServletRequest
        ServerHttpRequest request = exchange.getRequest();
//        打印以下所有的请求参数
        System.out.println(request.getQueryParams());
//        判断是否包含test参数,且参数值为1
        List<String> value = request.getQueryParams().get("test");
        if (value != null && value.contains("1")) {
//            将ServerWebExchange向过滤链的下一级传递(跟JavaWeb中介绍的过滤器其实是差不多的)
            return chain.filter(exchange);
        } else {
//            直接在这里不再向下传递,然后返回响应
            return exchange.getResponse().setComplete();
        }

    }
}
重启gateway-server子项目并且测试
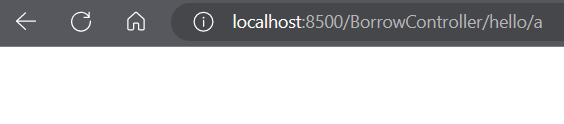
在没有携带请求参数时不会响应应有的值
在携带请求参数test=1时响应正常

控制台打印

5、过滤器可以存在多个,所以我们可以手动指定过滤器之间的顺序
在TestFilter.java在实现Ordered接口并且实现getOrder方法
package com.test.filter;

import org.springframework.cloud.gateway.filter.GatewayFilterChain;
import org.springframework.cloud.gateway.filter.GlobalFilter;
import org.springframework.core.Ordered;
import org.springframework.core.annotation.Order;
import org.springframework.http.server.reactive.ServerHttpRequest;
import org.springframework.stereotype.Component;
import org.springframework.web.server.ServerWebExchange;
import reactor.core.publisher.Mono;

import java.util.List;

/**
 * @Date 2023/3/30 - 17:45
 */
//比如我们要实现拦截没有携带指定请求参数的请求:
@Component //需要注册为Bean
public class TestFilter implements GlobalFilter, Ordered {
    @Override
    public Mono<Void> filter(ServerWebExchange exchange, GatewayFilterChain chain) { //只需要实现此方法
//        先获得ServerHttpRequest对象,注意不是HttpServletRequest
        ServerHttpRequest request = exchange.getRequest();
//        打印以下所有的请求参数
        System.out.println(request.getQueryParams());
//        判断是否包含test参数,且参数值为1
        List<String> value = request.getQueryParams().get("test");
        if (value != null && value.contains("1")) {
//            将ServerWebExchange向过滤链的下一级传递(跟JavaWeb中介绍的过滤器其实是差不多的)
            return chain.filter(exchange);
        } else {
//            直接在这里不再向下传递,然后返回响应
            return exchange.getResponse().setComplete();
        }

    }

    @Override
    public int getOrder() {
        return 0;
    }
}
Order的值越小优先级越高,并且无论是在配置文件中编写的单个路由过滤器还是全局路由过滤器,都会受到Order值影响,(单个路由的过滤器Order值按从上往下的顺序从1开始递增),最终是按照Order值决定那个过滤器优先执行,当Order值一样时,全局路由过滤器执行优于单独的路由过滤器执行。
eclipse微服务续,Hystrix+Gateway+Config配置管理中心+Bus动态刷新配置 - Lwmm - 博客园 (cnblogs.com)
1、创建新模块config-server

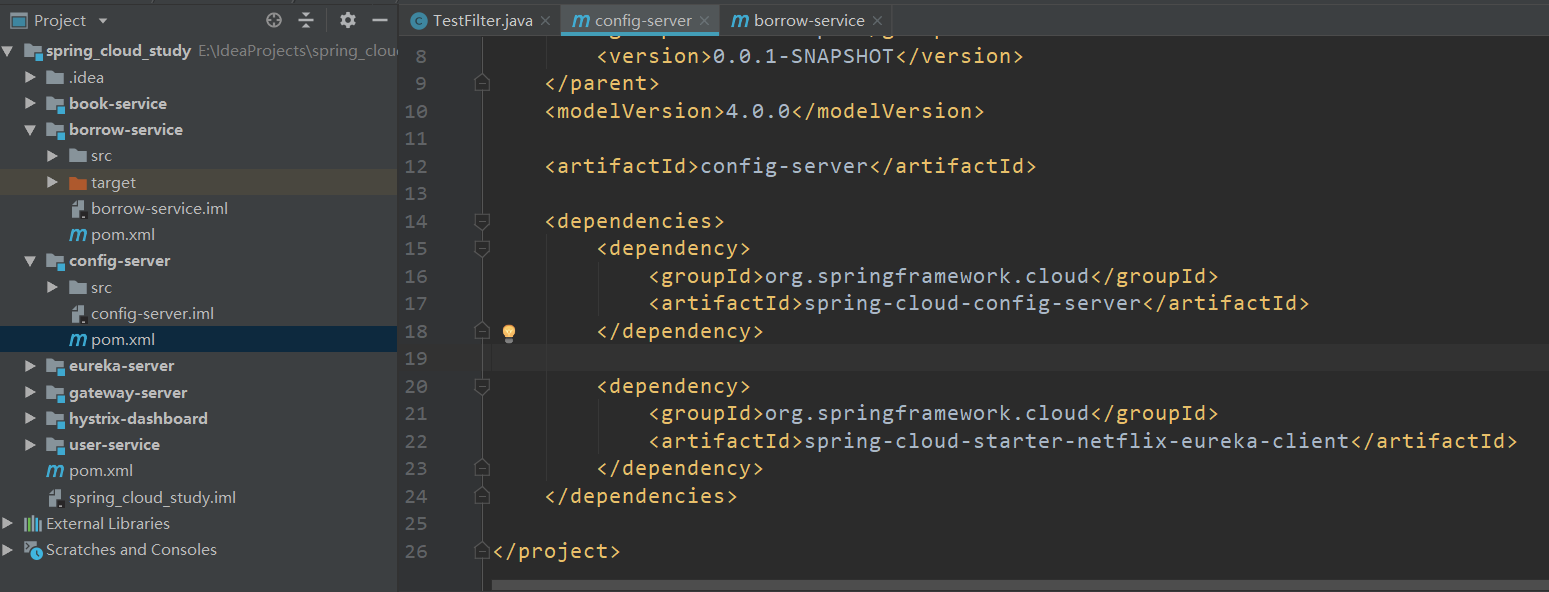
2、导入依赖到config-server
<dependency>
            <groupId>org.springframework.cloud</groupId>
            <artifactId>spring-cloud-config-server</artifactId>
        </dependency>

        <dependency>
            <groupId>org.springframework.cloud</groupId>
            <artifactId>spring-cloud-starter-netflix-eureka-client</artifactId>
        </dependency>
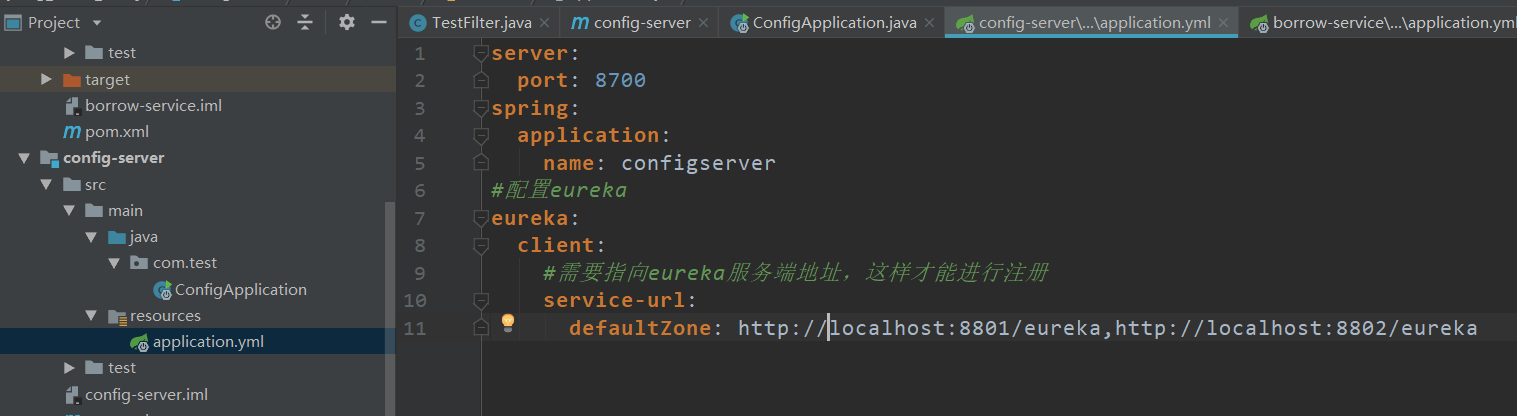
添加启动类和配置文件
ConfigApplication.java
package com.test;

import org.springframework.boot.SpringApplication;
import org.springframework.boot.autoconfigure.SpringBootApplication;
import org.springframework.cloud.config.server.EnableConfigServer;

/**
 * @Date 2023/3/31 - 16:51
 */
@SpringBootApplication
@EnableConfigServer
public class ConfigApplication {
    public static void main(String[] args) {
        SpringApplication.run(ConfigApplication.class,args);
    }
}
application.yml
server:
  port: 8700
spring:
  application:
    name: configserver
#配置eureka
eureka:
  client:
    #需要指向eureka服务端地址,这样才能进行注册
    service-url:
      defaultZone: http://localhost:8801/eureka,http://localhost:8802/eureka
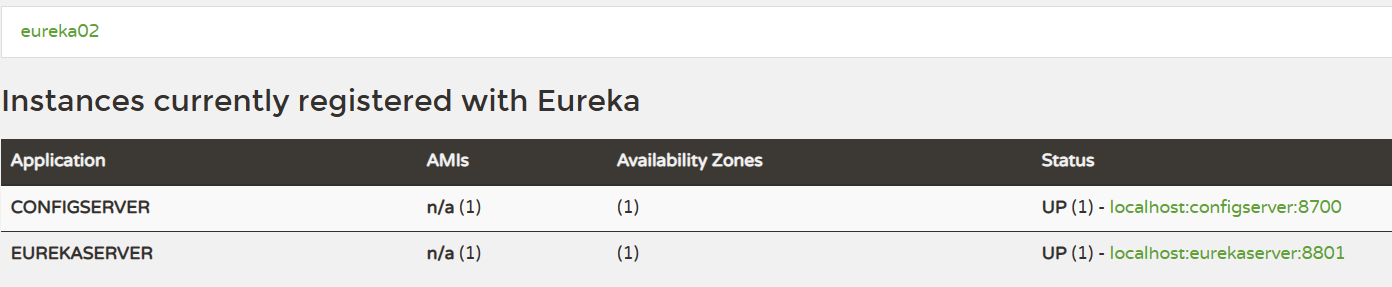
先启动测试
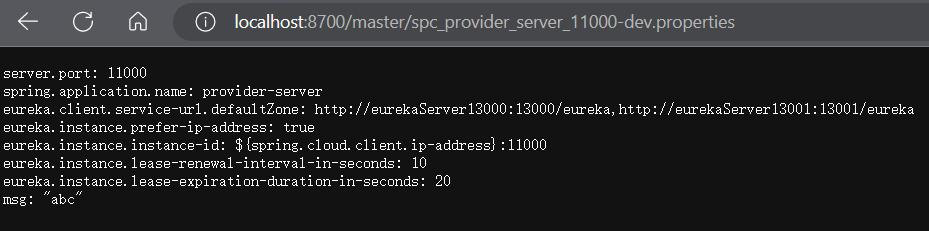
创建git仓库,然后在配置文件中写配置
server:
  port: 8700
spring:
  application:
    name: configserver
  cloud:
    config:
      server:
        git:
          #这里填写本地仓库地址,远程仓库直接填写远程仓库地址,xxx是需要用真实地址替换
          uri: xxx
          #默认分支设定为自己本地或者是远程分支的名称
          default-label: xxx
#配置eureka
eureka:
  client:
    #需要指向eureka服务端地址,这样才能进行注册
    service-url:
      defaultZone: http://localhost:8801/eureka,http://localhost:8802/eureka

启动测试,这里的配置文件是之前上传的
3、客户端配置
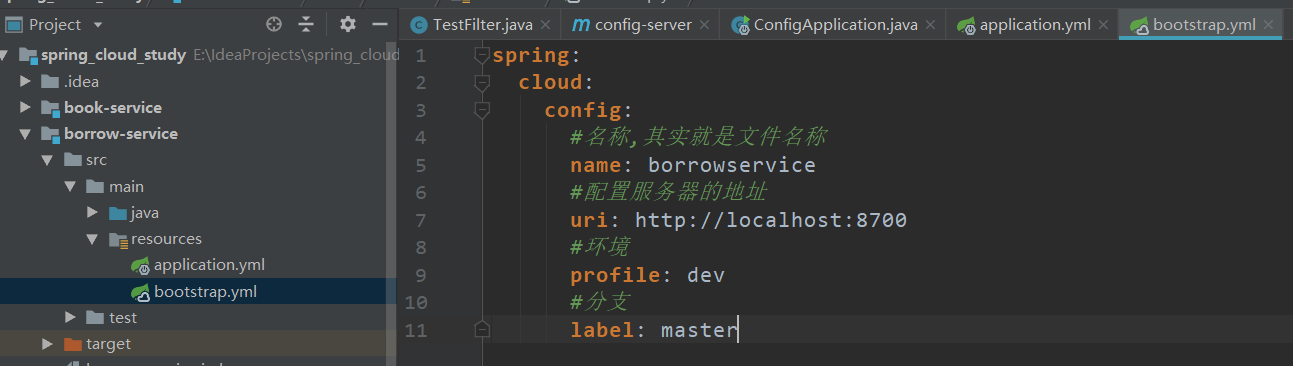
在borrow-service子项目中创建配置文件bootstrap.yml
bootstrap.yml
spring:
  cloud:
    config:
      #名称,其实就是文件名称
      name: borrowservice
      #配置服务器的地址
      uri: http://localhost:8700
      #环境
      profile: dev
      #分支
      label: master
在borrow-service子项目中添加依赖
        <dependency>
            <groupId>org.springframework.cloud</groupId>
            <artifactId>spring-cloud-starter-config</artifactId>
        </dependency>

        <dependency>
            <groupId>org.springframework.cloud</groupId>
            <artifactId>spring-cloud-starter-bootstrap</artifactId>
        </dependency>


【推荐】国内首个AI IDE,深度理解中文开发场景,立即下载体验Trae
【推荐】编程新体验,更懂你的AI,立即体验豆包MarsCode编程助手
【推荐】抖音旗下AI助手豆包,你的智能百科全书,全免费不限次数
【推荐】轻量又高性能的 SSH 工具 IShell:AI 加持,快人一步
· 无需6万激活码!GitHub神秘组织3小时极速复刻Manus,手把手教你使用OpenManus搭建本
· C#/.NET/.NET Core优秀项目和框架2025年2月简报
· Manus爆火,是硬核还是营销?
· 终于写完轮子一部分:tcp代理 了,记录一下
· Qt个人项目总结 —— MySQL数据库查询与断言