目录
- 参考资料
- 说在前面
- 最小要求
- 步骤
- 1.下载 Spring Tool 4.7.1
- 2.下载 thymeleaf 的 eclipse 插件
- 2.打开 STS - Help - Install New Software...
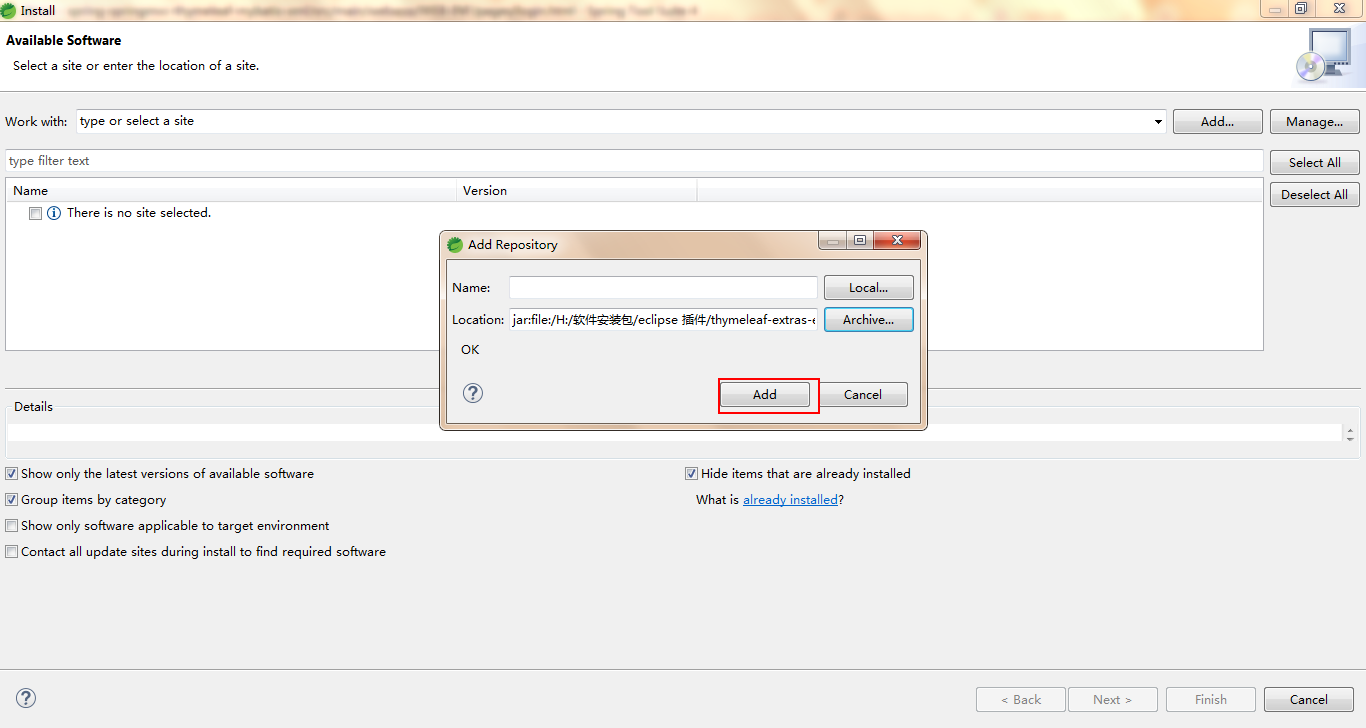
- 3.点击【Add...】-【Archive...】
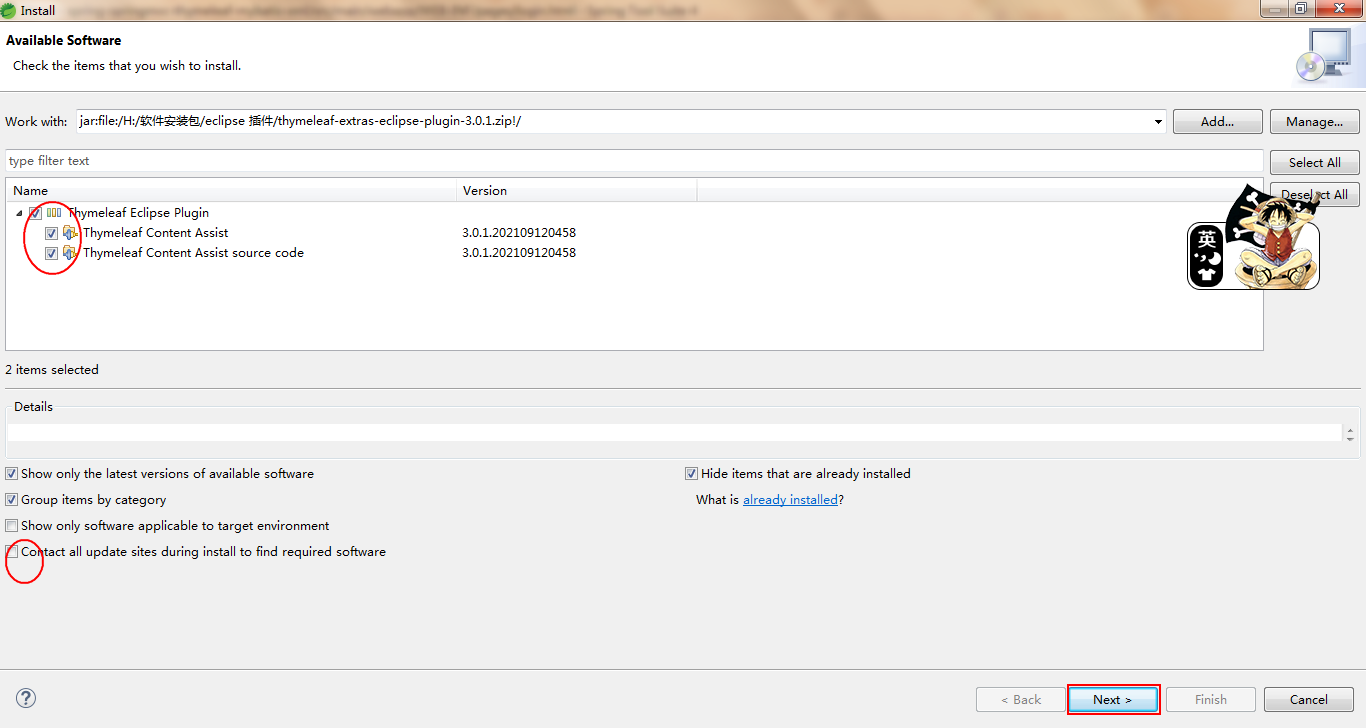
- 4.勾选插件并划掉 Contact all update sites during install to find required software
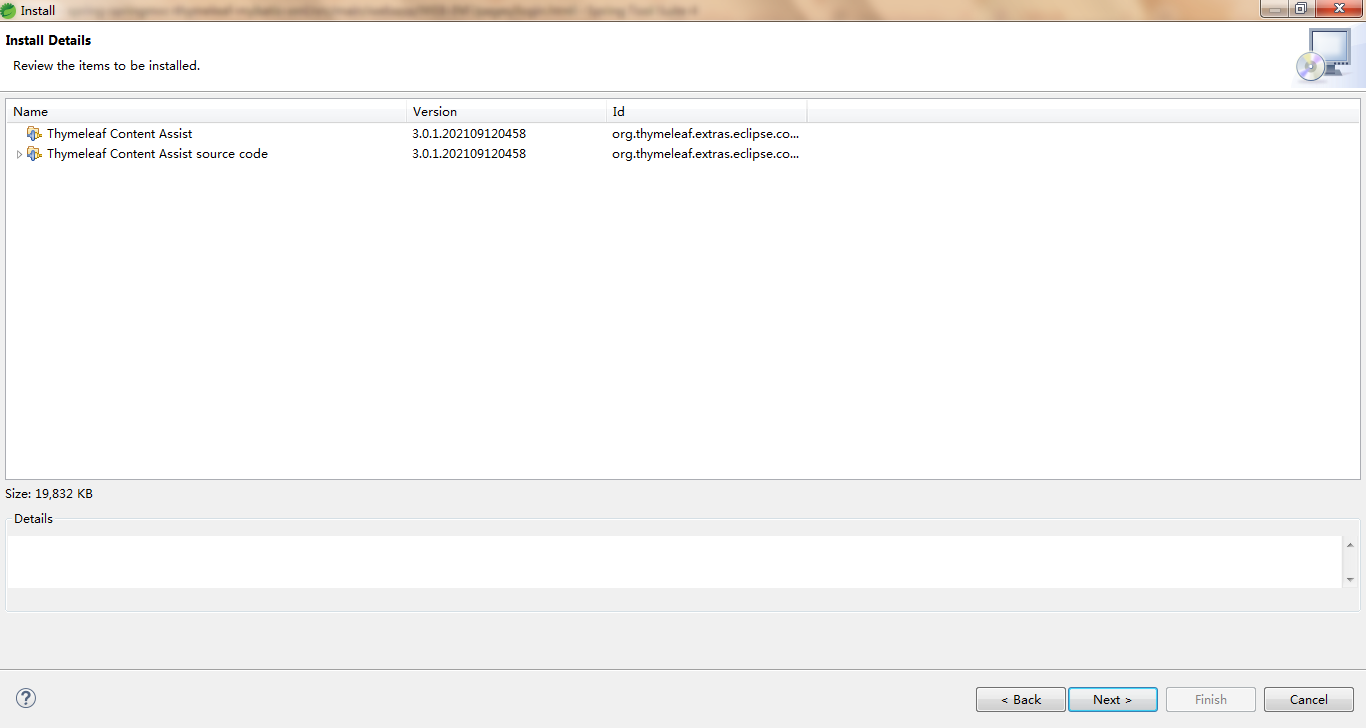
- 5.点击【Next】
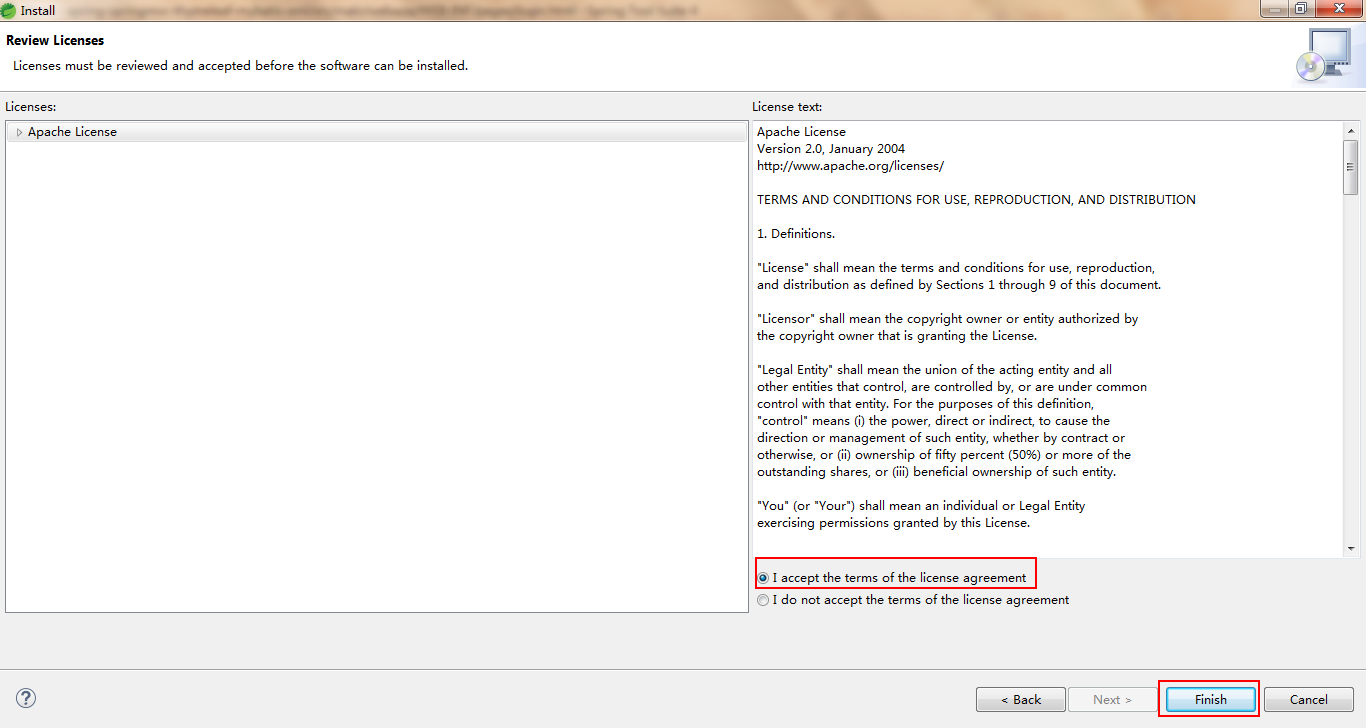
- 6.选择“I accept the terms of the license agreement”并点击【Finish】
- 7. 右下角显示安装进度
- 8.弹出选择信任框,点击Install anyway
- 9.重启
- 10.验证
- 使用
参考资料
- https://www.cnblogs.com/jiduoduo/p/15525430.html
- https://github.com/thymeleaf/thymeleaf-extras-eclipse-plugin
- Spring Tool 历史版本下载
- Spring Tool 4.7.1下载地址
- Eclipse 下载地址
说在前面
注意:thymeleaf-extras-eclipse-plugin 插件3.0.1版本仅支持spring tool suite4(4.7.1版本),不保证 4.8 以上生效.
最小要求
- Java 8
- An Eclipse IDE based on 2019-06 or newer
thymeleaf-extras-eclipse-plugin 插件3.0.1版本 已经在企业版和 Java Web Developers bundle from the Eclipse installer以及 Spring Tool Suite 4.7.1测试完成。 Spring Tool Suite 4.8.0+ 修改了该插件构建的 the HTML editor, 所以这些版本不保证生效.
- Thymeleaf 3 项目
经测试 eclipse 最新版该插件并不好用!
步骤
1.下载 Spring Tool 4.7.1
点击 下载链接 可直接下载 Spring Tool 4.7.1
2.下载 thymeleaf 的 eclipse 插件
点击下载链接可直接下载 3.0.1 版本的zip,以下步骤仅是为了记录(如无需要则可跳过)。
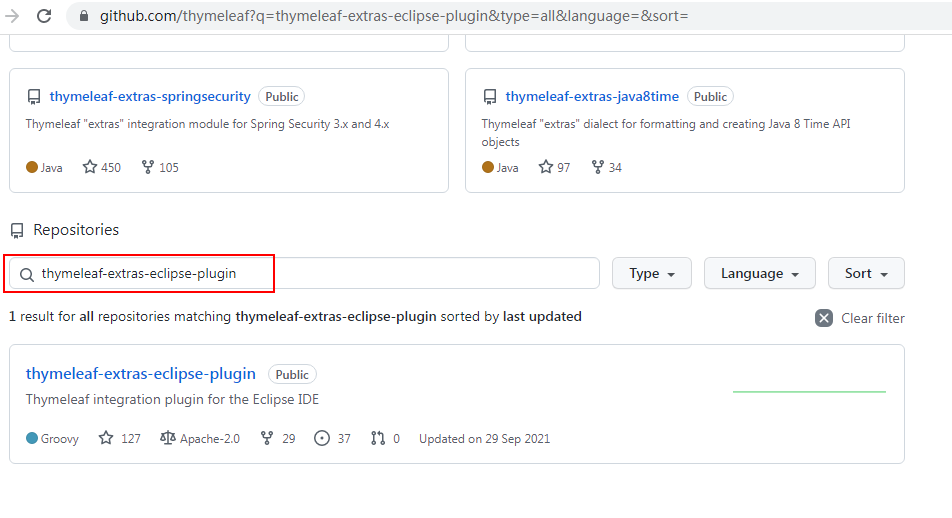
-
输入“thymeleaf-extras-eclipse-plugin”查找
-
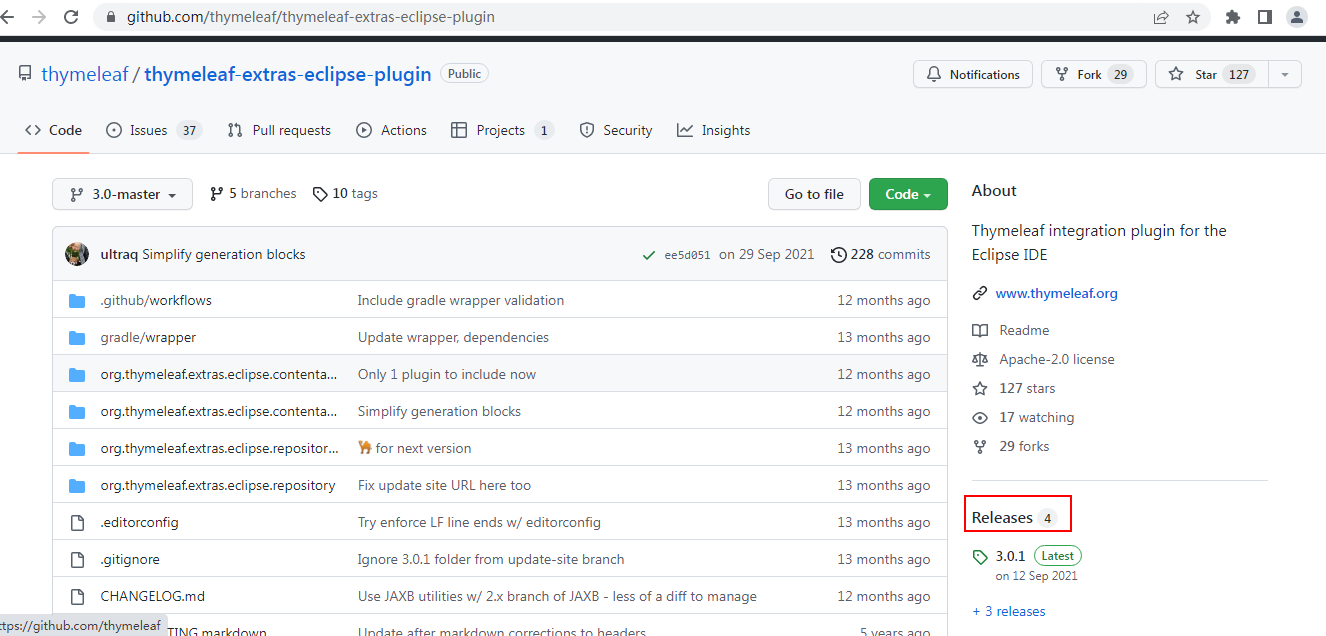
点击左侧 Release
-
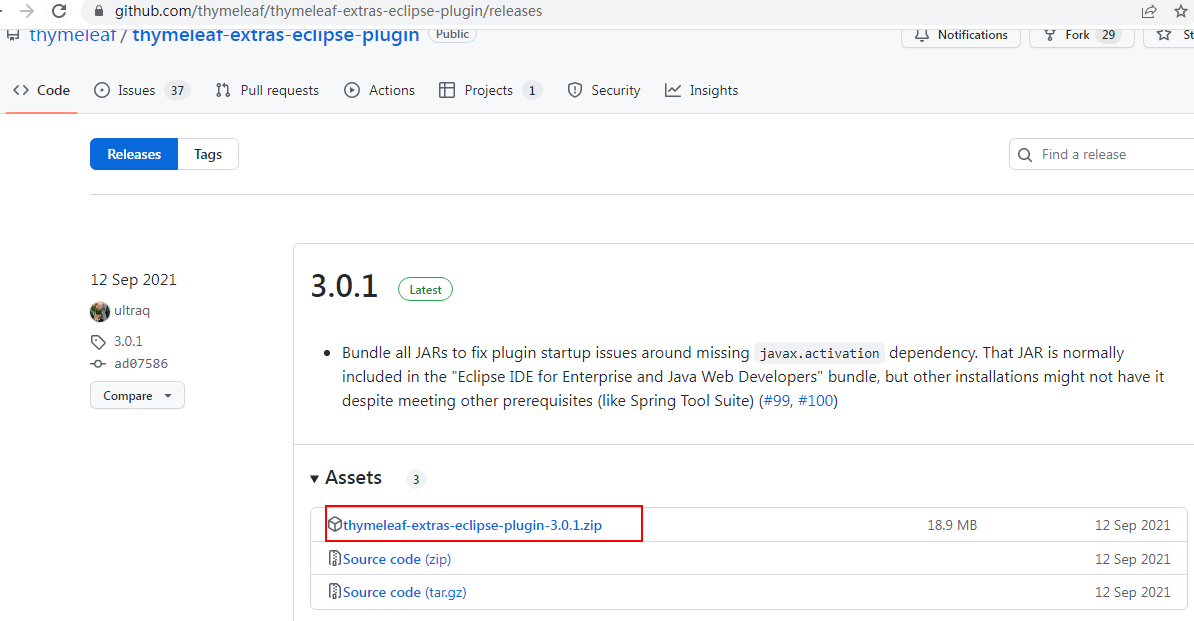
选择合适版本下载
2.打开 STS - Help - Install New Software...
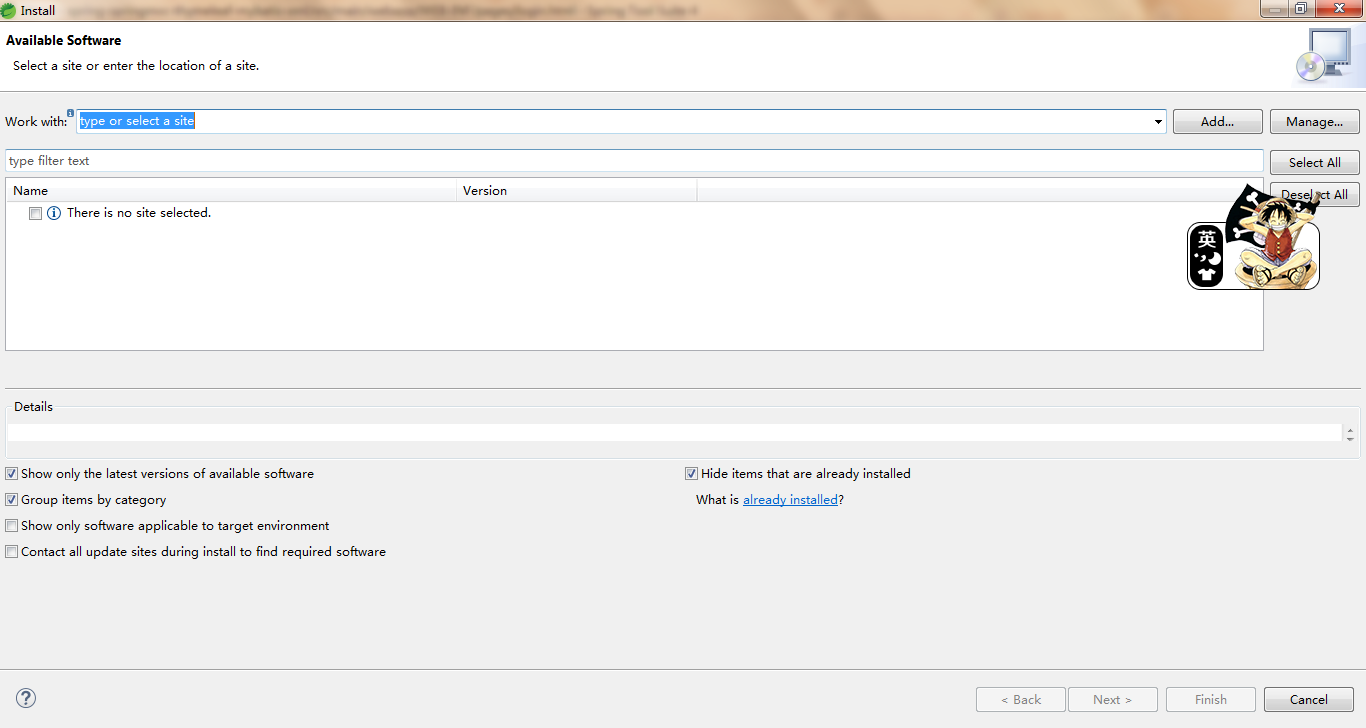
3.点击【Add...】-【Archive...】
4.勾选插件并划掉 Contact all update sites during install to find required software
5.点击【Next】
6.选择“I accept the terms of the license agreement”并点击【Finish】
7. 右下角显示安装进度

8.弹出选择信任框,点击Install anyway

9.重启

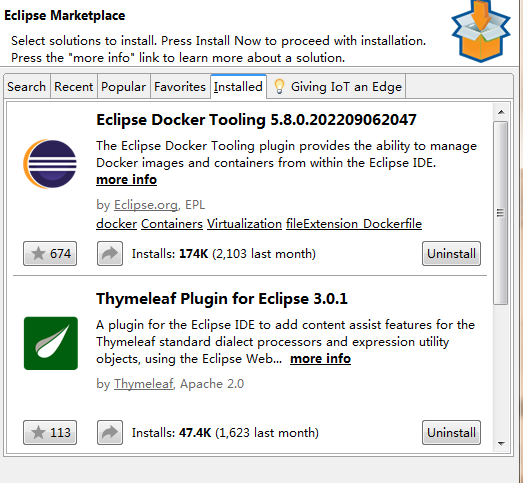
10.验证
【Help】-【Eclipse Marketplace...】-【Installd】
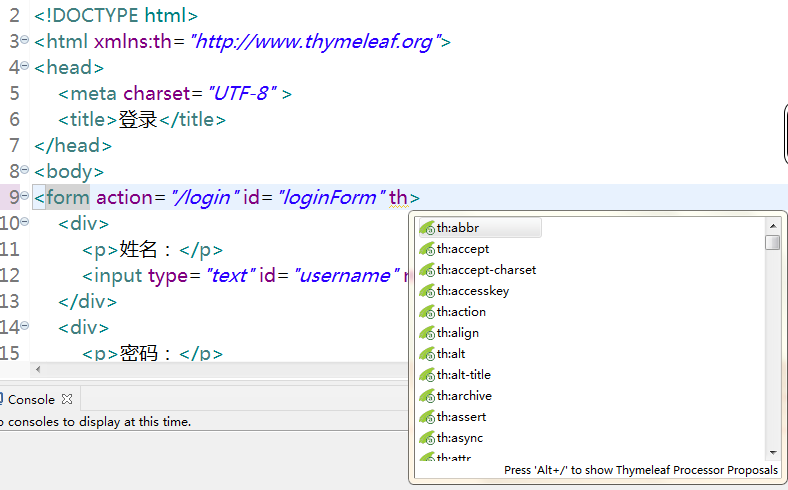
html 文件增加 “xmlns:th="http://www.thymeleaf.org"” 然后使用快捷键【Alt + /】:
使用
<!DOCTYPE HTML>
<html xmlns:th="http://www.thymeleaf.org">
<head>
    <title>Getting Started: Serving Web Content</title>
    <meta http-equiv="Content-Type" content="text/html; charset=UTF-8" />
</head>
<body>
    <p th:text="'Hello, ' + ${name} + '!'" />
</body>
</html>
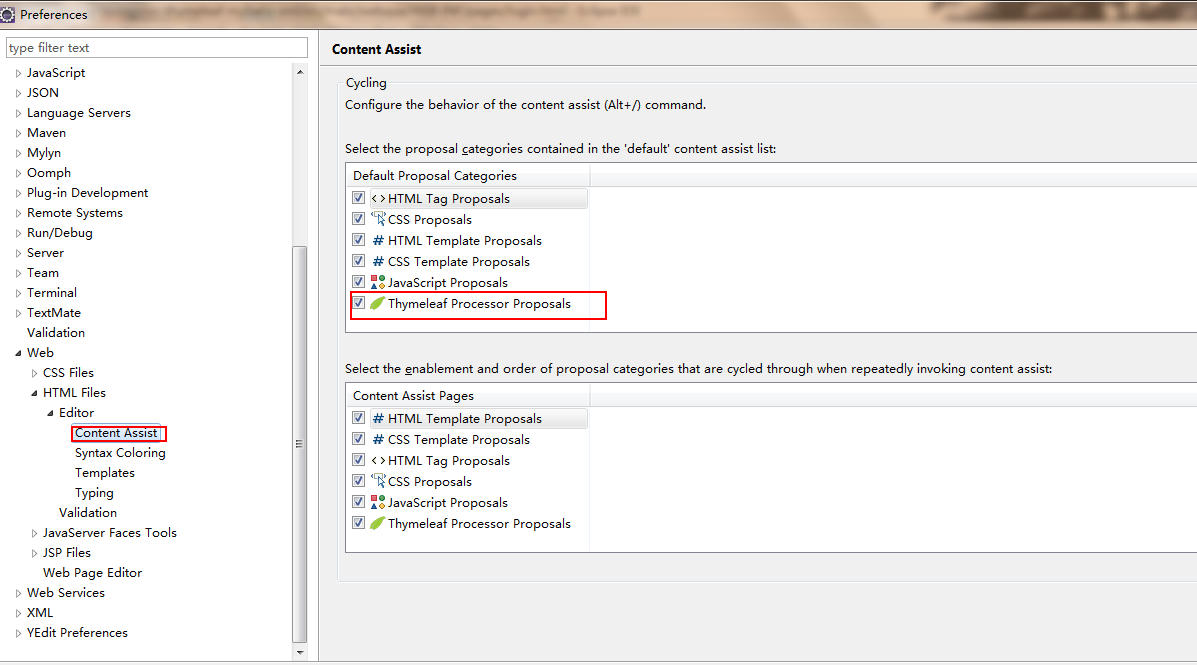
如果没有提示则,在【Window】-【Preferences】-【Web】-【HTML Files】-【Editor】-【Content Assit】进行顺序调整:
本文来自博客园,作者:不安分的黑娃,转载请注明原文链接:https://www.cnblogs.com/lihw-study/p/16748544.html

