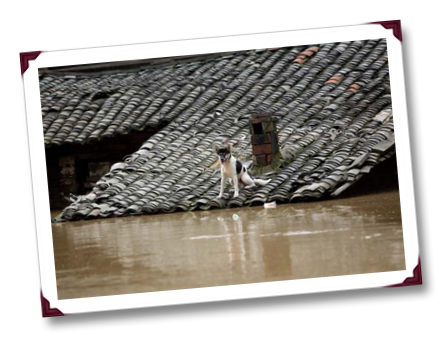
以下效果也许不是很实用,只是个人记录… 呵呵! 【右图为这次洪水中求生的小猫,所以我们应该珍惜每一天!】
<html xmlns="http://www.w3.org/1999/xhtml">
<head>
    <title>tootip demo1</title>
    <style type="text/css">
          .tooltip
        {
            display: none;
            background: transparent url(js/black.png);
            font-size: 12px;
            height: 58px;
            width: 160px;
            padding: 25px;
            color: #fff;
        }
    </style>
    <script src="js/jquery-1.3.js" type="text/javascript"></script>

    <script src="js/jquery.tools.min.js" type="text/javascript"></script>

    <script type="text/javascript">

        function createText(node) {
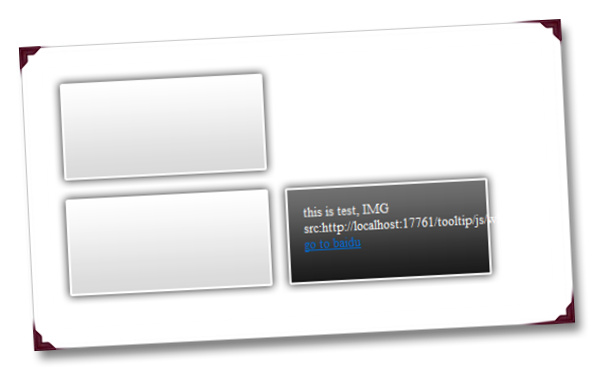
            $("#tishi").html("this is test,  " + node.tagName + " src:" + node.src+"<br /><a href='http://baidu.com'>go to baidu</a>");
        }

        $(document).ready(function() {
            $("#dyna img").tooltip({
                offset: [10, -2],
                effect: 'slide',
                position: 'center right', //提示层的显示位置
                  opacity: 0.7,
                tip: '#tishi', //提示层[可以不指定,用提示为默认元素的title,在元素的第一个兄弟节点]
                tipClass: 'tooltip' //指定提示层的样式
            }).dynamic({ bottom: { direction: 'down', bounce: true} });
        });
    </script>
</head>
<body>

<div id="dyna">
    <img src="js/white.png" alt="" title="info" onmouseover="createText(this);" /><br />
    <img src="js/white.png" alt="" onmouseover="createText(this);" />
</div>
<div class="tooltip">tooltip</div>
<div id="tishi" class="tooltip"></div>
</body>
</html>
演示其他, 需要去掉第一个img标签 title 属性, 或者注释 tooltip 的 tip:'#tishi' 属性, 关于更多tooltip插件介绍效果图:
记录学习点滴...,坚持每天让自己的技能增加1%,默默的坚持下去吧!:-)


