

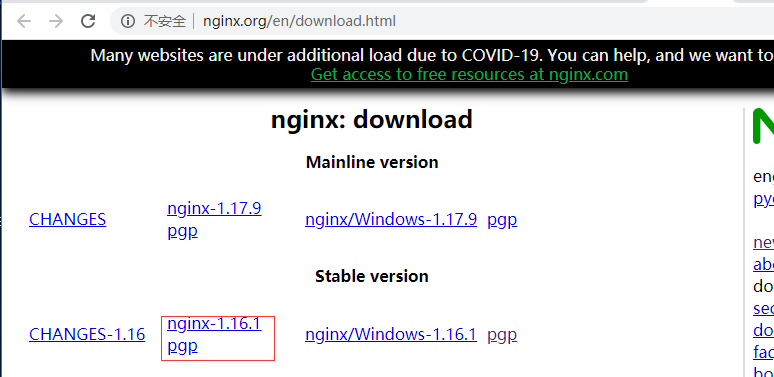
1、下载nginx,并上传到服务器上
下载好的文件通过FTP上传至 /usr/src 下
2、安装nginx依赖包
yum install gcc gcc-c++ pcre pcre-devel zlib zlib-devel openssl openssl-devel -y
3、解压nginx并编译安装
[root@localhost src]# cd /usr/src
[root@localhost src]# tar -zxvf nginx-1.16.1.tar.gz
[root@localhost src]# cd nginx-1.16.1
[root@localhost nginx-1.16.1]# ./configure --prefix=/usr/local/nginx
[root@localhost nginx-1.16.1]# make && make install
4、检查配置文件时否正确、查看版本
[root@localhost nginx-1.16.1]# /usr/local/nginx/sbin/nginx -t
nginx: the configuration file /usr/local/nginx/conf/nginx.conf syntax is ok
nginx: configuration file /usr/local/nginx/conf/nginx.conf test is successful
返回OK,successful,说明成功
查看nginx版本
[root@localhost nginx-1.16.1]# /usr/local/nginx/sbin/nginx -V
至此编译安装已完成
5、启动
[root@localhost etc]# /usr/local/nginx/sbin/nginx                   #启动
[root@localhost etc]# /usr/local/nginx/sbin/nginx -s reload     #重载
[root@localhost etc]# /usr/local/nginx/sbin/nginx -s stop        #停止
[root@localhost nginx-1.16.1]# /usr/local/nginx/sbin/nginx #按下ENTER键运行nginx
ps -A | grep nginx 或 ps -ef | grep nginx #查看nginx是否运行
[root@localhost nginx-1.16.1]# /usr/local/nginx/sbin/nginx
[root@localhost nginx-1.16.1]# ps -A | grep nginx
 6807 ?        00:00:00 nginx
 6808 ?        00:00:00 nginx
[root@localhost nginx-1.16.1]# /usr/local/nginx/sbin/nginx
nginx: [emerg] bind() to 0.0.0.0:80 failed (98: Address already in use)
nginx: [emerg] bind() to 0.0.0.0:80 failed (98: Address already in use)
nginx: [emerg] bind() to 0.0.0.0:80 failed (98: Address already in use)
nginx: [emerg] bind() to 0.0.0.0:80 failed (98: Address already in use)
nginx: [emerg] bind() to 0.0.0.0:80 failed (98: Address already in use)
nginx: [emerg] still could not bind()
提示有问题80端口已被监听
解决办法
先关闭nginx
6、把nginx加到开机启动中
在/etc/init.d下创建文件nginx
vim /etc/init.d/nginx
需要注意的配置:
nginx="/usr/local/nginx/sbin/nginx" #修改成nginx执行程序的路径。
NGINX_CONF_FILE="/usr/local/nginx/conf/nginx.conf" #修改成nginx.conf文件的路径。
保存后设置文件的执行权限
chmod a+x /etc/init.d/nginx
至此就可以通过下面指令控制启动停止
/etc/init.d/nginx start
/etc/init.d/nginx stop
上面的方法完成了用脚本管理nginx服务的功能,但是还是不太方便。
先将nginx服务加入chkconfig管理列表:
[root@localhost conf]# chkconfig --add /etc/init.d/nginx
service nginx does not support chkconfig
nginx服务不支持chkconfig
需在vim /etc/init.d/nginx后加入
# chkconfig: 2345 85 15
# description: Nginx is a World Wide Web server.
#号不要删,重新运行没有输出,就没有问题
[root@localhost init.d]# chkconfig --add /etc/init.d/nginx
加完这个之后,就可以使用service对nginx进行启动,重启等操作了。
service nginx start
service nginx stop
service nginx restart
最后设置开机自动启动
chkconfig nginx on
支持 systemctl服务的,参考https://blog.csdn.net/qq_21437451/article/details/82530057

 浙公网安备 33010602011771号