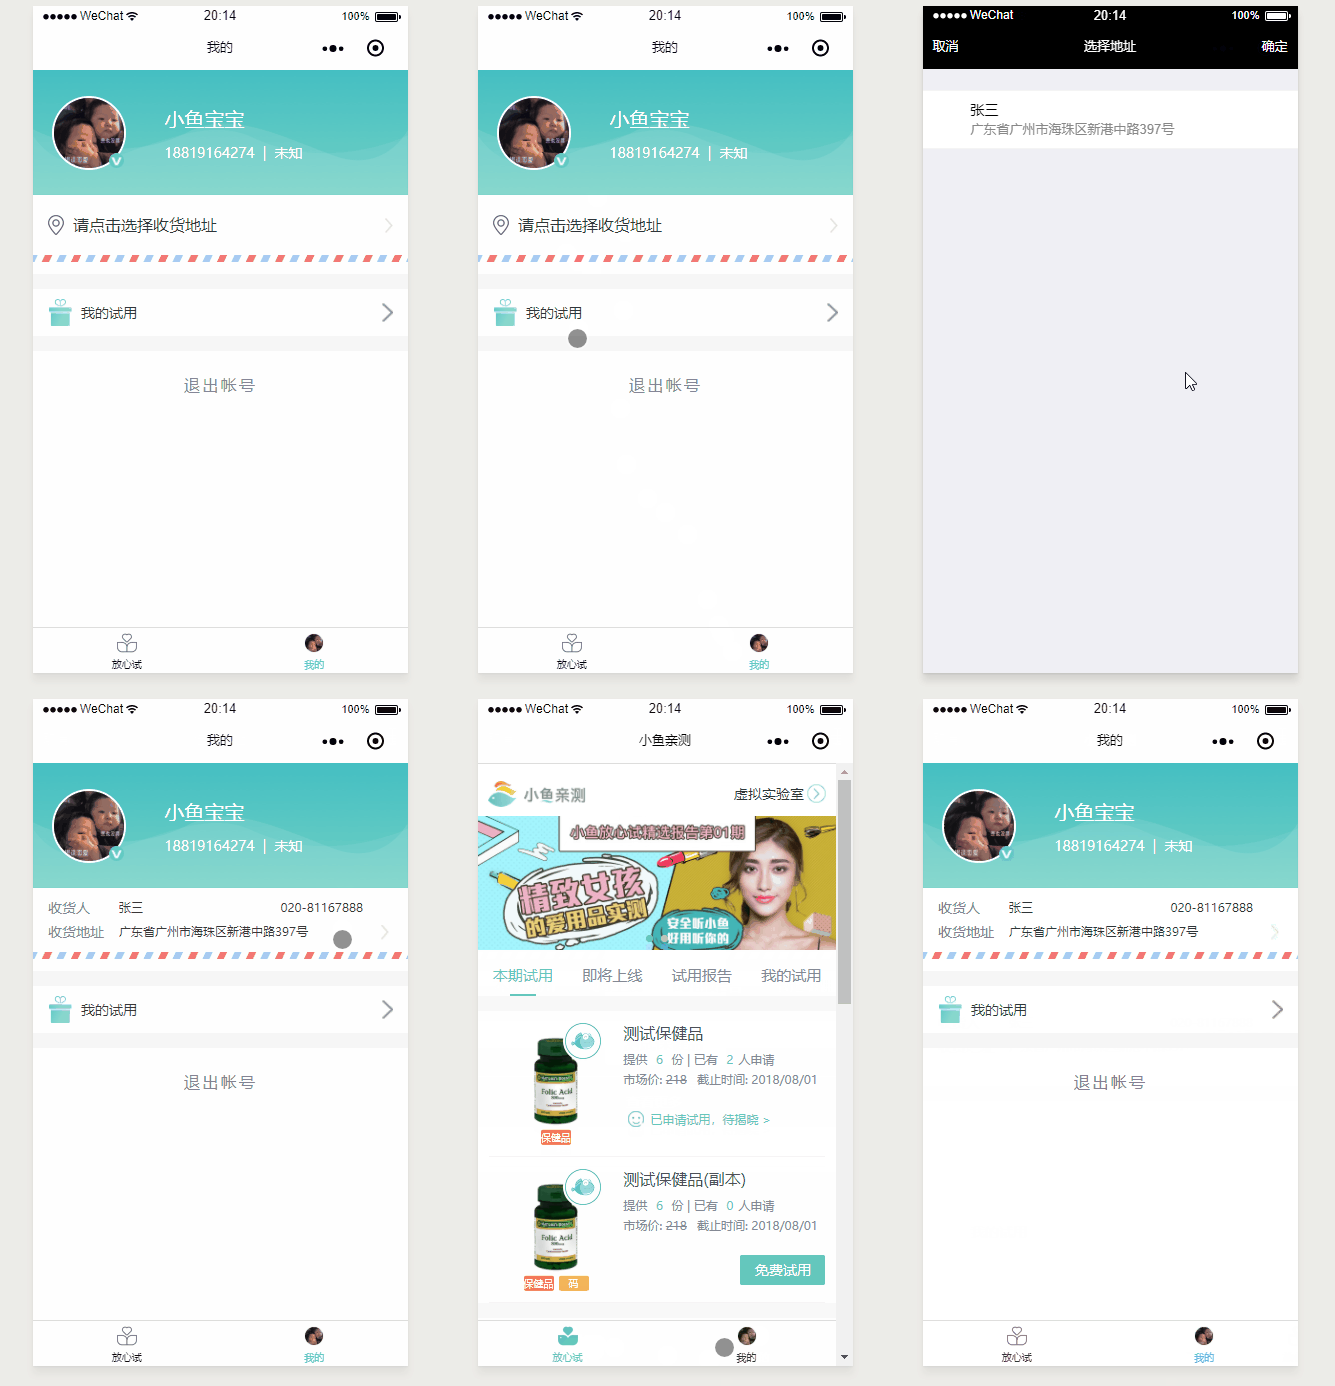
1.css代码,首先判断是user_address_flag是不是为true(根据receiver/电话号码/地址存在或者是重新购买订单都会为true)
 <view class="address-wraper">
        <view @tap="chooseAddress" wx:if="{{user_address_flag}}">
            <view class="address-title">收货信息</view>
            <view class="address-mesg flex-container">
              <view class="mesg-title">收货人</view>
              <view class="mesg-content flex-one flex-container flex-between">
                <view class="addressee">{{receiver}}</view>
                <view style="padding-right:14rpx;">{{mobile}}</view>
              </view>
            </view>
            <view class="address-mesg flex-container">
              <view class="mesg-title">收货地址</view>
              <view class="flex-one mesg-content" style="padding-right:60rpx;">{{address}}</view>
              <image class="address-arrow" src="https://try.fishqc.com/img/go.png"></image>
            </view>
        </view>
        <!-- 选择地址 -->
        <view wx:if="{{!user_address_flag}}" @tap="chooseAddress" class="flex-container horizontal-between vertical-center" style="height:100rpx;margin-top:35rpx;">
            <view class="flex-one choose-address">请点击选择收货地址</view>
            <image style="width:17rpx;height:30rpx;" src="https://try.fishqc.com/img/go.png"></image>
        </view>
        <chooseAddress></chooseAddress>
      </view>
主要是讨论不为true的情况,需要选择的地址的功能
2.这里有有引入组件chooseAddress,主要是要你同意调用这个地址的权限,然后使用wx.chooseAddress来获取他对应的信息,获取之后再渲染到user_address_flag为true的代码上
<style lang="less">
    .drawer_screen {
        width: 100%;
        height: 100%;
        position: fixed;
        top: 0;
        left: 0;
        z-index: 5;
        background: rgba(0, 0, 0, .6);
        overflow: hidden;
    }
    .choose_box {
        width: 580rpx;
        overflow: hidden;
        position: absolute;
        top: 50%;
        left: 50%;
        z-index: 3;
        background: #fff;
        transform: translate(-50%,-50%);
        border-radius: 6rpx;
        box-sizing:border-box;
        opacity: 1;
        text-align:center;
        transition: all .3s;
    }
    .choose-title{
        padding-top: 36rpx;
        font-size: 34rpx;
        // color: #2F3736;
        color: #000000;
    }
    .phonechoosetxt{
        font-size: 28rpx;
        line-height: 46rpx;
        padding:20px;
        box-sizing: border-box;
        color:#999999;
        font-weight: 200;
    }
    .choose-btn-box{
        border-top: 2rpx solid #EDEDEE;
    }
    .choose-btn{
        height: 90rpx;
        box-sizing: border-box;
        font-size: 30rpx;
        line-height: 90rpx;
        letter-spacing: 2rpx;
        padding: 0;
        margin: 0;
        font-weight: 400;
        &.line{
            color: #5A6677;
            border-right: 2rpx solid #EDEDEE;
        }
        &.green{
            color:#64C8BC;
            background: transparent;
        }
    }
</style>

<template>
    <view wx:if="{{isShowSetting}}" class="drawer_screen">
        <view class="choose_box">
            <view class="choose-title">小鱼提示</view>
            <view class="phonechoosetxt" style="padding:20rpx 0 40rpx;">请允许我们读取您的通讯地址</view>
            <view class="choose-btn-box flex-container horizontal-between">
                <view class="choose-btn flex-one line" @tap="hideSetting">取消</view>
                <button class="choose-btn flex-one green" open-type="openSetting" @opensetting="handleOpenSetting">确定</button>
            </view>
        </view>
    </view>
</template>

<script>
import wepy from 'wepy'

export default class Protocol extends wepy.component {

    data = {
        isShowSetting: false,
    }
    methods = {
        hideSetting(){
            this.isShowSetting = false
        },
        handleOpenSetting(){
            this.isShowSetting = false
            this.chooseAddr()
        }
    }
    events = {
        'chooseAddress': ($event) => {
            //    console.log(`${this.$name} receive ${$event.name} from ${$event.source.$name}`);
               this.chooseAddr()
        }
    }
    //选择地址簿
      chooseAddr(){
          let that = this
          // 先判断是否已经授权
          this.$parent.$parent.judgeAuth('scope.address').then(isSuccess => {
            if (isSuccess) {
              wx.chooseAddress({
                success (res) {
                    // console.log(res)
                    that.$emit('gotAddrSuccess',res)
                    //缓存收货信息
                    wx.setStorage({
                        key: 'receiver',
                        data: res.userName
                    })
                    wx.setStorage({
                        key: 'mobile',
                        data: res.telNumber
                    })
                    wx.setStorage({
                        key: 'address',
                        data: `${res.provinceName}${res.cityName}${res.countyName}${res.detailInfo}`
                    })
                },
                fail () {
                  // that.$parent.toasttips('选择地址失败')
                }
              })
            } else {
                // 未授权则提醒用户打开授权列表
                this.isShowSetting = true
            }
            this.$apply()
          })
      }
}
</script>
知识点 :
events WePY组件事件处理函数对象,存放响应组件之间通过$broadcast、$emit、$invoke所传递的事件的函数
3.怎么把获取到的地址渲染到html上呢 ?
data里面的数据
   user_address_flag: false,
      receiver: '',
      mobile: '',
      address: '',

events里面的数据,这里接收了emit传来的数据
   events = {
        'gotAddrSuccess': (addressRes) => {
            // console.log('addressRes>>',addressRes)
            this.receiver = addressRes.userName
            this.mobile = addressRes.telNumber
            this.address = `${addressRes.provinceName}${addressRes.cityName}${addressRes.countyName}${addressRes.detailInfo}`
            this.user_address_flag = true
        }
    }
还有修改user_address_flag 的地方是:
重新购买时,为true
  fetchReBuyOrderDetail(orderSn){

        reBuy(orderSn).then((res) => {
            if(res.data.code == 200){
                this.receiver = res.data.data.receiver
                this.mobile = res.data.data.mobile
                this.address = res.data.data.address
                this.user_address_flag = true

                this.userSeletePrdList = res.data.data.productlist.map(elem => {
                    if(elem.img){
                      elem.img = JSON.parse(elem.img)
                    }
                    return elem
                })
            }else{
                this.$parent.toasttips(res.data.message)
            }
            this.$apply()
        }).catch((err) => {

        });
    }
4.点击支付时也要判断user_address_flag 是否为空
 submitOrderBtn(){
          if(this.isLoading){
            return
          }
          const telReg = /^1\d{10}$/
          //检查地址
          if(!this.user_address_flag){
              this.$parent.toasttips('请选择收货地址')
              return
          }
          if(!this.receiver || !this.mobile || !this.address){
              this.$parent.toasttips('请选择收货地址')
              return
          }
          // if (!telReg.test(this.mobile)) {
          //     this.$parent.toasttips('请输入正确的手机号', 'none')
          //     return;
          // }
          //再次检查库存--1>立即购买, 2>重新购买, 3>购物车结算
          //开始提交订单
          let _prdParam = new Object()
          this.userSeletePrdList.forEach(elem => {
              _prdParam[elem.prdId] = elem.buy_num
          });
          // console.log(JSON.stringify(_prdParam))
          this.confirmOrder(JSON.stringify(_prdParam))
      },

