
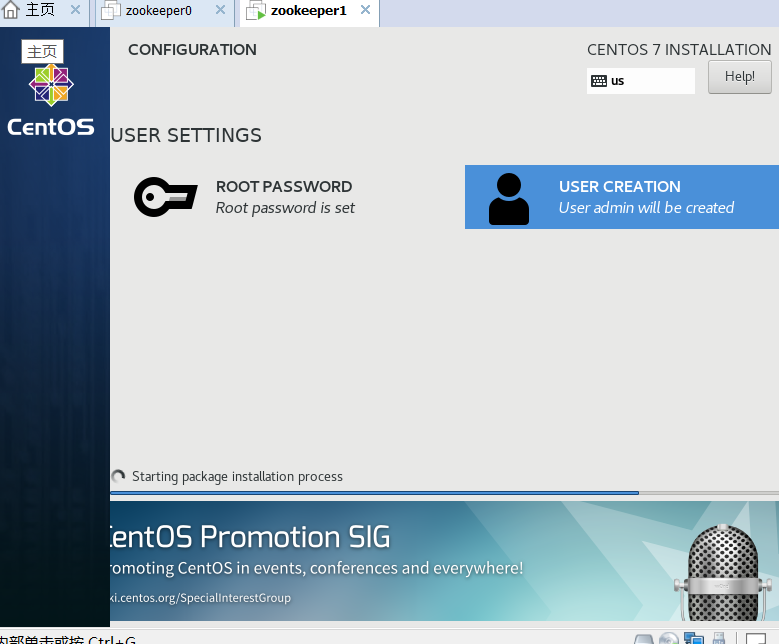
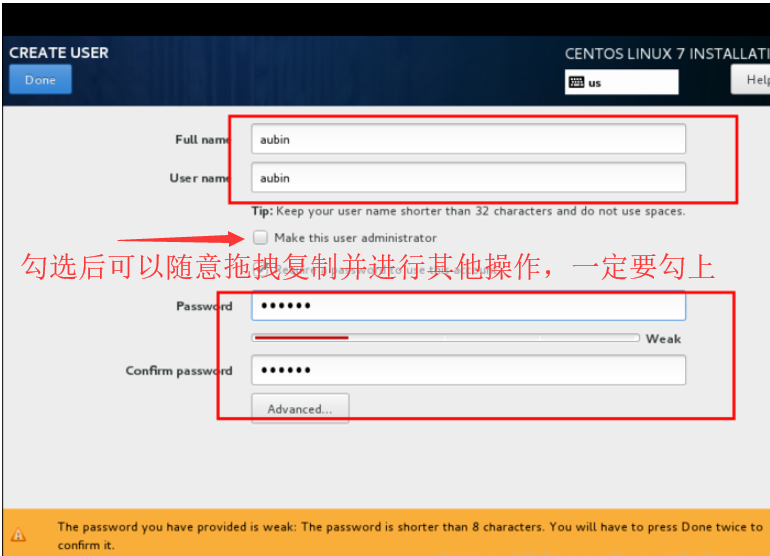
后来发现在安装centos7是直接在user creation里设置管理员权限就都解决了,它会自动安装vmware tools。
1.移除CD驱动
右键虚拟机,找到安装VMware Tools,但是桌面死活找不到安装包,只有一个 Vmware Tools虚拟光驱。
查看原因是因为在安装 CentOS的时候安装完,就没有修改cd驱动
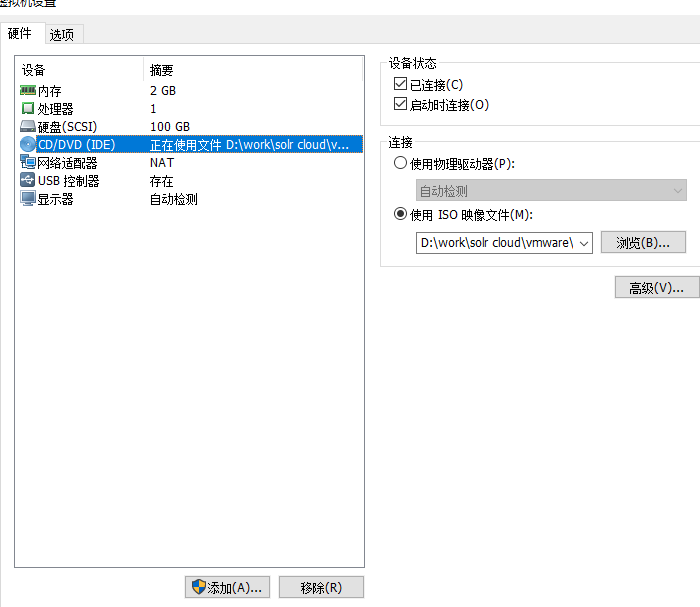
将连接路径改成vmware安装路径下的linux.iso文件,可将其复制到虚拟系统(zookeeper0)的安装文件夹下
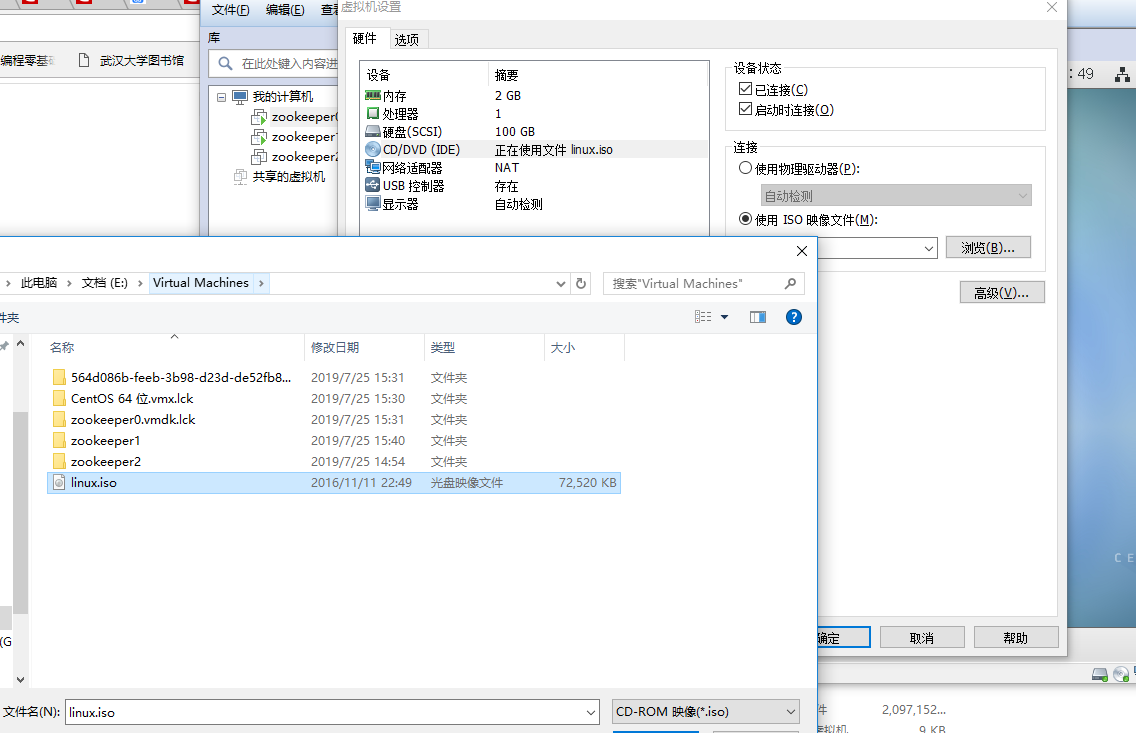
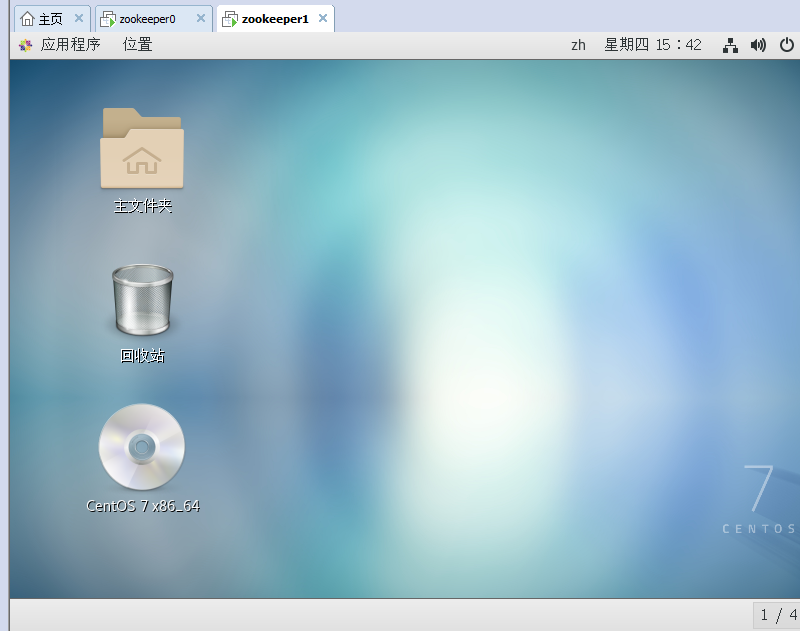
这时候,你在进入桌面,就可以看到安装包了。
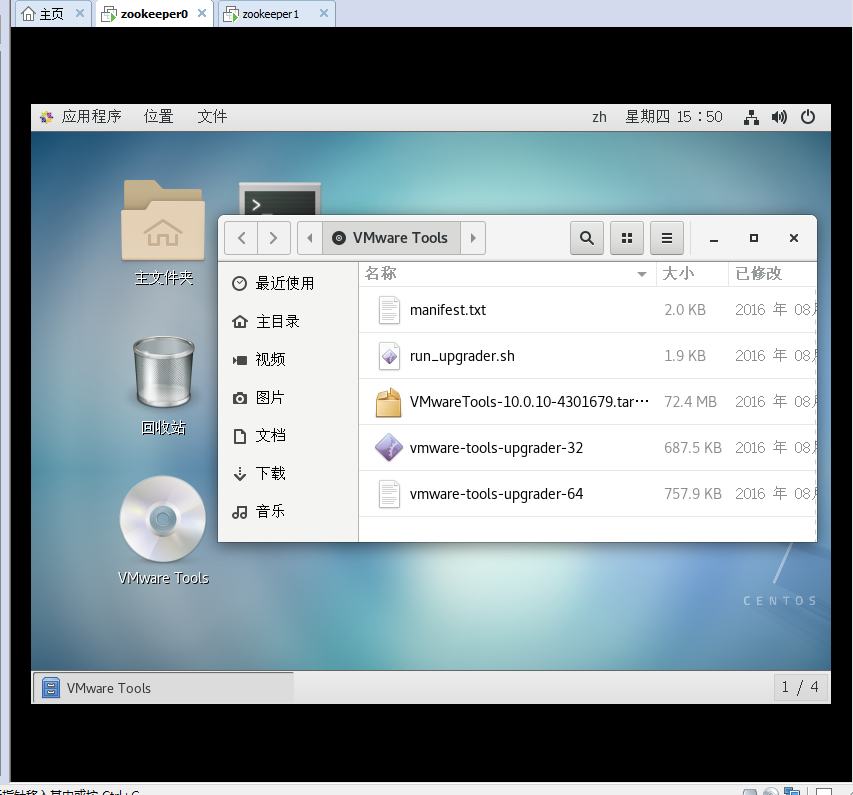
把VMwareTools-10.0.10-4301679.tar.gz拖到桌面并解压(解压后文件名叫vmware-tools-distrib)。但是我没解压,而是下面的方法。
2.安装VMware Tools
1.更新CentOS软件
为了预防安装过程可能遇到的问题
诸如:头部内核不匹配之类的
1 Searching for a valid kernel header path...
2 The path "" is not valid.
3 Would you like to change it? [yes]
先对服务器的软件进行更新,执行语句顺序如下:
1 yum -y update
2 yum install kernel-headers kernel-devel -y gcc
更新完成后,重启服务器。
2.获取VMwareTools安装包
创建光驱挂载目录
[root@zookeeper0 admin]# mkdir /mnt/cdrom
mkdir: 无法创建目录"/mnt/cdrom": 文件已存在
之前选择安装VMware Tools时,VMware会将安装包导入/dev/cdrom目录
将光盘挂载到/mnt/cdrom目录
[root@zookeeper0 admin]# mount /dev/cdrom /mnt/cdrom
mount: /dev/sr0 写保护,将以只读方式挂载
查看/mnt/cdrom该目录下文件
[root@zookeeper0 admin]# ls /mnt/cdrom

复制VMware Tools安装包到安装目录 ,事实证明这么复制根本不行,workspace打不开,内容也不是vmware压缩包
[root@zookeeper0 admin]# cp /mnt/cdrom/VMwareTools-10.0.10-4301679.tar.gz /home/workspace
桌面打开vmware tools,将VMwareTools压缩包拖拽至桌面
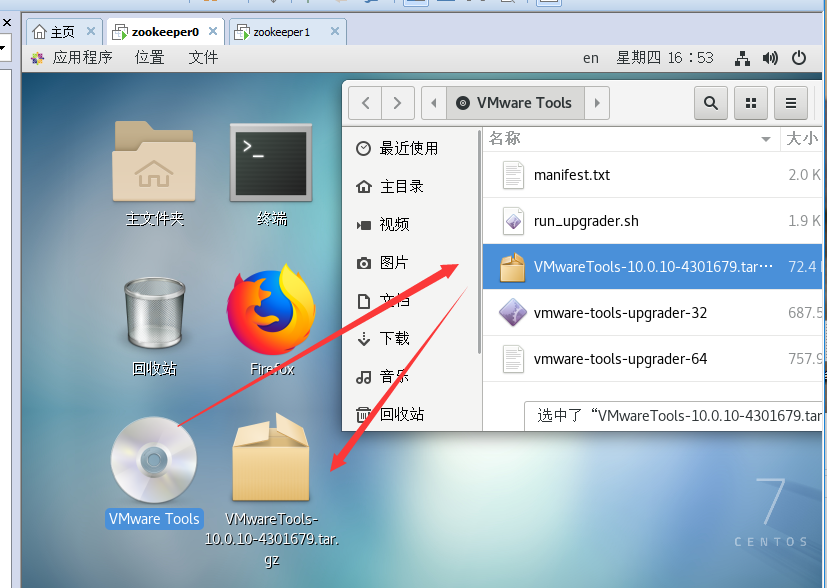
然后cd到桌面解压缩,如果输入不了汉字就在主机中复制过去
1 [root@zookeeper0 桌面]# cd /home/admin/桌面
2 [root@zookeeper0 桌面]# tar -zxvf VMwareTools-10.0.10-4301679.tar.gz
进入安装目录,如果安装有问题请参考:https://www.cnblogs.com/LCharles/p/11263922.html
1 [root@zookeeper0 桌面]# cd vmware-tools-distrib
2 [root@zookeeper0 vmware-tools-distrib]# ./vmware-install.pl
  1 下面的选项就按照默认值。一直回车就可以:
  2
  3 In which directory do you want to install the binary files?
  4 [/usr/bin]
  5
  6 What is the directory that contains the init directories (rc0.d/ to rc6.d/)?
  7
  8 [/etc/rc.d]
  9
 10 What is the directory that contains the init scripts?
 11 [/etc/rc.d/init.d]
 12
 13 In which directory do you want to install the daemon files?
 14 [/usr/sbin]
 15
 16 In which directory do you want to install the library files?
 17 [/usr/lib/vmware-tools]
 18
 19 The path “/usr/lib/vmware-tools” does not exist currently. This program is goingto create it, including needed parent directories. Is this what you want?
 20 [yes]
 21
 22 In which directory do you want to install the documentation files?
 23 [/usr/share/doc/vmware-tools]
 24
 25 The path “/usr/share/doc/vmware-tools” does not exist currently. This program isgoing to create it, including needed parent directories. Is this what you want?
 26 [yes]
 27
 28 The installation of VMware Tools 5.5.1 build-19175 for Linux completed
 29 successfully. You can decide to remove this software from your system at any
 30 time by invoking the following command: “/usr/bin/vmware-uninstall-tools.pl”.
 31
 32 Before running VMware Tools for the first time, you need to configure it by
 33 invoking the following command: “/usr/bin/vmware-config-tools.pl”. Do you want
 34 this program to invoke the command for you now? [yes]
 35
 36 Stopping VMware Tools services in the virtual machine:
 37 Guest operating system daemon: [ 确定 ]
 38 Trying to find a suitable vmhgfs module for your running kernel.
 39
 40 The module bld-2.6.9-5.EL-i686-RHEL4 loads perfectly in the running kernel.
 41
 42 pcnet32 30153 0
 43 Unloading pcnet32 module
 44
 45 Trying to find a suitable vmxnet module for your running kernel.
 46
 47 The module bld-2.6.9-5.EL-i686-RHEL4 loads perfectly in the running kernel.
 48
 49 Detected X.org version 6.8.
 50
 51 关闭控制台鼠标服务: [ 确定 ]
 52 启动控制台鼠标服务: [ 确定 ]
 53
 54 Please choose one of the following display sizes (1 – 13):
 55
 56 # 显示分辨率,这里是以 1024×768 为例
 57
 58 # VMware Tools 安装的时候,会自动修改 X server 的配置文件
 59
 60 [1] ”640×480″
 61 [2]< “800×600″
 62 [3] ”1024×768″
 63 [4] ”1152×864″
 64 [5] ”1280×800″
 65 [6] ”1152×900″
 66 [7] ”1280×1024″
 67 [8] ”1376×1032″
 68 [9] ”1400×1050″
 69 [10] ”1680×1050″
 70 [11] ”1600×1200″
 71 [12] ”1920×1200″
 72 [13] ”2364×1773″
 73 Please enter a number between 1 and 13:
 74
 75 [2] 3
 76
 77 X Window System Version 6.8.2
 78 Release Date: 9 February 2005
 79 X Protocol Version 11, Revision 0, Release 6.8.2
 80 Build Operating System: Linux 2.6.9-34.EL i686 [ELF]
 81 Current Operating System: Linux rd01.domain 2.6.9-34.EL #1 Wed Mar 8 00:07:35 CST 2006 i686
 82 Build Date: 04 May 2006
 83 Build Host: x8664-build.centos.org
 84
 85 Before reporting problems, check [url]http://wiki.X.Org[/url]
 86 to make sure that you have the latest version.
 87 Module Loader present
 88 OS Kernel: Linux version 2.6.9-34.EL (buildcentos@build-i386) (gcc version 3.4.5 20051201 (Red Hat 3.4.5-2)) #1 Wed Mar 8 00:07:35 CST 2006 P
 89 Markers: (–) probed, (**) from config file, (==) default setting,
 90 (++) from command line, (!!) notice, (II) informational,
 91 (WW) warning, (EE) error, (NI) not implemented, (??) unknown.
 92 (++) Log file: “/tmp/vmware-config0/XF86ConfigLog.3131″, Time: Mon Jun 12 20:57:34 2006
 93 (++) Using config file: “/tmp/vmware-config0/XF86Config.3131″
 94 (WW) VMWARE(0): Failed to set up write-combining range (0xf0000000,0×1000000)
 95
 96 X is running fine with the new config file.
 97
 98 Starting VMware Tools services in the virtual machine:
 99 Switching to guest configuration: [ 确定   ]
100 Guest filesystem driver:             [ 确定   ]
101 DMA setup:                        [ 确定   ]
102 Guest operating system daemon:                         [ 确定   ]
103
104 The configuration of VMware Tools 5.5.1 build-19175 for Linux for this running
105 kernel completed successfully.
106
107 You must restart your X session before any mouse or graphics changes take
108 effect.
109
110 You can now run VMware Tools by invoking the following command:
111 “/usr/bin/vmware-toolbox” during an XFree86 session.
112
113 To use the vmxnet driver, restart networking using the following commands:
114 /etc/init.d/network stop
115 rmmod pcnet32
116 rmmod vmxnet
117 depmod -a
118 modprobe vmxnet
119 /etc/init.d/network start
120
121 Enjoy,
122
123 –the VMware team
最后,VMware-Tools安装成功了,咱们重启一下Linux系统,会发现VMware-Tools已经安装成功了,此时不但可以直接在windows界面将需要的文件或者文件夹直接复制到虚拟机的Linux系统中,实际发现拷贝的压缩包缺失,转而使用文件共享来复制。
通过文件共享来与windows系统建立无缝衔接:

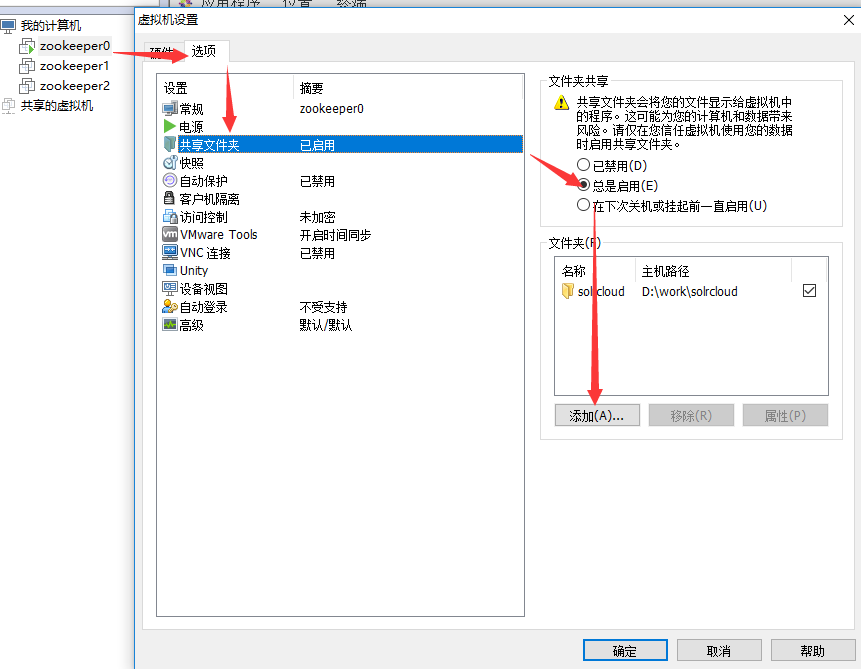
3.使用VMware Tools文件共享
设置共享文件
有可能有/mnt/hgfs但没有共享文件。解决方法:
 1 [root@zookeeper0 admin]# yum install open-vm-tools-devel -y
 2 已加载插件:fastestmirror, langpacks
 3 Loading mirror speeds from cached hostfile
 4  * base: mirrors.163.com
 5  * extras: mirrors.cn99.com
 6  * updates: mirrors.cn99.com
 7 正在解决依赖关系
 8 --> 正在检查事务
 9 ---> 软件包 open-vm-tools-devel.x86_64.0.10.2.5-3.el7 将被 安装
10 --> 解决依赖关系完成
11
12 依赖关系解决
13
14 ================================================================================
15  Package                    架构          版本                源           大小
16 ================================================================================
17 正在安装:
18  open-vm-tools-devel        x86_64        10.2.5-3.el7        base        157 k
19
20 事务概要
21 ================================================================================
22 安装  1 软件包
23
24 总下载量:157 k
25 安装大小:1.0 M
26 Downloading packages:
27 警告:/var/cache/yum/x86_64/7/base/packages/open-vm-tools-devel-10.2.5-3.el7.x86_64.rpm: 头V3 RSA/SHA256 Signature, 密钥 ID f4a80eb5: NOKEY
28 open-vm-tools-devel-10.2.5-3.el7.x86_64.rpm 的公钥尚未安装
29 open-vm-tools-devel-10.2.5-3.el7.x86_64.rpm                | 157 kB   00:00
30 从 file:///etc/pki/rpm-gpg/RPM-GPG-KEY-CentOS-7 检索密钥
31 导入 GPG key 0xF4A80EB5:
32  用户ID     : "CentOS-7 Key (CentOS 7 Official Signing Key) <security@centos.org>"
33  指纹       : 6341 ab27 53d7 8a78 a7c2 7bb1 24c6 a8a7 f4a8 0eb5
34  软件包     : centos-release-7-6.1810.2.el7.centos.x86_64 (@anaconda)
35  来自       : /etc/pki/rpm-gpg/RPM-GPG-KEY-CentOS-7
36 Running transaction check
37 Running transaction test
38 Transaction test succeeded
39 Running transaction
40   正在安装    : open-vm-tools-devel-10.2.5-3.el7.x86_64                     1/1
41   验证中      : open-vm-tools-devel-10.2.5-3.el7.x86_64                     1/1
42
43 已安装:
44   open-vm-tools-devel.x86_64 0:10.2.5-3.el7
45
46 完毕!
 1 [root@zookeeper0 admin]# vmhgfs-fuse .host:/ /mnt/hgfs
 2 [root@zookeeper0 admin]# cd /mnt/hgfs
 3 [root@zookeeper0 hgfs]# cd /mnt/hgfs/solrcloud
 4 [root@zookeeper0 solrcloud]# ll
 5 总用量 50252
 6 drwxrwxrwx. 1 root root     4096 7月  24 10:39 apache-tomcat-8.5.24
 7 drwxrwxrwx. 1 root root        0 7月  24 10:39 solr6.6.3-8983
 8 drwxrwxrwx. 1 root root        0 7月  25 11:04 solr6.6.3-8984
 9 drwxrwxrwx. 1 root root     4096 7月  24 10:51 vmware
10 drwxrwxrwx. 1 root root     4096 7月  25 10:57 zookeeper-3.4.10
11 -rwxrwxrwx. 1 root root 35042811 12月 19 2018 zookeeper-3.4.10.tar.gz
12 -rwxrwxrwx. 1 root root 16402010 7月  23 16:22 zookeeper-3.4.5.tar.gz
复制压缩包到指定文件
1 [root@zookeeper0 solrcloud]# cp zookeeper-3.4.10.tar.gz /data/zookeeper
2 [root@zookeeper0 solrcloud]# mkdir -p /data/zookeeper && cd /data/zookeeper
3 [root@zookeeper0 zookeeper]# tar -zxf zookeeper-3.4.10.tar.gz

 浙公网安备 33010602011771号