windows 安装 Redis
本文安装的是 免安装版本:
1:
https://github.com/MicrosoftArchive/redis/releases
设置密码
redis.windows.conf:
################################## SECURITY ###################################

# Require clients to issue AUTH <PASSWORD> before processing any other
# commands.  This might be useful in environments in which you do not trust
# others with access to the host running redis-server.
#
# This should stay commented out for backward compatibility and because most
# people do not need auth (e.g. they run their own servers).
#
# Warning: since Redis is pretty fast an outside user can try up to
# 150k passwords per second against a good box. This means that you should
# use a very strong password otherwise it will be very easy to break.
#
# requirepass foobared

requirepass 123456 这就是密码
解压到你的目录下;
2:
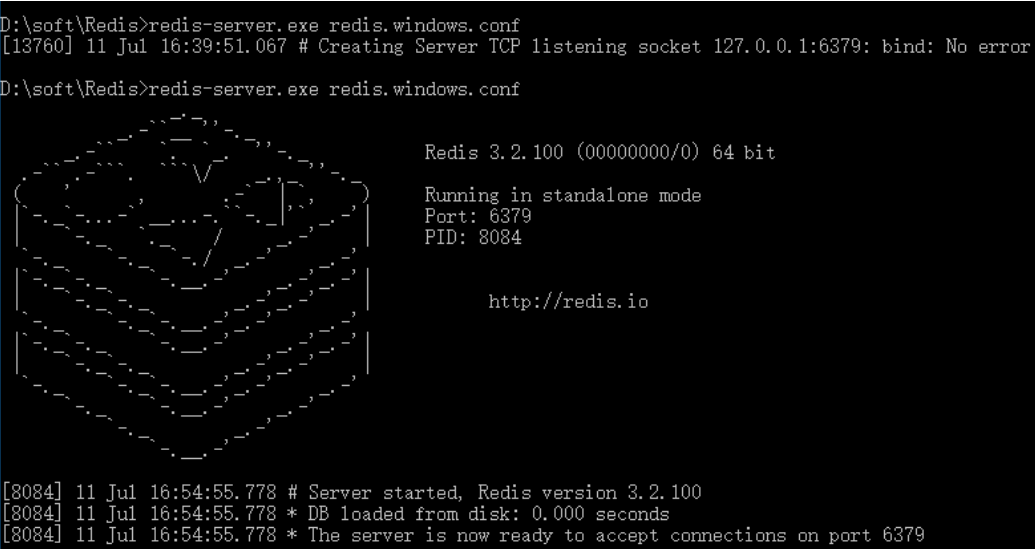
D:\soft\Redis>redis-server.exe redis.windows.conf
3:
再新打开一个cmd(不要关闭之前打的Cmd窗口),启动Redis客户端:
D:\soft\Redis>redis-cli.exe
4 :获取Redis中某个key的值,提示无权限。
127.0.0.1:6379> get name
(error) NOAUTH Authentication required.
127.0.0.1:6379>
5:
通过密码进入访问,使用 auth + 密码,如下:
127.0.0.1:6379> get name
(error) NOAUTH Authentication required.
127.0.0.1:6379> auth 123456
OK
127.0.0.1:6379> get name
"ok"
127.0.0.1:6379>
6、Spring整合Redis的一些配置(JedisPool单机版):


Spring.xml文件配置的JedisPool池:
Java代码  收藏代码

    <bean id="jedisPool" class="redis.clients.jedis.JedisPool">
            <constructor-arg name="poolConfig" ref="jedisPoolConfig"></constructor-arg>
            <constructor-arg name="host" value="${redis.host}" />
            <constructor-arg name="port" value="${redis.port}" type="int" />
            <constructor-arg name="timeout" value="${redis.timeout}" type="int" />
            <constructor-arg name="password" value="#{'${redis.password}'!=''?'${redis.password}':null}" />
            <!-- <constructor-arg name="database" value="${redis.db.index}" type="int" /> -->
        </bean>


redis.properties配置文件
Java代码  收藏代码

    #*****************jedis连接参数设置*********************#
    #redis服务器ip#
    redis.host=192.168.100.66
    #redis服务器端口号#
    redis.port=6379
    #超时时间:单位ms#
    redis.timeout=3000
    #授权密码,没有密码则不设置,但属性要保留#
    redis.password=123456


7、如果不是安装版的Redis,又想让Redis自启动的时候,可以向Windows添加自启动服务:

  1、进入到Redis的安装目录

    D:\soft\Redis>

   2、执行命令:

    redis-server --service-install redis.windows.conf --loglevel notice --service-name Redis

  3、完整示例:

    D:\soft\Redis>redis-server --service-install redis.windows.conf --loglevel notice --service-name Redis

 --service-install redis.windows.conf  指定redis配置文件

--loglevel notice 指定日志级别

--service-name Redis 指定服务名称


运行结果如下( Redis successfully installed as a service.):

    D:\soft\Redis>redis-server --service-install redis.windows.conf --loglevel notice --service-name Redis
    [7176] 12 Jul 09:34:50.730 # Granting read/write access to 'NT AUTHORITY\NetworkService' on: "D:\soft\Redis" "D:\soft\Redis\"
    [7176] 12 Jul 09:34:50.730 # Redis successfully installed as a service.


  4、安装服务后,默认不是马上启动的,但启动类型是自启动,如果想马上启动,请执行命令:

    redis-server --service-start


    服务成功启动显示如下:
    [9876] 12 Jul 09:57:41.251 # Redis service successfully started.

或者重启电脑。


停止服务:

    redis-server --service-stop

5、删除Redis服务:

    redis-server --service-uninstall

 浙公网安备 33010602011771号