


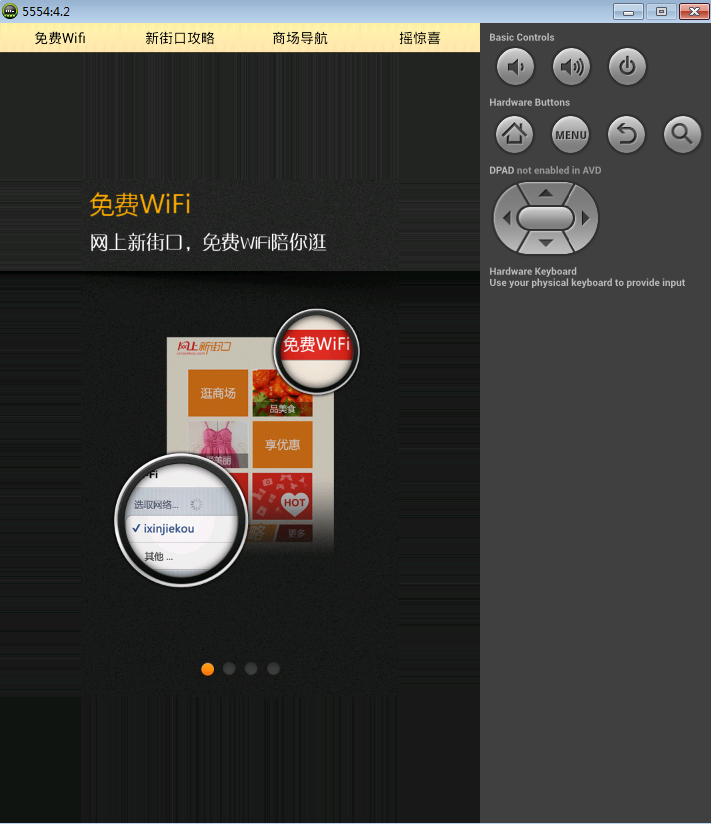
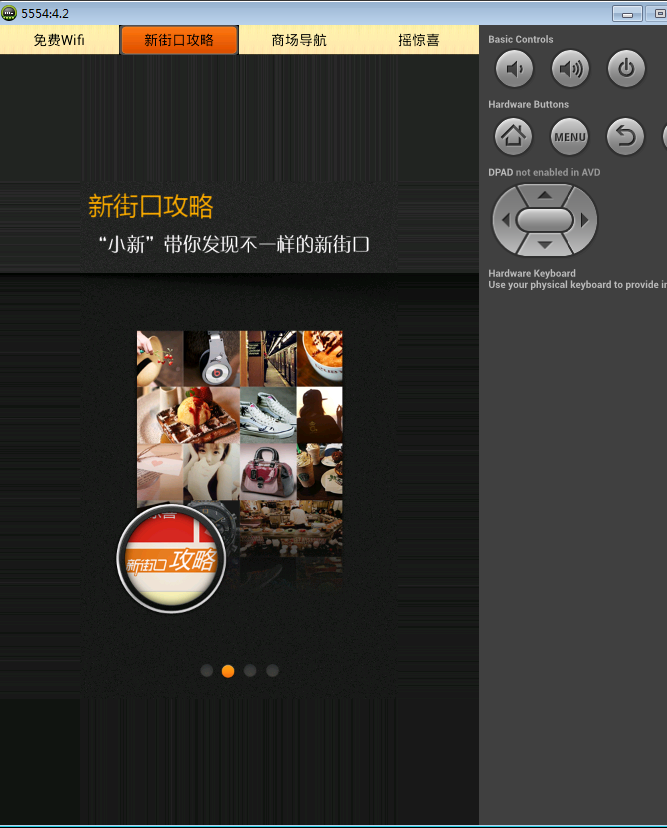
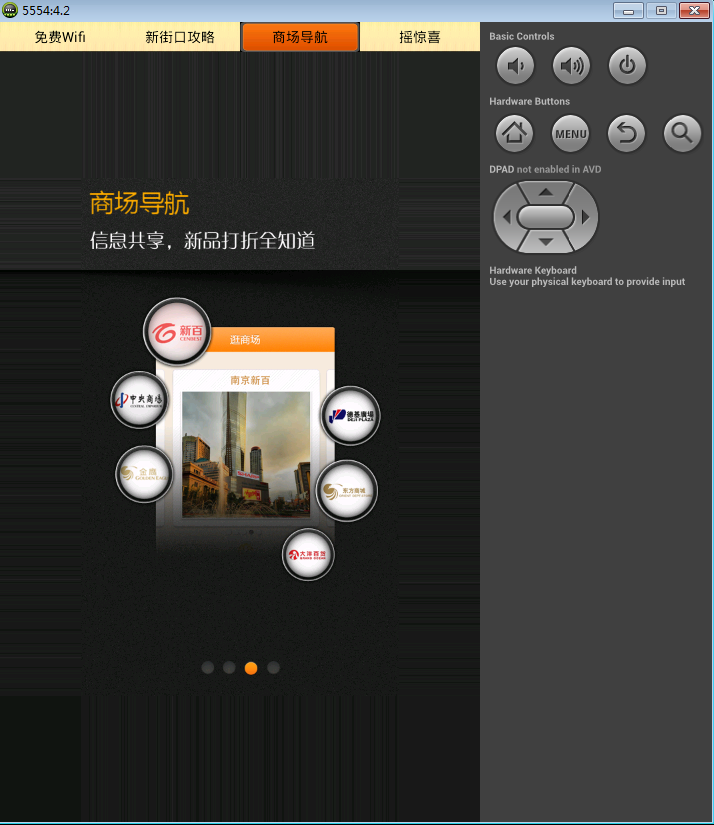
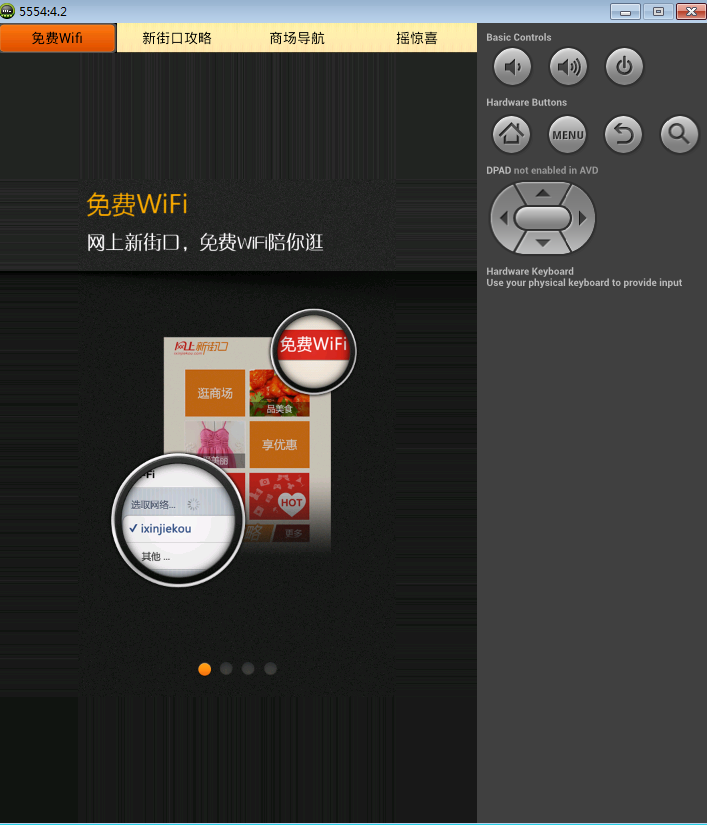
先看效果图:
Ps:图片资源用的是公司软件“爱在新街口”的图片资源,大家在南京生活,有兴趣的可以玩下这个软件。介绍新街口好吃好玩的,很好用很漂亮的一款软件:

下面是代码:
XML:
1.主Activity的XML布局文件:
 1 <LinearLayout xmlns:android="http://schemas.android.com/apk/res/android"
 2     xmlns:tools="http://schemas.android.com/tools"
 3     android:layout_width="match_parent"
 4     android:layout_height="match_parent"
 5     android:orientation="vertical"
 6     tools:context=".MainActivity" >
 7     <LinearLayout
 8         android:layout_width="fill_parent"
 9         android:layout_height="30dp"
10         android:orientation="horizontal"
11         >
12         <TextView
13             android:id="@+id/tv1"
14             android:layout_width="fill_parent"
15             android:layout_height="fill_parent"
16             android:background="@drawable/im_button"
17             android:layout_weight="1"
18             android:text="@string/tv1"
19             android:gravity="center"
20             android:focusable="true"
21             android:textColor="#000000"/>
22           <TextView
23             android:id="@+id/tv2"
24             android:layout_width="fill_parent"
25             android:layout_height="fill_parent"
26             android:background="@drawable/im_button"
27             android:layout_weight="1"
28             android:text="@string/tv2"
29             android:gravity="center"
30             android:focusable="true"
31             android:textColor="#000000"/>
32             <TextView
33             android:id="@+id/tv3"
34             android:layout_width="fill_parent"
35             android:layout_height="fill_parent"
36             android:background="@drawable/im_button"
37             android:layout_weight="1"
38             android:text="@string/tv3"
39             android:gravity="center"
40             android:focusable="true"
41             android:textColor="#000000" />
42               <TextView
43             android:id="@+id/tv4"
44             android:layout_width="fill_parent"
45             android:layout_height="fill_parent"
46             android:background="@drawable/im_button"
47             android:layout_weight="1"
48             android:text="@string/tv4"
49             android:gravity="center"
50             android:focusable="true"
51             android:textColor="#000000" />
52
53     </LinearLayout>
54
55      <!-- android:background="@drawable/help_page1"
56                设置默认加载的页面 -->
57     <LinearLayout
58         android:id="@+id/my_sv"
59         android:measureAllChildren="true"
60         android:layout_width="fill_parent"
61         android:layout_height="fill_parent"
62         android:layout_weight="1"
63         android:background="@drawable/help_page1" >
64
65     </LinearLayout>
66
67
68
69 </LinearLayout>
2.SubActivity1的布局文件:
<RelativeLayout xmlns:android="http://schemas.android.com/apk/res/android"
    xmlns:tools="http://schemas.android.com/tools"
    android:layout_width="match_parent"
    android:layout_height="match_parent"
    tools:context=".SubActivity1" >
    <TextView
        android:layout_width="match_parent"
        android:layout_height="match_parent"
        android:background="@drawable/help_page1"/>


</RelativeLayout>
SubActivity2,SubActivity3,SubActivity4的布局文件和SubActivity1基本一致,只是android:background属性换了
下边是主Activity代码:
package com.example.testactivitygroup;

import android.os.Bundle;
import android.app.Activity;
import android.app.ActivityGroup;
import android.app.LocalActivityManager;
import android.content.Intent;
import android.view.Menu;
import android.view.View;
import android.view.View.OnClickListener;
import android.view.Window;
import android.view.WindowManager;
import android.widget.Button;
import android.widget.LinearLayout;
import android.widget.ScrollView;
import android.widget.Switch;
import android.widget.TextView;

public class MainActivity extends ActivityGroup implements OnClickListener {


    LinearLayout container;
    TextView tv1;
    TextView tv2;
    TextView tv3;
    TextView tv4;
    @Override
    protected void onCreate(Bundle savedInstanceState) {
        super.onCreate(savedInstanceState);

        //去除此Activity的标题
        requestWindowFeature(Window.FEATURE_NO_TITLE);
        setContentView(R.layout.activity_main);

        //去除此Activity上边的状态栏
        getWindow().setFlags(WindowManager.LayoutParams. FLAG_FULLSCREEN ,
                WindowManager.LayoutParams. FLAG_FULLSCREEN);
        tv1 = (TextView) findViewById(R.id.tv1);
        tv2 = (TextView) findViewById(R.id.tv2);
        tv3 = (TextView) findViewById(R.id.tv3);
        tv4 = (TextView) findViewById(R.id.tv4);

        //获得SubActivity的界面布局
        container = (LinearLayout)findViewById(R.id.my_sv);

    /*    默认加载的界面在layout中设置*/

        tv1.setOnClickListener(this);
        tv2.setOnClickListener(this);
        tv3.setOnClickListener(this);
        tv4.setOnClickListener(this);
    }
    @Override
    public void onClick(View v) {
        // TODO Auto-generated method stub
        switch (v.getId())
        {
        case R.id.tv1:


            //声明一个要跳转的Intent
            Intent intent1 = new Intent(MainActivity.this,SubActivity1.class);

            //设置Flags
            intent1.addFlags(Intent.FLAG_ACTIVITY_CLEAR_TOP);

            //声明LocalActivityManager
            LocalActivityManager activityManager1 = getLocalActivityManager();

            //得到Window
            Window window1 = activityManager1.startActivity("bt1", intent1);

            //得到View
            View subView1 = window1.getDecorView();

            //移除以前布局
            container.removeAllViews();

            //添加VIew
            container.addView(subView1);

//            /*也可以写在一起*/
//            container.addView(getLocalActivityManager()
//                    .startActivity("bt1", new Intent(MainActivity.this,SubActivity1.class))
//                    .getDecorView());
            break;
        case R.id.tv2:
            Intent intent2 = new Intent(MainActivity.this,SubActivity2.class);
            intent2.addFlags(Intent.FLAG_ACTIVITY_CLEAR_TOP);
            LocalActivityManager activityManager2 = getLocalActivityManager();
            Window window2 = activityManager2.startActivity("bt2", intent2);
            View subView2 = window2.getDecorView();
            container.removeAllViews();
            container.addView(subView2);
            break;
        case R.id.tv3:
            Intent intent3 = new Intent(MainActivity.this,SubActivity3.class);
            intent3.addFlags(Intent.FLAG_ACTIVITY_CLEAR_TOP);
            LocalActivityManager activityManager3 = getLocalActivityManager();
            Window window3 = activityManager3.startActivity("bt3", intent3);
            View subView3 = window3.getDecorView();
            container.removeAllViews();
            container.addView(subView3);
            break;
        case R.id.tv4:
            Intent intent4 = new Intent(MainActivity.this,SubActivity4.class);
            intent4.addFlags(Intent.FLAG_ACTIVITY_CLEAR_TOP);
            LocalActivityManager activityManager4 = getLocalActivityManager();
            Window window4 = activityManager4.startActivity("bt4", intent4);
            View subView4 = window4.getDecorView();
            container.removeAllViews();
            container.addView(subView4);
            break;
        default:
            break;
        }

    }

    @Override
    public boolean onCreateOptionsMenu(Menu menu) {
        // Inflate the menu; this adds items to the action bar if it is present.
        getMenuInflater().inflate(R.menu.activity_main, menu);
        return true;
    }

}
SubActivity1代码:
package com.example.testactivitygroup;

import android.os.Bundle;
import android.app.Activity;
import android.view.Menu;
import android.view.Window;

public class SubActivity1 extends Activity {

    @Override
    protected void onCreate(Bundle savedInstanceState) {
        super.onCreate(savedInstanceState);
        //requestWindowFeature(Window.FEATURE_NO_TITLE);
        setContentView(R.layout.activity_sub_activity1);
    }

    @Override
    public boolean onCreateOptionsMenu(Menu menu) {
        // Inflate the menu; this adds items to the action bar if it is present.
        getMenuInflater().inflate(R.menu.activity_sub_activity1, menu);
        return true;
    }

}
SubActivity2,SubActivity3,SubActivity4的代码和SubActivity1基本一致!
注意需要在Manifest中注册
 <application
        android:allowBackup="true"
        android:icon="@drawable/ic_launcher"
        android:label="@string/app_name"
        android:theme="@android:style/Theme.NoTitleBar.Fullscreen" >
通过黄色代码去除程序的标题栏和手机屏幕上面显示的状态栏,使程序全屏幕显示!
