Entity Framework Core 3.1 入门(八)在 ASP.NET Core 中配置 Entity Framework Core
此入门教程是记录下方参考资料视频的过程,本例基于Entity Framework Core 3.1
开发工具:Visual Studio 2019
目录
Entity Framework Core 3.1 入门(八)在 ASP.NET Core 中配置 Entity Framework Core
创建 ASP.NET Core 项目
-
在解决方案 Demo 下新建ASP.NET Core 项目,命名为 Demo.Web

-
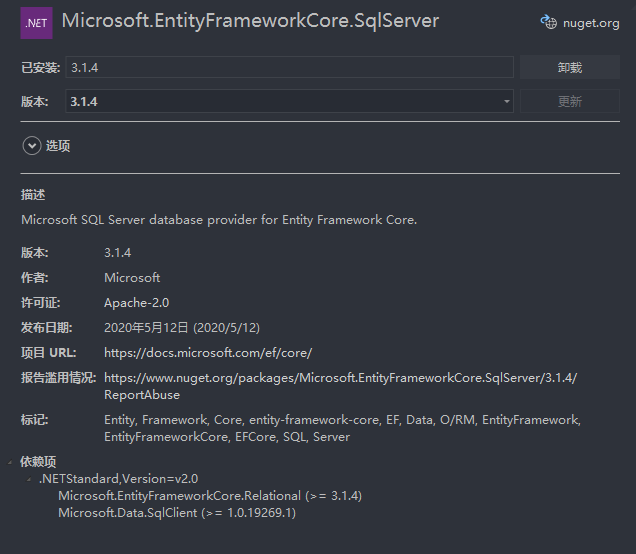
使用 NuGet 为 Demo.Web 安装 Microsoft.EntityFrameworkCore.SqlServer

-
DbContext不需要override OnConfiguring()了,使用构造函数
public DemoContext(DbContextOptions<DemoContext> options):base(options)
{

}
- 数据库连接字符串写在 Demo.Web 项目的 appsettings.json 中
{
  "Logging": {
    "LogLevel": {
      "Default": "Information",
      "Microsoft": "Warning",
      "Microsoft.Hosting.Lifetime": "Information"
    }
  },
  "ConnectionStrings": {
    "LocalDB": "Data Source=(local)\\MSSQLLocalDB; Initial Catalog=Demo"
  },
  "AllowedHosts": "*"
}
- 在 StartUp 中添加EF Core,获取数据库连接字符串
private IConfiguration _configuration;
public Startup(IConfiguration configuration)
{
      _configuration = configuration;
}

public void ConfigureServices(IServiceCollection services)
{
      services.AddDbContext<DemoContext>(options =>
      {
            options.UseSqlServer(this._configuration.GetConnectionString("LocalDB"));
      });
}
- 在控制器的构造器添加DbContext,其实应该在Service里写DbContext
private readonly DemoContext _context;

public Controller(DemoContext context)
{
    this._context=context;
}
在 ASP.NET Core 中配置 Entity Framework Core 结束
因为Migration文件在Demo.Data中,所以还可以用,单独提出DbContext的好处


