Vue学习-06
一、Vuex的使用
vue的插件,增强了vue的功能
在vue中实现集中状态(数据)管理的一个vue插件,对vue应用中多个组件的共享状态进行集中式的管理(读/写),也是一种组件间通信的方式,且适用于任意组件间通信
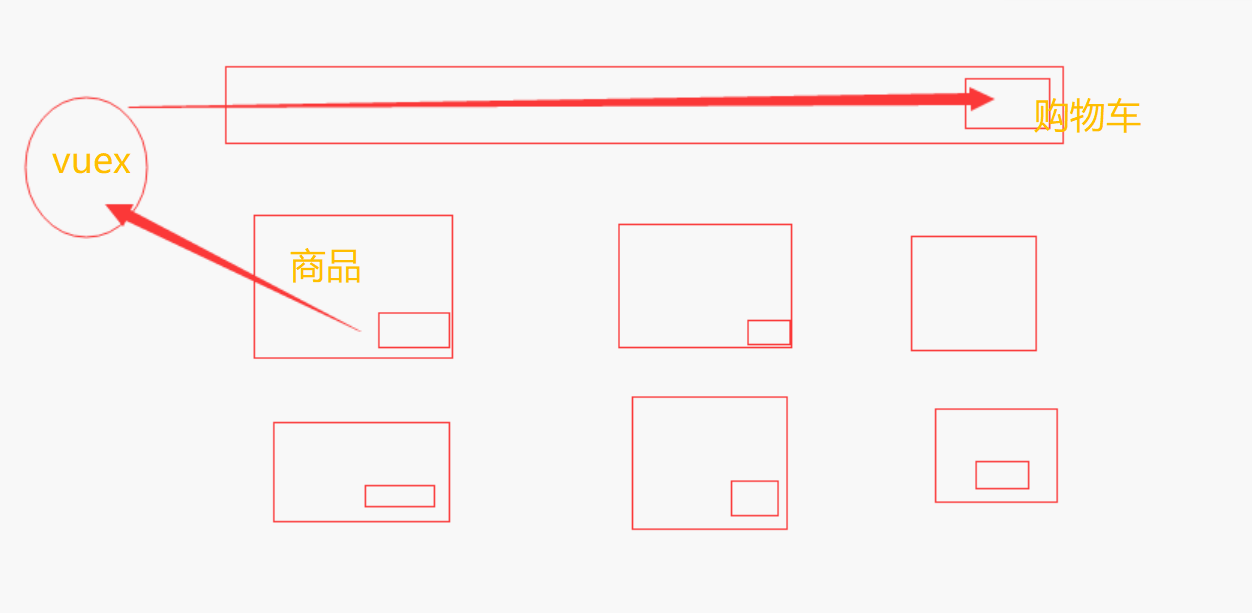
举例子:如图商品添加到购物车 改变数量。vuex集中管理,你+1,+1,+1由vuex传给购物车。vuex就是状态管理器,一个管理变量的地方。
Vuex的使用流程
- state:存数据的地址
- actions:中转站(服务员)
- mutations:真正改state数据的地方
使用步骤
- 在
state中定义变量 - 在组件中通过
this.$store.dispatch('actions中定义的函数')触发actions中的函数执行 - 在
action中的函数中,调用context.commit('mutations中定义的函数') - 在
muations中定义的函数实现真正的修改state中的数据 - 页面中只要使用
$store.state.变量变量变化,页面就变化,实现了组件间通信
注意项:
- 在组件中可以直接调用
commit触发mutations中定义的函数 - 在组件中可以直接修改
state中定义变量

使用的案例
store/index.js
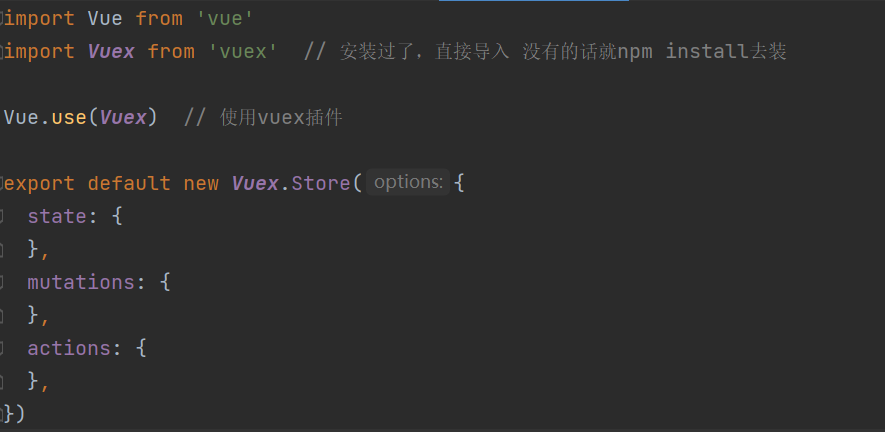
import Vue from 'vue'
import Vuex from 'vuex'  // 安装过了,直接导入 没有的话就npm install去装

Vue.use(Vuex)  // 使用vuex插件

export default new Vuex.Store({
    // 真正的在变量
    state: {
        age: 23,
    },
    mutations: {},
    actions: {
        add(a, b, c) {
            console.log(a, b, c)
        }
    },
})
view/App.vue
<template>
  <div id="app">
    <h1>app</h1>
    <h2>vuex中state中的age显示在这里:{{ $store.state.age }}</h2>
  </div>
</template>
<script>
export default {
  name: 'App',
  data() {
    return {
      name: 'curry'
    }
  },
  created() {
    console.log(this.$store.state.age)
  },
  methods: {}
}
</script>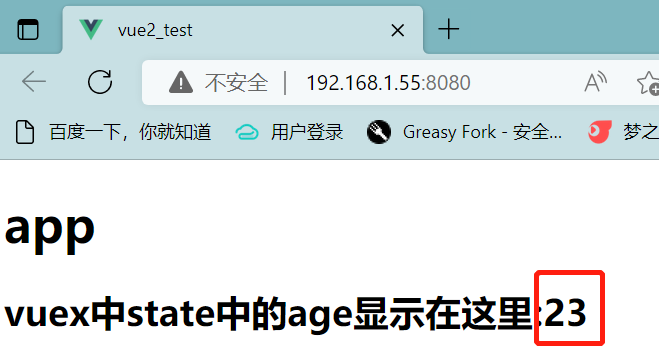
年龄添加案例
方式一:较简单,但是不是按顺序来的,没有扩展性不推荐

方式二、按流程
store/index.js
import Vue from 'vue'
import Vuex from 'vuex' // 安装过了,直接导入 没有的话就npm install去装
Vue.use(Vuex) // 使用vuex插件
export default new Vuex.Store({
// 真正的在变量
state: {
age: 23,
},
mutations: {
ADD(state, num) {
console.log('###',num)
state.age += num
}
},
actions: {
add(context, num) {
// 第一个参数传入context,内部有commit和dispatch
// 调用dispatch会触发actions中函数执行
console.log('-----', context, num)
// 调用commit会触发中函数Mutations执行
context.commit('ADD', num)
}
},
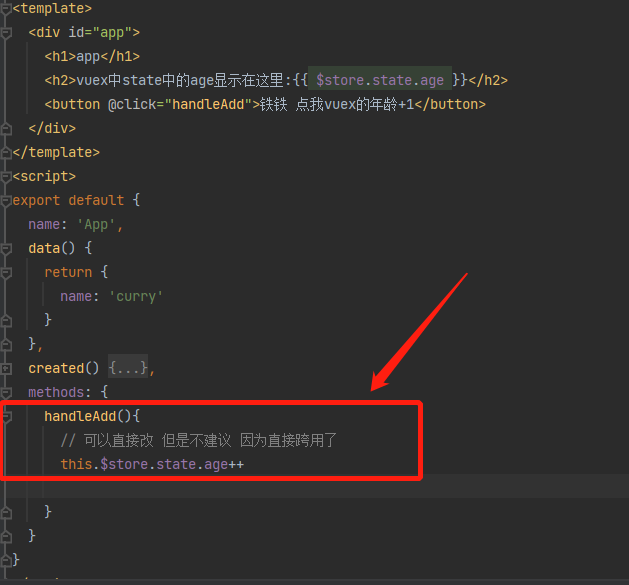
})App.vue
<template>
  <div id="app">
    <h1>app</h1>
    <h2>vuex中state中的age显示在这里:{{ $store.state.age }}</h2>
    <button @click="handleAdd">铁铁 点我vuex的年龄+1</button>
  </div>
</template>
<script>
export default {
  name: 'App',
  data() {
    return {
      name: 'curry'
    }
  },
  created() {
    console.log(this.$store.state.age)
  },
  methods: {
    handleAdd(){
      // 方式一:可以直接改 但是不建议 因为直接跨用了
      // this.$store.state.age++
      // 方式二:按照正常步骤vc—>触发vuex中action的函数执行,需要dispatch
      this.$store.dispatch('add',1)
    }
  }
}
</script>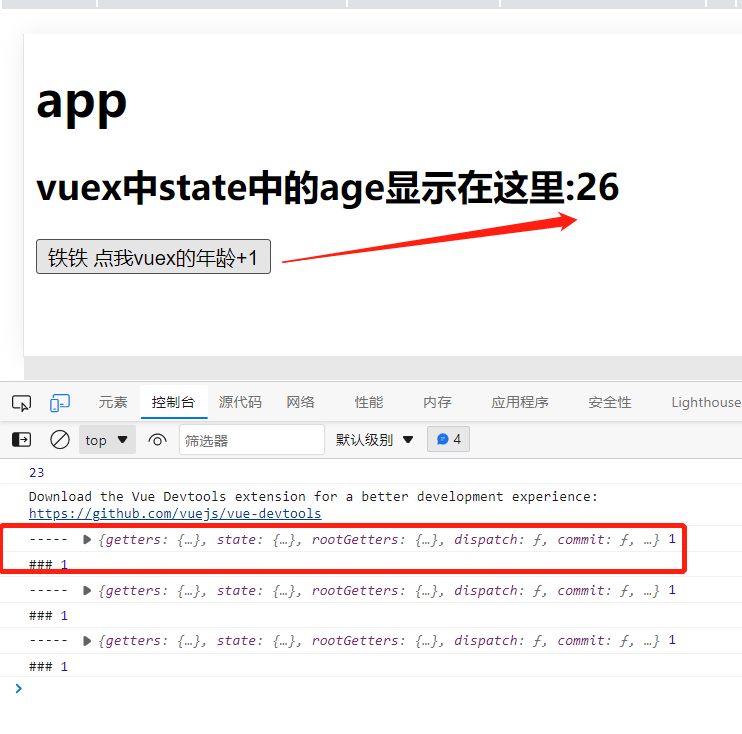
小总结:
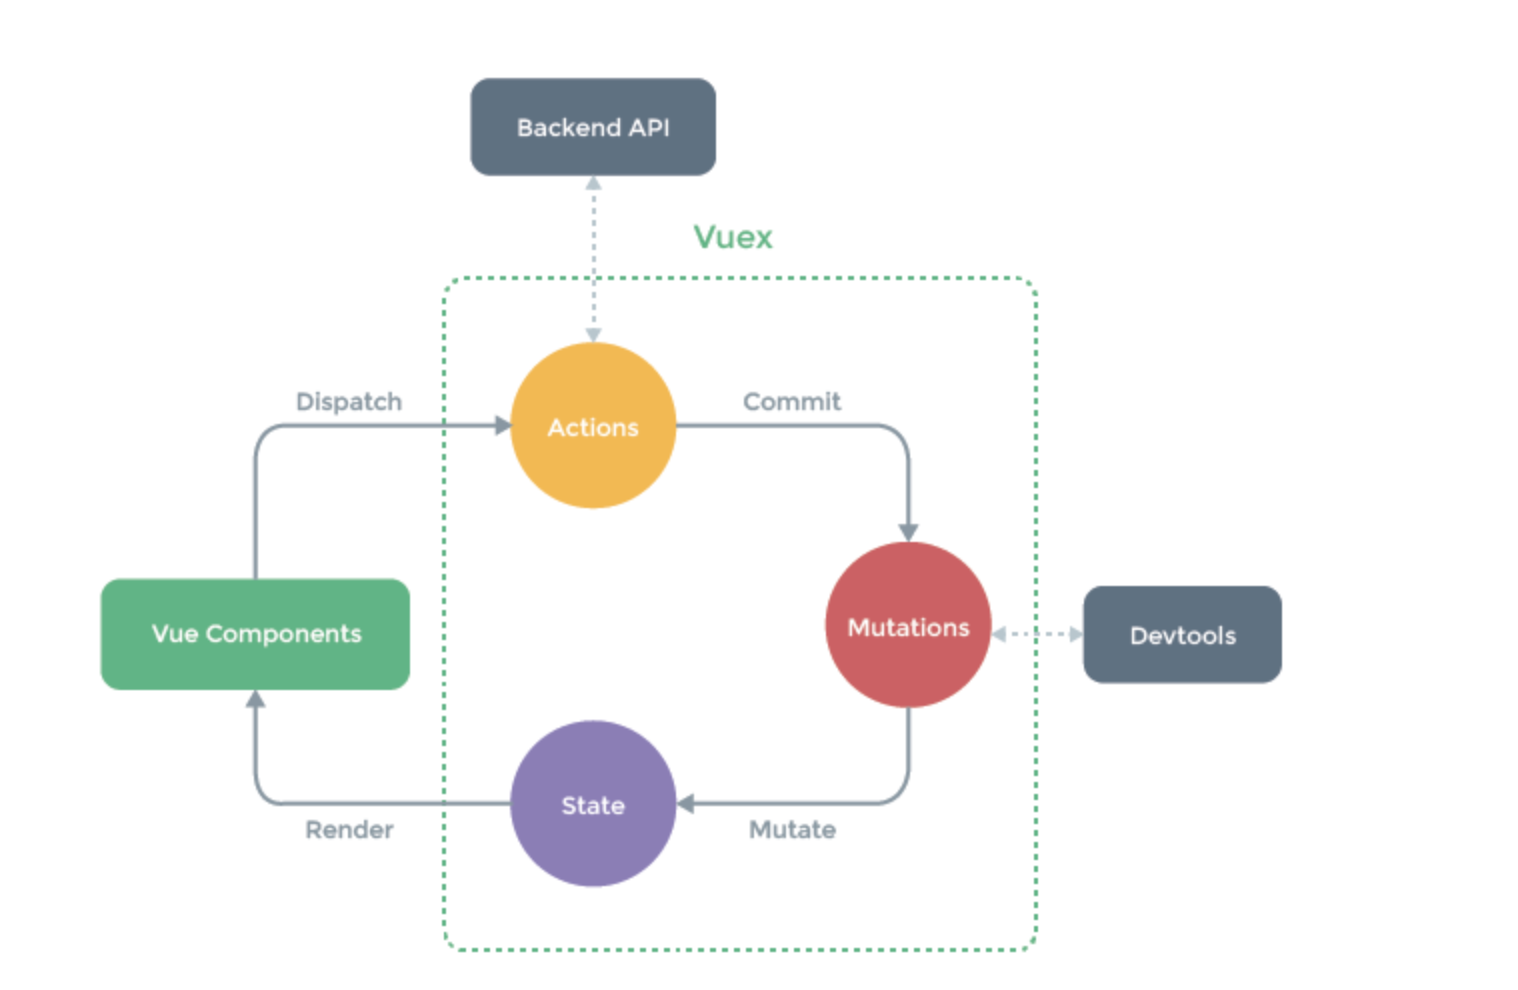
结合上面的流程图看,按着箭头执行:首先从Vue Components 用this.$store就能拿到$store,然后点出来dispatch触发actions里面 第一个参数是context 第二个参数是num,传进来之后再调commit会触发Mutations的执行,这个里面真正的在改state的值,这样一改页面就开始跟着改了。
添加购物车案例
store/index.js
import Vue from 'vue'
import Vuex from 'vuex'  // 安装过了,直接导入 没有的话就npm install去装

Vue.use(Vuex)  // 使用vuex插件

export default new Vuex.Store({
    // 真正的在变量
    state: {
        age: 23,
        shoppingNum: 0,
    },
    mutations: {
        ADD(state, num) {
            console.log('###', num)
            state.age += num
        },
        addShoppingCart(state, obj) {
            state.shoppingNum += 1
        }
    },
    actions: {
        add(context, num) {
            // 第一个参数传入context,内部有commit和dispatch
            // 调用dispatch会触发actions中函数执行
            console.log('-----', context, num)
            // 调用commit会触发中函数Mutations执行
            context.commit('ADD', num)
        },
        addShoppingCart(context, obj) {
            context.commit('addShoppingCart')
        }
    },
})
App.vue
<template>
  <div id="app">
    <h1>app</h1>
    <h2>vuex中state中的age显示在这里:{{ $store.state.age }}</h2>
    <button @click="handleAdd">铁铁 点我vuex的年龄+1</button>
    <hr>
    <h1>跨组件通信案例</h1>
    <ShoppingCat></ShoppingCat>
    <hr>
    <Goods></Goods>
  </div>
</template>
<script>
import Goods from "@/components/Goods";
import ShoppingCat from "@/components/ShoppingCat";

export default {
  name: 'App',
  data() {
    return {
      name: 'curry'
    }
  },
  created() {
    console.log(this.$store.state.age)
  },
  methods: {
    handleAdd() {
      // 方式一:可以直接改 但是不建议 因为直接跨用了
      // this.$store.state.age++
      // 方式二:按照正常步骤vc—>触发vuex中action的函数执行,需要dispatch
      this.$store.dispatch('add', 1)
    }
  },
  components: {ShoppingCat, Goods}
}
</script>
components/Goods
<template>
  <div>
    <ul>
      <li>小汽车————>
        <button @click="addShoppingCart">点我加入购物车</button>
      </li>
      <li>小摩托————>
        <button @click="addShoppingCart">点我加入购物车</button>
      </li>
      <li>小飞机————>
        <button @click="addShoppingCart">点我加入购物车</button>
      </li>
      <li>小火车————>
        <button @click="addShoppingCart">点我加入购物车</button>
      </li>
    </ul>
  </div>
</template>

<script>
export default {
  name: "Goods",
  methods:{
    addShoppingCart(){
      this.$store.dispatch('addShoppingCart','商品对象')
    }
  }
}
</script>

<style scoped>

</style>
components/ShoppingCat
<template>
<div>
  <h2>购物车中商品数量为:{{$store.state.shoppingNum}}</h2>
</div>


</template>

<script>
export default {
  name: "ShoppingCat"
}
</script>

<style scoped>

</style>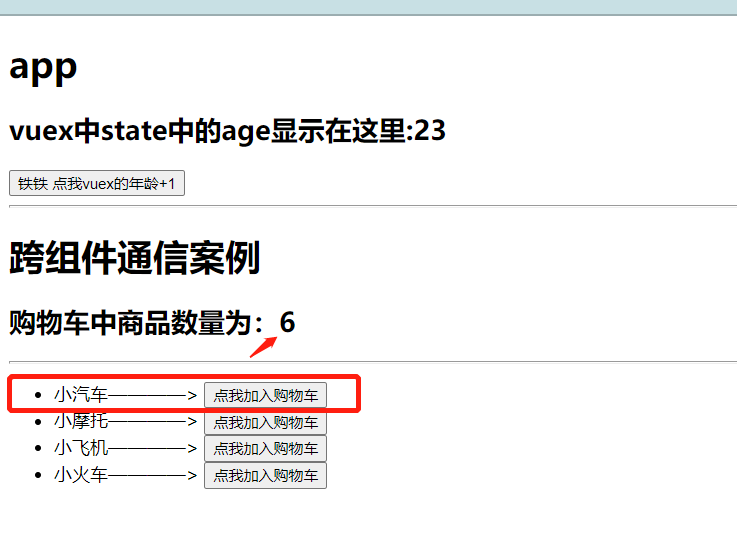
二、Vue-router的应用
官方提供的用来实现spa的vue 插件:有了它以后,我们可以写很多页面组件,通过地址栏不同的路径显示不同的页面组件
https://router.vuejs.org/zh/index.html
使用步骤
# 使用步骤
	1 新建router/index.js
    	const routes = [配置路由1,配置路由2]
    2 main.js中使用:之前已经写好了
    	import router from './router'
        new Vue({
            ...
              router,
            ...
            }).$mount('#app')

    3 只需要写页面组件,配置路由即可
    4 在App.vue中加入
      	<router-view>

        </router-view>
    5 在浏览器访问const routes中配置的路径,就能看到对应的页面组件了
例:写个登录的路由
router/index.js
import Vue from 'vue'
import VueRouter from 'vue-router'
import Home from "@/views/Home";
import Goods from "@/views/Goods";
import Login from "@/views/Login";

// 使用路由插件
Vue.use(VueRouter)

const routes = [
  {
    path: '/',
    name: 'home',
    component:Home
  },
  {
    path: '/goods',
    name: 'goods',
    component: Goods
  },
  {
    path: '/login',
    name: 'login',
    component: Login
  },
]

const router = new VueRouter({
  mode: 'history',
  base: process.env.BASE_URL,
  routes
})

export default router
views/Login.vue
<template>
  <div>
    <h1>登录页面</h1>
    <p>用户名:<input type="text" v-model="username"></p>
    <p>密码:<input type="text" v-model="password"></p>
    <button @click="handleSubmit">登录</button>
  </div>
</template>

<script>
export default {
  name: "login",
  data() {
    return {
      username: '',
      password: ''
    }
  },
  methods: {
    handleSubmit(){
      console.log(this.username,this.password)
    }
  }
}
</script>

<style scoped>

</style>
App.vue
<template>
  <div id="app">
    <router-view>

    </router-view>
  </div>
</template>
<script>


export default {
  name: 'App',
  data() {
    return {}
  },
  created() {
    // 只要使用了路由组件,this中就会多$router:VueRouter实例 和 $Route
    console.log(this)
  }
}
</script>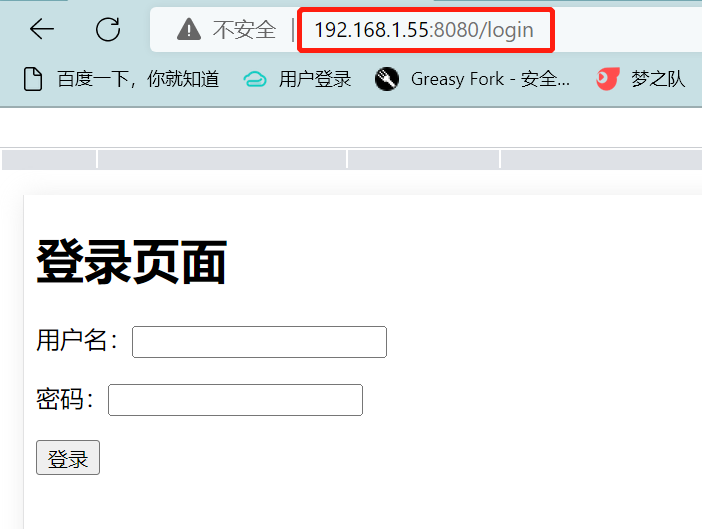
路由的跳转
# 使用步骤:
	- 在html中使用
    	<router-link :to="path">去登录</router-link>
    -在js中使用
    	this.$router.push('goods')
代码演示
<template>
<div>
  <h1>我是首页</h1>
<!--  <a href="/login">铁铁 去登录</a>  // 可以这么写 但是不介意了-->
  <router-link to="login">铁铁,去登录</router-link>
  <br>
  <button @click="toGoods">点我跳转到商品页面</button>
</div>
</template>

<script>
export default {
  name: "home",
  methods:{
    toGoods(){
      this.$router.push('goods')
    }
  }
}
</script>

<style scoped>

</style>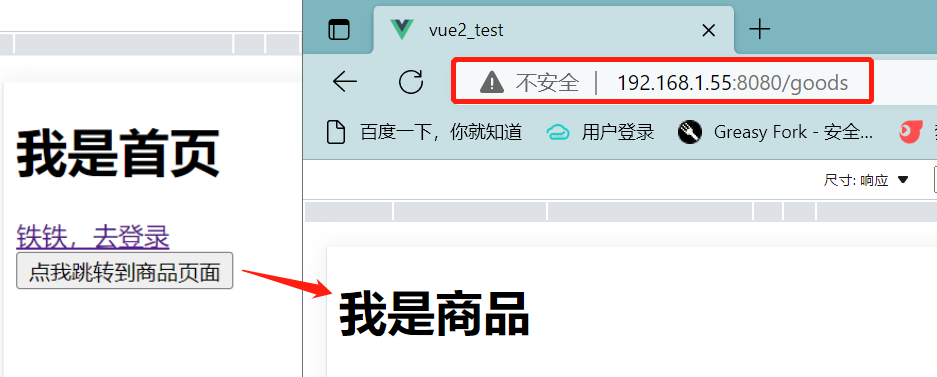
路由跳转携带参数
两种情况
- 带在请求地址中以 ?name=curry&age=34
- 在地址中类似于django的分组 /goods/1/
情况1:请求地址中
	-<router-link to="/login/?name=lqz&age=19">去登录</router-link>
    -组件中接受:this.$route.query.取

情况2:地址中
	<router-link to="/login/lyf">去登录</router-link>
    -组件中接受:this.$route.params.取
路由嵌套
使用步骤
1、router/index.js相应的路由中
        {
            path: '/goods',
            name: 'goods',
            component: Goods,
            children: [
                {
                    path: 'list',
                    component: GoodList
                },
                {
                    path: 'detail',
                    component: GoodDetail
                }
            ]

},2、必须在Goods组件中,写<router-view></router-view>
3、使用router-link标签跳转
4、只会变更Goods下router-view包裹的位置
路由守卫
- 对路由进行权限控制
前置路由守卫
router.beforeEach((to, from, next) => {
    console.log('前置路由守卫', to, from)

    if (to.name == 'shoppingcart') {
        let name = localStorage.getItem('name')
        if (name) {
            next()
        } else {
            alert('不好意思没有权限')
        }
    } else {
        next()
    }

})
后置路由守卫
router.afterEach((to,from)=>{
	console.log('后置路由守卫',to,from)
	document.title = to.name
})
 浙公网安备 33010602011771号