今天我们来学习Spinner下拉框的使用!
先看下运行结果
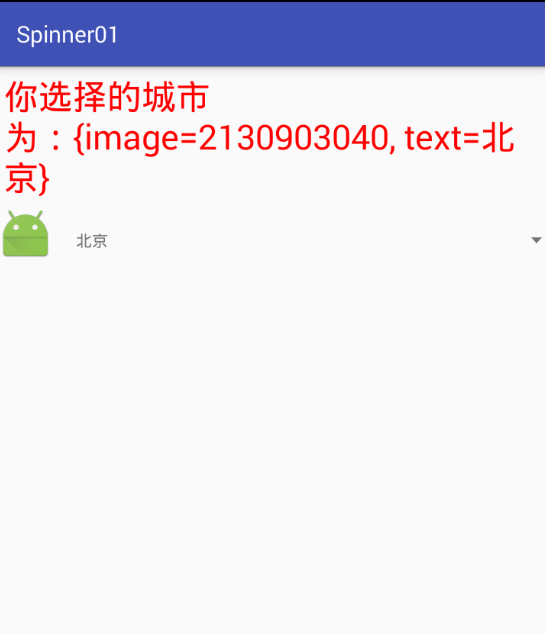
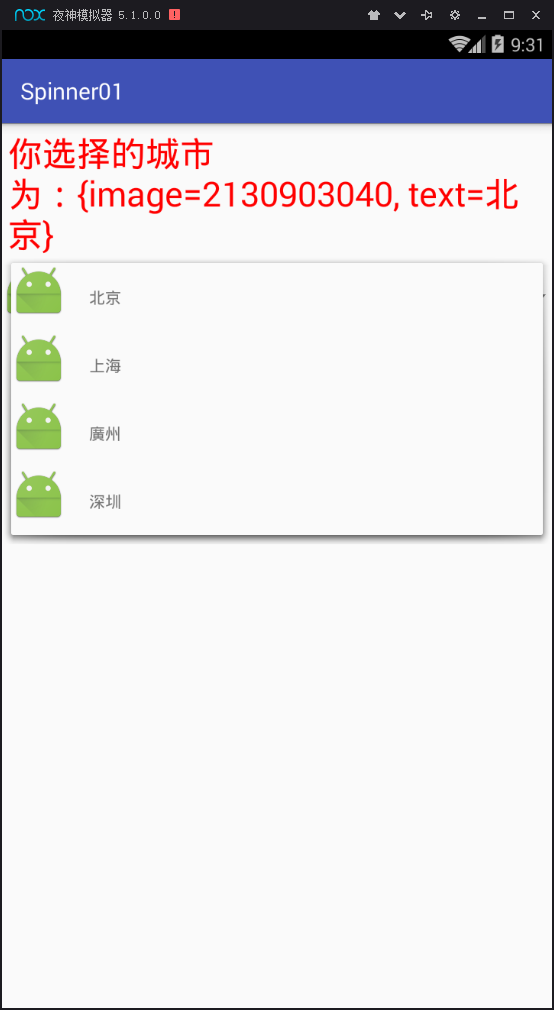
废话不多说,看下具体实现方法
第一步:对activity.xml添加控件
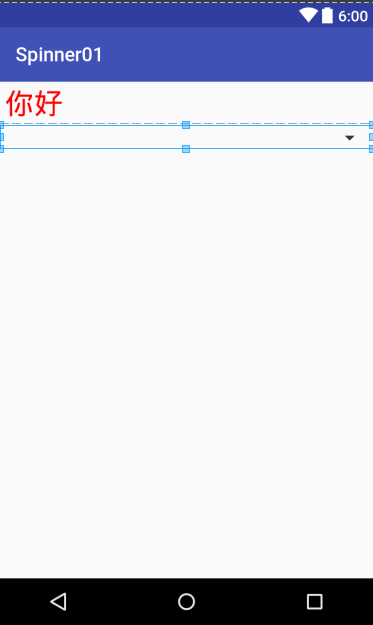
<TextView
    android:layout_margin="5dp"
    android:textColor="#f00"
    android:textSize="30dp"
    android:layout_width="wrap_content"
    android:layout_height="wrap_content"
    android:id="@+id/tv"
    android:text="你好"
    />
    <Spinner
        android:layout_width="match_parent"
        android:layout_height="wrap_content"
        android:id="@+id/spinner"
        ></Spinner>
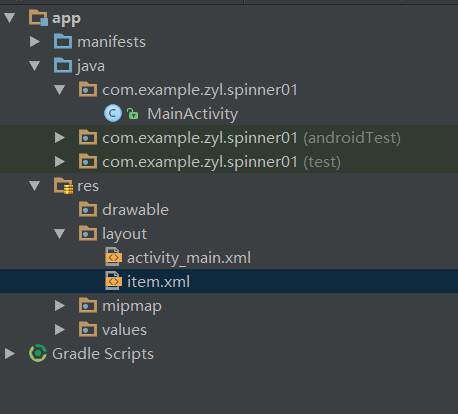
第二步:来个子布局item
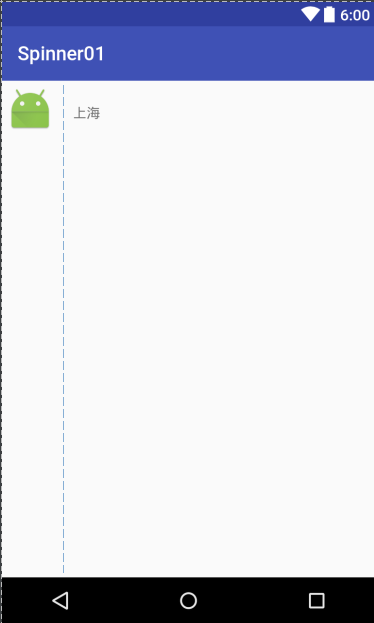
<LinearLayout xmlns:android="http://schemas.android.com/apk/res/android"
    android:orientation="horizontal"
    android:layout_margin="5dp"
    android:layout_width="match_parent"
    android:layout_height="match_parent">
<ImageView
    android:background="@mipmap/ic_launcher"
    android:id="@+id/img"
    android:layout_width="wrap_content"
    android:layout_height="wrap_content"
    />
    <TextView
        android:layout_margin="20dp"
        android:layout_width="wrap_content"
        android:layout_height="wrap_content"
        android:text="上海"
        android:id="@+id/tvv"
        />
</LinearLayout>
第三步:对MainActivity主Java进行编辑
public class MainActivity extends AppCompatActivity {
    private Spinner spinner;
    private TextView tv;
    private List<Map<String,Object>> data;//一个集合

    @Override
    protected void onCreate(Bundle savedInstanceState) {
        super.onCreate(savedInstanceState);
        setContentView(R.layout.activity_main);

        tv= (TextView) findViewById(R.id.tv);
        tv.setText("你選擇的城市是:北京");
        spinner = (Spinner) findViewById(R.id.spinner);
        //数据源
        data = new ArrayList<>();
        //创建一个SimpleAdapter适配器
       //第一个参数:上下文,第二个参数:数据源,第三个参数:item子布局,第四、五个参数:键值对,获取item布局中的控件id
        final SimpleAdapter s_adapter = new SimpleAdapter(this, getDat(), R.layout.item, new String[]{"image", "text"}, new int[]{R.id.img, R.id.tvv});
        //控件与适配器绑定
        spinner.setAdapter(s_adapter);
        //点击事件
        spinner.setOnItemSelectedListener(new AdapterView.OnItemSelectedListener() {
            @Override
            public void onItemSelected(AdapterView<?> adapterView, View view, int i, long l) {
                //为TextView控件赋值!在适配器中获取一个值赋给tv
                tv.setText("你选择的城市为:"+s_adapter.getItem(i));
            }

            @Override
            public void onNothingSelected(AdapterView<?> adapterView) {

            }
        });
    }

    //数据源
    private List<Map<String,Object>> getDat() {
        Map<String, Object> map = new HashMap<>();
        map.put("image", R.mipmap.ic_launcher);
        map.put("text", "北京");
        data.add(map);
        Map<String, Object> map1 = new HashMap<>();
        map1.put("image", R.mipmap.ic_launcher);
        map1.put("text", "上海");
        data.add(map1);
        Map<String, Object> map2 = new HashMap<>();
        map2.put("image", R.mipmap.ic_launcher);
        map2.put("text", "廣州");
        data.add(map2);
        Map<String, Object> map3 = new HashMap<>();
        map3.put("image", R.mipmap.ic_launcher);
        map3.put("text", "深圳");
        data.add(map3);
        return data;
    }
}
OK结束了!


