

操作步骤:
单独 clone
https://github.com/OrchardSkills/OrchardSkills.OrchardCore.MaterialDesignTheme
1、打开 Recipes 目录下面的 materialdesign.recipe.json
"OrchardCore.OpenId.Server",
"OrchardCore.OpenId.Management",
"OrchardCore.OpenId.Validation",
打开 openid的配置
同时在尾部 增加配置 :
{
"name": "OpenIdServerSettings",
"TestingModeEnabled": false,
"AccessTokenFormat": "JsonWebToken",
"Authority": "https://localhost:44342",
"EnableTokenEndpoint": true,
"EnableAuthorizationEndpoint": true,
"EnableLogoutEndpoint": true,
"EnableUserInfoEndpoint": true,
"AllowPasswordFlow": true,
"AllowClientCredentialsFlow": true,
"AllowAuthorizationCodeFlow": true,
"AllowRefreshTokenFlow": true,
"AllowImplicitFlow": false,
"AllowLogoutEndpoint": true,
"AuthorizationEndpointPath": "https://localhost:44342/connect/authorize",
"LogoutEndpointPath": "https://localhost:44342/connect/logout",
"TokenEndpointPath": "https://localhost:44342/connect/token",
"UserinfoEndpointPath": "https://localhost:44342/connect/userinfo"
},
{
"DisplayName": "Authorization Code Flow",
"name": "OpenIdApplication",
"ClientId": "code_flow_client_id",
"RedirectUris": "https://localhost:5002/signin-callback",
"PostLogoutRedirectUris": "https://localhost:5002/signout-callback",
"AllowAuthorizationCodeFlow": true,
"AllowLogoutEndpoint": true,
"Type": "public"
},
{
"name": "OpenIdScope",
"Description": "A scope to provide api for remote clients",
"DisplayName": "api Scope",
"ScopeName": "api",
"Resources": "my_recipient"
},
{
"name": "OpenIdValidationSettings",
"Audience": "my_recipient",
"Authority": "https://localhost:44342"
}
也可以在 程序运行的时候 使用后台ui进行添加配置
2、 开始安装对应的 view 跟vue
cmd到根目录
npm install -g @vue/cli
vue create vuex-oidc
cd vuex-oidc
npm install axios --save
//安装字体
npm install @fortawesome
接下去就是 使用uniapp oidc-client 对接
新建一个uniapp 的默认项目 , 然后安装 oidc-client
安装 axios
也可以直接从 刚才安装的目录下面 拷贝 这两个node_modules
main.js 添加
主要是导入 oidc 设置为全局调用的属性。
vue3的写法是 :
`import Vue from 'vue'
import App from './App'
import Oidc from '@/services/authService.js'
Vue.config.productionTip = false
App.mpType = 'app'
//vue2
Vue.prototype.$oidc = new Oidc()
//vue3
//Vue.config.globalProperties.$oidc = new Oidc()
const app = new Vue({
...App
})
app.$mount()
添加oidc的配置文件 config.js
export const clientRoot = 'http://localhost:8081/'
export const stsAuthority = 'https://localhost:7278/'
export const clientId = 'code_flow_client_id'
export const scope = 'myapp'
export const responseType = 'code'
然后整合oidc的 登录跟注销方法 authService.js/* eslint-disable */
import Oidc from 'oidc-client';
// import 'babel-polyfill';
import {
clientRoot,
stsAuthority,
clientId,
scope,
responseType
} from '../config/config'
var oidcClient = new Oidc.UserManager({
userStore: new Oidc.WebStorageStateStore(),
authority: stsAuthority,
client_id: clientId,
redirect_uri: clientRoot + 'pages/SignInCallBack',
response_type: responseType,
scope: scope,
post_logout_redirect_uri: clientRoot + 'pages/SignOutCallBack',
filterProtocolClaims: true,
loadUserInfo: true
})
Oidc.Log.logger = console;
Oidc.Log.level = Oidc.Log.INFO;
oidcClient.events.addUserLoaded(function (user) {
console.log('New User Loaded:', arguments);
console.log('Acess_token: ', user.access_token)
});
oidcClient.events.addAccessTokenExpiring(function () {
console.log('AccessToken Expiring:', arguments);
});
oidcClient.events.addAccessTokenExpired(function () {
console.log('AccessToken Expired:', arguments);
//alert('Session expired. Going out!');
oidcClient.signoutRedirect().then(function (resp) {
console.log('signed out', resp);
}).catch(function (err) {
console.log(err)
})
});
oidcClient.events.addSilentRenewError(function () {
console.error('Silent Renew Error:', arguments);
});
oidcClient.events.addUserSignedOut(function () {
//alert('Going out!');
console.log('UserSignedOut:', arguments);
oidcClient.signoutRedirect().then(function (resp) {
console.log('signed out', resp);
}).catch(function (err) {
console.log(err)
})
});
export default class SecurityService {
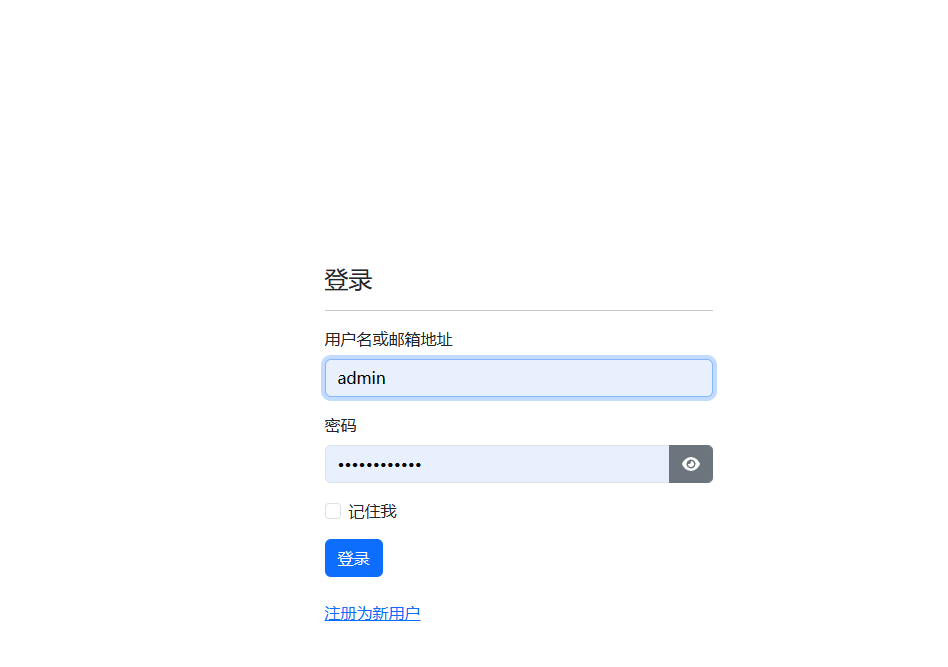
login() {
return oidcClient.signinRedirect(); // Returns promise to trigger a redirect of the current window to the authorization endpoint.
}
async isLoggedIn() {
const user = await oidcClient.getUser();
const userCurrent = !!user && !user.expired;
return userCurrent;
}
async completeLogin() {
const user = await oidcClient.signinRedirectCallback() // Returns promise to process response from the authorization endpoint. The result of the promise is the authenticated User
;
return user;
}
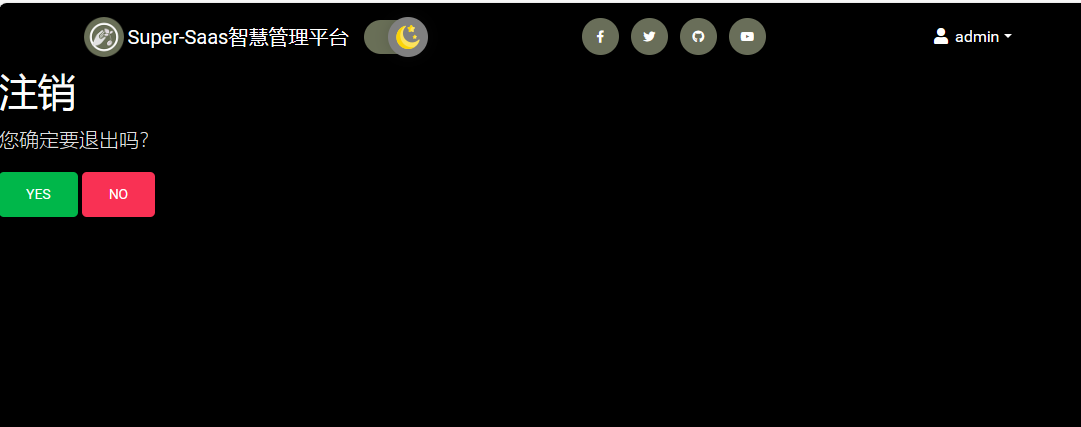
logout() {
oidcClient.signoutRedirect(); // Returns promise to trigger a redirect of the current window to the end session endpoint.
}
completeLogout() {
return oidcClient.signoutRedirectCallback(); // Returns promise to process response from the end session endpoint.
}
async getAccessToken() {
const user = await oidcClient.getUser(); // Returns promise to load the User object for the currently authenticated user.
return !!user && !user.expired ? user.access_token : null
}
}
`
最后vue页面内容
分别是 一个主页面 、设置两个组件 登录跟注销跳转 ,一个 展示页面
oidc-demo.vue
`
`
<view id="app">
	<!-- Navbar -->
	<nav v-if="hasAccess" id="nav" class="navbar navbar-expand-lg navbar-light bg-light">
		<!-- Container wrapper -->
		<view class="container-fluid">
			<!-- Navbar brand -->
			<a class="navbar-brand" href="#">Orchard Skills</a>

			<!-- Toggle button -->
			<button class="navbar-toggler" type="button" data-toggle="collapse"
				data-target="#navbarSupportedContent" aria-controls="navbarSupportedContent" aria-expanded="false"
				aria-label="Toggle navigation"></button>

			<!-- Collapsible wrapper -->
			<view class="collapse navbar-collapse" id="navbarSupportedContent">
				<view class="ml-auto">
					<button @click="signOut" v-if="authUser" type="button" class="btn btn-danger">
						Logout
					</button>
					<button @click="signIn" v-else type="button" class="btn btn-primary">
						Login
					</button>
				</view>
			</view>
			<!-- Collapsible wrapper -->
		</view>
		<!-- Container wrapper -->
	</nav>
	<br />
	<!-- Navbar -->


</view>
SignInCallBack.vue
`
`
SignOutCallBack.vue
`
`
home.vue
`
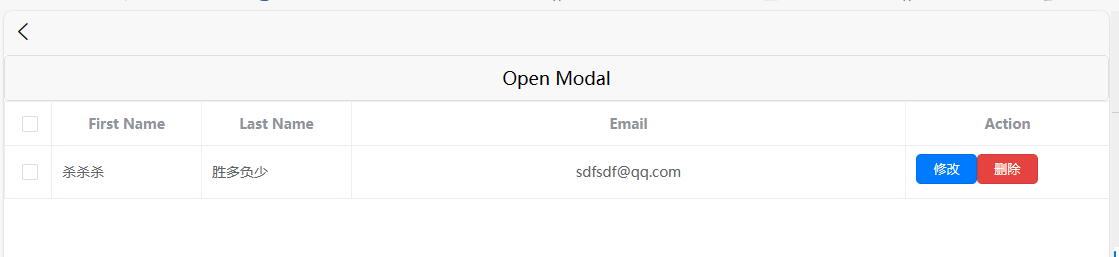
<button type="button" class="btn btn-primary" @click="showModal = true">
Open Modal
  <!-- 订阅者列表 -->
    <uni-table ref="table"  border stripe type="selection" emptyText="暂无更多数据" @selection-change="selectionChange">
    				<uni-tr>
    					<uni-th width="150" align="center">First Name</uni-th>
    					<uni-th width="150" align="center">Last Name</uni-th>
    					<uni-th align="center">Email</uni-th>
    					<uni-th width="204" align="center">Action</uni-th>
    				</uni-tr>
    				<uni-tr v-for="(item, index) in Subscribers" :key="index">
    					<uni-td>{{ item.firstName }}</uni-td>
    					<uni-td>
    						<view class="name">{{ item.lastName }}</view>
    					</uni-td>
    					<uni-td align="center">{{ item.email }}</uni-td>
    					<uni-td>
    						<view class="uni-group">
    							<button class="uni-button" size="mini" type="primary">修改</button>
    							<button class="uni-button" size="mini" type="warn">删除</button>
    						</view>
    					</uni-td>
    				</uni-tr>
    			</uni-table>

	</view>
	<view v-else class="text-center">
		Please login to enable CRUD operations.
	</view>

	<!-- 模态框的实现,这里你需要根据uni-app的对话框组件来实现 -->
	<!-- uni-app 中模态框通常通过条件渲染来控制显示隐藏 -->
	<view v-if="showModal" class="modal">
	    <view class="modal-dialog">
	      <view class="modal-content">
	        <view class="modal-header">
	          <view class="modal-title">Add New Subscriber</view>
	          <view @click="closeModal" class="modal-close">X</view>
	        </view>
	        <view class="modal-body">
	          <view class="form">
	            <!-- 名字和姓氏的输入框 -->
	            <view class="row mb-4">
	              <view class="col">
	                <view>First name</view>
	                <input type="text" class="form-control" placeholder="First Name" v-model="addSubscribersData.firstName" />
	              </view>
	              <view class="col">
	                <view>Last name</view>
	                <input type="text" class="form-control" placeholder="Last Name" v-model="addSubscribersData.lastName" />
	              </view>
	            </view>

	            <!-- Email输入框 -->
	            <view class="mb-4">
	              <view>Email address</view>
	              <input type="email" class="form-control" placeholder="Email" v-model="addSubscribersData.email" />
	            </view>

	            <!-- 提交按钮 -->
	            <button @click="addSubscriber(addSubscribersData)">Add</button>
	          </view>
	        </view>
	      </view>
	    </view>
	  </view>

</view>
`
效果如下:

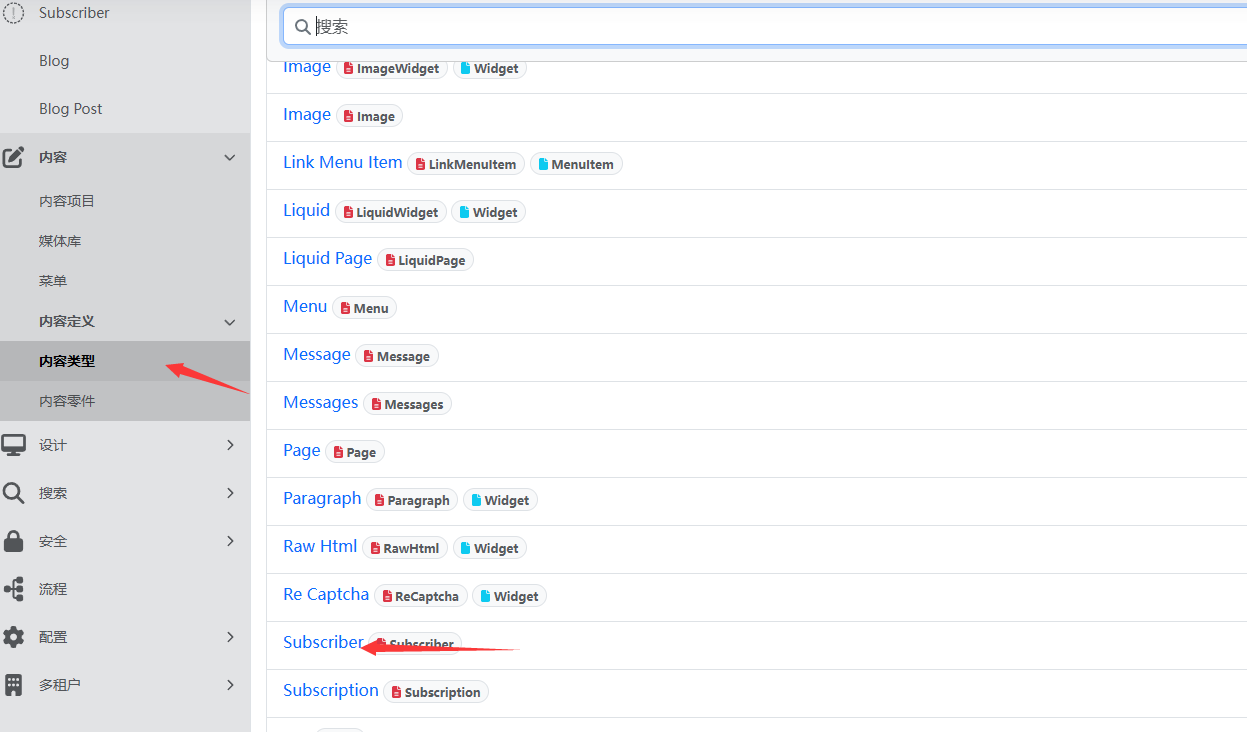
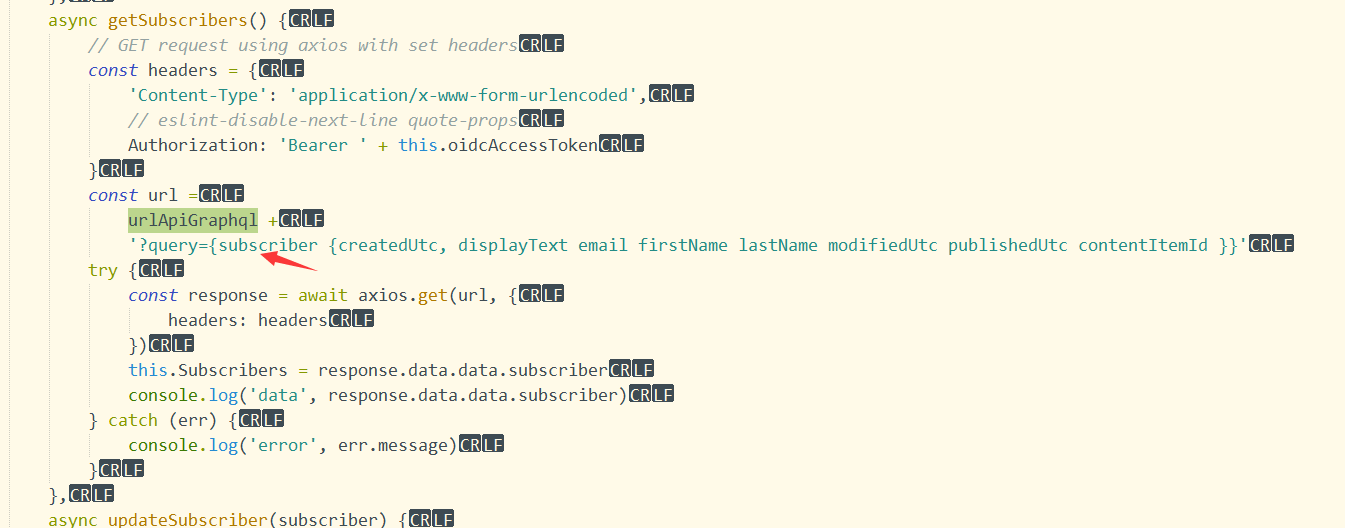
主要 注意 grahiQL 是跟正常的sql语句差不多。 前期要有对应的类型存在, 可以直接导入配方(materialdesign.recipe.json)
这样就相当于对接了 orchad core的 信任登录了。非常顺滑。
继承到自己原本的项目中,就可以实现数据整合了。
这样把授权的用户信息 同步到自己的项目。 就可以实现数据同步
可以直接到我的的github 项目 查看完整代码
https://github.com/onestar1/oidc-client

