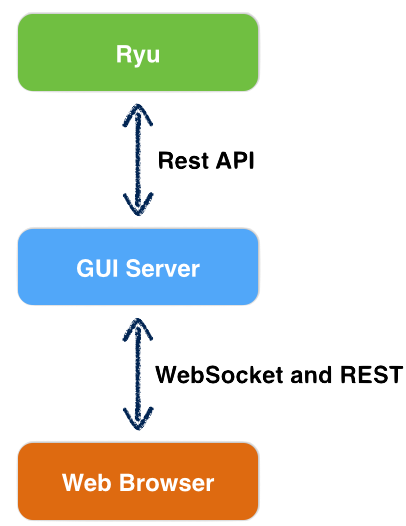
RYU的GUI安装
1. RYU安装
Ubuntu14.04 LTS
1.sudo apt-get install git python-pip libxml2-dev libxslt1-dev python2.7-dev
2.sudo pip install msgpack-python oslo.config netaddr lxml ecdsa
3.git clone https://github.com/osrg/ryu.git
4. cd ryu
python setup.py install
5.ryu-manager检查
2. gui界面
安装依赖:
#pip install Flask((Python 上一個非常知名的輕量化 Web Famework))
#pip install gevent-websocket(在Web Browser 与 GUI Server做联系的套件)
获取图形界面源码:
在gui-patch-v3-rebase 下载gui-patch-v3- rebase软件压缩包,解压,把里面的ryu/gui目录复制到安装Ryu的源代码目录/ryu/ryu;
打开ryu/ryu/topology修改 switches.py ,注释掉45行-53行(48—56)即可;
启动Ryu,进入源码目录ryu/app,执行
# ryu-manager --verbose --observe-links ryu.topology.switches ryu.app.rest_topology ryu.app.ofctl_rest ryu.app.simple_switch
启动GUI界面,进入ryu/ryu/gui目录
#python controller.py
打开浏览器界面 http://127.0.0.1:8000,即可查看
3. 遇到的问题
3.1 启动Ryu:
问题:
$ ryu-manager
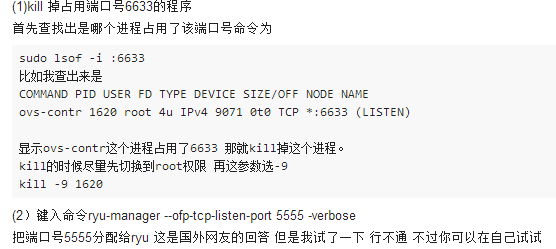
error: [ERROR 98] Address already in use (即端口号被占用)
解决:
1. 首先VM可以在這裡下載到,http://sdnhub.org/tutorials/sdn-tutorial-vm-64-bit/
雖然裡面已經有RYU的Controller了,但是Ryu的部分並沒有安裝Web GUI的外掛,所以這裡來幫它安裝一下。
2. 本文大部分參考此前輩的網頁:http://blog.xuite.net/juilin77/happy/202669918-%E5%BF%AB%E5%BF%AB%E6%A8%82%E6%A8%82%E5%AE%89%E8%A3%9DRYU+%26+RYU+GUI
3. sudo apt-get install python-eventlet

sudo apt-get install python-routes (已經安裝了,可跳過)
sudo apt-get install python-webob (已經安裝了,可跳過)
sudo apt-get install python-paramiko (已經安裝了,可跳過)

4. sudo apt-get install python-dev(已經安裝了,可跳過)

sudo pip install flask

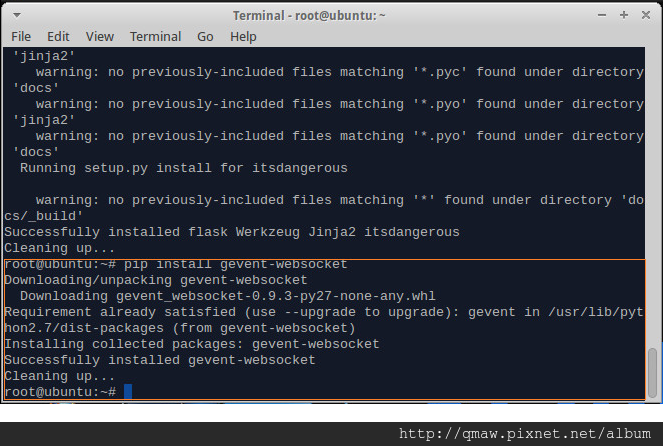
sudo pip install gevent-websocket
5. 接著到https://github.com/yamada-h/ryu/archive/gui-patch-v3-rebase.zip下載Ryu的Web GUI。
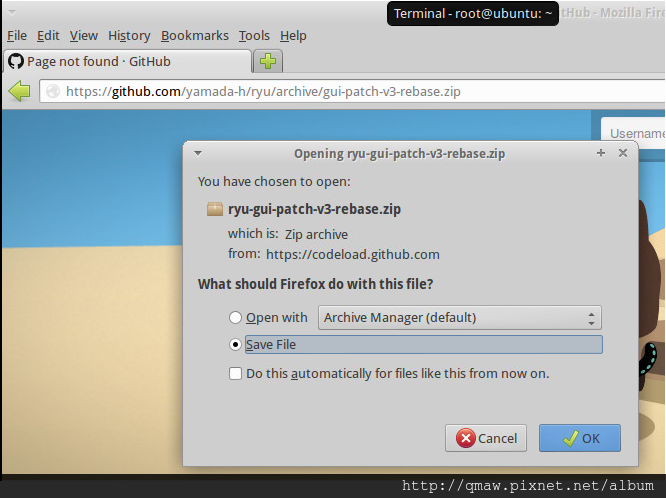
下載完後解壓縮
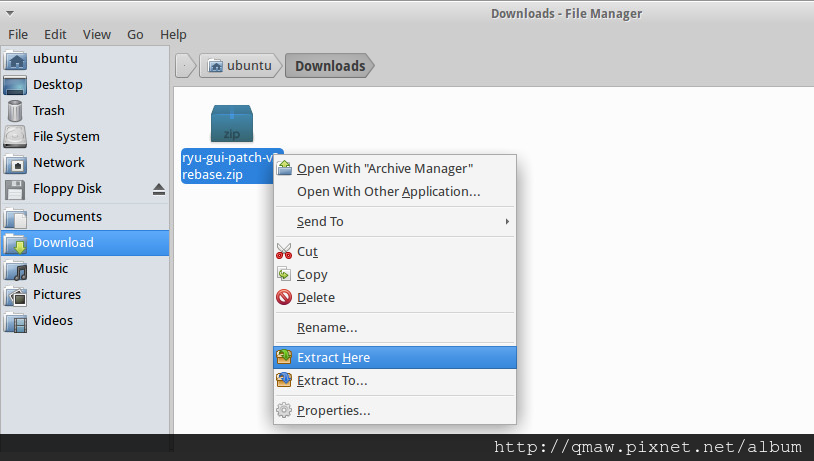
移動解壓縮後的檔案。
sudo mv /home/ubuntu/Downloads/ryu-gui-patch-v3-rebase/ryu/gui/ /home/ubuntu/ryu/ryu/
6. 原本的安裝步驟要求更動/ryu/ryu/topology.switches.py,在此不作這一步。
BUT更動後,--observe-links這個參數會被禁用,接者噴出錯誤訊息,所以在此略過此步驟,
有興趣的人可以自行研究此檔案。
7. 啟動ryu: 位在第一層的ryu下面,在不對的地方啟動,可能會造成WEB GUI ERROR。
./bin/ryu-manager --verbose --observe-links ryu/topology/switches.py ryu/app/rest_topology.py ryu/app/ofctl_rest.py ryu/app/simple_switch.py
./bin/ryu-manager --verbose --observe-links ryu/app/rest_topology.py ryu/app/ofctl_rest.py ryu/app/simple_switch.py 從不知道哪個版本開始,變成這樣子了。
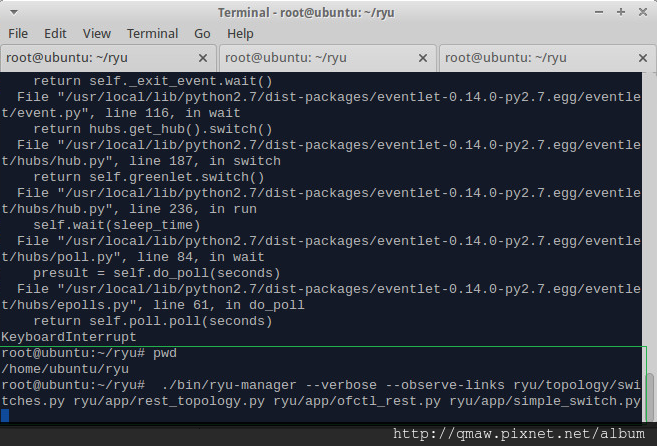
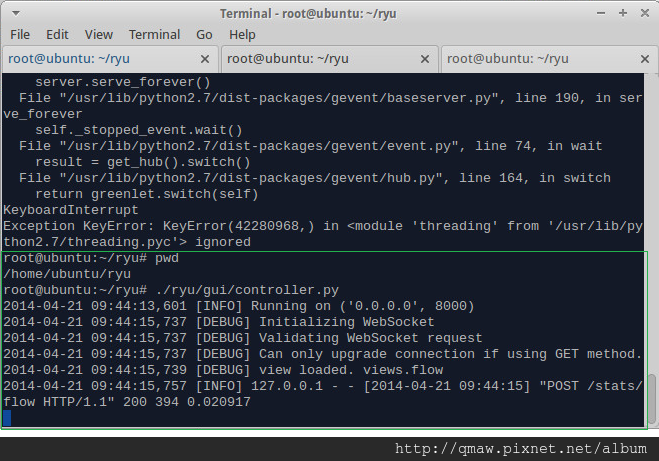
8. 啟動Web GUI Server: 一樣位在第一層的ryu下面,在不對的地方啟動,可能會造成WEB GUI ERROR。
sudo /home/ubuntu/ryu/ryu/gui/controller.py
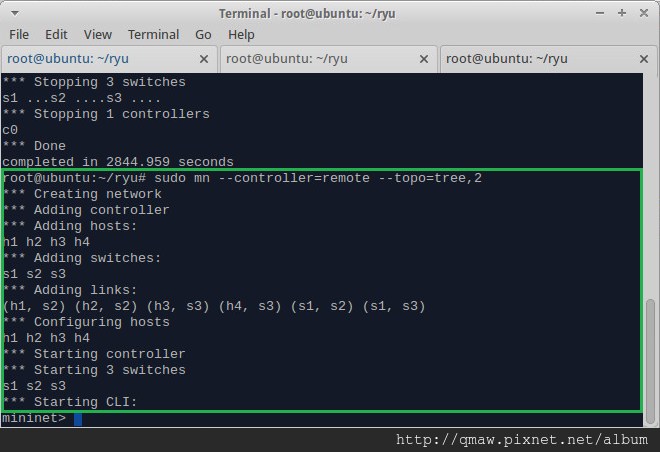
9. 啟動mininet: sudo mn --controller=remote --topo=tree,2,這個在哪裡啟動都沒差。
10. 打開Browser,在網址列鍵入http://127.0.0.1:8000,接著按照預設值登入,就可以看到WEB GUI了。
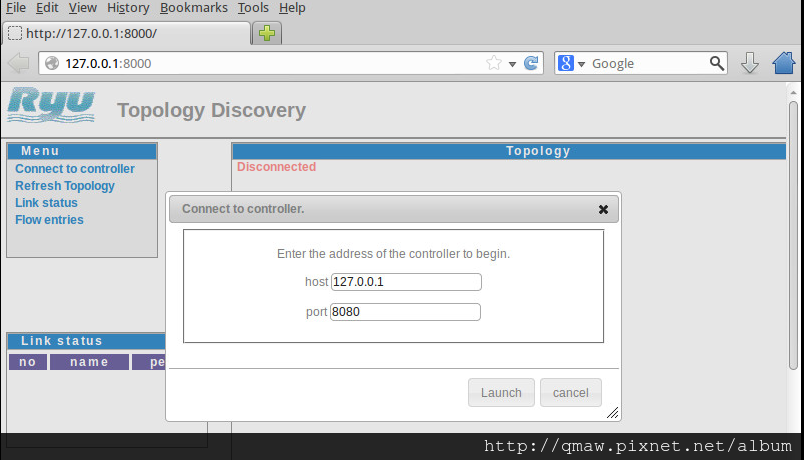
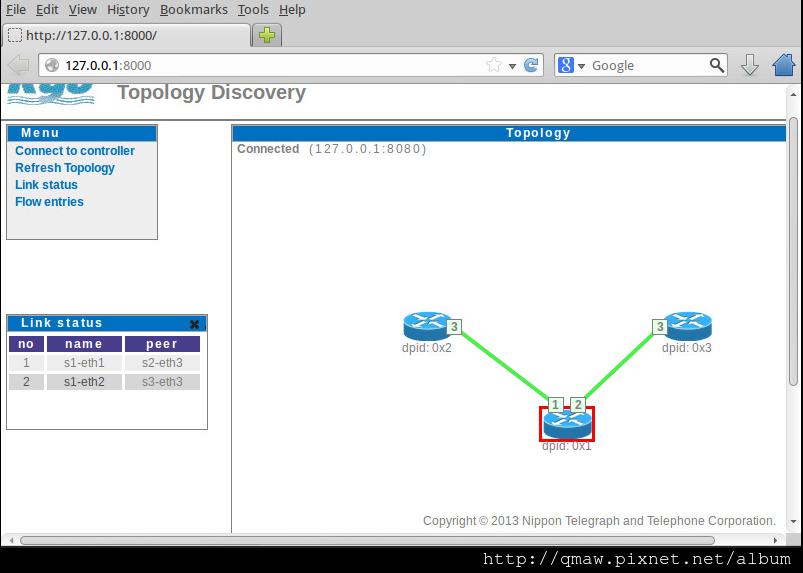
首先要將安裝好的ryu加上GUI的patch (安裝ryu可以參考先前的文章)
由於目前Ryu的gui功能還沒包含在官方的版本裡面
因此需要下載patch來完成這個功能
由此 gui-patch-v3-rebase 下載 ZIP 解壓縮後在路徑 /gui-patch-v3-rebase/ryu/gui 將 gui 整個資料夾複製到原官方 Ryu 專案相同位置的地方(/ryu/ryu/)。
或是直接解壓縮覆蓋ryu資料夾也可以
接著要到 /ryu/ryu/topology 修改 switches.py 45行-53行的地方註解掉。
(這邊還不太確定為什麼要註解)
下載並安裝RYU with GUI的所需套件。
sudo apt-get install python-dev
sudo pip install ryu flask gevent-websocket
開啟Ryu GUI所需的應用程式
ryu-manager --verbose --observe-links ryu.topology.switches ryu.app.rest_topology ryu.app.ofctl_rest ryu.app.simple_switch (2015/02/12註:加上這個simple_switch的話拓樸的連線沒辦法正常顯示,去掉就正常了)
開啟Ryu GUI server
./ryu/gui/controller.py
接著利用Mininet建立自己的網路拓樸
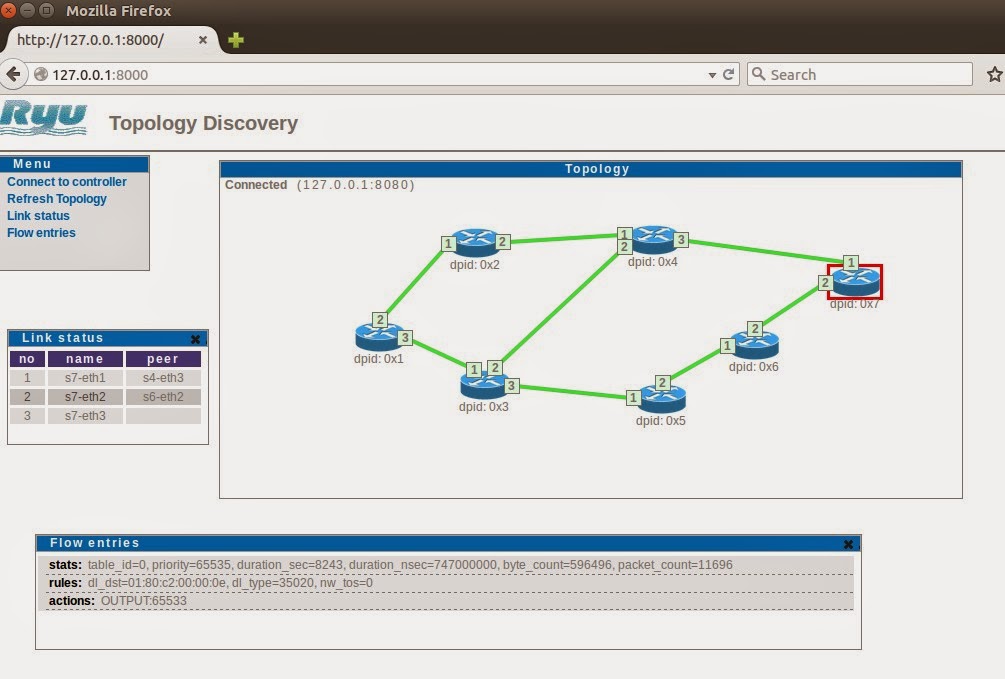
下面的mininet腳本描述了上面圖片所示的網路架構
可以寫在一個python 腳本裡面 (mytopo.py)
from mininet.topo import Topo
class MyTopo( Topo ):
"Simple topology example."
def __init__( self ):
"Create custom topo."
# Initialize topology
Topo.__init__( self )
# Add hosts and switches
server = self.addHost( 'server' )
client = self.addHost( 'client' )
switch1 = self.addSwitch( 's1' )
switch2 = self.addSwitch( 's2' )
switch3 = self.addSwitch( 's3' )
switch4 = self.addSwitch( 's4' )
switch5 = self.addSwitch( 's5' )
switch6 = self.addSwitch( 's6' )
switch7 = self.addSwitch( 's7' )
# Add links
self.addLink( server , switch1 )
self.addLink( switch1, switch2 )
self.addLink( switch1, switch3 )
self.addLink( switch2, switch4 )
self.addLink( switch3, switch4 )
self.addLink( switch3, switch5 )
self.addLink( switch4, switch7 )
self.addLink( switch5, switch6 )
self.addLink( switch6, switch7 )
self.addLink( switch7, client )
topos = { 'mytopo': ( lambda: MyTopo() ) }
之後利用mininet建立我們創建的網路拓樸
mn --custom mytopo.py --topo mytopo --controller=remote
controller=remote預設是在本機的ip 若是controller在其他機器的話則在後面加上,ip=xxx.xxx.xx.xx
例如 --controller=remote,ip=192.168.10.11
之後開啟瀏覽器 網址輸入http://localhost:8000
應該就會看到我們建立的網路拓樸
如果controller在其他機器的話則ip也要跟著改
http://www.sdnap.com/wp-content/uploads/others/Ryu_and_GUI_installaion_from_king-nanjing_sdnap.pdf
http://linton.tw/2014/02/11/note-how-to-set-up-ryu-controller-with-gui-component/


