

01_SpringBoot——HelloWorld
目录
1、环境准备
      -jdk1.8::Spring Boot 推荐jdk1.7及以上;java version "1.8.0_131"
      –maven3.x:maven 3.3以上版本;Apache Maven 3.6.3
      –IntelliJIDEA2017:IntelliJ IDEA 2019.3.2 (Ultimate Edition)
      –SpringBoot 2.3.1RELEASE:2.3.1;
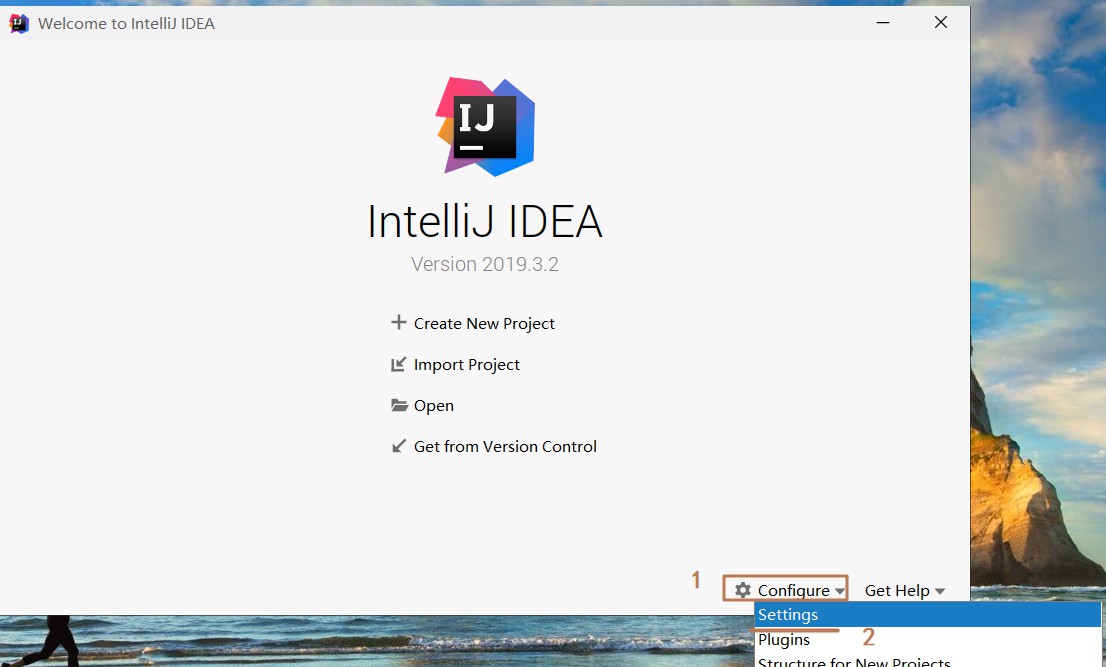
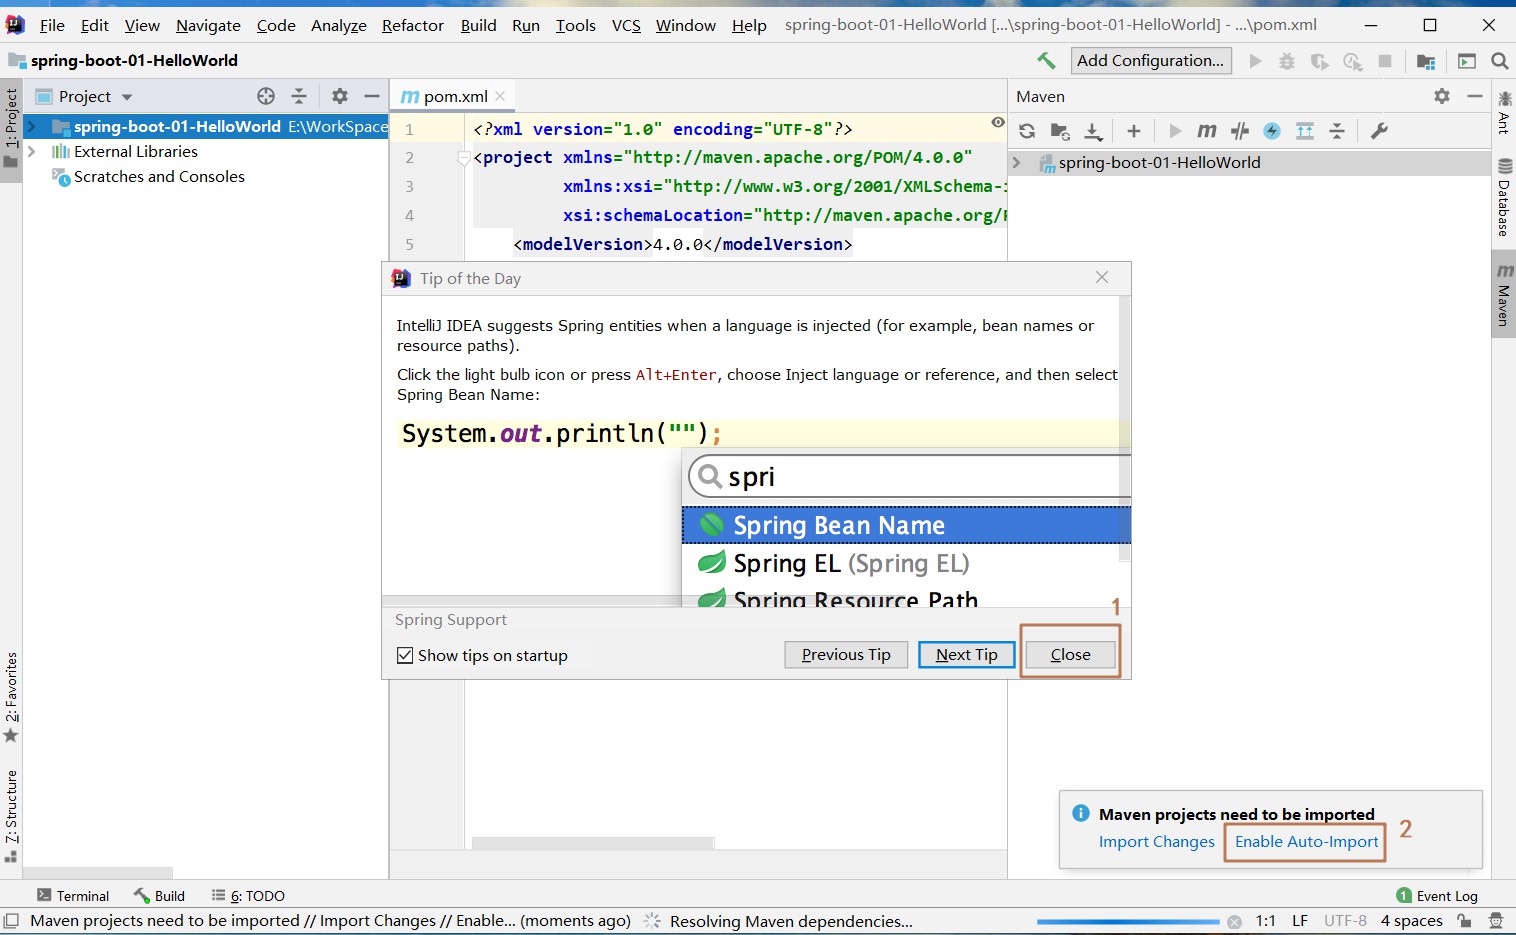
IDEA 设置
整合 maven 进来

2、Spring Boot HelloWorld
一个功能:
浏览器发送 hello 请求,服务器接受请求并处理,响应 HelloWorld 字符串
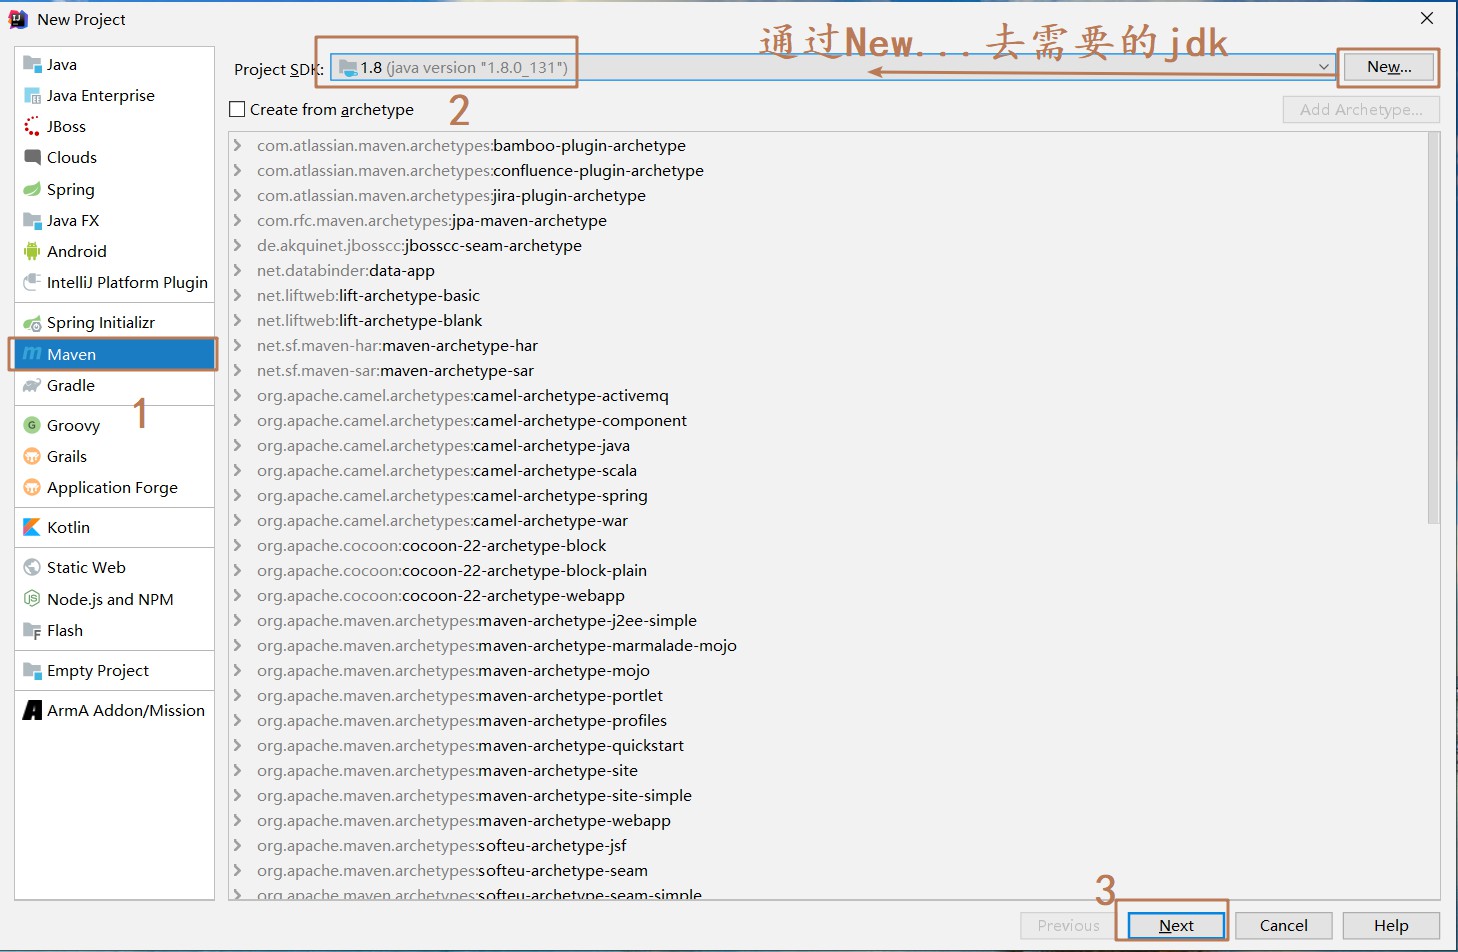
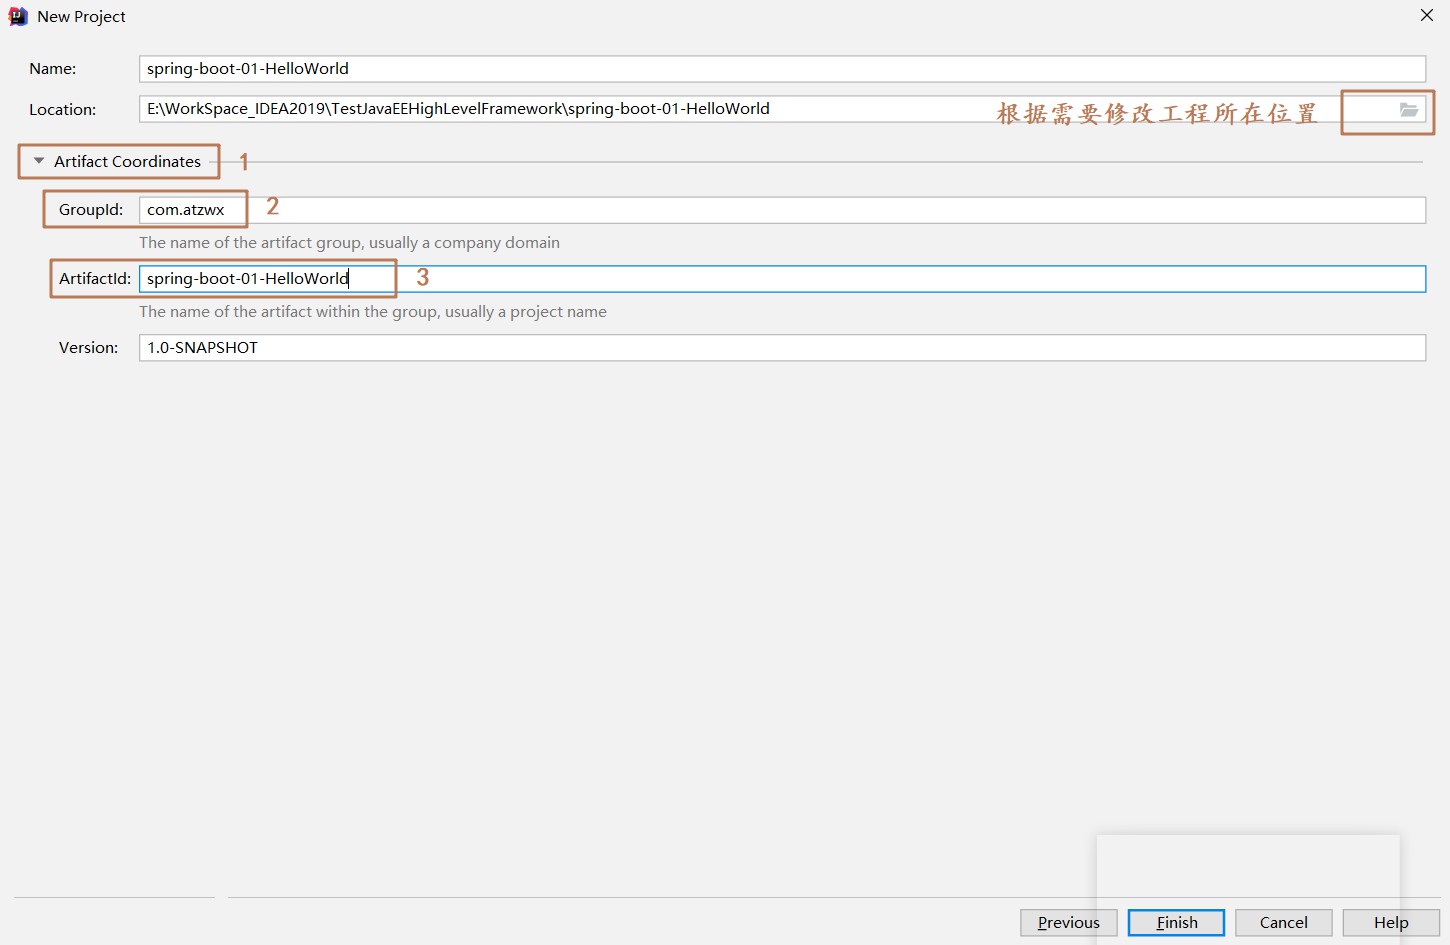
①、创建一个 maven 工程 (jar)
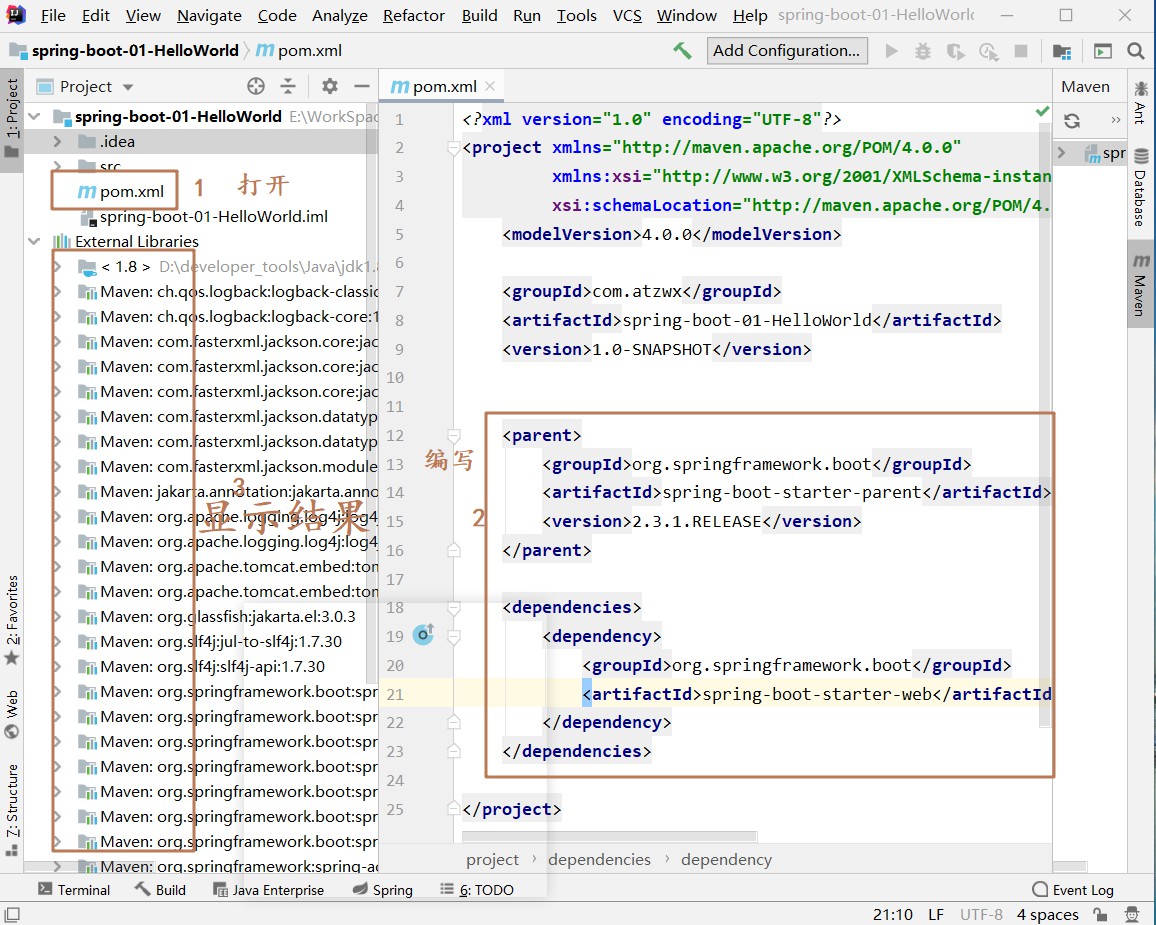
②、导入 spring boot 相关的依赖
    <parent>
        <groupId>org.springframework.boot</groupId>
        <artifactId>spring-boot-starter-parent</artifactId>
        <version>2.3.1.RELEASE</version>
    </parent>

    <dependencies>
        <dependency>
            <groupId>org.springframework.boot</groupId>
            <artifactId>spring-boot-starter-web</artifactId>
        </dependency>
    </dependencies>
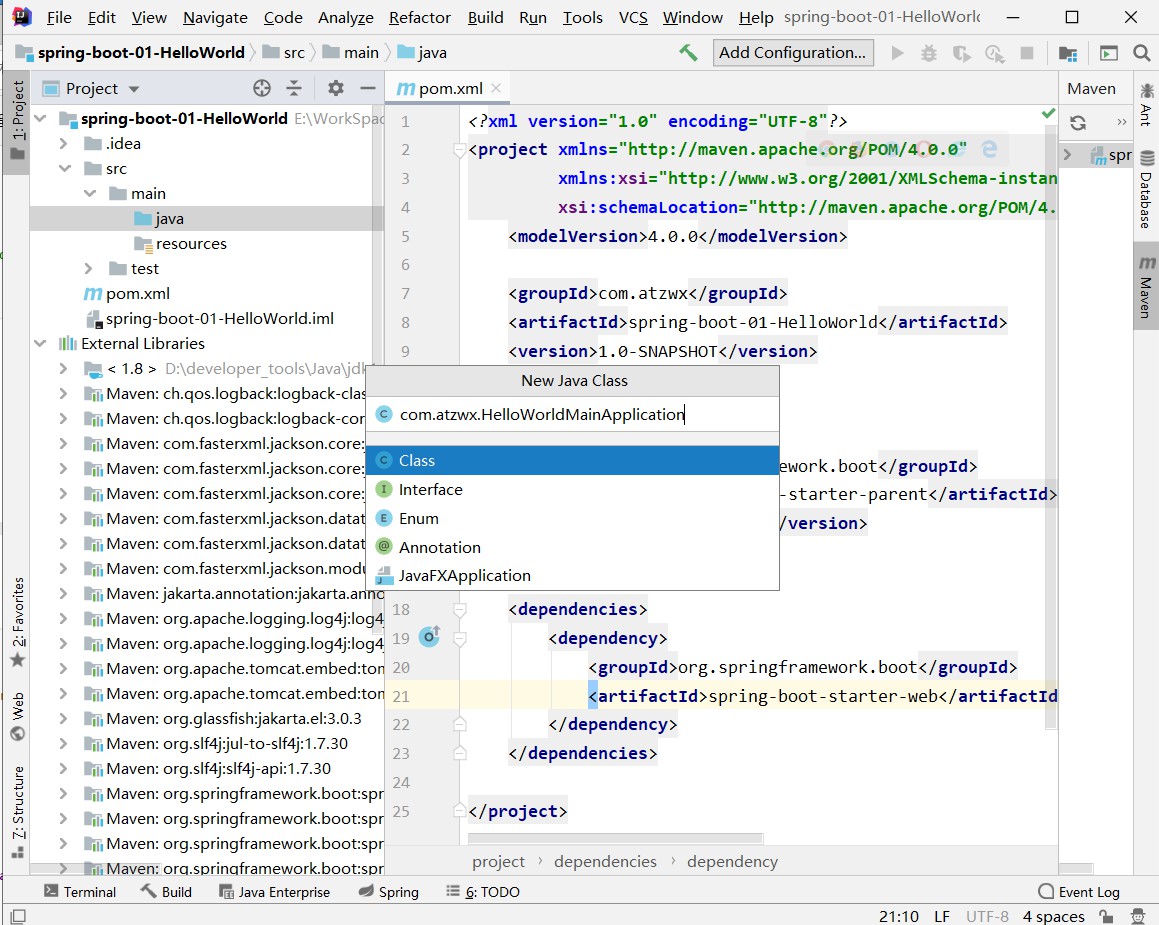
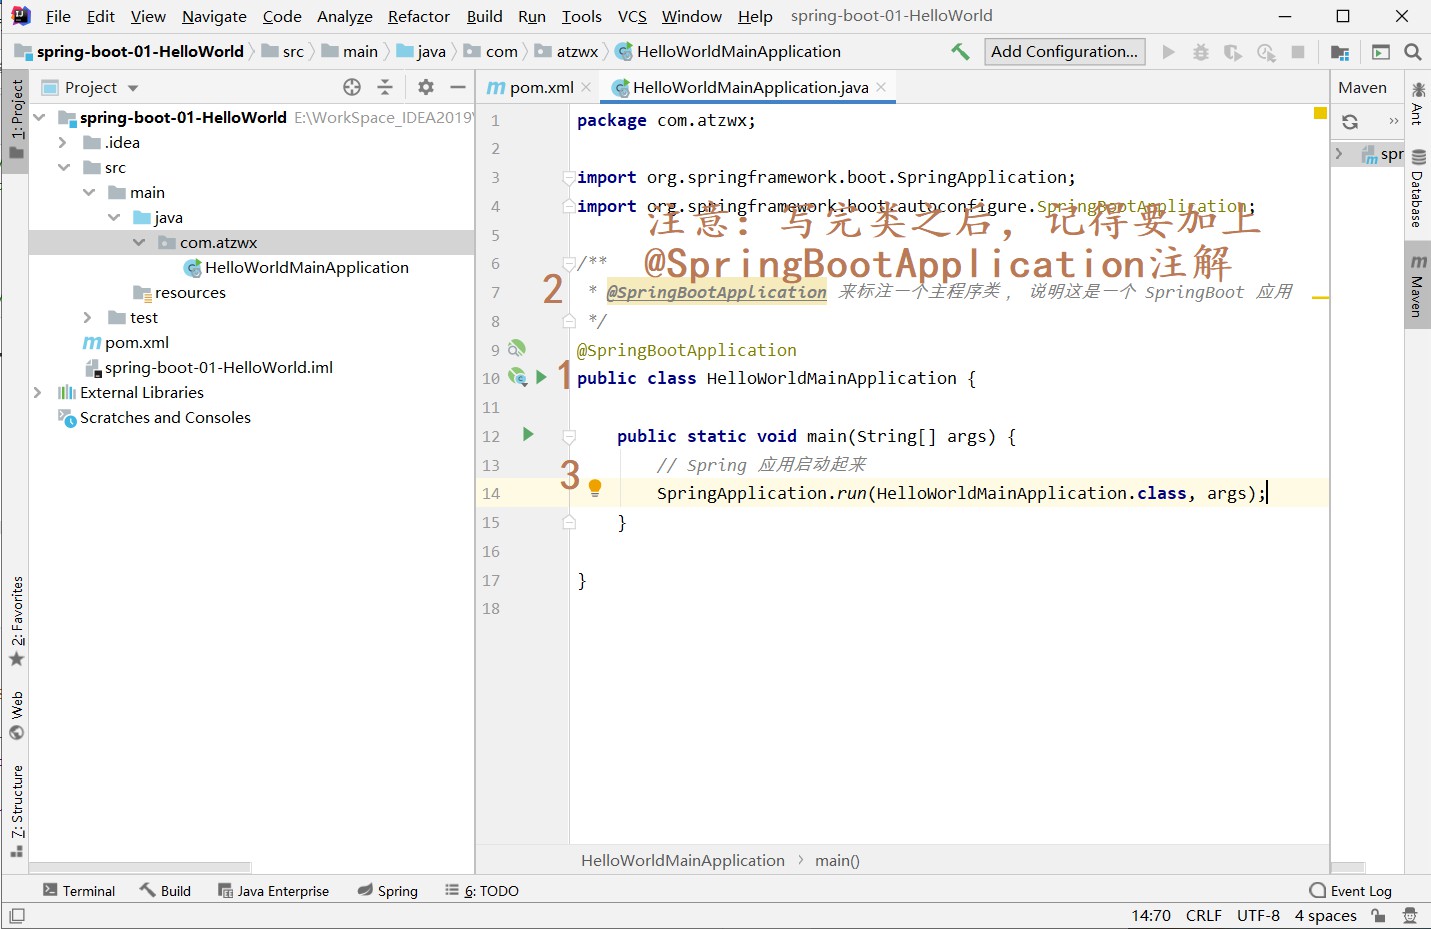
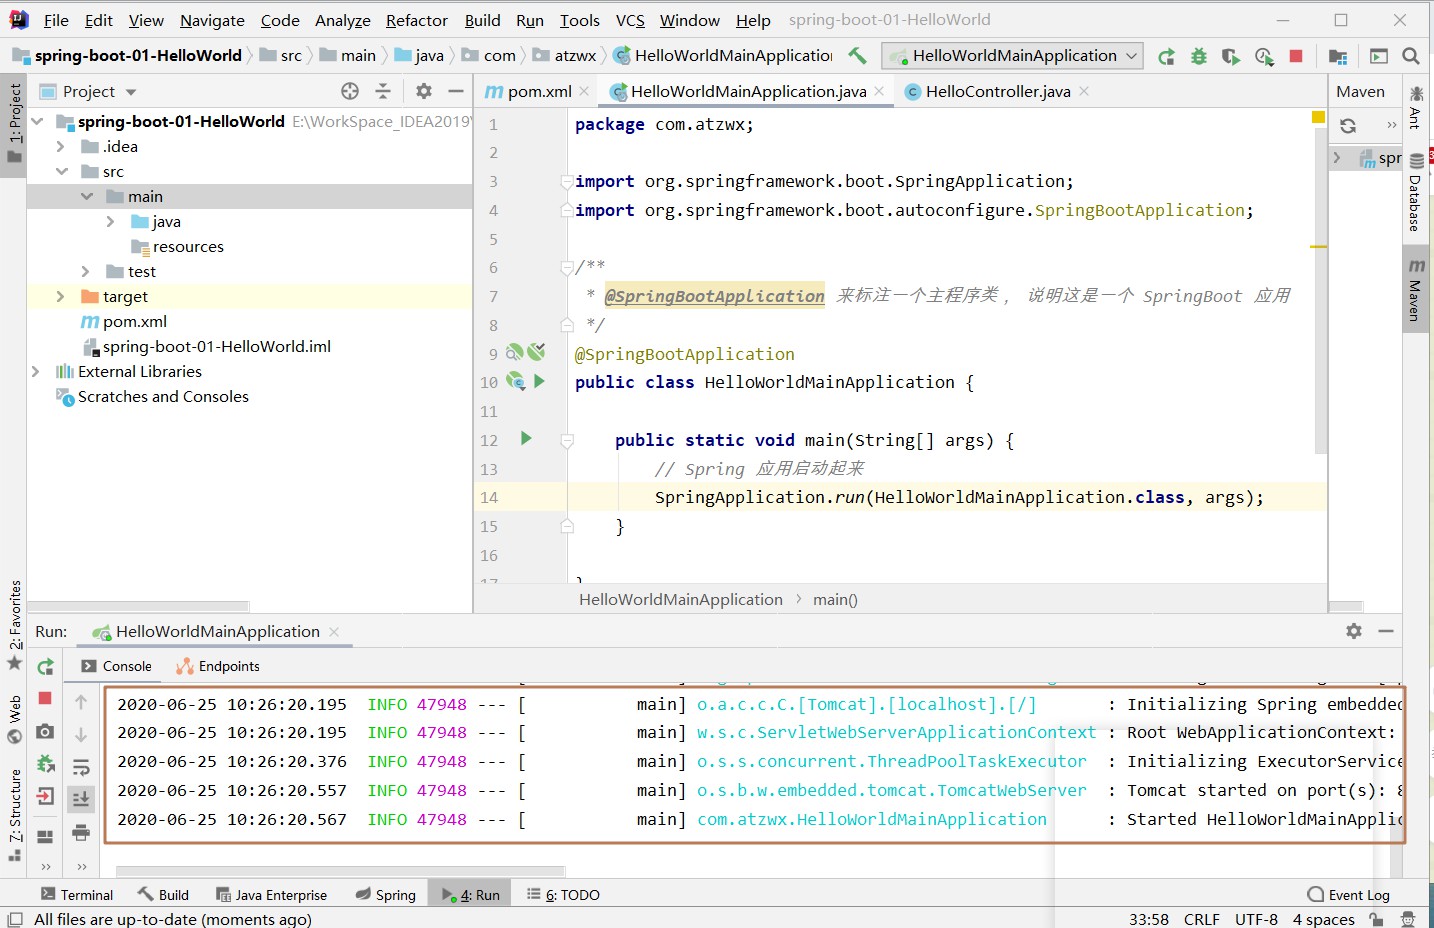
③、编写一个主程序,启动 Spring Boot 应用
import org.springframework.boot.SpringApplication;
import org.springframework.boot.autoconfigure.SpringBootApplication;

/**
 * @SpringBootApplication 来标注一个主程序类, 说明这是一个 SpringBoot 应用
 */
@SpringBootApplication
public class HelloWorldMainApplication {

    public static void main(String[] args) {
        // Spring 应用启动起来
        SpringApplication.run(HelloWorldMainApplication.class, args);
    }

}

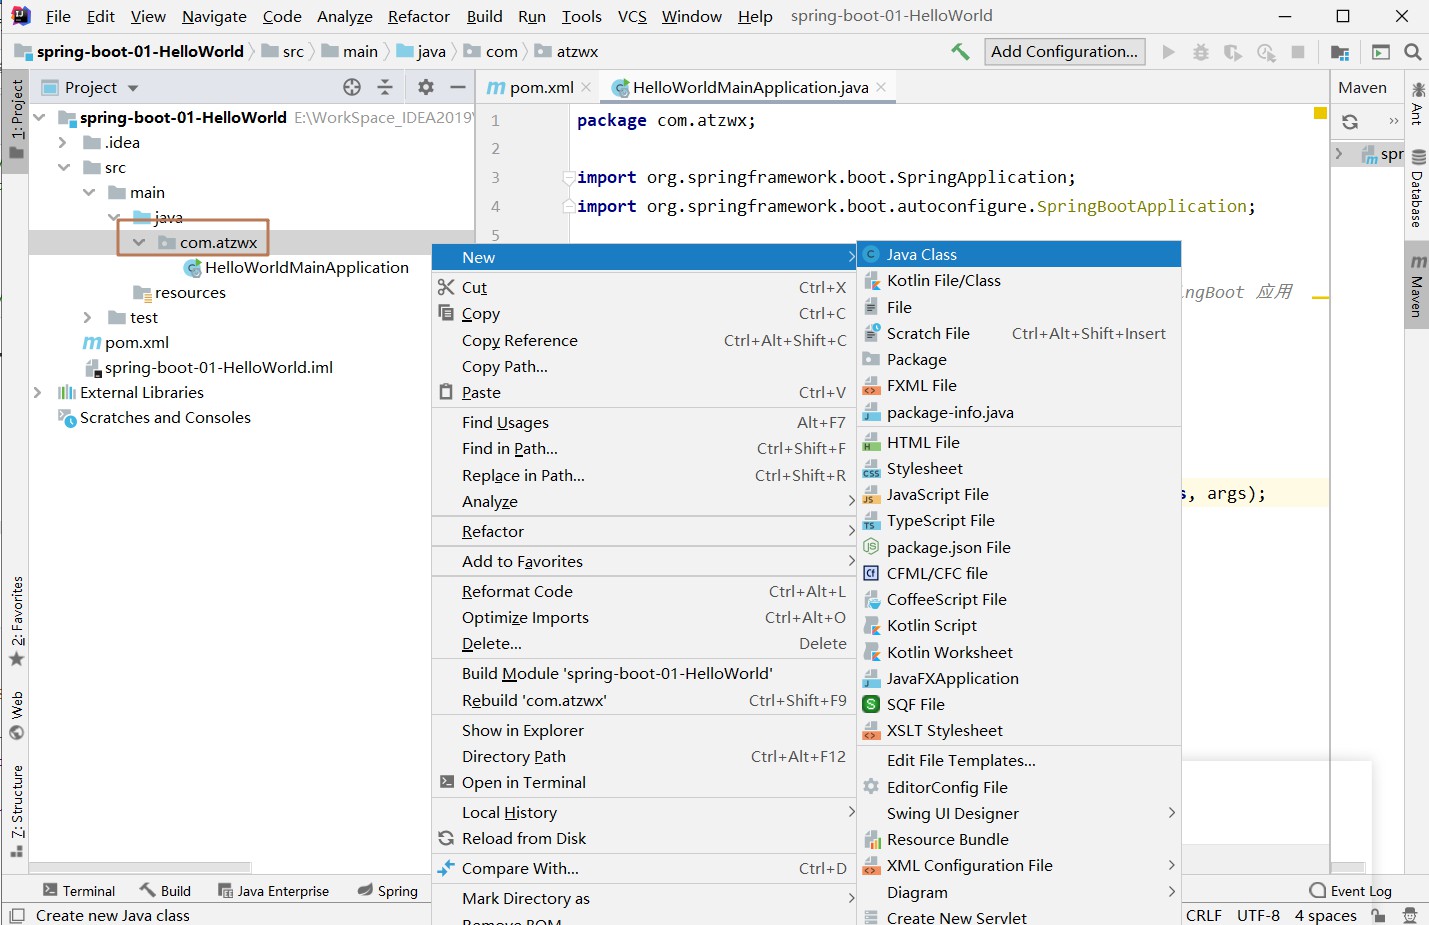
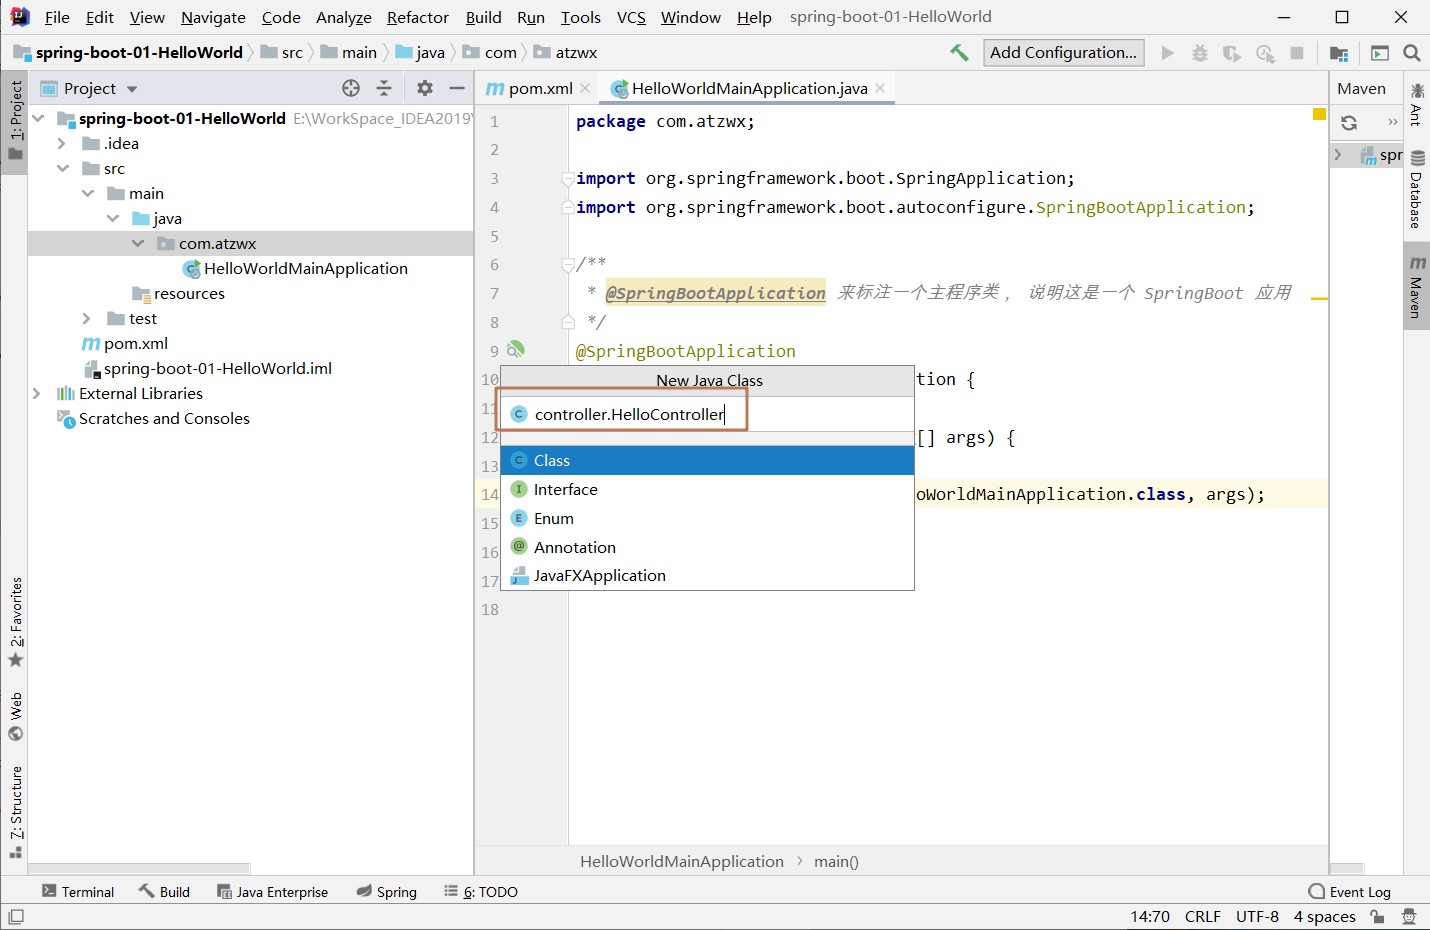
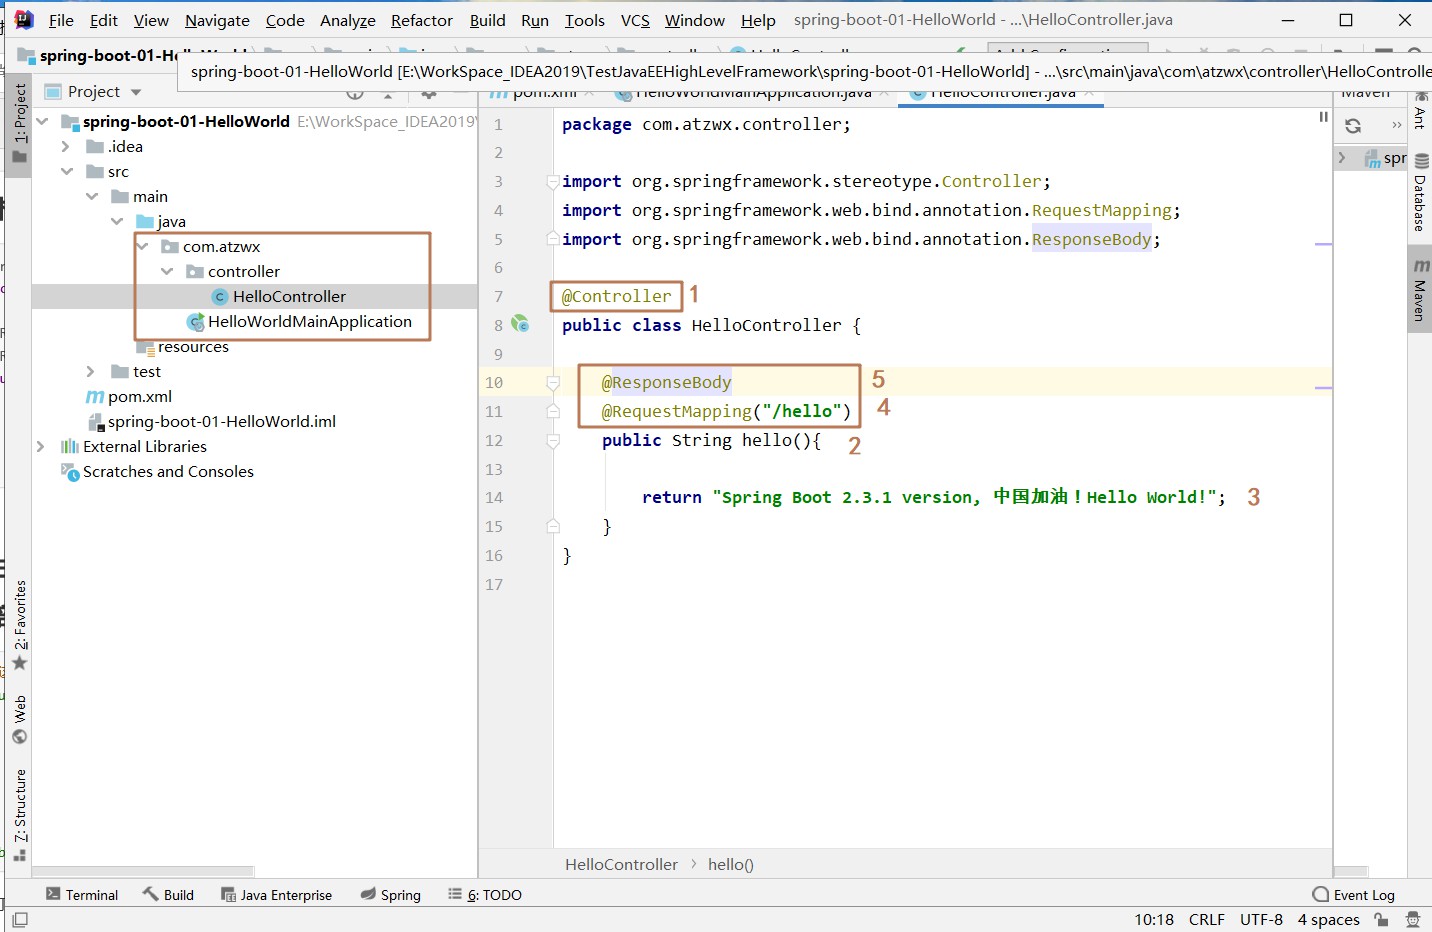
④、编写相关的 Controller、Service
import org.springframework.stereotype.Controller;
import org.springframework.web.bind.annotation.RequestMapping;
import org.springframework.web.bind.annotation.ResponseBody;
@Controller
public class HelloController {
@ResponseBody
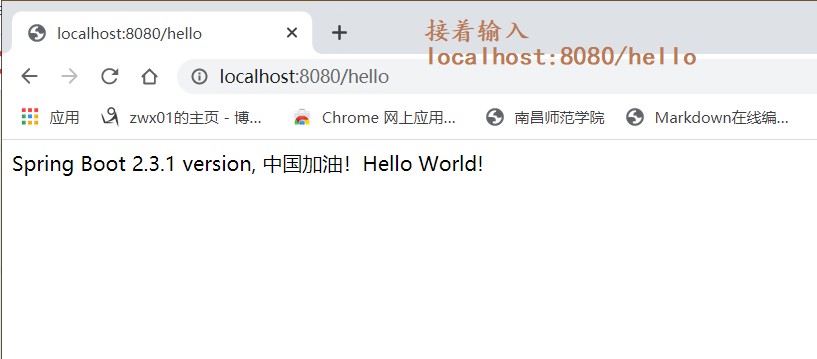
@RequestMapping("/hello")
public String hello(){
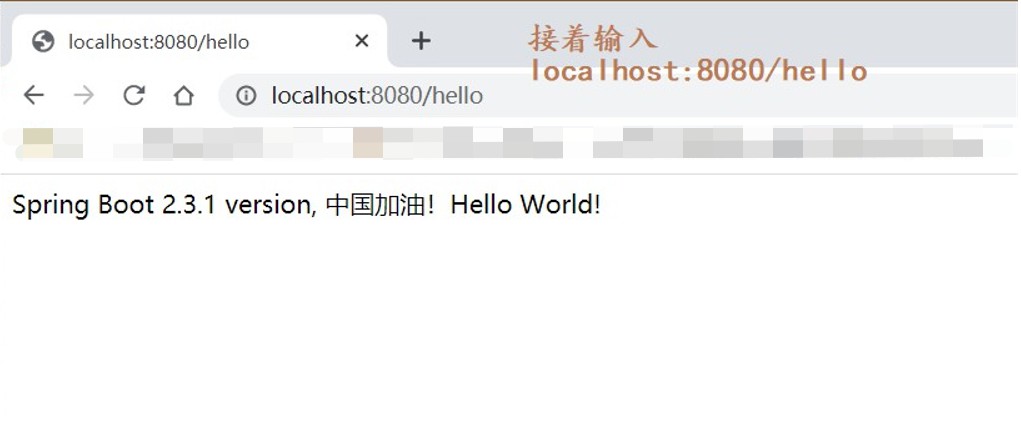
return "Spring Boot 2.3.1 version, 中国加油!Hello World!";
}
}
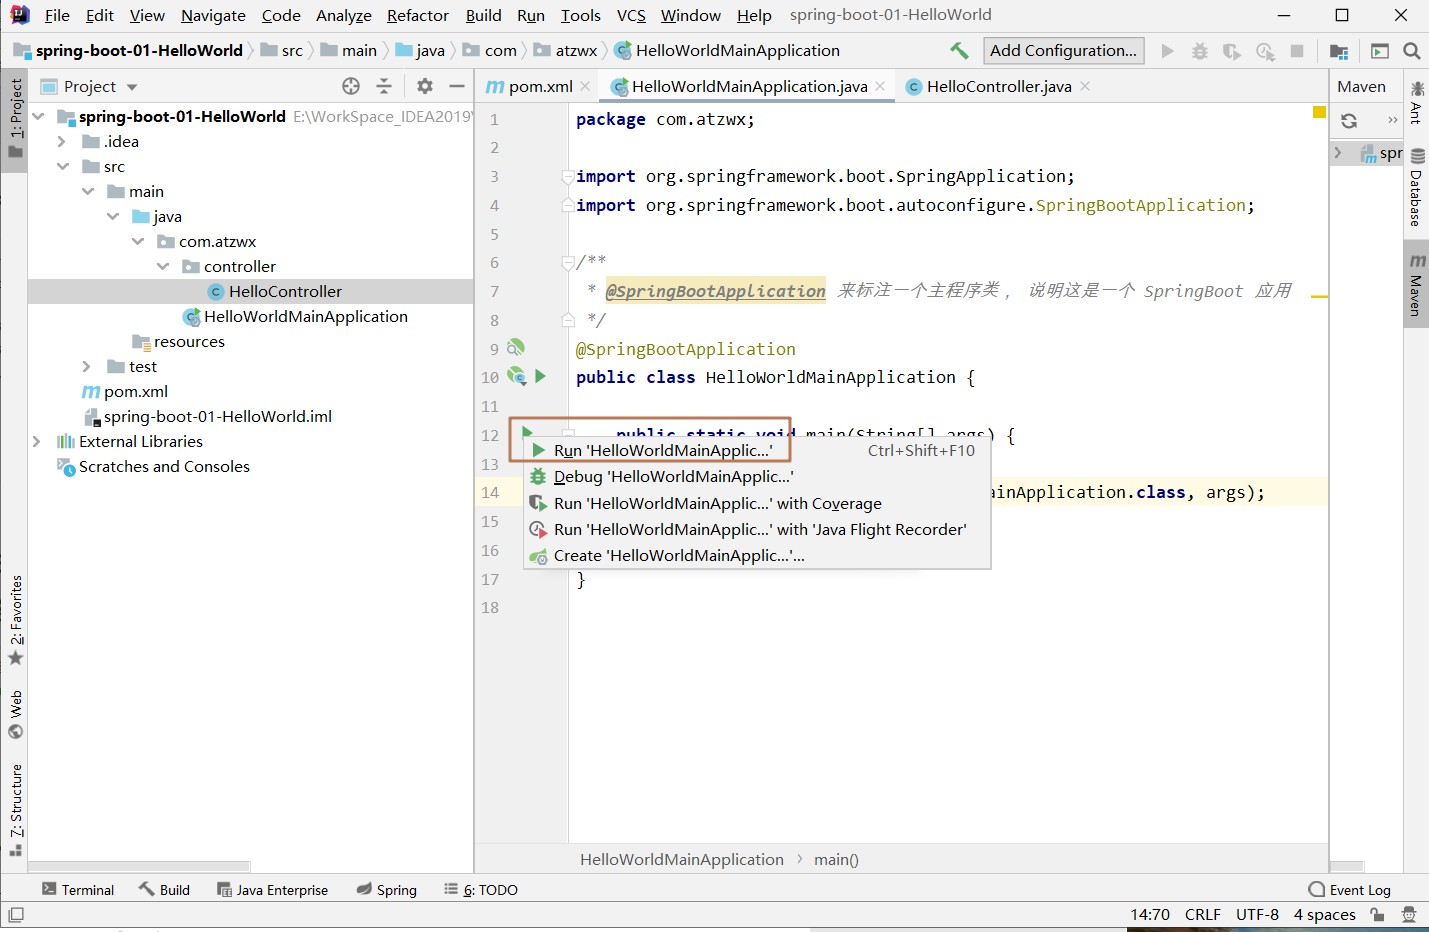
⑤、运行主程序测试
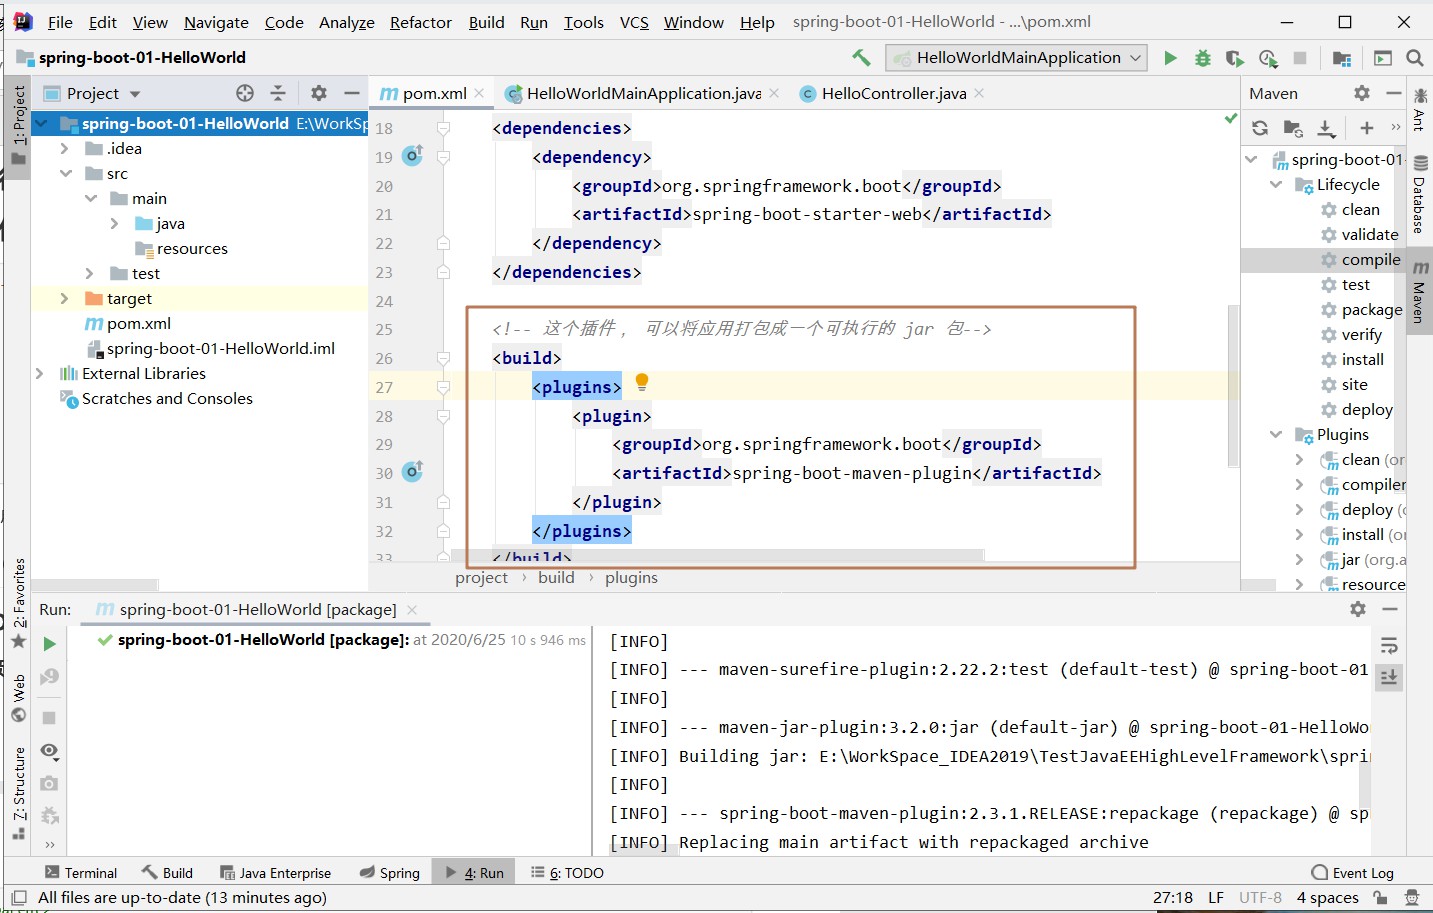
⑥、简化部署
<!-- 这个插件, 可以将应用打包成一个可执行的 jar 包-->
    <build>
        <plugins>
            <plugin>
                <groupId>org.springframework.boot</groupId>
                <artifactId>spring-boot-maven-plugin</artifactId>
            </plugin>
        </plugins>
    </build>

1. 找到 spring-boot-01-HelloWorld.jar 的 目录,
2. 输入 cmd 回车,java -jar spring-boot-01-HelloWorld.jar
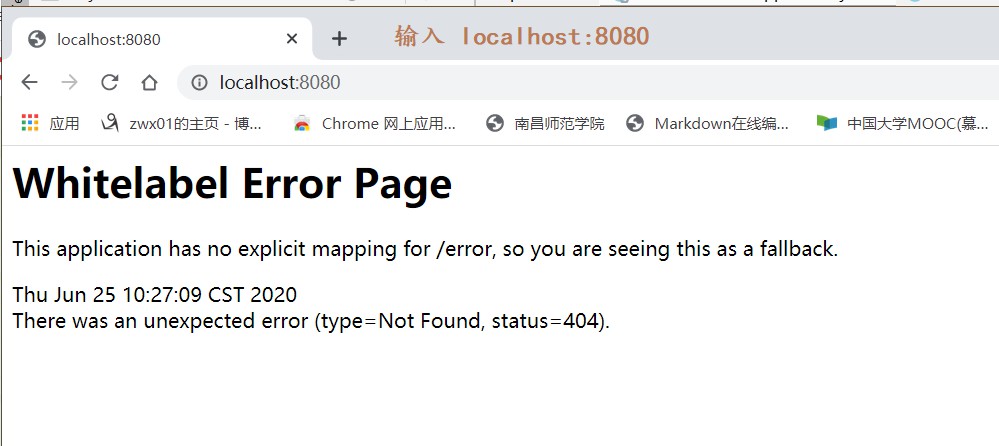
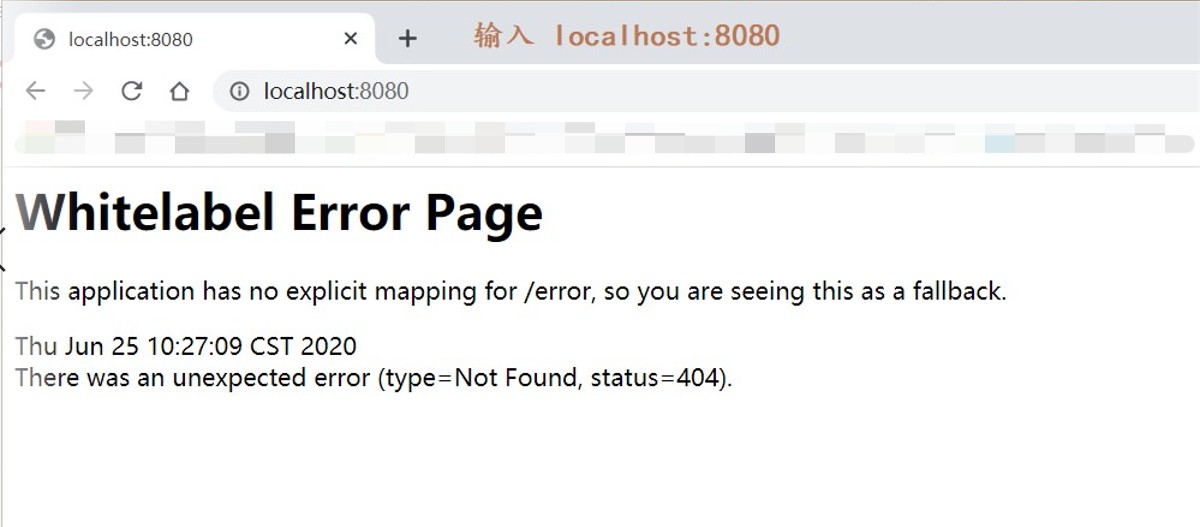
3. 在浏览器中输入 localhost:8080
注意:这时检查一下,IDEA 中的主程序是否关闭,没有关闭的话,将其关闭(防止8080端口被占用)。
接着进行测试:
依次在浏览器中输入 localhost:8080 和 localhost:8080/hello
看到的效果,与当时打开 IDEA ,再在浏览器输入 localhost:8080 和 localhost:8080/hello 是一样的!
提示:如果是采用 IDEA 提供的 maven(可以跳过该步)
这里遇到的问题是:(是因为自己改了 settings.xml的内容如下:)
<mirror>
      <id>alimaven</id>
      <name>aliyun maven</name>
      <url>
            http://maven.aliyun.com/nexus/content/groups/public/
      </url>
      <mirrorOf>central</mirrorOf>
    </mirror>
[ERROR] Error resolving version for plugin 'org.springframework.boot:spring-boot-maven-plugin'
from the repositories [local (/root/.m2/repository), alimaven (http://maven.aliyun.com/nexus/content/groups/public/)]:
 Plugin not found in any plugin repository -> [Help 1]
org.apache.maven.plugin.version.PluginVersionResolutionException:
Error resolving version for plugin 'org.springframework.boot:spring-boot-maven-plugin'
from the repositories [local (/root/.m2/repository), alimaven (http://maven.aliyun.com/nexus/content/groups/public/)]:
Plugin not found in any plugin repository
解决的方法是 后面直接再在 pom.xml 文件中加入如下内容, 再去执行打包功能。
<pluginRepositories>
    <pluginRepository>
            <id>alimaven spring plugin</id>
            <name>alimaven spring plugin</name>
            <url>https://maven.aliyun.com/repository/spring-plugin</url>
    </pluginRepository>
</pluginRepositories>
小结:
1、环境准备
2、Spring Boot HelloWorld的项目创建
      ①、创建 maven 工程
      ②、导入 springboot 需要的依赖包
      ③、编写主程序(记得要加 @SpringBootApplication 注解 )
      ④、编写相应的Controller、Service
      ⑤、运行主程序
      ⑥、依次在浏览器中输入 localhost:8080 和 localhost:8080/hello
      ⑦、简化部署(记得 1、先关闭主程序 2、在 pom.xml中加相应插件 3、测试)
