DRF的认证、权限 和 限制
一、概述
认证是将传入请求与一组标识凭据(例如请求来自的用户或其签名的令牌)相关联的机制。然后 权限 和 限制 组件决定是否拒绝这个请求。
简单来说就是:
认证确定了你是谁
权限确定你能不能访问某个接口
限制确定你访问某个接口的频率
二、认证
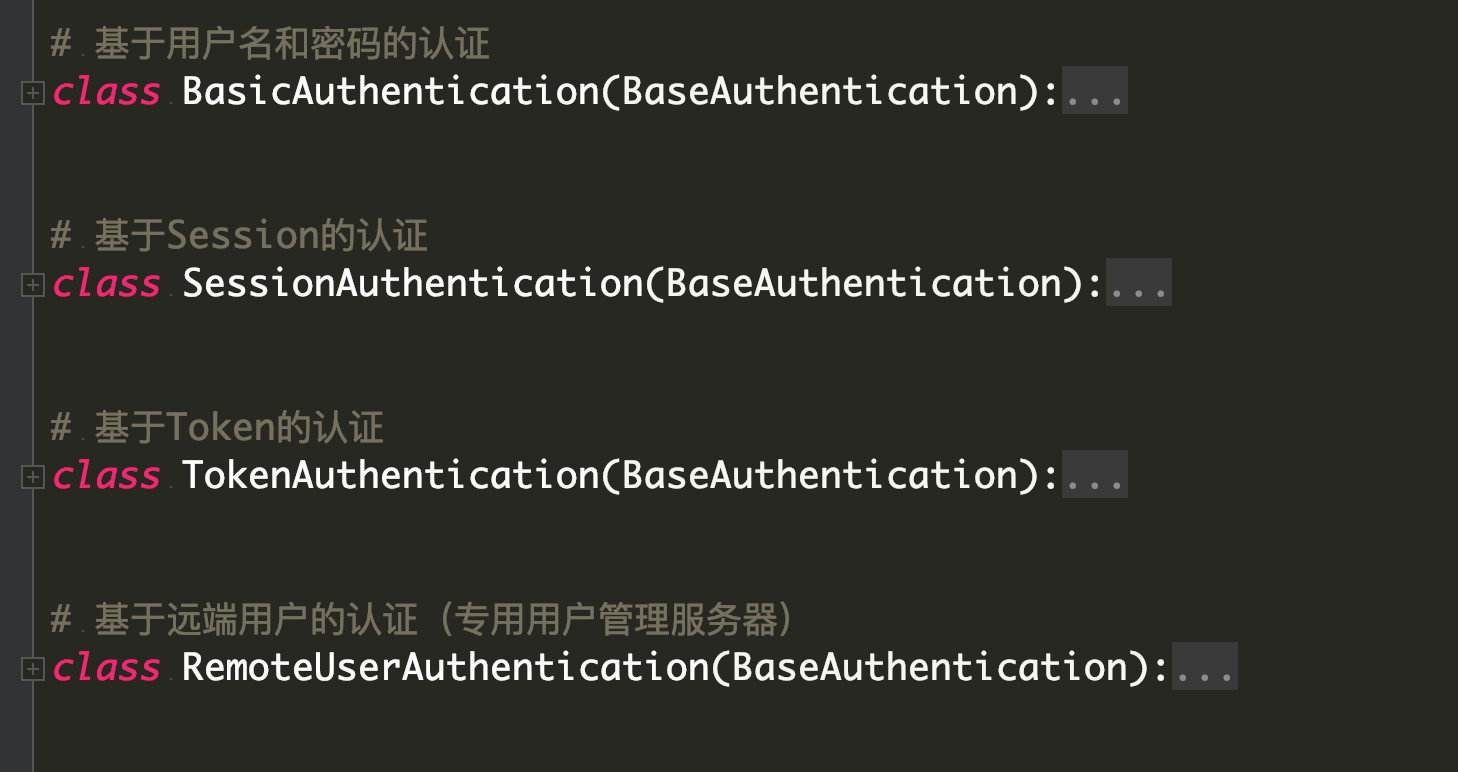
REST framework 提供了一些开箱即用的身份验证方案,并且还允许你实现自定义方案。

三、自定义Token认证
model 定义一个包含token字段的用户表
class UserInfo(models.Model):
    name = models.CharField(max_length=32)
    pwd = models.CharField(max_length=32)
    vip = models.BooleanField(default=False)
    token = models.CharField(max_length=128, null=True, blank=True)
定义登录视图:
class LoginView(APIView):
    def post(self, request):
        name = request.data.get('name')
        pwd = request.data.get('pwd')
        if name and pwd:
            user_obj = models.UserInfo.objects.filter(name=name, pwd=pwd).first()
            if user_obj:
                # 登陆成功
                # 生成token(时间戳 + Mac地址)
                token = uuid.uuid1().hex
                # 1.保存在用户表中
                user_obj.token = token
                user_obj.save()
                # 2.给用户返回
                return Response({'error_no': 0, 'token': token})

            else:
                # 用户名或密码错误
                return Response({'error_no': 1, 'error': '用户名或密码错误'})
        else:
            return Response('无效的参数')
创建auth.py自定义一个认证类
from rest_framework.authentication import BaseAuthentication
from auth_demo import models
from rest_framework.exceptions import AuthenticationFailed


class MyAuth(BaseAuthentication):
    '''自定义认证类'''

    def authenticate(self, request):
        token = request.query_params.get ('token')
        if token:
            # 如果请求url中携带有token参数
            user_obj = models.UserInfo.objects.filter(token=token).first()
            if user_obj:
                # token 是有效的,返回一个元组
                return user_obj, token  # request.user, request.auth
            else:
                raise AuthenticationFailed('无效的token')
        else:
            raise AuthenticationFailed('请求的URL中必须携带token参数')
局部配置认证
在views中自定义一个测试类TestAuthView
from auth_demo.auth import MyAuth
from auth_demo.permissions import MyPermission
# 登录之后才能看到数据接口
class TestAuthView(APIView):
    authentication_classes = [MyAuth, ]  # 局部配置认证

    def get(self, request):
        print(request.user.name)
        print(request.auth)
        return Response('这个视图里面的数据只有登录后才能看到!')
全局配置认证
# 在settings.py中配置
REST_FRAMEWORK = {
    "DEFAULT_AUTHENTICATION_CLASSES": ["auth_demo.auth.MyAuth", ]
}
四、权限
自己动手写一个权限组件
from rest_framework.permissions import BasePermission


class Mypermission(BasePermission):
    message = '只有VIP才能访问'

    def has_permission(self, request, view):
        # vip才有访问权限
        # request.user:当前经过认证的用户对象
        # 如果没有认证 request.user就是匿名用户
        if not request.auth:
            # 认证没有通过
            return False
        if request.user.vip:
            return True
        else:
            return False
视图级别配置
from auth_demo.auth import MyAuth
from auth_demo.permissions import Mypermission
# 登录之后才能看到数据接口
class TestAuthView(APIView):
    authentication_classes = [MyAuth, ]  # 局部配置认证
    permission_classes = [Mypermission, ] # 试图级别配置权限

    def get(self, request):
        print(request.user.name)
        print(request.auth)
        return Response('这个视图里面的数据只有登录后才能看到!')
全局级别设置
只需要在settings的DRF配置项中添加权限类
# DRF的配置
REST_FRAMEWORK = {
    # 配置默认使用的版本控制类
    'DEFAULT_VERSIONING_CLASS': 'rest_framework.versioning.URLPathVersioning',
    # 'DEFAULT_VERSIONING_CLASS': 'rest_framework.versioning.QueryParameterVersioning',# url参数控制版本
    'DEFAULT_VERSION': 'v1',  # 默认的版本
    'ALLOWED_VERSIONS': ['v1', 'v2'],  # 有效的版本
    'VERSION_PARAM': 'version',  # 版本的参数名与URL conf中一致
    # 自定义认证
    'DEFAULT_AUTHENTICATION_CLASSES': ['auth_demo.auth.MyAuth', ],
    # 自定义权限
    'DEFAULT_PERMISSION_CLASSES': ['auth_demo.permissions.MyPermission', ]
}
五、限制
DRF内置了基本的限制类,首先自己动手写一个限制类,熟悉限制组件的执行过程。
自定义限制10秒内只能访问3次
自定义的限制类必须实现2个方法
allow_request() 和 wait()
分析:
# history = ['9:56:12', '9:56:10', '9:56:09', '9:56:08']  # '9:56:18' - '9:56:12'

# history = ['9:56:19', '9:56:18', '9:56:17', '9:56:08']

# 最后一项到期的时间就是下一次允许请求的时间

# 最后一项到期的时间:history[-1] + 10

# 最后一项还剩多少时间过期
# history[-1] + 10 - now
实现:
import time

# 存放访问记录信息
visit_record= {}
class MyThrottle(object):
    def __init__(self):
        self.history = None

    def allow_request(self, request, view):
        # 拿到当前请求的ip作为访问记录的key
        ip = request.META.get('REMOTE_ADDR')
        # 拿到当前请求的时间戳
        now = time.time()
        if ip not in visit_record:
            visit_record[ip] = []
        # 把当前请求的访问记录拿出来保存到一个变量中
        history = visit_record[ip]
        self.history = history
        # 循环访问历史,把超过10秒中的请求时间去掉
        while history and now - history[-1] > 10:
            history.pop()
        # 此时 history中只保存了最近10秒中的访问记录
        if len(history) >= 3:
            # 限制十秒钟内最多只能访问三次
            return False
        else:
            # 将当前访问时间插入history的首位
            self.history.insert(0, now)
            return True

    def wait(self):
        '''告诉客户还需等待多久'''
        now = time.time()
        return self.history[-1] + 10 - now
单个视图类使用
from auth_demo.auth import MyAuth
from auth_demo.permissions import MyPermission
from auth_demo.throttle import MyThrottle
# 登录之后才能看到数据接口
class TestAuthView(APIView):
    authentication_classes = [MyAuth, ]  # 局部配置认证
    permission_classes = [MyPermission, ] # 视图级别配置权限
    throttle_classes = [MyThrottle, ] # 限制单个视图访问频率

    def get(self, request):
        print(request.user.name)
        print(request.auth)
        return Response('这个视图里面的数据只有登录后才能看到!')
全局使用
REST_FRAMEWORK = {
    'DEFAULT_AUTHENTICATION_CLASSES': ['auth_demo.auth.MyAuth', ],
    'DEFAULT_PERMISSION_CLASSES': ['auth_demo.permissions.MyPermission', ]

    "DEFAULT_THROTTLE_CLASSES": ["auth_demo.throttle.MyThrottle", ]
}
使用内置限制类
from rest_framework.throttling import SimpleRateThrottle


class VisitThrottle(SimpleRateThrottle):

    scope = "xxx"

    def get_cache_key(self, request, view):
        return self.get_ident(request)
全局配置
settings的REST_FRAMEWORK配置中加一个:
REST_FRAMEWORK = {
    # 限制类
    "DEFAULT_THROTTLE_CLASSES": ["auth_demo.throttle.VisitThrottle", ],
    "DEFAULT_THROTTLE_RATES": {
        "xxx": "1/s",
    },
}


