一、强制全局刷新方法1
重新载入当前文档:location.reload();
定义和用法:
reload()方法用于刷新当前文档。
reload() 方法类似于你浏览器上的刷新页面按钮F5。
案例:

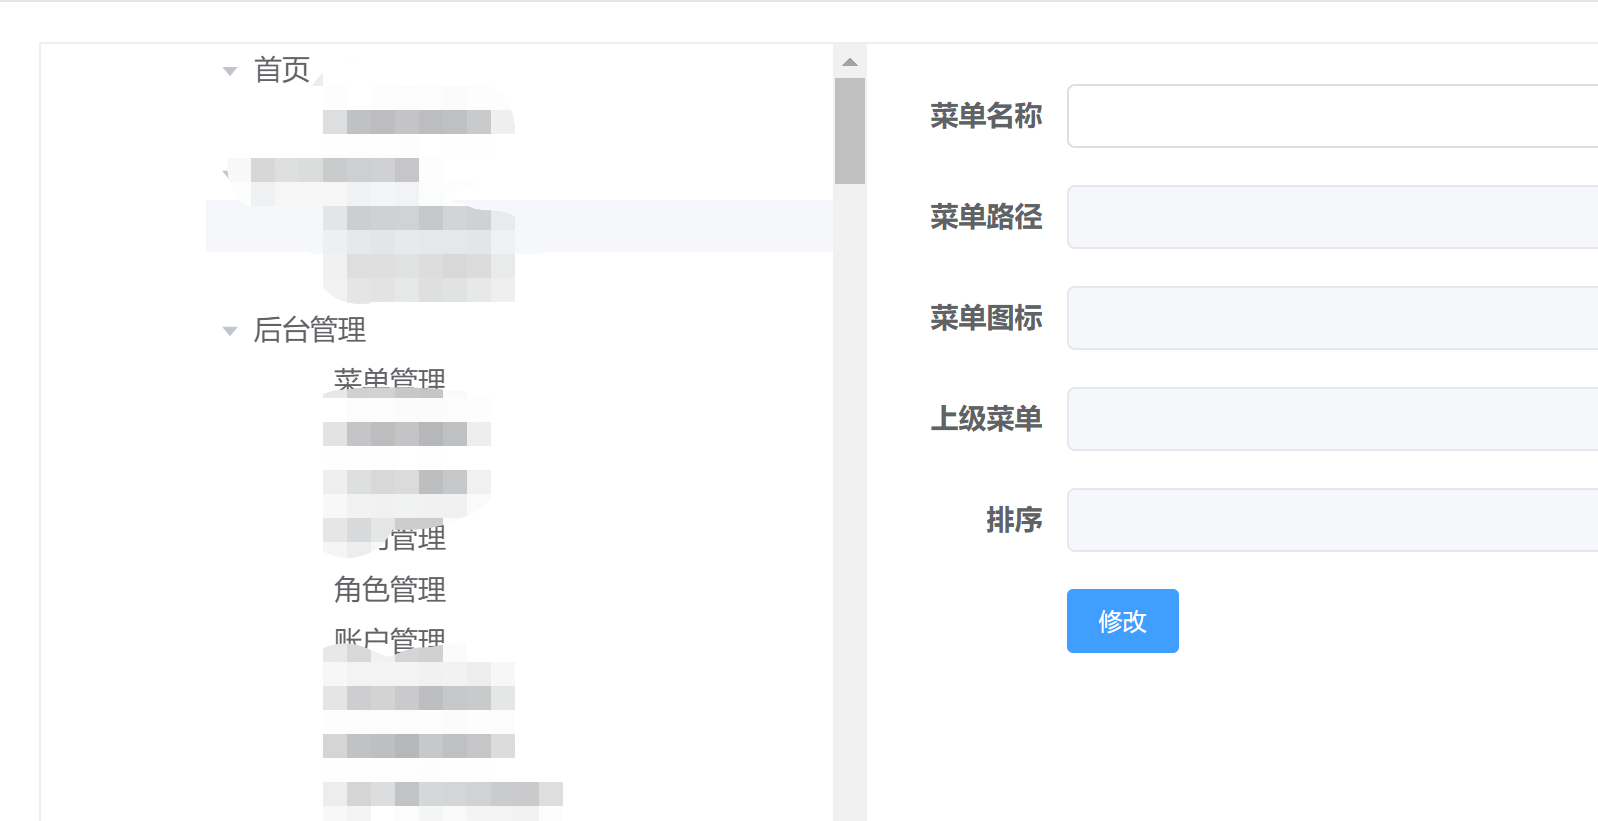
点击修改按钮后,重新加载页面,让修改后的结果显示出来。
onSubmit() {
         ...
        update(...).then(response => {
          if (response.success) {
            this.$message({
              message: response.msg,
              type: response.success
            });
          }
          setTimeout(() => {
            this.listLoading = false
          }, 1.5 * 1000)
        })
        location.reload()
      },
PS:如果使用getList()来刷新页面,有可能有时不会有刷新的效果。而用location.reload()方法是肯定会刷新的。
二、强制全局刷新方法2
经常使用vue的小伙伴看到这个应该很熟悉吧,我们经常用它来实现前进后退,但别忘了它还可以实现自身页面刷新
this.$router.go(0)
对于以上两种方法,虽然都可以实现页面刷新,但页面会刷的白一下,给用户的体验非常不好。利用provide/inject组合方式是我目前觉得最好用的方法,而且可以实现局部刷新。下面我们就来详细介绍其用法
三、强制局部刷新方法
vue局部刷新
通过设置isReload来解决不刷新问题,原理就是通过控制组件容器的出现与消失, 达到重新渲染的效果 , 从而实现我们的目的。
(1)、在父组件Layout.vue的子组件Content.vue 中定义全局方法reload()
<template>
  <section class="app-main">
    <transition name="fade-transform" mode="out-in">
      <router-view v-if="isReload1"/>
    </transition>
  </section>
</template>

<script>
export default {
  name: 'AppMain',
  data() {
    return {
      isReload1: true
    }
  },
  provide() {
    return {
      reload1: this.reload1,
    };
  },
  methods: {
    reload1() {
      this.isReload1 = false;
      this.$nextTick(() => {
        this.isReload1 = true;
      });
    },
  }

}
</script>

<style scoped>
.app-main {
  /*58 = navbar  */
  min-height: calc(100vh - 58px);
  position: relative;
  overflow: hidden;
}
</style>
在需要引入的组件中引入
inject: ["reload1"],
然后调用此方法:
onSubmit() {
        ...
        update(...).then(response => {
          if (response.success) {
            this.$message({
              message: response.msg,
              type: response.success
            });
          }
          setTimeout(() => {
            this.listLoading = false
          }, 1.5 * 1000)
        })
        this.reload1()
      },
这种方法比第一种方法的用户体验好一些。


