
C3p0连接池的使用
本文主要讲述c3p0连接池连接数据库的操作步骤
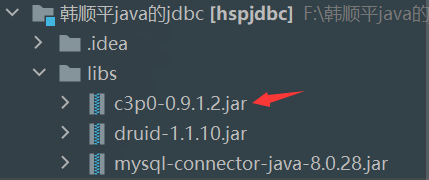
1. 在libs文件夹下引入c3p0的jar包
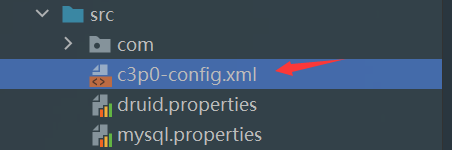
2.在src下引入c3p0的配置文件
c3p0-config.xml文件内容如下:
<c3p0-config>

  <named-config name="hsp_edu">
<!-- 驱动类 -->
  <property name="driverClass">com.mysql.cj.jdbc.Driver</property>
  <!-- url-->
      <property name="jdbcUrl">jdbc:mysql://127.0.0.1:3306/hspdb02</property>
  <!-- 用户名 -->
          <property name="user">root</property>
          <!-- 密码 -->
      <property name="password">zw20010108</property>
      <!-- 每次增长的连接数-->
    <property name="acquireIncrement">5</property>
    <!-- 初始的连接数 -->
    <property name="initialPoolSize">10</property>
    <!-- 最小连接数 -->
    <property name="minPoolSize">5</property>
   <!-- 最大连接数 -->
    <property name="maxPoolSize">10</property>

    <!-- 可连接的最多的命令对象数 -->
    <property name="maxStatements">5</property>

    <!-- 每个连接对象可连接的最多的命令对象数 -->
    <property name="maxStatementsPerConnection">2</property>
  </named-config>
</c3p0-config>
3.具体编写连接的代码
方式1:通过设置set属性
public class c3p0Test {

    @Test
    public void test01() throws Exception{
        // 使用数据库连接池,连接数据库,方式1:通过设置数据连接池的属性
        ComboPooledDataSource comboPooledDataSource = new ComboPooledDataSource();
        comboPooledDataSource.setDriverClass("com.mysql.cj.jdbc.Driver");
        comboPooledDataSource.setJdbcUrl("jdbc:mysql://localhost:3306/hspdb02?useUnicode=true&characterEncoding=UTF-8");
        comboPooledDataSource.setUser("root");
        comboPooledDataSource.setPassword("*****");
        // 设置初始化连接数
        comboPooledDataSource.setInitialPoolSize(20);
        // 设置最小连接数,当连接池还有2个的时候,就开始申请连接数
        comboPooledDataSource.setMinPoolSize(2);
        // 设置最大连接数,最多只能有 40 个连接
        comboPooledDataSource.setMaxPoolSize(40);
        // 当连接数不够用时,一次向数据库申请多少个连接
        comboPooledDataSource.setAcquireIncrement(5);

        long start = System.currentTimeMillis();
        for (int i = 0; i < 50000; i++) {
            Connection connection = comboPooledDataSource.getConnection();
            connection.close();
        }
        long end = System.currentTimeMillis();
        System.out.println("执行时间: " + (int)(end-start));
    }
方式2:通过读取xml配置文件
public class c3p0Test {

    @Test
    @SuppressWarnings({"all"})
    public void test02() throws Exception{
        // 使用数据库连接池,连接数据库,方式2:通过xml文件
        // 参数是c3p0-config.xml的配置名称: <named-config name="hsp_edu">
        ComboPooledDataSource hsp_edu = new ComboPooledDataSource("hsp_edu");
        long start = System.currentTimeMillis();
        // 执行时间: 1998
        for (int i = 0; i < 500000; i++) {
            Connection connection = hsp_edu.getConnection();
            connection.close();
        }
        long end = System.currentTimeMillis();
        System.out.println("执行时间: " + (int)(end-start));
    }
}
注意,在c3p0中获得数据池的代码
获得属性为空的数据池
ComboPooledDataSource comboPooledDataSource = new ComboPooledDataSource();
获得读取xml配置文件的数据池
ComboPooledDataSource hsp_edu = new ComboPooledDataSource("hsp_edu");

 浙公网安备 33010602011771号