Mac环境下QT打包成pkg
1,使用QC编辑器生成.app文件:
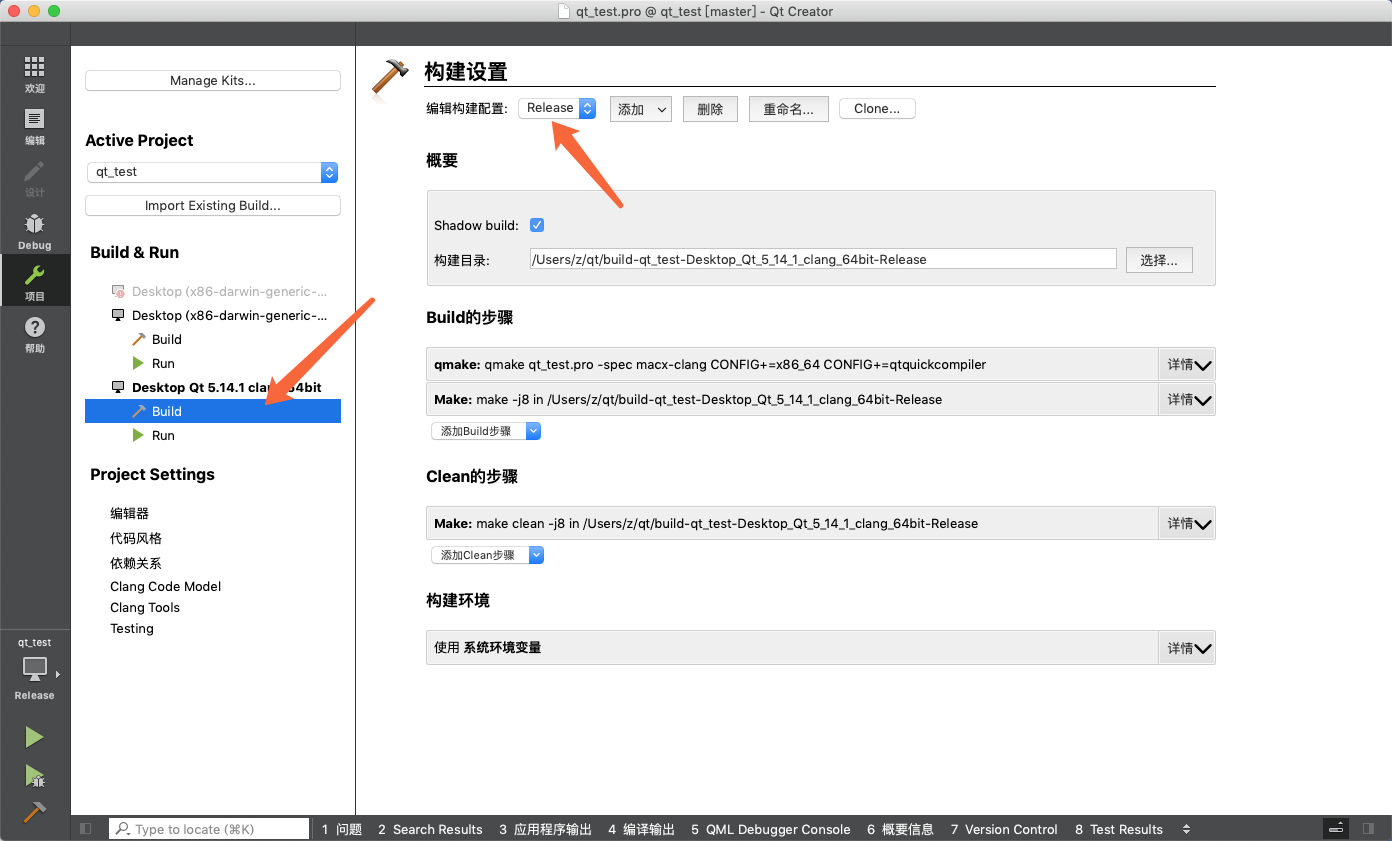
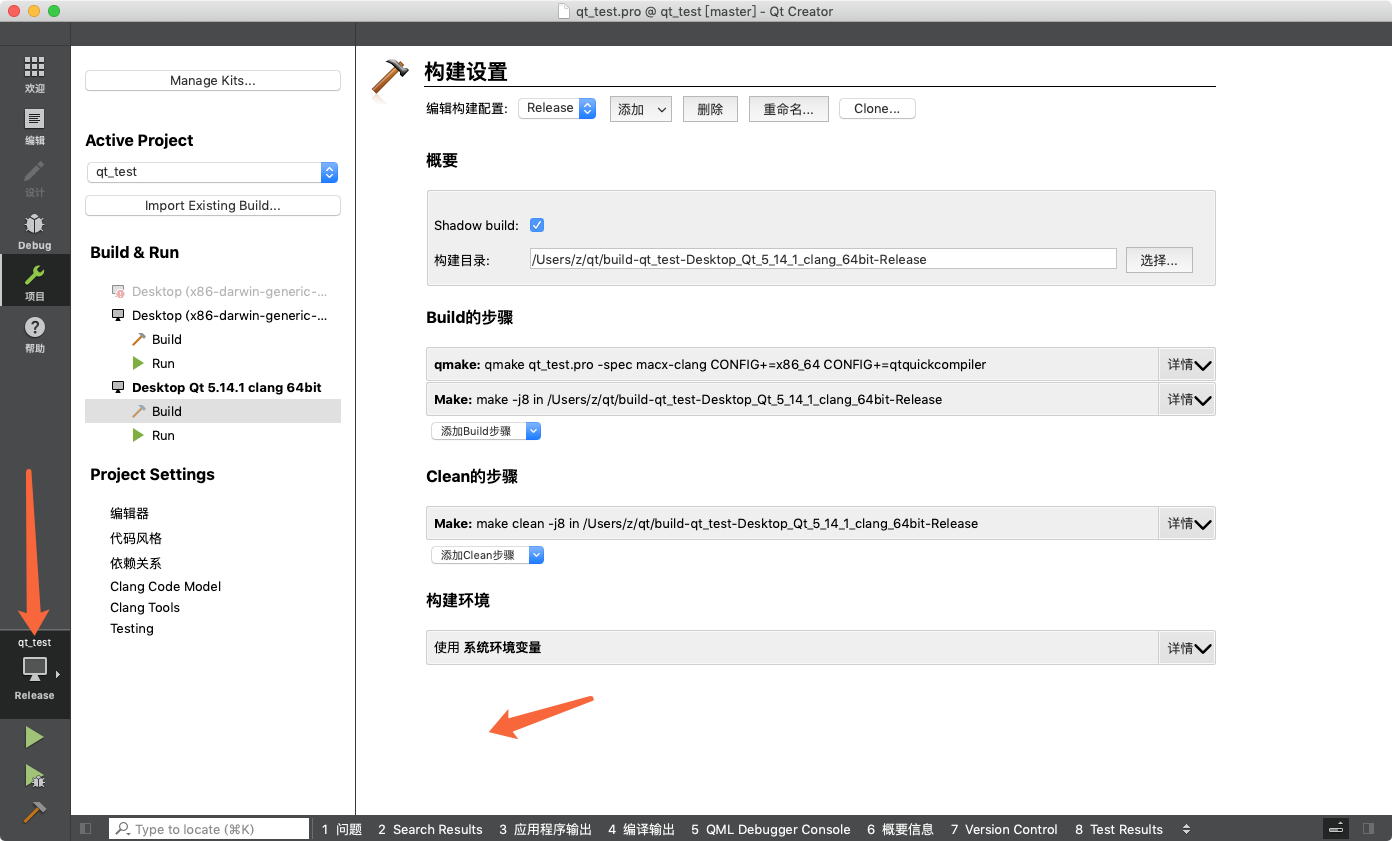
点击构建项目,会生成这个qt_test文件(尾缀为.app,一般是不显示尾缀,是看不到的)
2,使用macdeployqt这个程序把依赖包打入.app中:
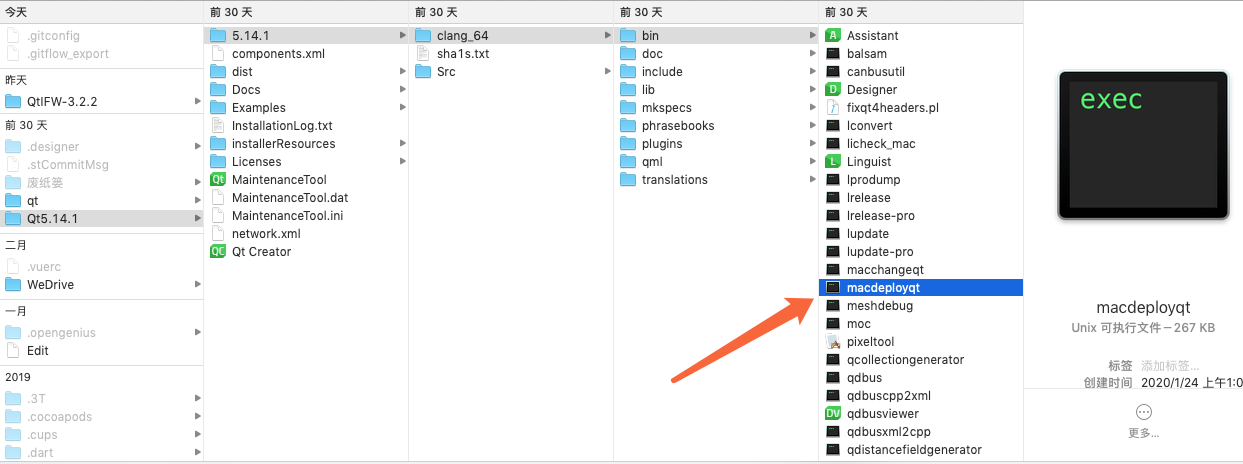
命令行命令:
前边是macdeployqt程序,后边是QC生成的几百K的.app文件。
zdeMacBook-Pro:~ z$ /Users/z/Qt5.14.1/5.14.1/clang_64/bin/macdeployqt /Users/z/qt/build-qt_test-Desktop_Qt_5_14_1_clang_64bit-Release/qt_test.app

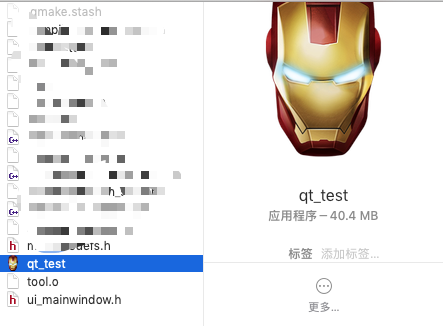
然后你会发现之前的.app文件变成了好几十M大小的文件,如下图:
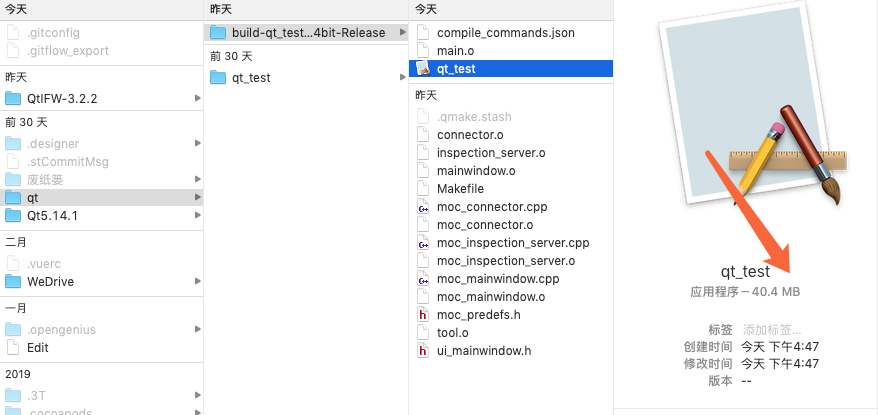
这个截图说明,这个.app文件就是直接可以在本机双击打开了。接下来要更改这个应用的名字,鼠标右击这个好几十M的.app名字,选择显示包内容,打开Contents文件夹下面的info.plist文件(如果本机安装了Xcode,那可以直接打开,如果没安装则使用文本编辑器打开就行):

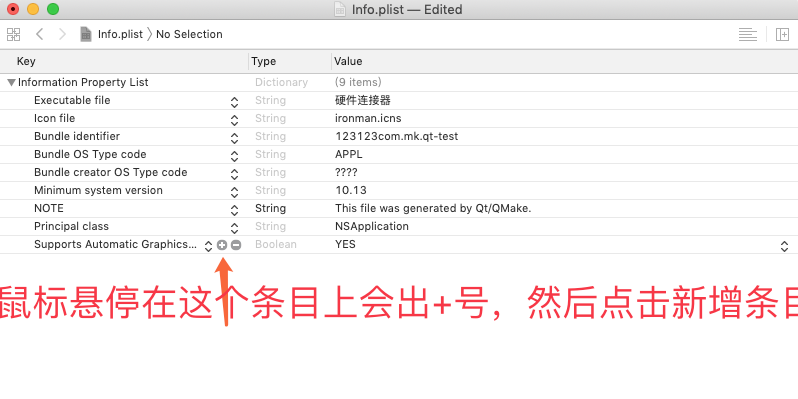
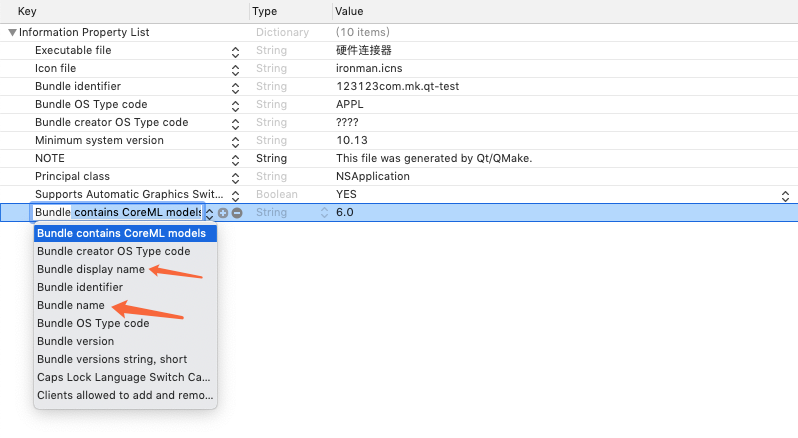
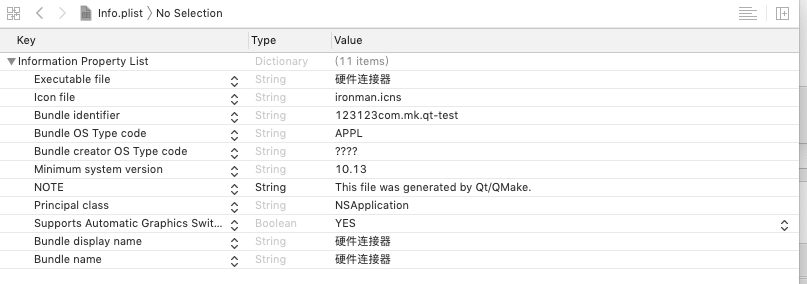
最后这个文件是这个样子的:
<?xml version="1.0" encoding="UTF-8"?>
<!DOCTYPE plist PUBLIC "-//Apple//DTD PLIST 1.0//EN" "http://www.apple.com/DTDs/PropertyList-1.0.dtd">
<plist version="1.0">
<dict>
    <key>CFBundleExecutable</key>
    <string>硬件连接器</string>
    <key>CFBundleIconFile</key>
    <string>ironman.icns</string>
    <key>CFBundleIdentifier</key>
    <string>123123com.mk.qt-test</string>
    <key>CFBundlePackageType</key>
    <string>APPL</string>
    <key>CFBundleSignature</key>
    <string>????</string>
    <key>LSMinimumSystemVersion</key>
    <string>10.13</string>
    <key>NOTE</key>
    <string>This file was generated by Qt/QMake.</string>
    <key>NSPrincipalClass</key>
    <string>NSApplication</string>
    <key>NSSupportsAutomaticGraphicsSwitching</key>
    <true/>
    <key>CFBundleDisplayName</key>
    <string>硬件连接器</string>
    <key>CFBundleName</key>
    <string>硬件连接器</string>
</dict>
</plist>
3,应用中增加图标:
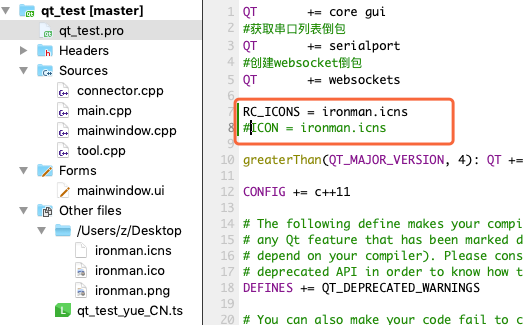
在生成完毕的几十M的.app文件中-->显示包内容-->把图标拷贝到Resources文件夹中,并在info.plist文件中修改条目参数:
<string>ironman.icns</string>

刷新文件夹,或者稍等一辆分钟,会发现应用的图标从默认变为设置的图标:
4,签名.app文件:
登录开发者平台 https://developer.apple.com/

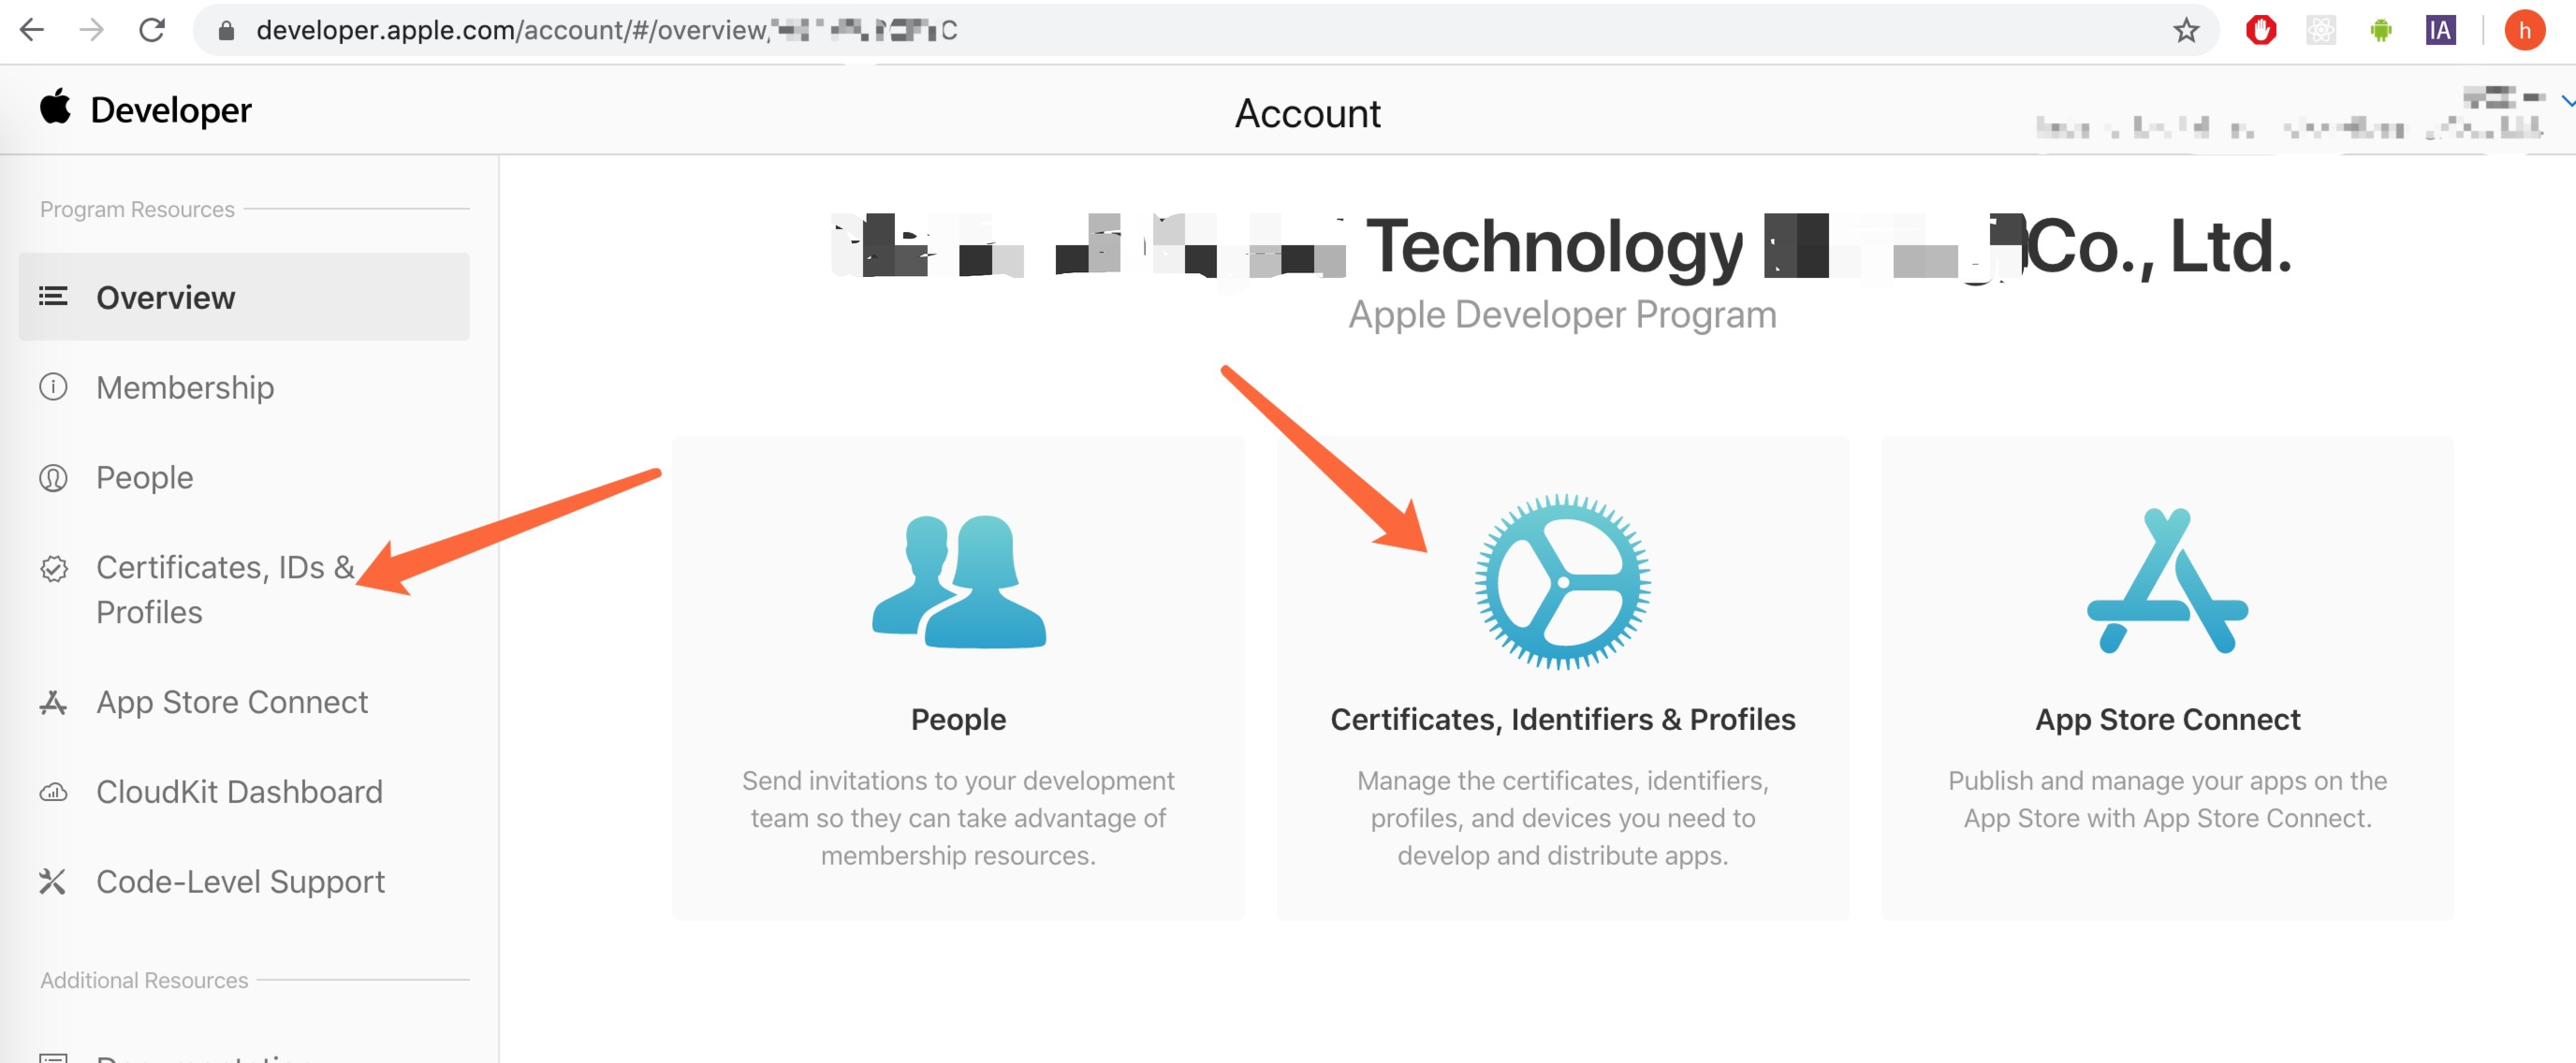


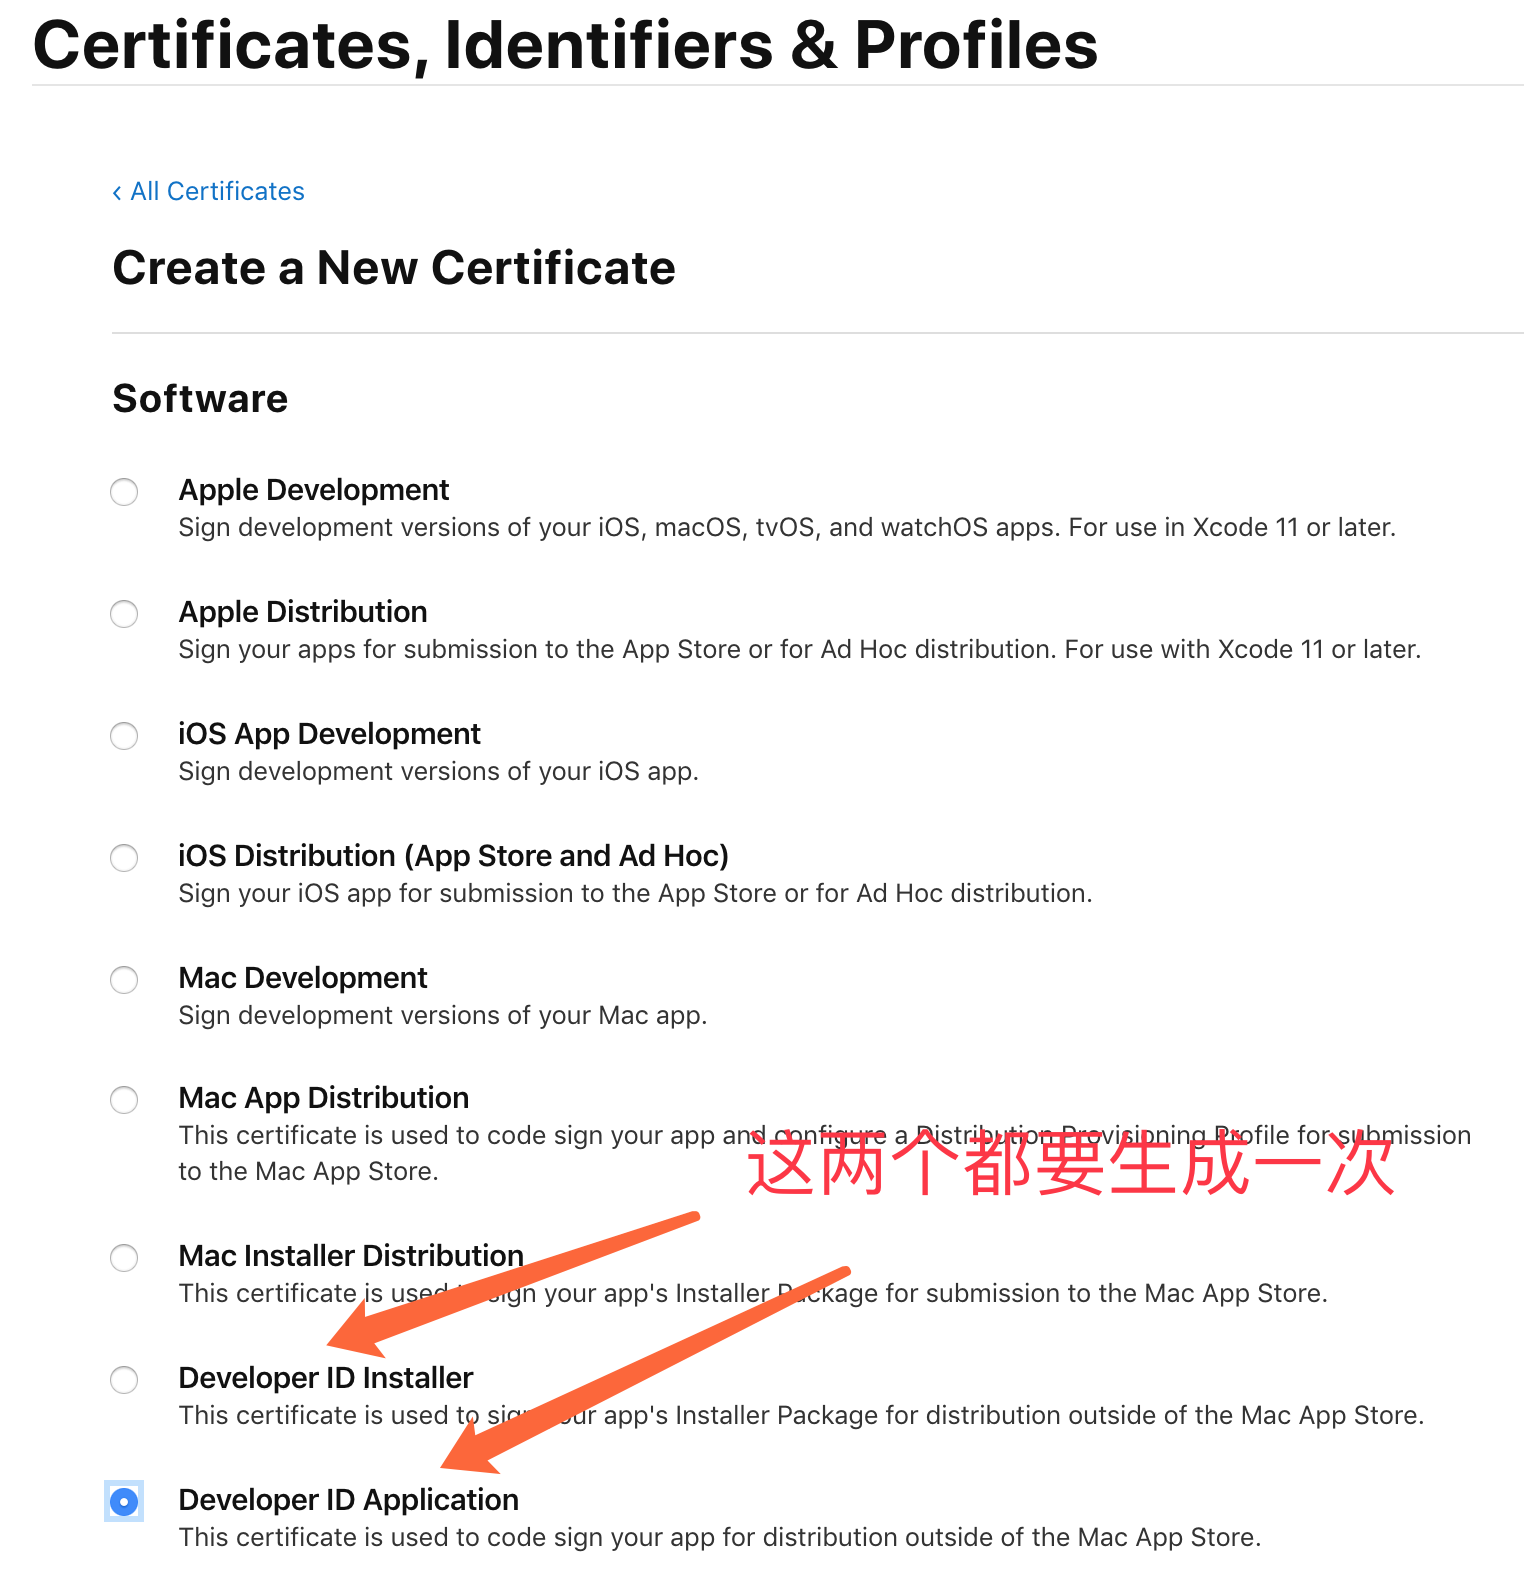

按照操作步骤得到两个密钥:

上面两个密钥用钥匙串工具打开,能够看见名称:

双引号中放入密钥的名称,运行签名命令。
codesign --deep --force --verbose --sign "<identity>" Application.app
检查密钥命令:
codesign -dvvv qt_test.app
打包.pkg文件:
productbuild --component qt_test.app /Applications/ --sign "Developer ID Installer: 公司英文名. (H94V*****)" --product qt_test.app/Contents/Info.plist qt_test.pkg
上面的命令行解释:
productbuild 生成pkg文件的命令
--component 后面根着要打包的.app(已经签名)的路径
/Applications/ 表示安装目录
--sign 表示使用 Developer ID Installer这个签名文件进行签名
--product 后面根哪个.plist文件
qt_test.pkg 这个是生成的pkg文件的输出路径

生成完的pkg文件使用命令行安装一下,这样能看到安装过程中发生了什么,尤其是安装位置:
sudo installer -store -pkg qt_test.pkg -target /

签名资料参考:
https://blog.csdn.net/u014599371/article/details/103472038
https://blog.csdn.net/casun_li/article/details/71741968
生成的.pkg文件结束 😄😄


【推荐】国内首个AI IDE,深度理解中文开发场景,立即下载体验Trae
【推荐】编程新体验,更懂你的AI,立即体验豆包MarsCode编程助手
【推荐】抖音旗下AI助手豆包,你的智能百科全书,全免费不限次数
【推荐】轻量又高性能的 SSH 工具 IShell:AI 加持,快人一步
· AI与.NET技术实操系列:向量存储与相似性搜索在 .NET 中的实现
· 基于Microsoft.Extensions.AI核心库实现RAG应用
· Linux系列:如何用heaptrack跟踪.NET程序的非托管内存泄露
· 开发者必知的日志记录最佳实践
· SQL Server 2025 AI相关能力初探
· winform 绘制太阳,地球,月球 运作规律
· 震惊!C++程序真的从main开始吗?99%的程序员都答错了
· AI与.NET技术实操系列(五):向量存储与相似性搜索在 .NET 中的实现
· 超详细:普通电脑也行Windows部署deepseek R1训练数据并当服务器共享给他人
· 【硬核科普】Trae如何「偷看」你的代码?零基础破解AI编程运行原理