Installing ns3-gym AI Model under Chroot Jail
https://www.projectguideline.com/installing-ns3-gym-ai-model-under-chroot-jail/
Article Written by:
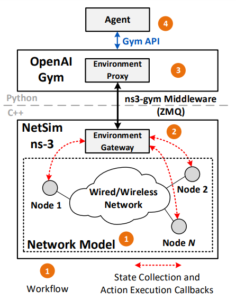 ns3-gym is the first framework for RL research in networking[4]. It is based on OpenAI Gym, a toolkit for RL research and ns-3 network simulator. Specifically, it allows representing an ns-3 simulation as an environment in Gym framework and exposing state and control knobs of entities from the simulation for the agent’s learning purposes. This framework is generic and can be used in various networking problems. The toolkit is provided to the community as open-source under a GPL license. The right-side figure from [4] shows the architecture of ns3-gym framework. One may refer [4] for more details about this architecture and its implementation uner ns-3.
In simple terms, ‘ns3-gym Model’ provides a way to communicate with a simple reinforcement learning algorithm framework from an ns-3 simulation.
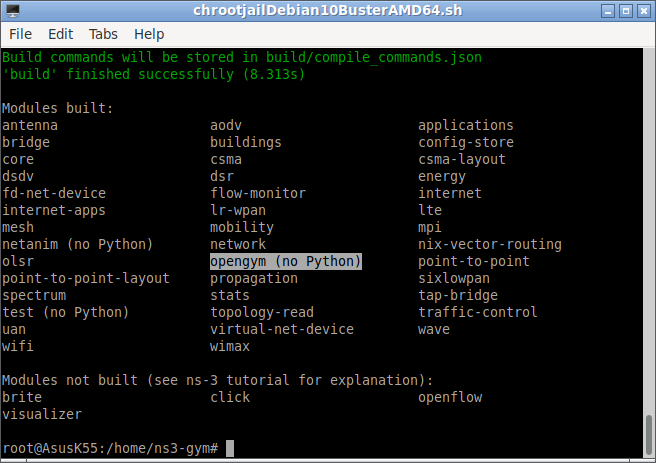
In this article, we will see the installation procedure for installing ‘ns3-gym Model’ under Debian 10 “Buster” chroot jail.
ns3-gym
Gym[1] is a toolkit for developing and comparing reinforcement learning algorithms. ns3-gym is a framework that integrates OpenAI Gym with ns-3 for doing AI/RL based simulations under ns-3.
Install ns3-gym
ns3-gym model is originally integrated with a old ns3-dev version and available along with that ns3-dev version at GitHub. So we o not need to worry bout installing a particular ns-3 version for ns3-gym. We just need to download/clone the entire project and recompile it on our system.
You may follow the ns-3 dependency installation procedure given here as per your requirements.
Or you may simply follow the originl procedure from [3] for the installation of ns3-gym.
Change to “your home” folder
Clone the ns3-gym repository under your home folder
We need the dependencies libzmq5, libzmq5-dev, libprotobuf-dev and protobuf-compiler for ns3-gym. We may install the last two in the list as follows:
The key/passphrase will be given once you have been approved for getting paid research support/assistance from Charles. To get paid support, you may start a 'free' research discussion.
 Discuss Through WhatsApp
Configure Python interface for ns3-gym
Now configure the python interface as follows:
The key/passphrase will be given once you have been approved for getting paid research support/assistance from Charles. To get paid support, you may start a 'free' research discussion.
 Discuss Through WhatsApp
Testing the Installation with simple Simulation
./simple_test.py
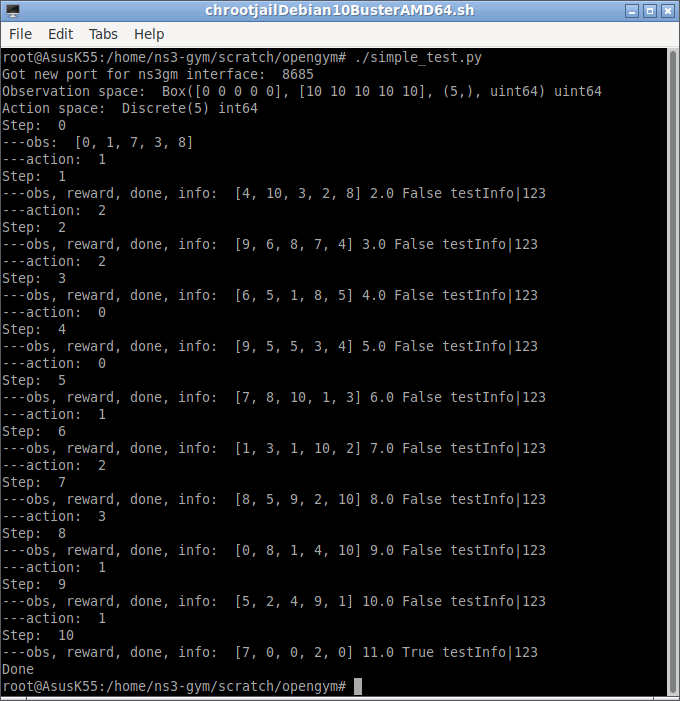
Running the Same, Simple test With two terminals
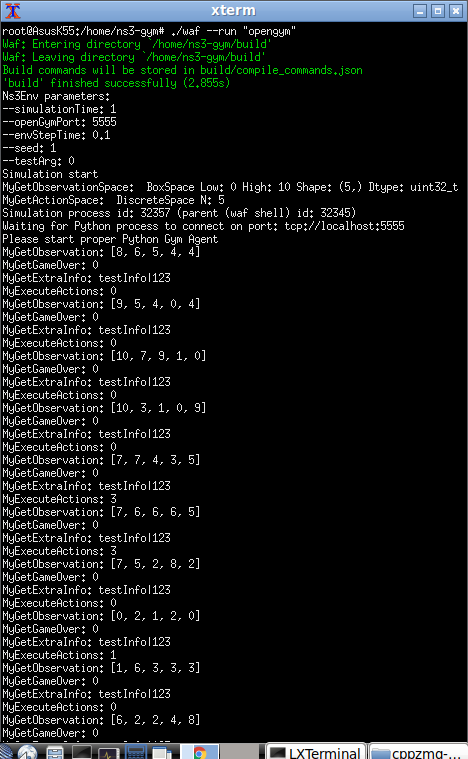
At Terminal 1 : Since we are doing this simulation under chroot, we start another terminal from the first terminal by running xterm command in the background. ($ xterm & ). After that, we have to run the following at the new xterm.
./waf –run “opengym”
The above will create the following output after running the simulation from another terminal.
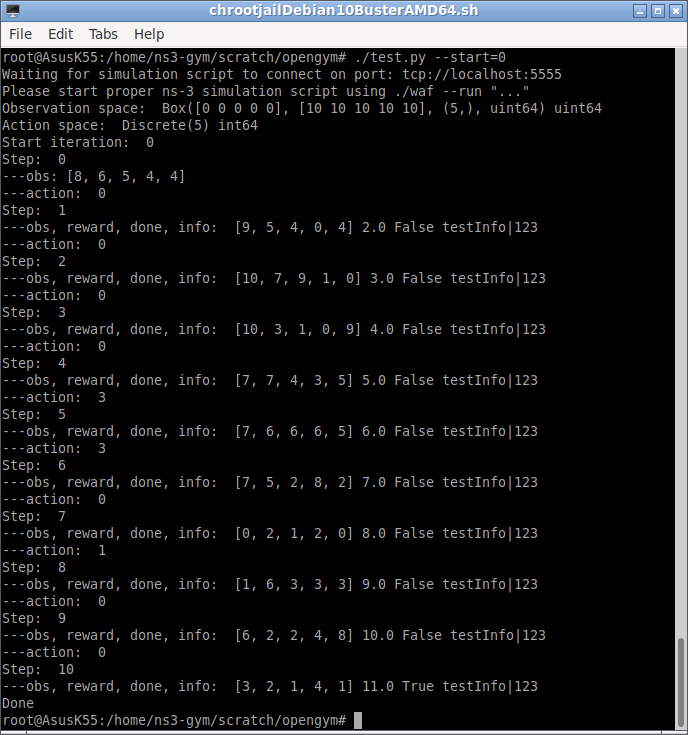
At Terminal 2 : This is main chroot terminal from which the above xterm was run at background(&). We have to issue the following command in this terminal.
./test.py –start=0
Running the Example of RL-based TCP Congestion Control Algorithm
Running it in a Single Terminal
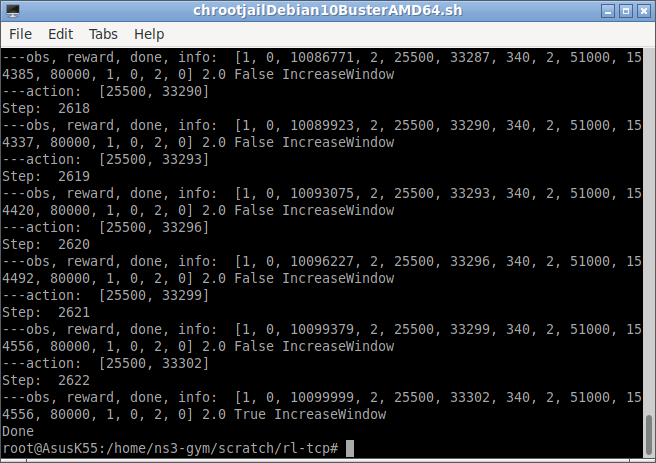
We may run the tl-rcp example in single terminal as follows:
./test_tcp.py
Running it in Two Separate Terminal
For a better understanding of ns-3 simulation and Gym interactions, we can run the rl-tcp example in two separate window as follows:
At Terminal 1 : Since we are doing this simulation under chroot, we start another terminal from the first terminal by running xterm command in the background. ($ xterm & ). After that, we have to run the following at the new xterm.
./waf –run “rl-tcp –transport_prot=TcpRl”
This will start one part of the simulation. The following is the initial output at the terminal:
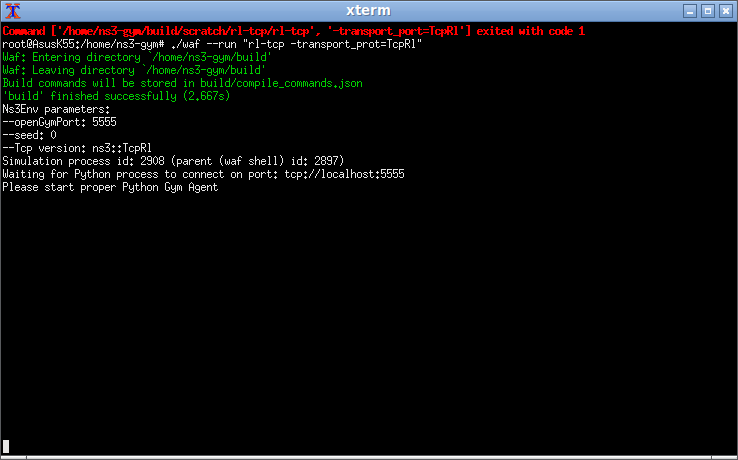
This tells us that to start the python gym agent. (we have to start if from terminal 2 as explained in the next step)
At Terminal 2 : This is main chroot terminal from which the above xterm was run at background(&). We have to issue the following command in this terminal.
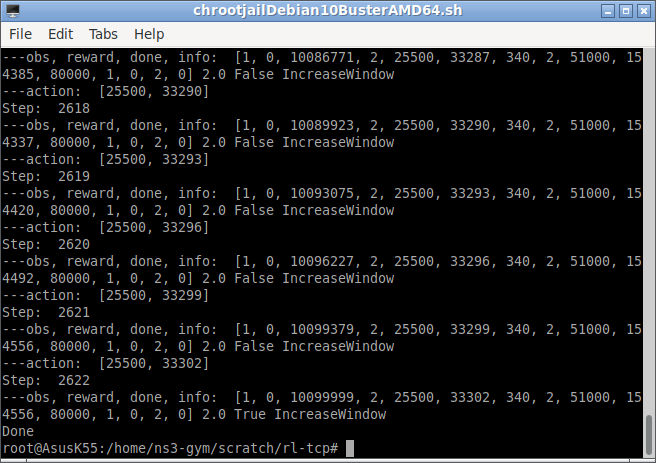
./test_tcp.py –start=0
The above command will start communication with the terminal 1 process and produce the following output in terminal 2.
Similarly, The above command will produce the following output in terminal 1 also:
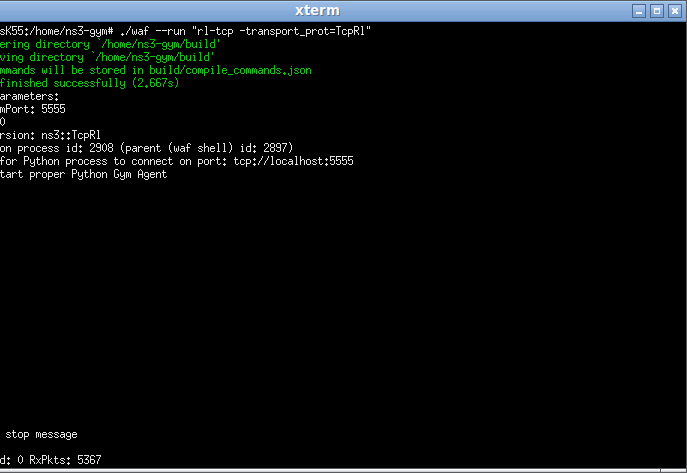
As shown in the above terminal 1 output, it shows the total receive packet “RxPkts” at the end of the simulation.




【推荐】国内首个AI IDE,深度理解中文开发场景,立即下载体验Trae
【推荐】编程新体验,更懂你的AI,立即体验豆包MarsCode编程助手
【推荐】抖音旗下AI助手豆包,你的智能百科全书,全免费不限次数
【推荐】轻量又高性能的 SSH 工具 IShell:AI 加持,快人一步
· 无需6万激活码!GitHub神秘组织3小时极速复刻Manus,手把手教你使用OpenManus搭建本
· Manus爆火,是硬核还是营销?
· 终于写完轮子一部分:tcp代理 了,记录一下
· 别再用vector<bool>了!Google高级工程师:这可能是STL最大的设计失误
· 单元测试从入门到精通