开源框架YiShaAdmin如何使用任务计划
1.在Startup添加 new JobCenter().Start();(红色字体,下同)
// This method gets called by the runtime. Use this method to configure the HTTP request pipeline.
        public void Configure(IApplicationBuilder app, IWebHostEnvironment env)
        {
            if (!string.IsNullOrEmpty(GlobalContext.SystemConfig.VirtualDirectory))
            {
                app.UsePathBase(new PathString(GlobalContext.SystemConfig.VirtualDirectory)); // 让 Pathbase 中间件成为第一个处理请求的中间件, 才能正确的模拟虚拟路径
            }
            if (WebHostEnvironment.IsDevelopment())
            {
                GlobalContext.SystemConfig.Debug = true;
                app.UseDeveloperExceptionPage();
            }
            else
            {
                app.UseExceptionHandler("/Home/Error");
            }

            string resource = Path.Combine(env.ContentRootPath, "Resource");
            FileHelper.CreateDirectory(resource);

            app.UseStaticFiles(new StaticFileOptions
            {
                OnPrepareResponse = GlobalContext.SetCacheControl
            });
            app.UseStaticFiles(new StaticFileOptions
            {
                RequestPath = "/Resource",
                FileProvider = new PhysicalFileProvider(resource),
                OnPrepareResponse = GlobalContext.SetCacheControl
            });
            app.UseSession();
            app.UseRouting();
            app.UseEndpoints(endpoints =>
            {
                endpoints.MapControllerRoute("areas", "{area:exists}/{controller=Home}/{action=Index}/{id?}");
                endpoints.MapControllerRoute("default", "{controller=Home}/{action=Index}/{id?}");
            });
            GlobalContext.ServiceProvider = app.ApplicationServices;
            new JobCenter().Start();        }
2.在YiSha.Business.AutoJob的Job文件夹新建TestConsoleJob.cs
using System.Threading.Tasks;
using YiSha.Util.Model;

namespace YiSha.Business.AutoJob
{
    internal class TestConsoleJob : IJobTask
    {
        public async Task<TData> Start()
        {
            TData obj = new TData();
            obj.Tag = 1;
            obj.Message = "测试调用成功";
            return obj;
        }
    }
}
3.在JobExecute中加入新添加的任务
using System;
using System.Collections.Generic;
using System.Text;
using System.Threading.Tasks;
using Quartz;
using Quartz.Impl.Triggers;
using YiSha.Entity.SystemManage;
using YiSha.Enum;
using YiSha.Service.SystemManage;
using YiSha.Util;
using YiSha.Util.Extension;
using YiSha.Util.Model;

namespace YiSha.Business.AutoJob
{
    public class JobExecute : IJob
    {
        private AutoJobService autoJobService = new AutoJobService();
        private AutoJobLogService autoJobLogService = new AutoJobLogService();

        public Task Execute(IJobExecutionContext context)
        {
            return Task.Run(async () =>
            {
                TData obj = new TData();
                long jobId = 0;
                JobDataMap jobData = null;
                AutoJobEntity dbJobEntity = null;
                try
                {
                    jobData = context.JobDetail.JobDataMap;
                    jobId = jobData["Id"].ParseToLong();
                    // 获取数据库中的任务
                    dbJobEntity = await autoJobService.GetEntity(jobId);
                    if (dbJobEntity != null)
                    {
                        if (dbJobEntity.JobStatus == StatusEnum.Yes.ParseToInt())
                        {
                            CronTriggerImpl trigger = context.Trigger as CronTriggerImpl;
                            if (trigger != null)
                            {
                                if (trigger.CronExpressionString != dbJobEntity.CronExpression)
                                {
                                    // 更新任务周期
                                    trigger.CronExpressionString = dbJobEntity.CronExpression;
                                    await JobScheduler.GetScheduler().RescheduleJob(trigger.Key, trigger);
                                }

                                #region 执行任务
                                switch (context.JobDetail.Key.Name)
                                {
                                    case "数据库备份":
                                        obj = await new DatabasesBackupJob().Start();
                                        break;
                                    case "测试任务计划":
                                        obj = await new TestConsoleJob().Start();
                                        break;
                                }
                                #endregion
                            }
                        }
                    }
                }
                catch (Exception ex)
                {
                    obj.Message = ex.GetOriginalException().Message;
                    LogHelper.Error(ex);
                }

                try
                {
                    if (dbJobEntity != null)
                    {
                        if (dbJobEntity.JobStatus == StatusEnum.Yes.ParseToInt())
                        {
                            #region 更新下次运行时间
                            await autoJobService.SaveForm(new AutoJobEntity
                            {
                                Id = dbJobEntity.Id,
                                NextStartTime = context.NextFireTimeUtc.Value.DateTime.AddHours(8)
                            });
                            #endregion

                            #region 记录执行状态
                            await autoJobLogService.SaveForm(new AutoJobLogEntity
                            {
                                JobGroupName = context.JobDetail.Key.Group,
                                JobName = context.JobDetail.Key.Name,
                                LogStatus = obj.Tag,
                                Remark = obj.Message
                            });
                            #endregion
                        }
                    }
                }
                catch (Exception ex)
                {
                    obj.Message = ex.GetOriginalException().Message;
                    LogHelper.Error(ex);
                }
            });
        }
    }
}
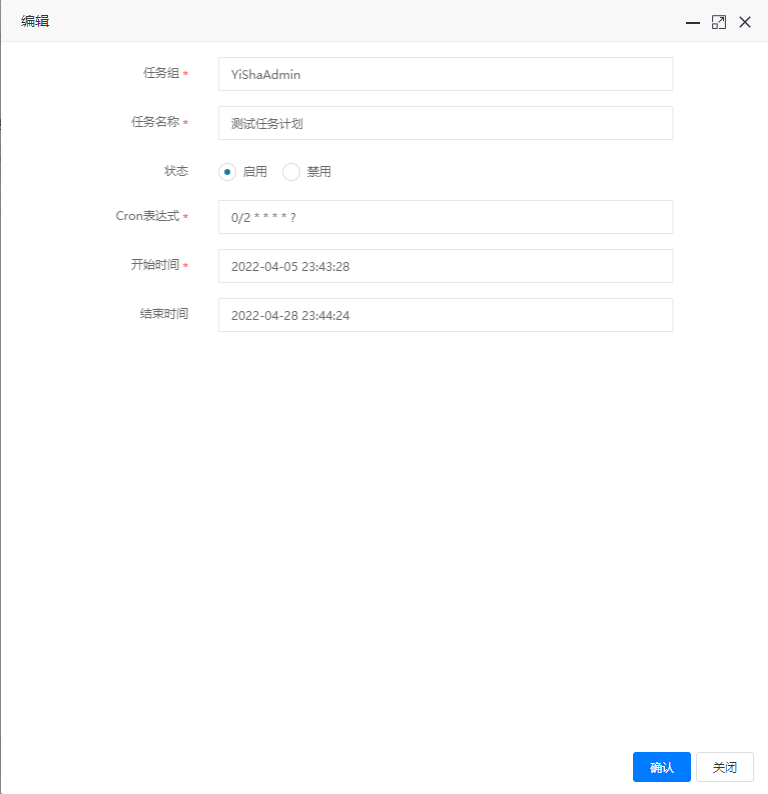
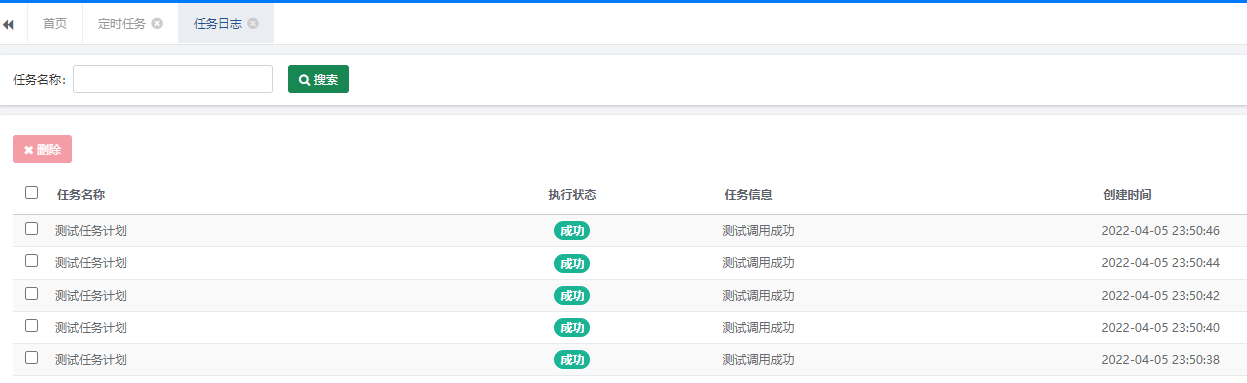
4.添加任务计划,测试

 浙公网安备 33010602011771号