
红帽7 磁盘划分
1、挂载硬件设备
mount命令用于挂载文件系统,格式为“mount 文件系统 挂载目录”。挂载是在使用硬件设备前所执行的最后一步操作。只需使用mount命令把硬盘设备或分区与一个目录文件进行关联,然后就能在这个目录中看到硬件设备中的数据了。
mount命令中的参数以及作用
| 参数 | 作用 |
| -a | 挂载所有在/etc/fstab中定义的文件系统 |
| -t | 指定文件系统的类型 |
例如,要把设备 /dev/sdb2 挂载到 /back 目录,只需要在mount命令中填写设备与挂载目录参数就行,系统会自动去判断要挂载文件的类型
[root@localhost Desktop]# mount /dev/sdb2 /back
虽然按照上面的方法执行mount命令后就能立即使用文件系统了,但系统在重启后挂载就会失效,也就是说我们需要每次开机后都手动挂载一下。如果想让硬件设备和目录永久地进行自动关联,就必须把挂载信息按照指定的填写格式 “设备文件 挂载目录 格式类型 权限选项 是否备份 是否自检” 写入到/etc/fstab文件中。这个文件中包含着挂载所需的诸多信息项目,一旦配置好之后就能一劳永逸了。
用于挂载信息的指定填写格式中,各字段所表示的意义
| 字段 | 意义 |
| 设备文件 | 一般为设备的路径+设备名称,也可以写唯一识别码(UUID,Universally Unique Identifier) |
| 挂载目录 | 指定要挂载到的目录,需在挂载前创建好 |
| 格式类型 | 指定文件系统的格式,比如Ext3、Ext4、XFS、SWAP、iso9660(此为光盘设备)等 |
| 权限选项 | 若设置为defaults,则默认权限为:rw, suid, dev, exec, auto, nouser, async |
| 是否备份 | 若为1则开机后使用dump进行磁盘备份,为0则不备份 |
| 是否自检 | 若为1则开机后自动进行磁盘自检,为0则不自检 |
如果想将文件系统为ext4的硬件设备 /dev/sdb2 在开机后自动挂载到 /back 目录上,并保持默认权限且无需开机自检,就需要在/etc/fstab文件中写入下面的信息,这样在系统重启后也会成功挂载。
[root@localhost Desktop]# vim /etc/fstab
#
# /etc/fstab
# Created by anaconda on Wed Sep  5 21:24:14 2018
#
# Accessible filesystems, by reference, are maintained under '/dev/disk'
# See man pages fstab(5), findfs(8), mount(8) and/or blkid(8) for more info
#
/dev/mapper/rhel-root   /                       xfs     defaults        1 1
UUID=1e81605b-4fdf-46b6-a0e4-244ea1ac9e7d /boot                   xfs     defaults        1 2
/dev/mapper/rhel-swap   swap                    swap    defaults        0 0
/dev/sdb2 /back ext4 defaults 0 0
umount命令:用于撤销已经挂载的设备文件,格式为 “umount [挂载点/设备文件]” 。我们挂载文件系统的目的是为了使用硬件资源,而卸载文件系统就意味不再使用硬件的设备资源;相对应地,挂载操作就是把硬件设备与目录进行关联的动作,因此卸载操作只需要说明想要取消关联的设备文件或挂载目录的其中一项即可,一般不需要加其他额外的参数。
[root@localhost Desktop]# umount /dev/sdb2
2、添加硬盘设备
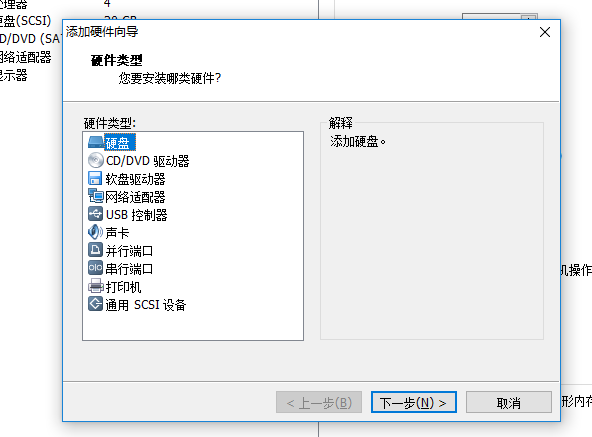
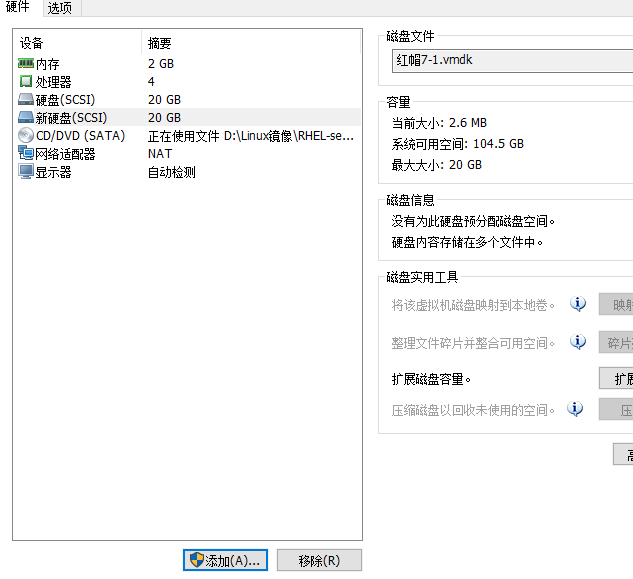
第1步:首先把虚拟机系统关机,稍等几分钟会自动返回到虚拟机管理主界面,然后单击“编辑虚拟机设置”选项,在弹出的界面中单击“添加”按钮,新增一块硬件设备


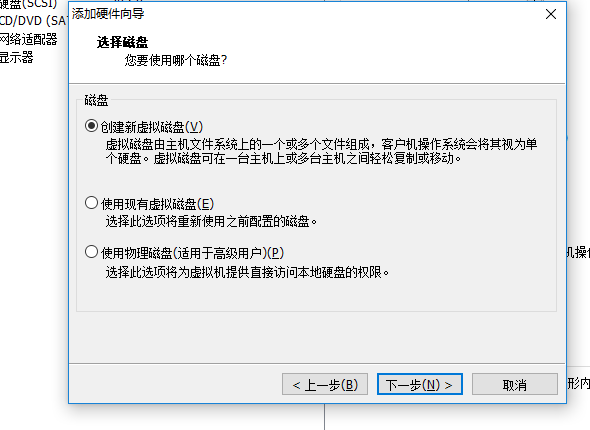
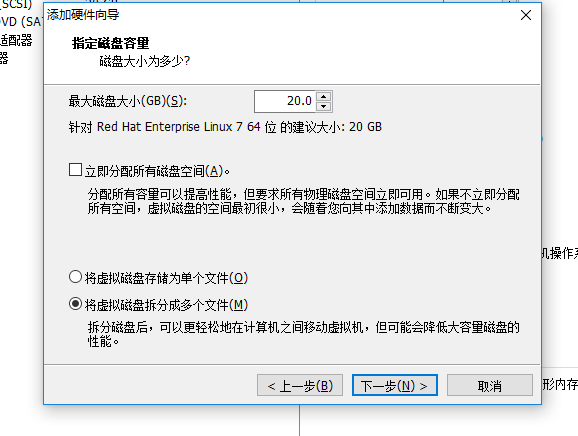
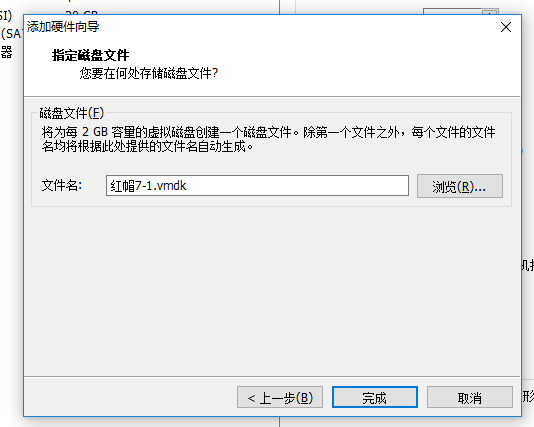
在虚拟机中模拟添加了硬盘设备后就应该能看到抽象成的硬盘设备文件了。第二个被识别的SCSI设备应该会被保存为/dev/sdb,这个就是硬盘设备文件了。但在开始使用该硬盘之前还需要进行分区操作。
(1)fdisk命令
在Linux系统中,管理硬盘设备最常用的方法就当属fdisk命令了。fdisk命令用于管理磁盘分区,格式为“fdisk [磁盘名称]”,它提供了集添加、删除、转换分区等功能于一身的“一站式分区服务”。
fdisk命令中的参数以及作用
| 参数 | 作用 |
| m | 查看全部可用的参数 |
| n | 添加新的分区 |
| d | 删除某个分区信息 |
| l | 列出所有可用的分区类型 |
| t | 改变某个分区的类型 |
| p | 查看分区表信息 |
| w | 保存并退出 |
| q | 不保存直接退出 |
第1步:我们首先使用fdisk命令来尝试管理 /dev/sdb 硬盘设备。在看到提示信息后输入参数p来查看硬盘设备内已有的分区信息,其中包括了硬盘的容量大小、扇区个数等信息
[root@localhost Desktop]# fdisk /dev/sdb
Welcome to fdisk (util-linux 2.23.2).

Changes will remain in memory only, until you decide to write them.
Be careful before using the write command.

Device does not contain a recognized partition table
Building a new DOS disklabel with disk identifier 0xab9c86d8.

Command (m for help): p

Disk /dev/sdb: 21.5 GB, 21474836480 bytes, 41943040 sectors
Units = sectors of 1 * 512 = 512 bytes
Sector size (logical/physical): 512 bytes / 512 bytes
I/O size (minimum/optimal): 512 bytes / 512 bytes
Disk label type: dos
Disk identifier: 0xab9c86d8

   Device Boot      Start         End      Blocks   Id  System
第2步:输入参数n尝试添加新的分区。系统会要求您是选择继续输入参数p来创建主分区,还是输入参数e来创建扩展分区。这里输入参数p来创建一个主分区
Command (m for help): n
Partition type:
   p   primary (0 primary, 0 extended, 4 free)
   e   extended
Select (default p): p
第3步:在确认创建一个主分区后,系统要求您先输入主分区的编号。我们在前文得知,主分区的编号范围是1~4,因此这里输入默认的1就可以了。接下来系统会提示定义起始的扇区位置,这不需要改动,我们敲击回车键保留默认设置即可,系统会自动计算出最靠前的空闲扇区的位置。最后,系统会要求定义分区的结束扇区位置,这其实就是要去定义整个分区的大小是多少。我们不用去计算扇区的个数,只需要输入+2G即可创建出一个容量为2GB的硬盘分区
Partition number (1-4, default 1): 1
First sector (2048-41943039, default 2048):    敲回车
Using default value 2048
Last sector, +sectors or +size{K,M,G} (2048-41943039, default 41943039): +2G
Partition 1 of type Linux and of size 2 GiB is set
第4步:再次使用参数p来查看硬盘设备中的分区信息。果然就能看到一个名称为 /dev/sdb1、起始扇区位置为2048、结束扇区位置为4196351的主分区了。这时候千万不要直接关闭窗口,而应该敲击参数w后回车,这样分区信息才是真正的写入成功。
Command (m for help): p

Disk /dev/sdb: 21.5 GB, 21474836480 bytes, 41943040 sectors
Units = sectors of 1 * 512 = 512 bytes
Sector size (logical/physical): 512 bytes / 512 bytes
I/O size (minimum/optimal): 512 bytes / 512 bytes
Disk label type: dos
Disk identifier: 0xab9c86d8

   Device Boot      Start         End      Blocks   Id  System
/dev/sdb1            2048     4196351     2097152   83  Linux

Command (m for help): w
The partition table has been altered!

Calling ioctl() to re-read partition table.
Syncing disks.
第5步:在上述步骤执行完毕之后,Linux系统会自动把这个硬盘主分区抽象成/dev/sdb1设备文件。我们可以使用file命令查看该文件的属性,有些时候系统并没有自动把分区信息同步给Linux内核,我们可以输入 partprobe命令 手动将分区信息同步到内核,而且一般推荐连续两次执行该命令,效果会更好。
[root@localhost Desktop]# file /dev/sdb1
/dev/sdb1: block special
如果硬件存储设备没有进行格式化,则Linux系统无法得知怎么在其上写入数据。因此,在对存储设备进行分区后还需要进行格式化操作。在Linux系统中用于格式化操作的命令是mkfs。在Shell终端中输入mkfs名后再敲击两下用于补齐命令的Tab键
[root@localhost Desktop]# mkfs
mkfs         mkfs.cramfs  mkfs.ext3    mkfs.fat     mkfs.msdos   mkfs.xfs
mkfs.btrfs   mkfs.ext2    mkfs.ext4    mkfs.minix   mkfs.vfat
把 /dev/sdb1 格式化为xfs的文件系统,则命令应为 mkfs.xfs /dev/sdb1 。
[root@localhost Desktop]# mkfs.xfs  /dev/sdb1
meta-data=/dev/sdb1              isize=256    agcount=4, agsize=131072 blks
         =                       sectsz=512   attr=2, projid32bit=1
         =                       crc=0
data     =                       bsize=4096   blocks=524288, imaxpct=25
         =                       sunit=0      swidth=0 blks
naming   =version 2              bsize=4096   ascii-ci=0 ftype=0
log      =internal log           bsize=4096   blocks=2560, version=2
         =                       sectsz=512   sunit=0 blks, lazy-count=1
realtime =none                   extsz=4096   blocks=0, rtextents=0
接下来就是要来挂载并使用存储设备了。与之相关的步骤也非常简单:首先是创建一个用于挂载设备的挂载点目录;然后使用 mount 命令将存储设备与挂载点进行关联;最后
使用 df -h 命令来查看挂载状态和硬盘使用量信息。
[root@localhost Desktop]# mkdir /newfile
[root@localhost Desktop]# mount /dev/sdb1 /newfile/
[root@localhost Desktop]# df -h
Filesystem             Size  Used Avail Use% Mounted on
/dev/mapper/rhel-root   18G  2.9G   15G  17% /
devtmpfs               985M     0  985M   0% /dev
tmpfs                  994M  140K  994M   1% /dev/shm
tmpfs                  994M  8.8M  986M   1% /run
tmpfs                  994M     0  994M   0% /sys/fs/cgroup
/dev/sda1              497M  119M  379M  24% /boot
/dev/sr0               3.5G  3.5G     0 100% /run/media/root/RHEL-7.0 Server.x86_64
/dev/sdb1              2.0G   33M  2.0G   2% /newfile
使用mount命令挂载的设备文件会在系统下一次重启的时候失效。如果想让这个设备文件的挂载永久有效,则需要把挂载的信息写入到配置文件中
[root@localhost Desktop]# vim /etc/fstab
#
# /etc/fstab
# Created by anaconda on Wed Sep  5 21:24:14 2018
#
# Accessible filesystems, by reference, are maintained under '/dev/disk'
# See man pages fstab(5), findfs(8), mount(8) and/or blkid(8) for more info
#
/dev/mapper/rhel-root   /                       xfs     defaults        1 1
UUID=1e81605b-4fdf-46b6-a0e4-244ea1ac9e7d /boot                   xfs     defaults        1 2
/dev/mapper/rhel-swap   swap                    swap    defaults        0 0
/dev/sdb1 /newfile xfs defaults 0 0
3、添加交换分区
SWAP(交换)分区是一种通过在硬盘中预先划分一定的空间,然后将把内存中暂时不常用的数据临时存放到硬盘中,以便腾出物理内存空间让更活跃的程序服务来使用的技术,其设计目的是为了解决真实物理内存不足的问题。但由于交换分区毕竟是通过硬盘设备读写数据的,速度肯定要比物理内存慢,所以只有当真实的物理内存耗尽后才会调用交换分区的资源。交换分区的创建过程与前文讲到的挂载并使用存储设备的过程非常相似。在对/dev/sdb存储设备进行分区操作前,有必要先说一下交换分区的划分建议:在生产环境中,交换分区的大小一般为真实物理内存的1.5~2倍。


[root@localhost Desktop]# fdisk /dev/sdb
Welcome to fdisk (util-linux 2.23.2).

Changes will remain in memory only, until you decide to write them.
Be careful before using the write command.


Command (m for help): p

Disk /dev/sdb: 21.5 GB, 21474836480 bytes, 41943040 sectors
Units = sectors of 1 * 512 = 512 bytes
Sector size (logical/physical): 512 bytes / 512 bytes
I/O size (minimum/optimal): 512 bytes / 512 bytes
Disk label type: dos
Disk identifier: 0xab9c86d8

   Device Boot      Start         End      Blocks   Id  System
/dev/sdb1            2048     4196351     2097152   83  Linux

Command (m for help): n
Partition type:
   p   primary (1 primary, 0 extended, 3 free)
   e   extended
Select (default p): p
Partition number (2-4, default 2):
First sector (4196352-41943039, default 4196352):
Using default value 4196352
Last sector, +sectors or +size{K,M,G} (4196352-41943039, default 41943039): +2G
Partition 2 of type Linux and of size 2 GiB is set

Command (m for help): p

Disk /dev/sdb: 21.5 GB, 21474836480 bytes, 41943040 sectors
Units = sectors of 1 * 512 = 512 bytes
Sector size (logical/physical): 512 bytes / 512 bytes
I/O size (minimum/optimal): 512 bytes / 512 bytes
Disk label type: dos
Disk identifier: 0xab9c86d8

   Device Boot      Start         End      Blocks   Id  System
/dev/sdb1            2048     4196351     2097152   83  Linux
/dev/sdb2         4196352     8390655     2097152   83  Linux

Command (m for help): w
The partition table has been altered!

Calling ioctl() to re-read partition table.

WARNING: Re-reading the partition table failed with error 16: Device or resource busy.
The kernel still uses the old table. The new table will be used at
the next reboot or after you run partprobe(8) or kpartx(8)
Syncing disks.
使用SWAP分区专用的格式化命令 mkswap,对新建的主分区进行格式化操作
[root@localhost Desktop]# mkswap /dev/sdb2
Setting up swapspace version 1, size = 2097148 KiB
no label, UUID=a7bc373a-1c22-447c-8fea-b251466e7d1d
使用swapon命令把准备好的SWAP分区设备正式挂载到系统中。我们可以使用free -m命令查看交换分区的大小变化
[root@localhost Desktop]# free -m
             total       used       free     shared    buffers     cached
Mem:          1987        906       1081          9          1        298
-/+ buffers/cache:        606       1381
Swap:         2047          0       2047
[root@localhost Desktop]# swapon /dev/sdb2
[root@localhost Desktop]# free -m
             total       used       free     shared    buffers     cached
Mem:          1987        908       1079          9          1        298
-/+ buffers/cache:        607       1380
Swap:         4095          0       4095
[root@localhost Desktop]# vim /etc/fstab
#
# /etc/fstab
# Created by anaconda on Wed Sep  5 21:24:14 2018
#
# Accessible filesystems, by reference, are maintained under '/dev/disk'
# See man pages fstab(5), findfs(8), mount(8) and/or blkid(8) for more info
#
/dev/mapper/rhel-root   /                       xfs     defaults        1 1
UUID=1e81605b-4fdf-46b6-a0e4-244ea1ac9e7d /boot                   xfs     defaults        1 2
/dev/mapper/rhel-swap   swap                    swap    defaults        0 0
/dev/sdb1 /newfile xfs defaults 0 0
/dev/sdb2 swap swap defaults 0 0
4、软硬方式链接
在Linux系统中存在硬链接和软连接两种文件。
硬链接(hard link):可以将它理解为一个“指向原始文件inode的指针”,系统不为它分配独立的inode和文件。所以,硬链接文件与原始文件其实是同一个文件,只是名字不同。我们每添加一个硬链接,该文件的inode连接数就会增加1;而且只有当该文件的inode连接数为0时,才算彻底将它删除。换言之,由于硬链接实际上是指向原文件inode的指针,因此即便原始文件被删除,依然可以通过硬链接文件来访问。需要注意的是,由于技术的局限性,我们不能跨分区对目录文件进行链接。
软链接(也称为符号链接[symbolic link]):仅仅包含所链接文件的路径名,因此能链接目录文件,也可以跨越文件系统进行链接。但是,当原始文件被删除后,链接文件也将失效,从这一点上来说与Windows系统中的“快捷方式”具有一样的性质。
ln命令
ln命令用于创建链接文件,格式为“ln [选项] 目标”,在使用ln命令时,是否添加-s参数,将创建出性质不同的两种“快捷方式”。
ln命令中可用的参数以及作用
| 参数 | 作用 |
| -s | 创建“符号链接”(如果不带-s参数,则默认创建硬链接) |
| -f | 强制创建文件或目录的链接 |
| -i | 覆盖前先询问 |
| -v | 显示创建链接的过程 |
创建一个类似于Windows系统中快捷方式的软链接。这样,当原始文件被删除后,就无法读取新建的链接文件了。
[root@localhost Desktop]# echo "hello world" > text.txt
[root@localhost Desktop]# ln -s text.txt copy.txt
[root@localhost Desktop]# cat copy.txt
hello world
[root@localhost Desktop]# cat text.txt
hello world
[root@localhost Desktop]# ls -l text.txt
-rw-r--r--. 1 root root 12 Sep 15 20:09 text.txt
[root@localhost Desktop]# rm -rf text.txt
[root@localhost Desktop]# cat copy.txt
cat: copy.txt: No such file or directory
接下来针对一个原始文件创建一个硬链接,即相当于针对原始文件的硬盘存储位置创建了一个指针,这样一来,新创建的这个硬链接就不再依赖于原始文件的名称等信息,也不会因为原始文件的删除而导致无法读取。同时可以看到创建硬链接后,原始文件的硬盘链接数量增加到了2。
[root@localhost Desktop]# echo "hello world" > test.txt
[root@localhost Desktop]# ln test.txt copy.txt
[root@localhost Desktop]# cat copy.txt
hello world
[root@localhost Desktop]# cat test.txt
hello world
[root@localhost Desktop]# ls -l test.txt
-rw-r--r--. 2 root root 12 Sep 15 20:14 test.txt
[root@localhost Desktop]# rm -rf test.txt
[root@localhost Desktop]# cat copy.txt
hello world

 浙公网安备 33010602011771号