playbook
 1 ---
 2 - hosts: web-server
 3   remote_user: root
 4   tasks:
 5    - name: stop logstash
 6      shell: PID=`ps -ef | grep logstash  | grep -v grep | awk '{print $2}'`; if [ $PID ];then kill -9 $PID && echo "rm ok";fi
 7    - name: rm old logstash
 8      shell: rm -rf /data1/elk/logstash*
 9    - name: cp new logstash
10      copy: src=/home/dev/playbook/conf.zip  dest=/data1/elk/conf.zip
11    - name: unzip
12      shell: /usr/bin/unzip -o  /data1/elk/conf.zip -d /data1/elk/logstash-6.5.1/
13    - name: cp new logstash
14      copy: src=/home/dev/playbook/conf.zip  dest=/data1/elk/conf.zip
15    - name: unzip
16      shell: /usr/bin/unzip -o  /data1/elk/conf.zip -d /data1/elk/logstash-6.5.1/

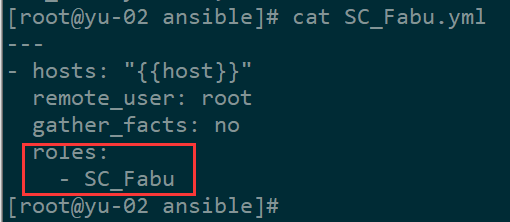
1、配置yml文件


2、其中roles内目录名一定要与上面SC_Fabu.yml里写的完全一致,且下面必须要有tasks目录,tasks内一定要有main.yml

3、配置main.yml
- name: stop nginx
shell: systemctl stop nginx
- name: stop tomcat
shell: systemctl stop {{tomcat}}
- name: copy old file
shell: cp -r /data1/application/{{pro_name}}/{{tomcat}}/webapps /data1/bak/{{pro_name}}/webappsBak-$(date +%F-%H-%M-%S)
- name: rm old file
file: path=/data1/application/{{pro_name}}/{{tomcat}}/webapps/ROOT* state=absent
- name: copy new file
copy: src=/data1/jenkins-data/userContent/SC/{{pro_name}}/ROOT.war dest=/data1/application/{{pro_name}}/{{tomcat}}/webapps/ROOT.war
- name: start tomcat
shell: systemctl start {{tomcat}}
- name: sleep
shell: sleep 30
- name: chmod
file: path=/data1/application/{{pro_name}}/{{tomcat}}/webapps/ mode=755 recurse=yes
- name: test get
get_url: url=http://{{host}}:{{http_port}}/back/heartBeat dest=/tmp
- name: start nginx
shell: systemctl start nginx
4、配置jenkins

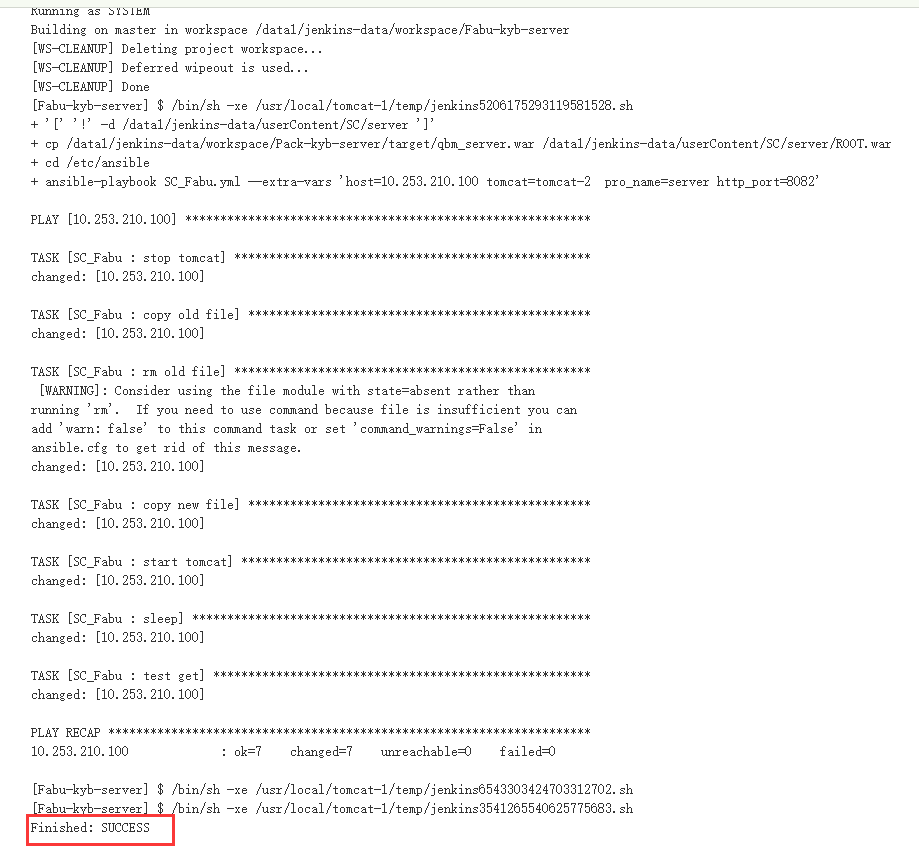
5、发布测试


查看playbook执行过程 可以使用-v
ansible-playbook -v ZSC_Fabu.yml --extra-vars "host=10.253.1.1 tomcat=tomcat-3 pro_name=server http_port=8083"
yaml 语法检测
ansible-playbook ZSC_Fabu.yml --syntax --check
执行时输出结果
修改main.yaml添加register和debug字段,如:
[root@10 ansible]# cat roles/Cluster_Check/tasks/main.yaml
- name: hostname
  shell: hostname
  register: shell_result
- debug:
    var: shell_result.stdout_lines
[root@10 ansible]#
执行 ansible-playbook Cluster_Check.yaml --extra-vars "host=10.10.103.190"

ansible-playbook 操作mysql
1、配置/etc/ansible/hosts 添加一个可以执行mysql主机
[mysqlcli]
10.10.10.1
2、配置全局变量
[root@10 ansible]# cat /etc/ansible/group_vars/all
mysql_host: 192.168.0.1
mysql_port: 3306
mysql_user: root
mysql_passwd: 123456
[root@10 ansible]#
3、创建一个playbook
- name: 检查集群部署状态
  gather_facts: false
  hosts: mysqlcli
  vars:
    - test: 1
  roles:
    - Cluster_Check

- name: 更新集群部署状态
  gather_facts: false
  hosts: mysqlcli
  roles:
    - Cluster_Update
4、创建role
mkdir -p roles/{Cluster_Check,Cluster_Update}/tasks

5、配置main.yaml文件
[root@10 ansible]# cat roles/Cluster_Check/tasks/main.yaml
- name: check_cluster_status_id
  shell: sql="select * from  cluster.status;" && mysql -h"{{mysql_host}}" -P"{{mysql_port}}" -u"{{mysql_user}}" -p"{{mysql_passwd}}"  -Bse "${sql}"
  register: select
- fail:
    msg: "集群已部署完成,跳过后续部署步骤"
  when: "'1' in select.stdout"
- debug:
    var: select.stdout_lines
[root@10 ansible]#
[root@10 ansible]# cat roles/Cluster_Update/tasks/main.yaml
- name: update_cluster_status_id
  shell: sql="update cluster.status set status_id=7;" && mysql -h"{{mysql_host}}" -P"{{mysql_port}}" -u"{{mysql_user}}" -p"{{mysql_passwd}}"  -Bse "${sql}"
  register: update
- debug:
    msg: "集群已部署完成~!"
[root@10 ansible]#
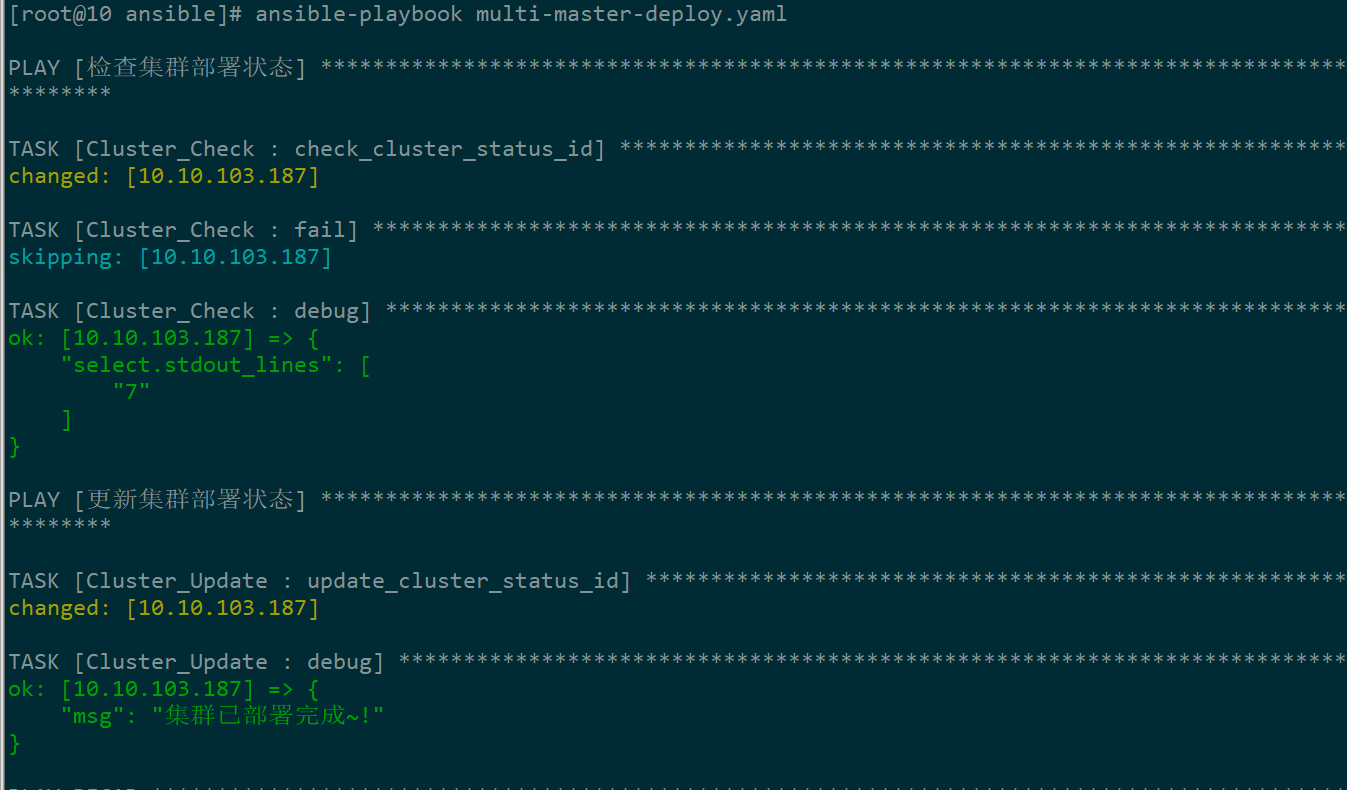
6、执行测试

url
2.9之前
- name: update_cluster_status_id
  uri:
    url: http://{{HOST_IP}}:{{PORT}}/user/auth/login
    method: POST
    body: "username=admin&&password=Ab123456"
    status_code: 200
    return_content: yes
    HEADER_Content-Type: "application/x-www-form-urlencoded"
  register: update
- debug:
    msg: "集群已部署完成~!"
2.9之后uri 没有HEADER_Content-Type参数了,需要去掉
2.9后显示日志
- name: update_cluster_status_id
  uri:
    url: http://{{HOST_IP}}:{{PORT}}/user/auth/login
    method: POST
    body: "username=admin&&password=Ab123456"
    status_code: 200
    return_content: yes
  register: update
- name: show_log
  debug:
    var: update
    #msg: "集群已部署完成~!"


