idea springboot配置外置tomcat
1.<packaging>war</packaging>
2.<dependency>
<groupId>org.springframework.boot</groupId>
<artifactId>spring-boot-starter-tomcat</artifactId>
<scope>provided</scope>
</dependency>
3.@SpringBootApplication
public class ShApplication extends SpringBootServletInitializer {
public static void main(String[] args) {
SpringApplication.run(ShApplication.class, args);
}
@Override
protected SpringApplicationBuilder configure(SpringApplicationBuilder application) {
return application.sources(ShApplication.class);
}
}
4.配置tomcat

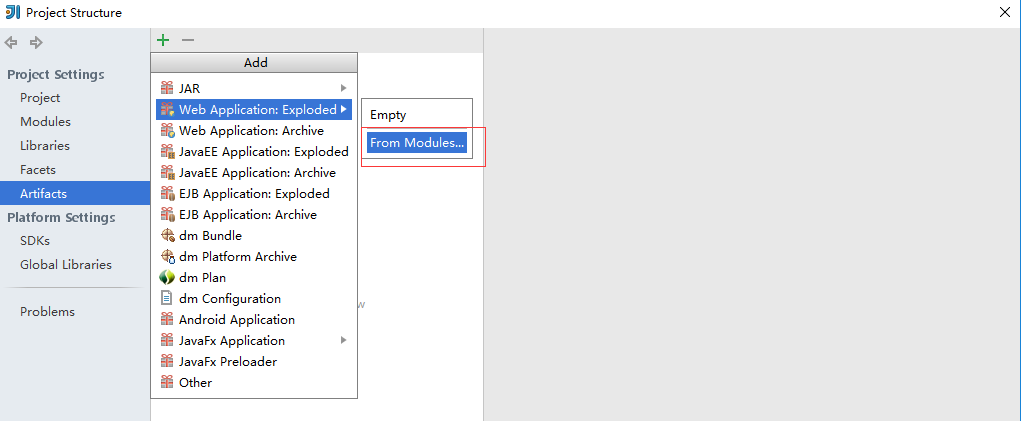
5.配置项目打包路径
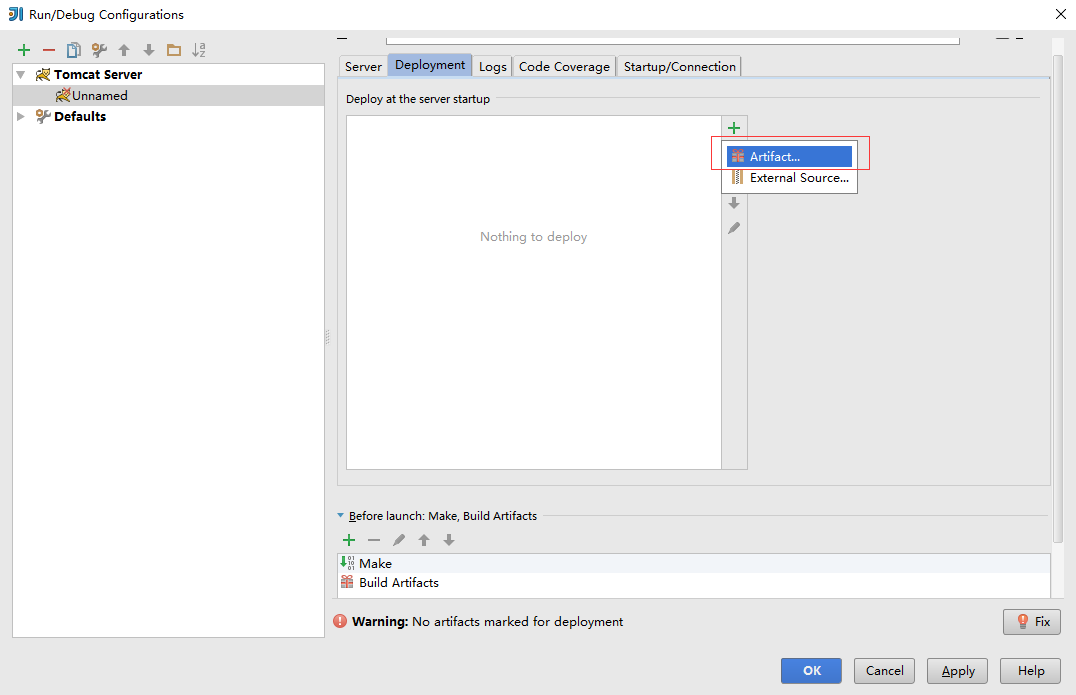
6.配置tomcat的依赖,注意这个路径与上一步保持一致
7.步骤已完成,可以启动项目了
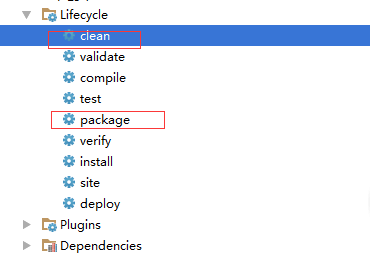
8.项目启动成功后,测试通过就可以打war包了
9.将生成的war放置到tomcat : webapps 目录下,启动即可

注意:这种单个tomcat启动方式与idea+tomcat启动的方式有所不同,访问的路径需要加上项目名:http://127.0.0.1:8080/sh/hello sh为项目名
10.注意:springboot默认是以jar包,内置tomcat运行的!!!
