

【Vue教程系列:第二篇】Vue项目添加ElementUI
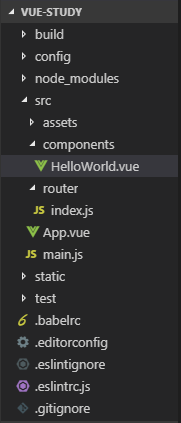
1. 在上一篇,搭建环境,创建vue项目目录结构如下:
编写工具,本人推荐:Visual Studio Code
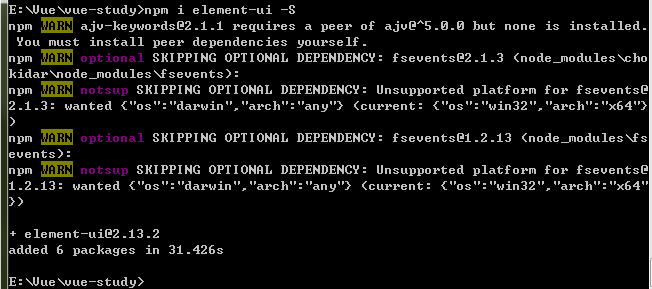
2. 进入到项目文件夹,执行加载element-ui组件命令:
npm i element-ui -S
3. 在main.js代码里添加对element-ui的引用:
import ElementUI from 'element-ui'
import 'element-ui/lib/theme-chalk/index.css'

Vue.use(ElementUI);

4. 在项目里使用element-ui控件
components/HelloWorld.vue文件(注意:vue模板只能有一个根对象)
<template>
  <div>
    <el-row>
      <el-button>默认按钮</el-button>
      <el-button type="primary">主要按钮</el-button>
      <el-button type="success">成功按钮</el-button>
      <el-button type="info">信息按钮</el-button>
      <el-button type="warning">警告按钮</el-button>
      <el-button type="danger">危险按钮</el-button>
    </el-row>
  </div>
</template>
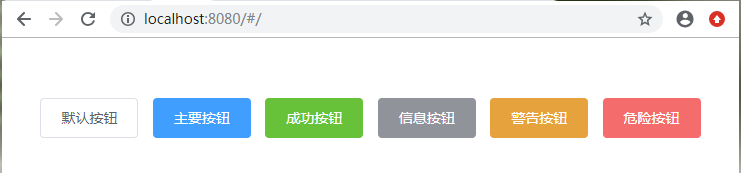
效果如下(main.js 默认的图片及文字我已去掉):
至此,element-ui已经成功引入vue项目,vue组件的使用详细操作,请参考vue官方使用文档:
https://element.eleme.cn/#/zh-CN/component/installation
Vue系统文章会持续更新,欢迎大家继续关注!!!

