jenkins+pytest+allure(linux)
参考文档:https://blog.csdn.net/zhr19970910/article/details/118896592
1、安装
#安装java、allure,pyhton相关
pip3 show pytest
pip3 show allure-pytest
pip3 show allure-python-commons
-
[root@localhost ~]# tar -xzvf openjdk-11.0.2_linux-x64_bin.tar.gz
[root@localhost ~]# mv jdk-11.0.2 /opt/
[root@localhost ~]# ln -s /opt/jdk-11.0.2/bin/java /usr/bin/java
![]()
-
# 安装tomcat-apache
[root@localhost ~]# unzip apache-tomcat-9.0.78.zip
[root@localhost ~]# mv apache-tomcat-9.0.78 /opt/
-
#部署jenkins.war
cp jenkins.war /opt/apache-tomcat-9.0.78/webapps/
-
#若防火墙开启,打开Jenkins默认端口(端口号:8080)
firewall-cmd --zone=public --add-port=8080/tcp --permanent
firewall-cmd --reload
firewall-cmd --zone=public --list-ports
![]()
![]()
-
# 启动
[root@localhost ~]# chmod 777 /opt/apache-tomcat-9.0.78/bin/*
[root@localhost ~]# /opt/apache-tomcat-9.0.78/bin/startup.sh![]()
# 访问http://10.126.189.167:8080/
![]()
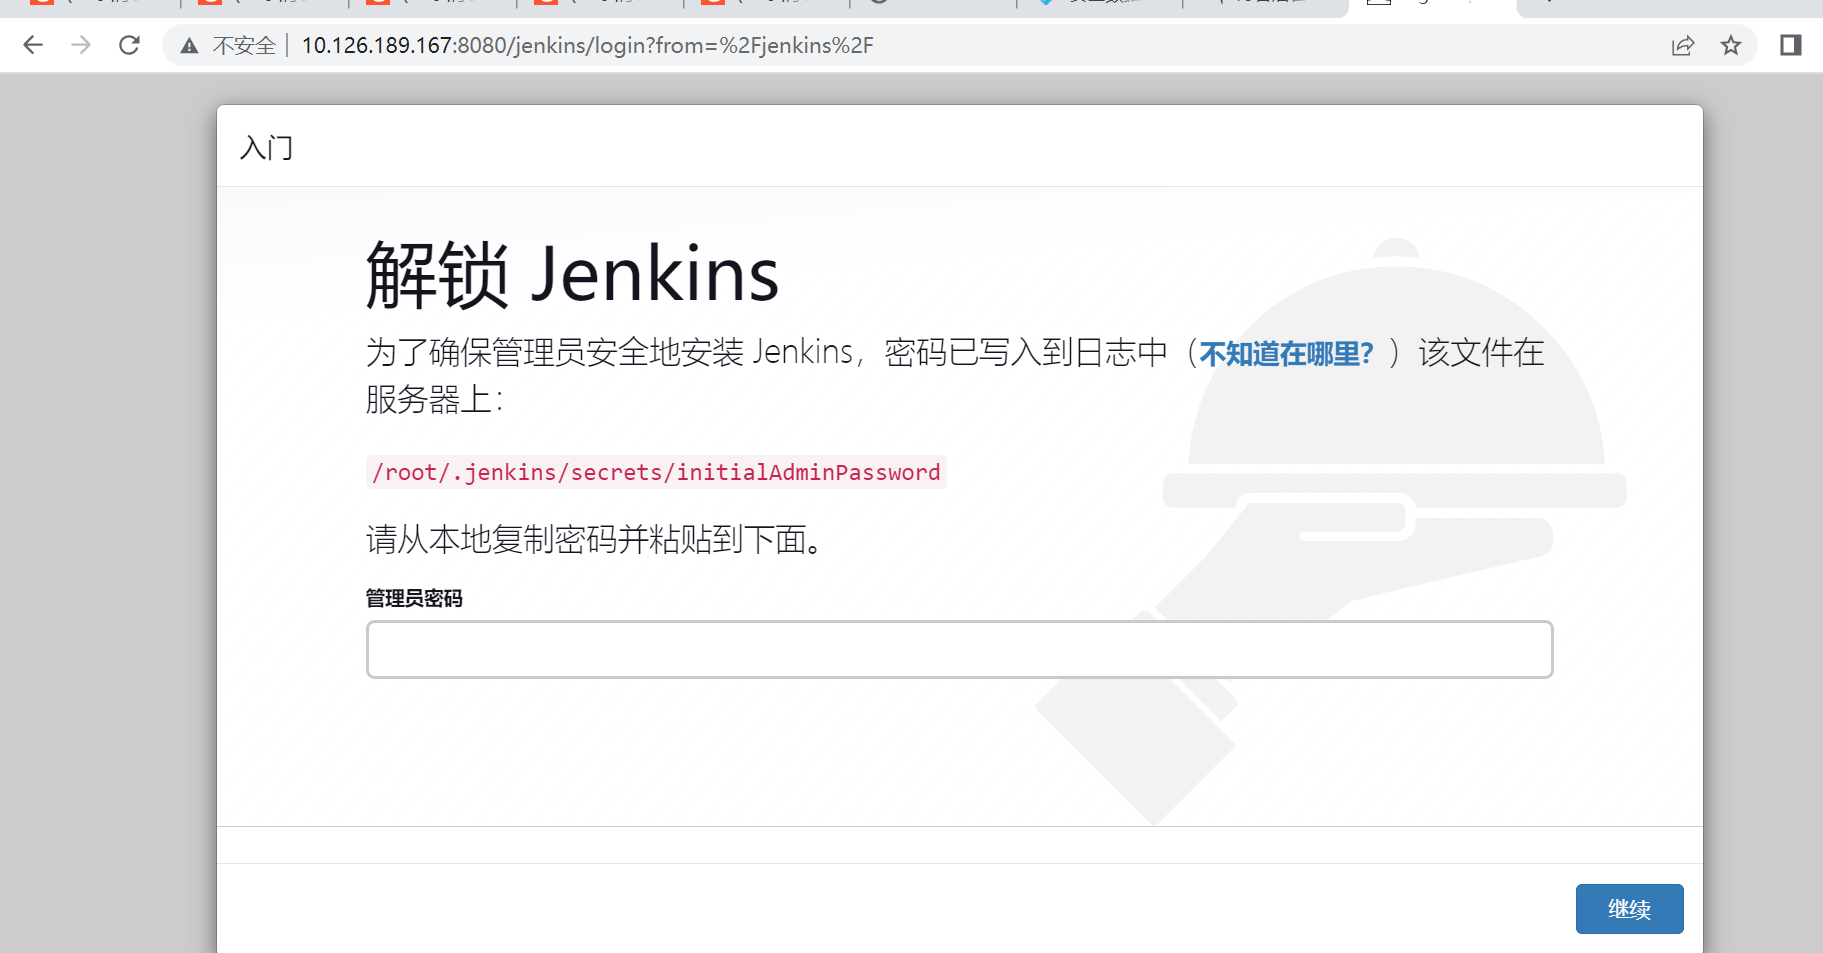
# http://10.126.189.167:8080/jenkins
![]()
# cat /root/.jenkins/secrets/initialAdminPassword
![]()
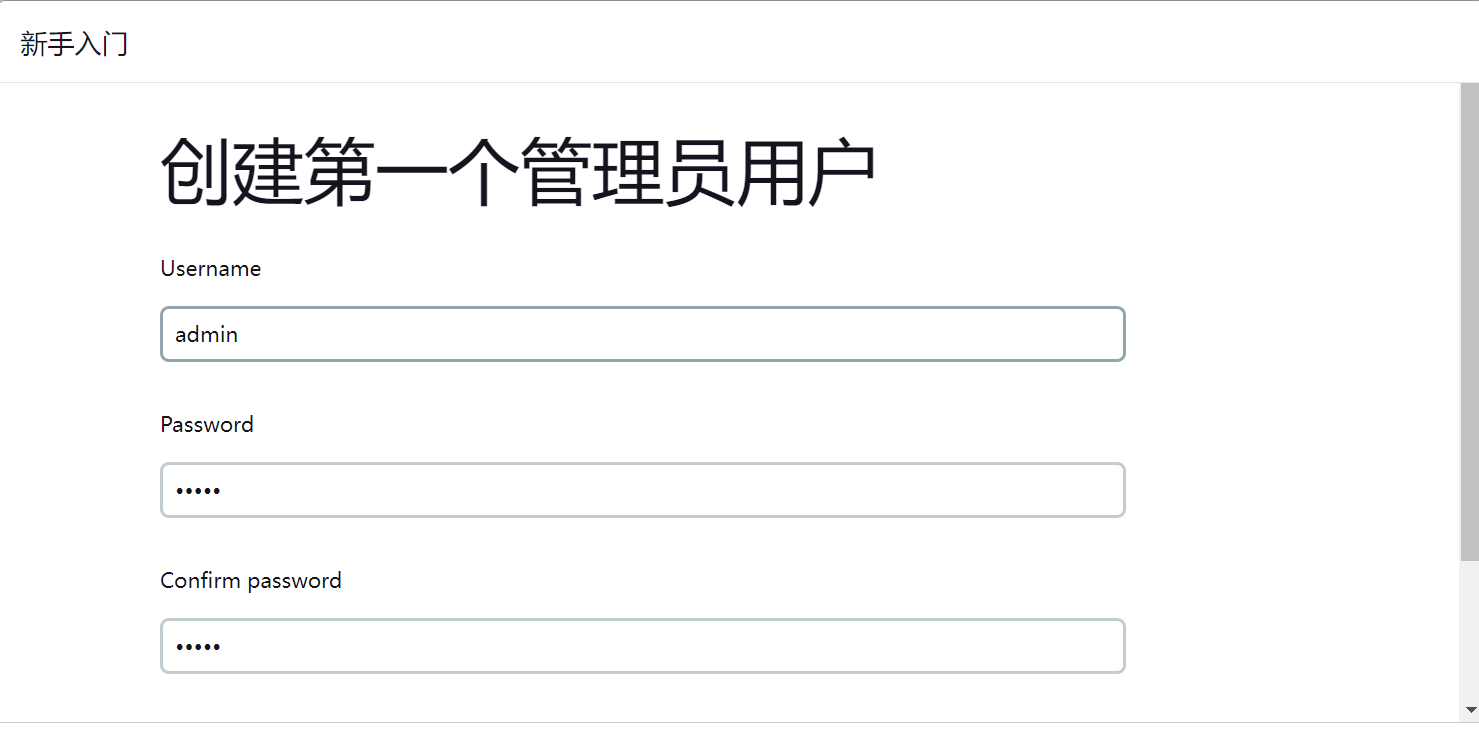
#
![]()
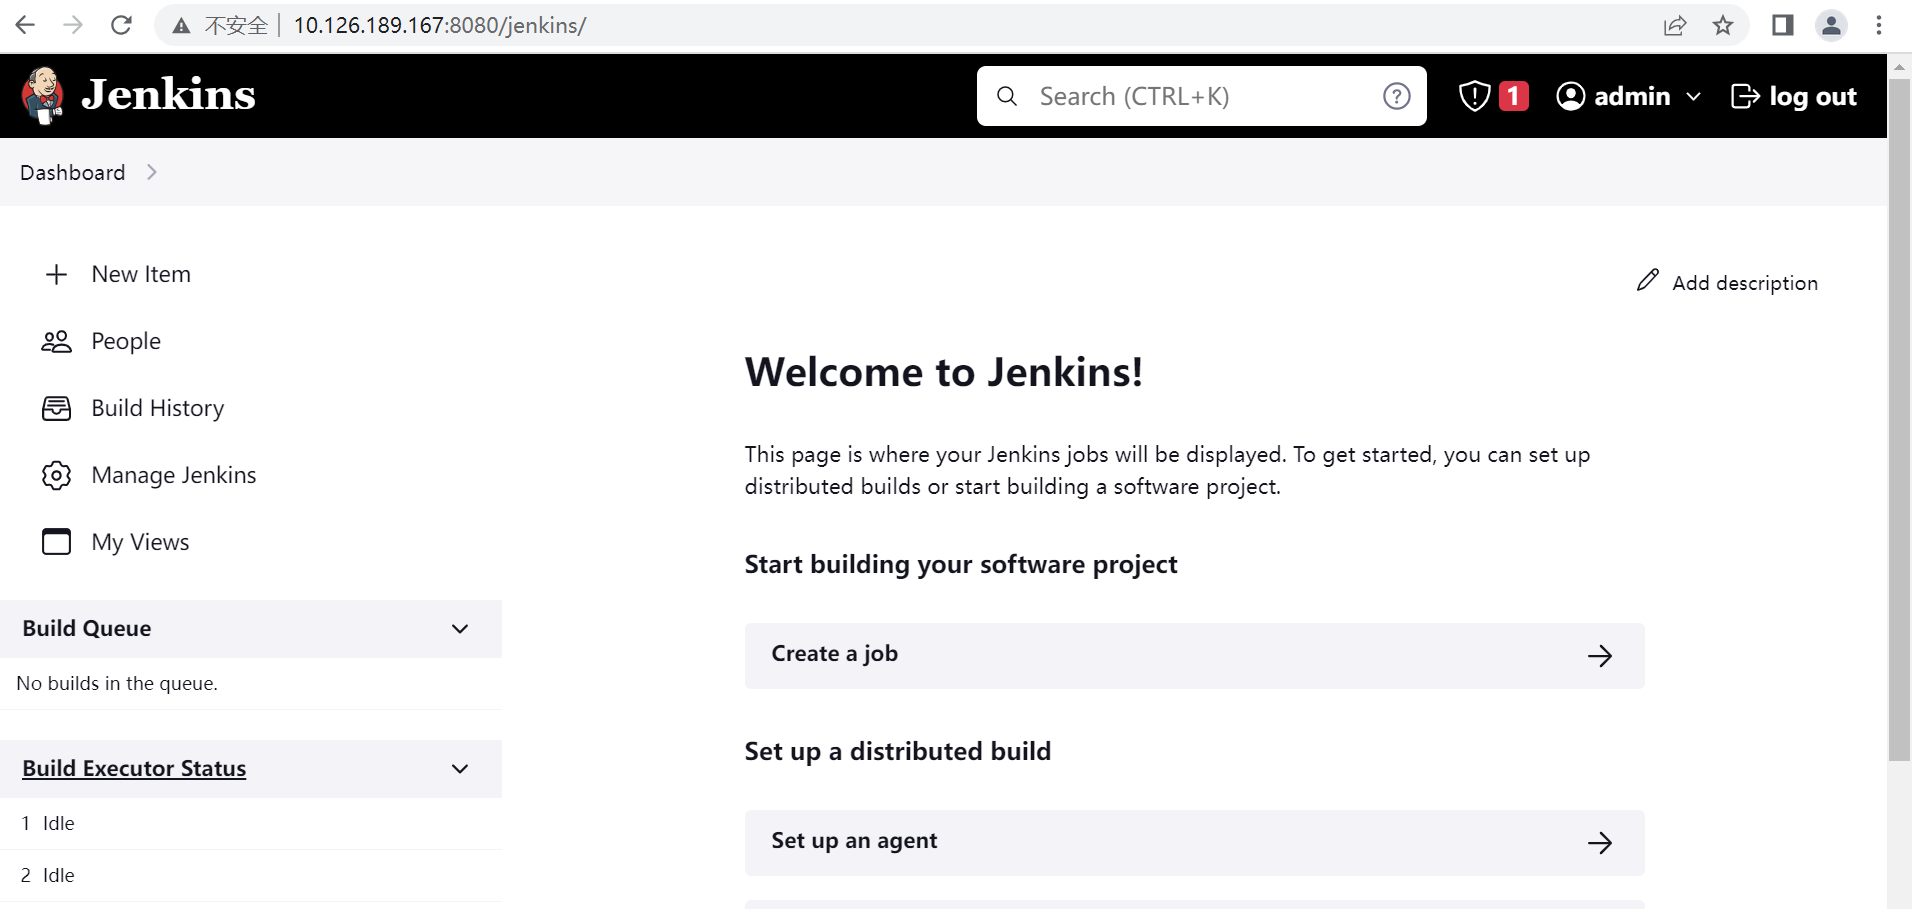
#
![]()
![]()


2、问题记录
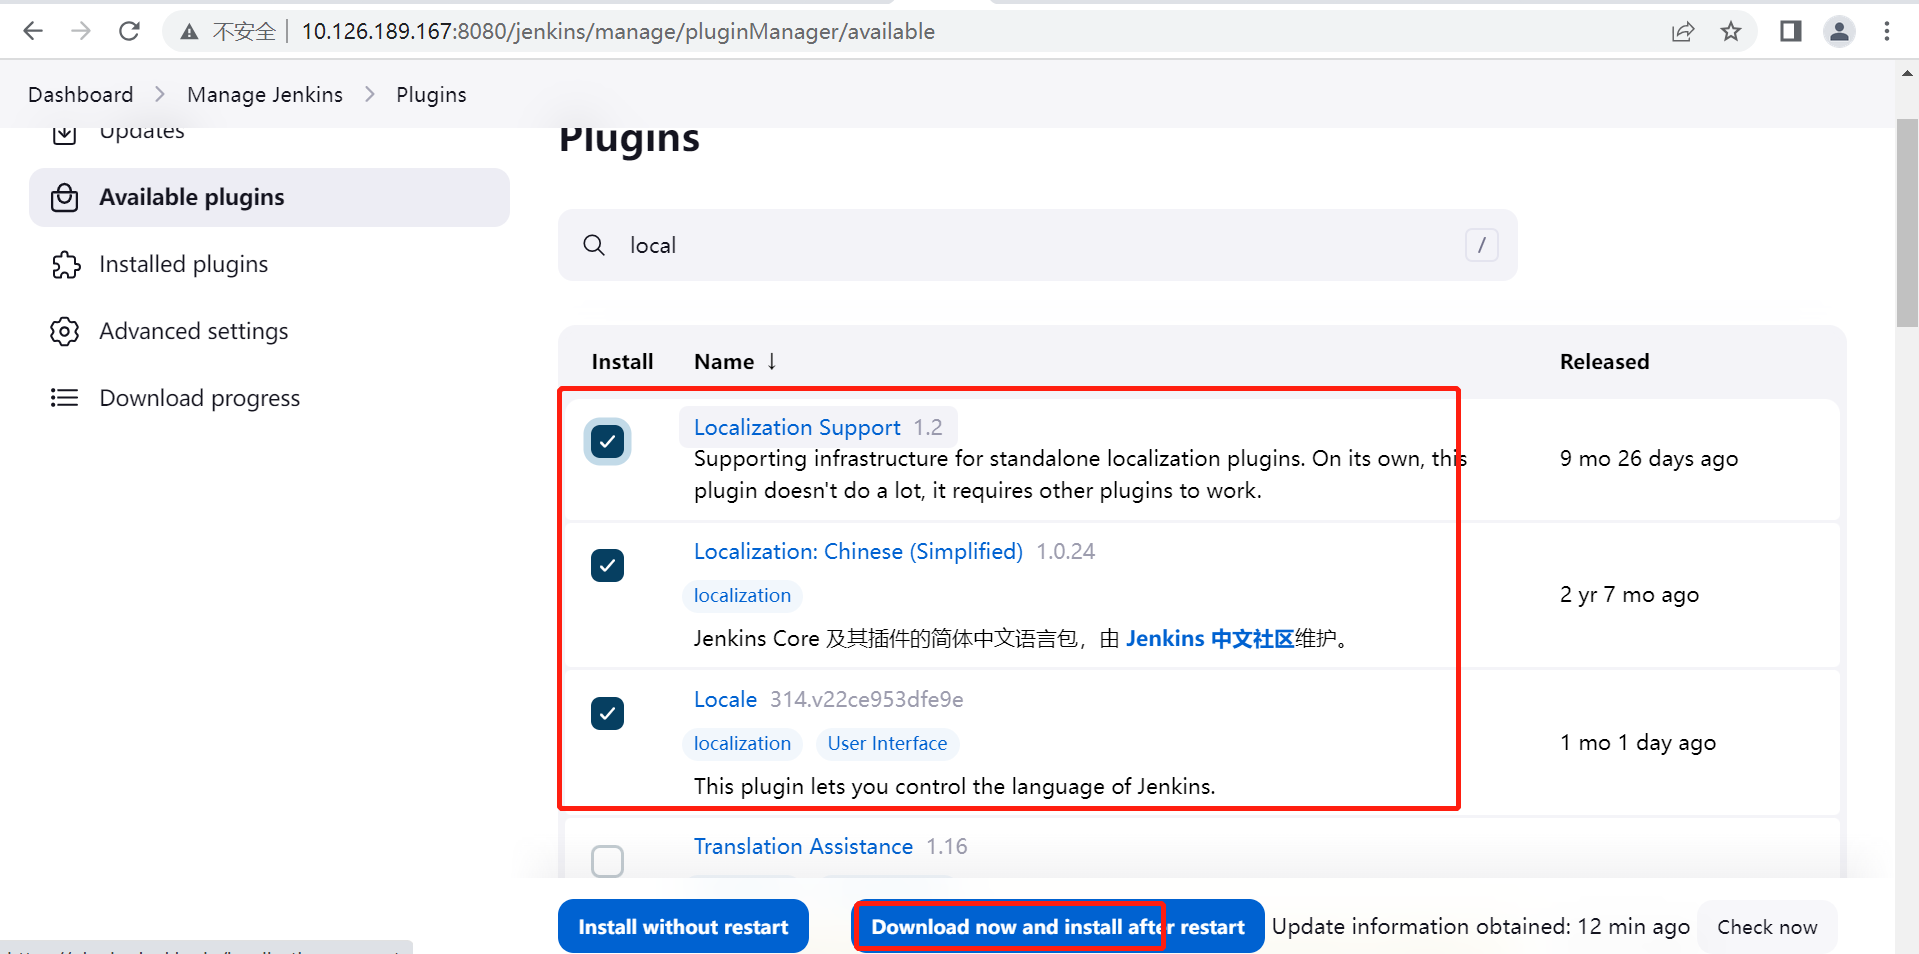
2.1、查看可用插件,There were errors checking the update sites: UnknownHostException: updates.jenkins.io
#排查解决
搭建的机器能不能访问这个url
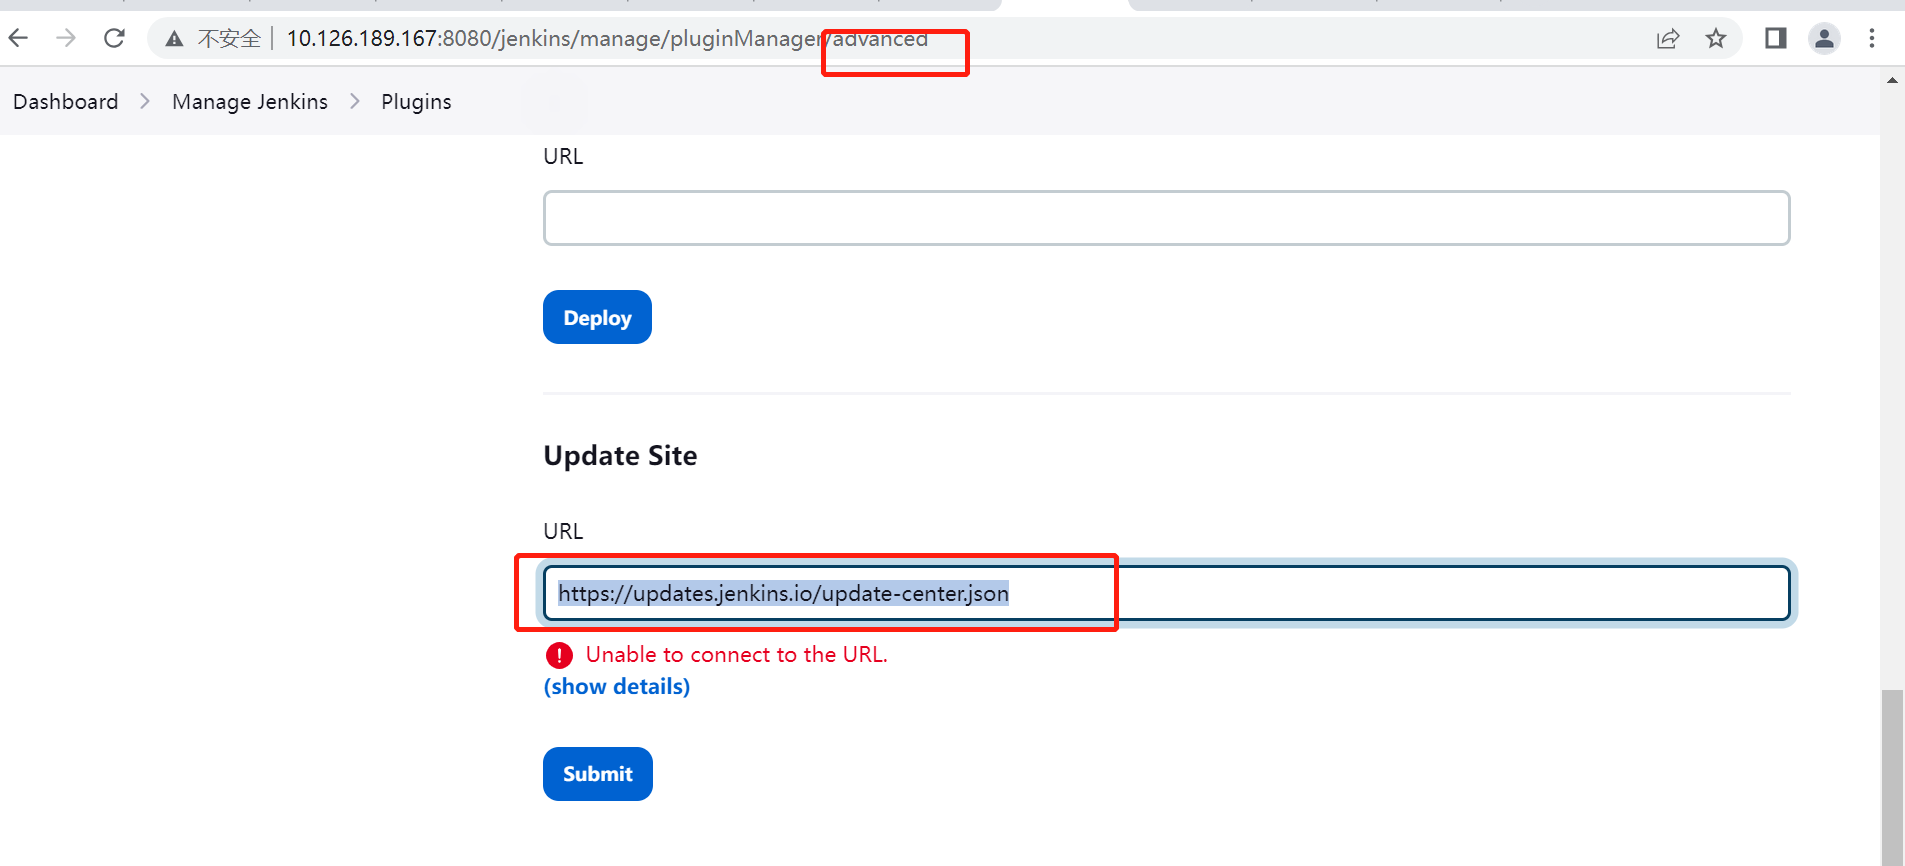
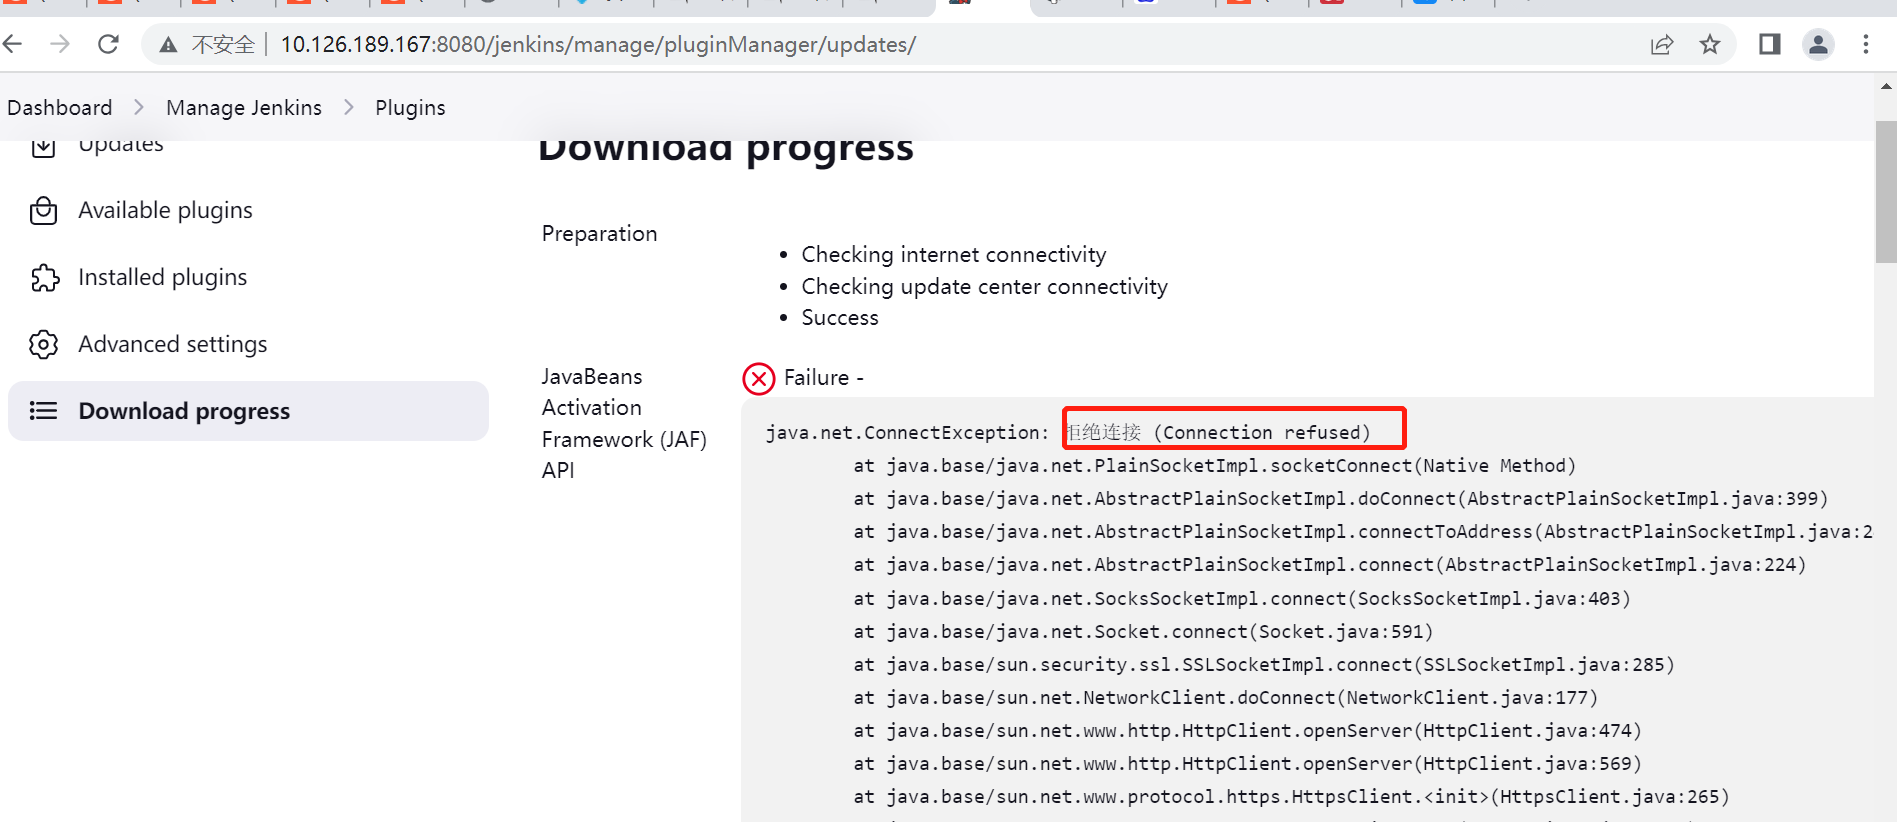
2.2、安装插件失败, java.net.ConnectException: Connection refused
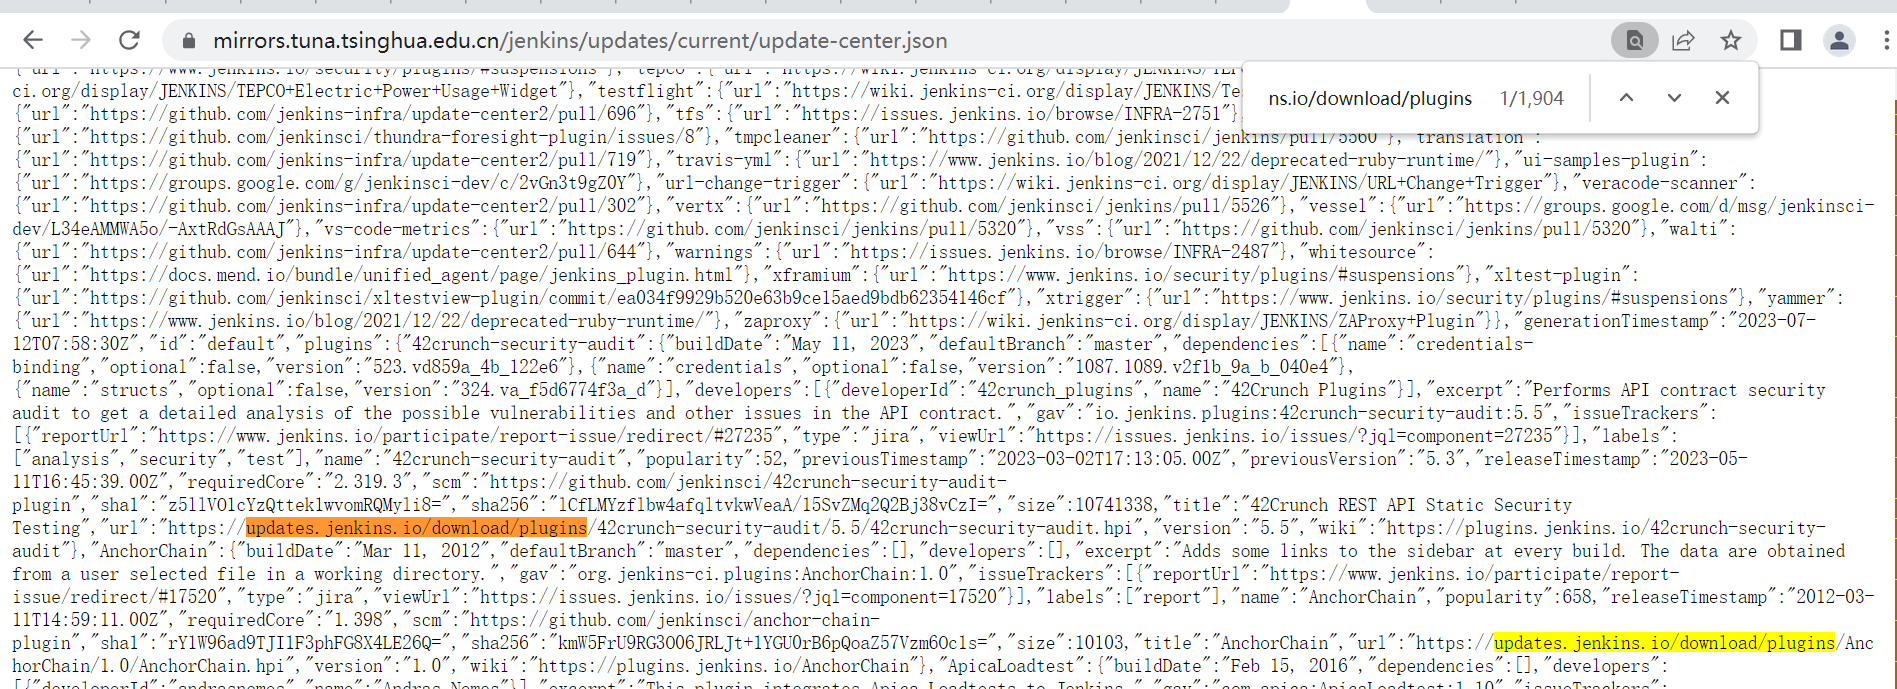
https://mirrors.tuna.tsinghua.edu.cn/jenkins/updates/current/update-center.json
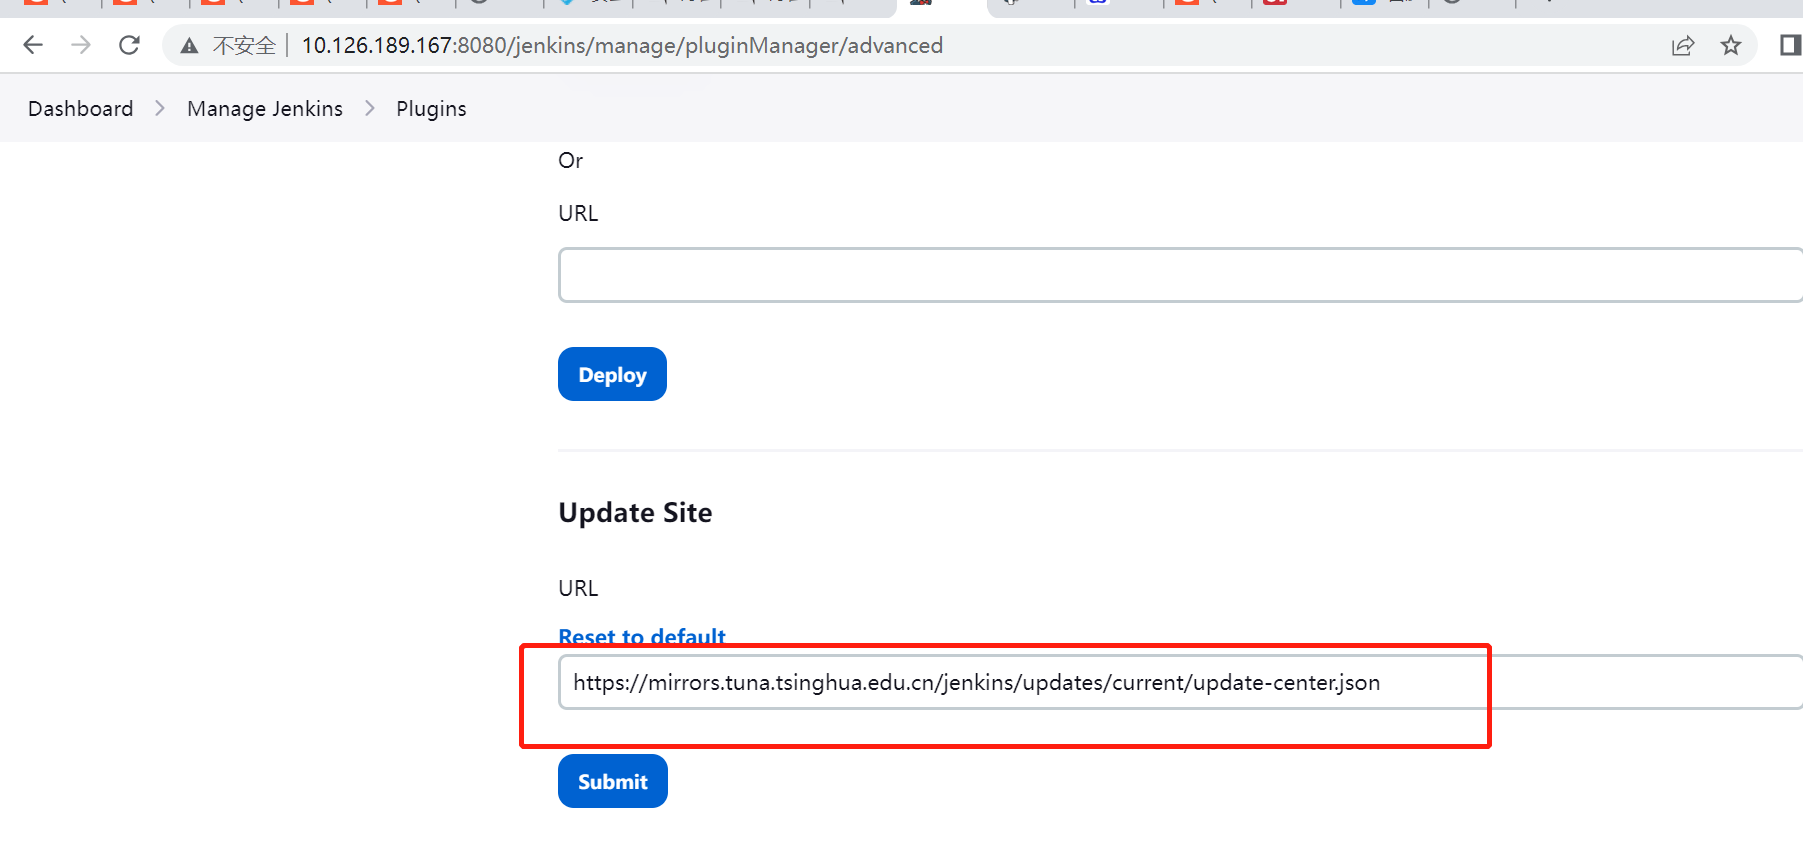
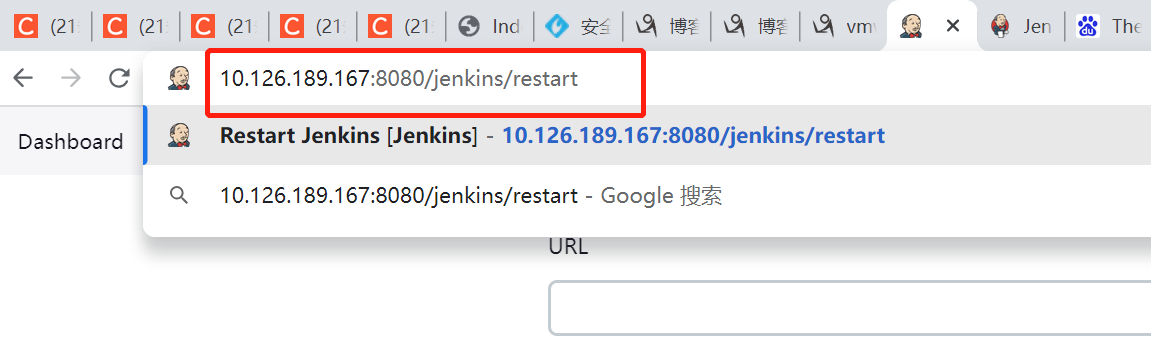
# submit后,重启jenkins
# 无效,查看这个url,还是用的默认地址
# 恢复默认https://updates.jenkins.io/update-center.json,参考https://www.cnblogs.com/jpinsz/p/13359381.html
default.json 是下载安装插件时调用的配置文件,其中的下载地址还是updates.jenkins.io,我们需要将其更改为国内的清华源。
default.json的具体路劲是:{jenkins的工作路径}/updates/default.json
使用sed -i命令将其更换:路径/root/.jenkins/updates
sudo sed -i 's#updates.jenkins.io/download/plugins#mirrors.tuna.tsinghua.edu.cn/jenkins/plugins#g' default.json && sudo sed -i 's#www.google.com#www.baidu.com#g' default.json
改完后重启jenkins,成功
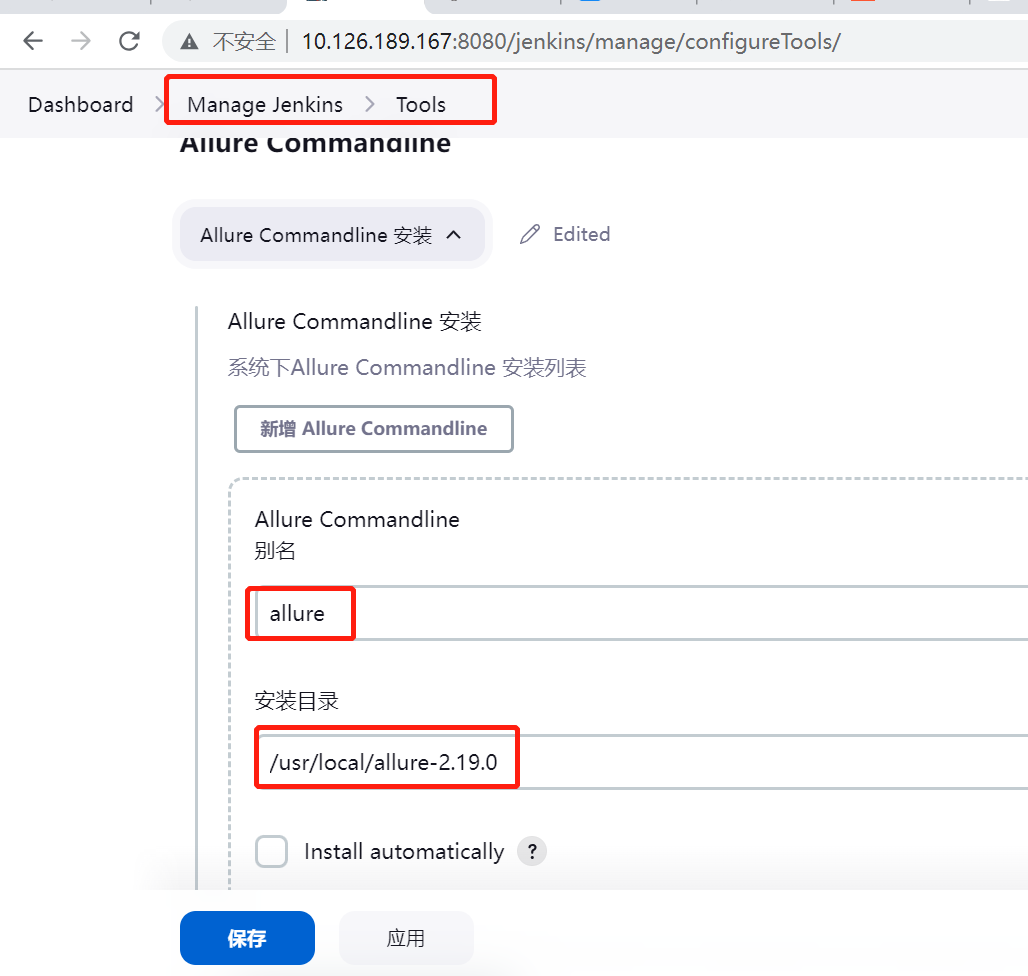
4、allure插件安装
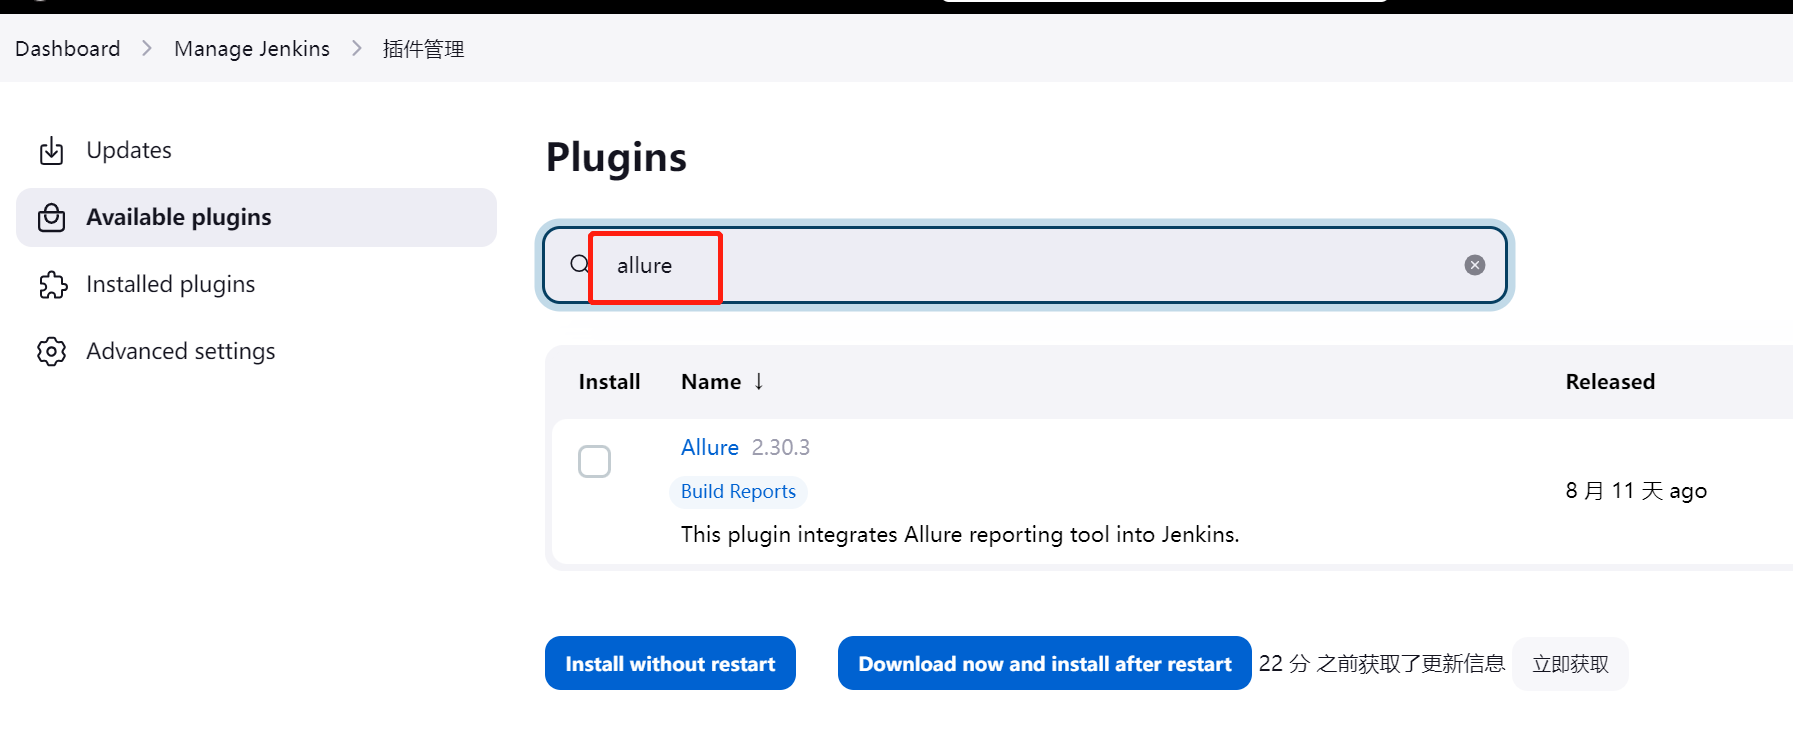
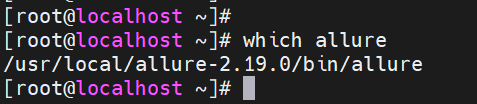
#查看
#设置全局的allure路径,保存
5、allure报告生成
- 调用任务,新建-任务名称-freestyle-确定
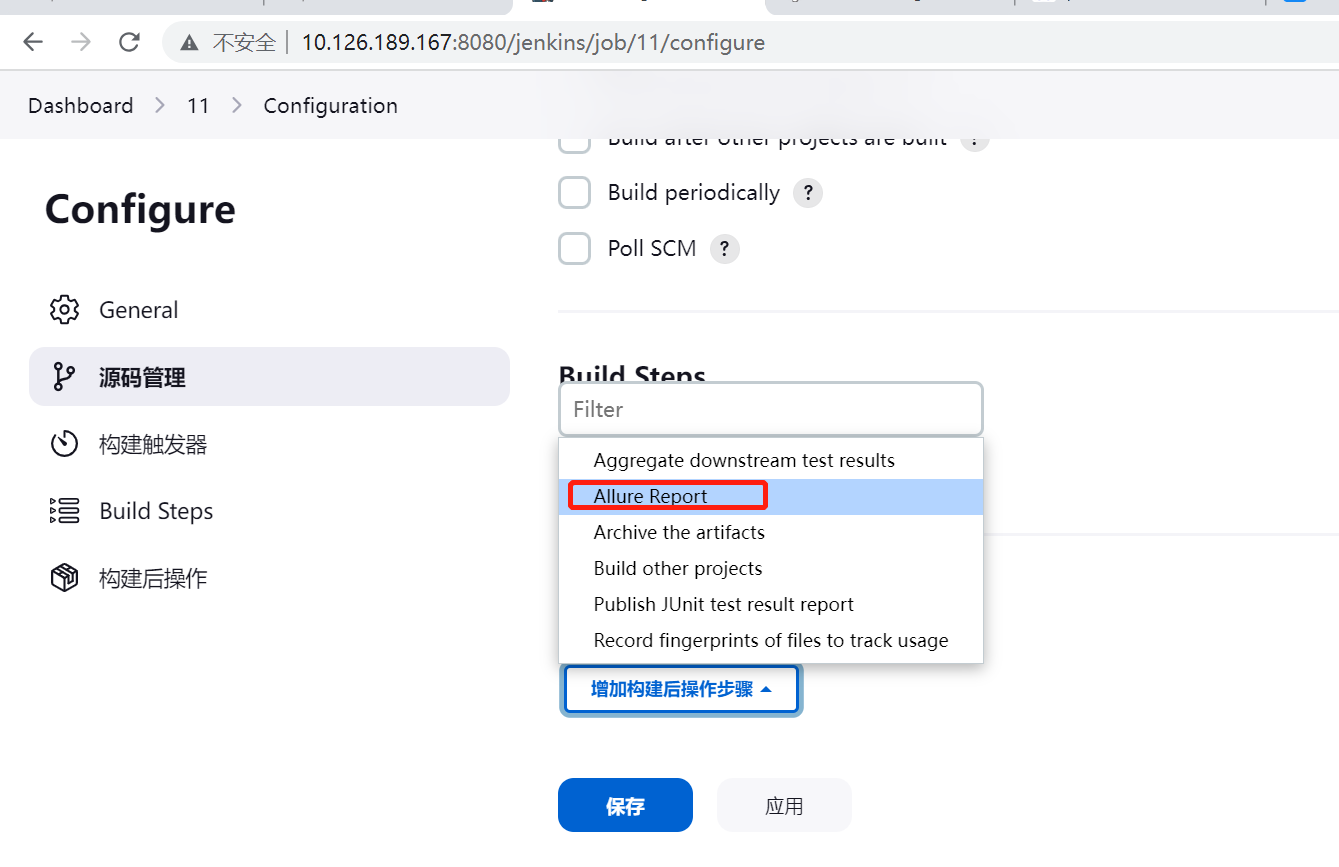
- 配置构建
![]()
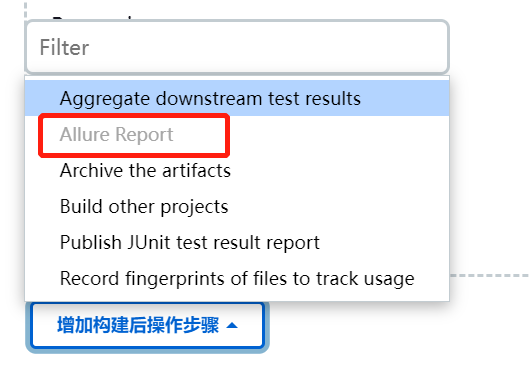
- 配置构建后

# 运行任务查看报告
- 运行任务
![]()
-
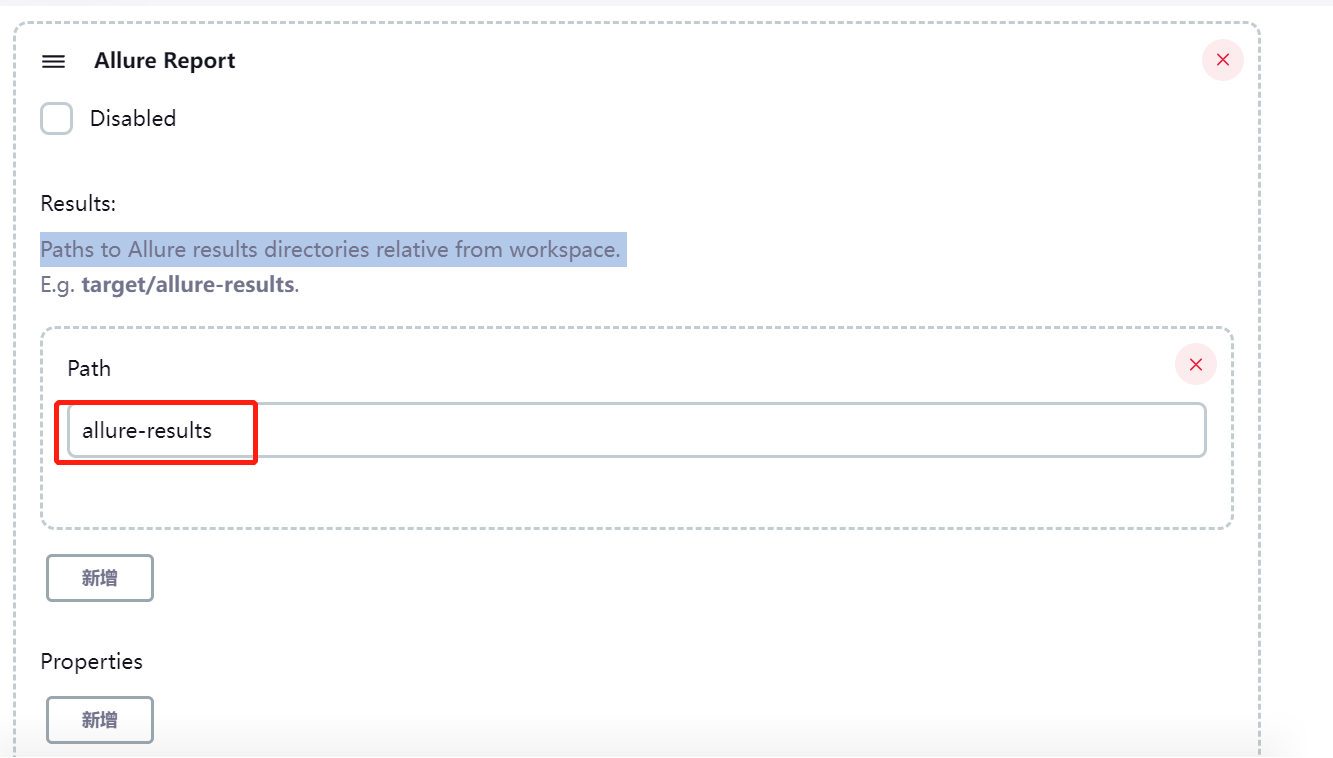
# allure result指定目录,--alluredir必须和这个path同步,不然allure报告test case 显示0
![]()
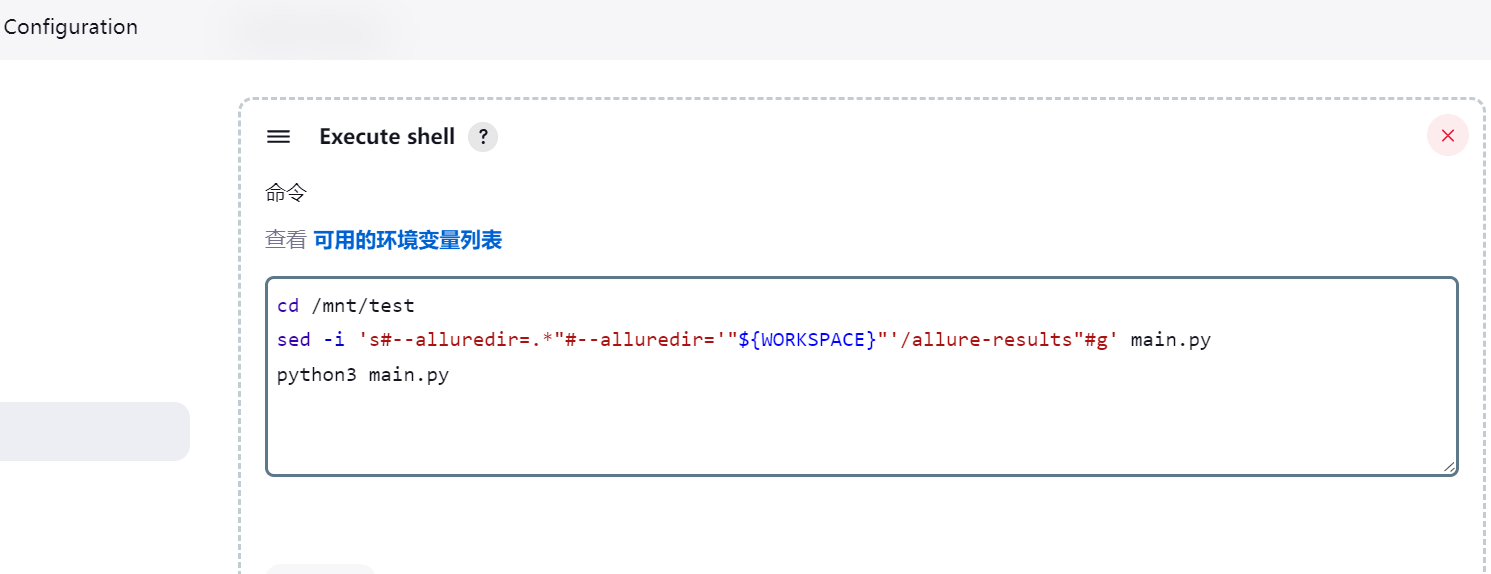
cd /mnt/test
sed -i 's#--alluredir=.*"#--alluredir='"${WORKSPACE}"'/allure-results"#g' main.py
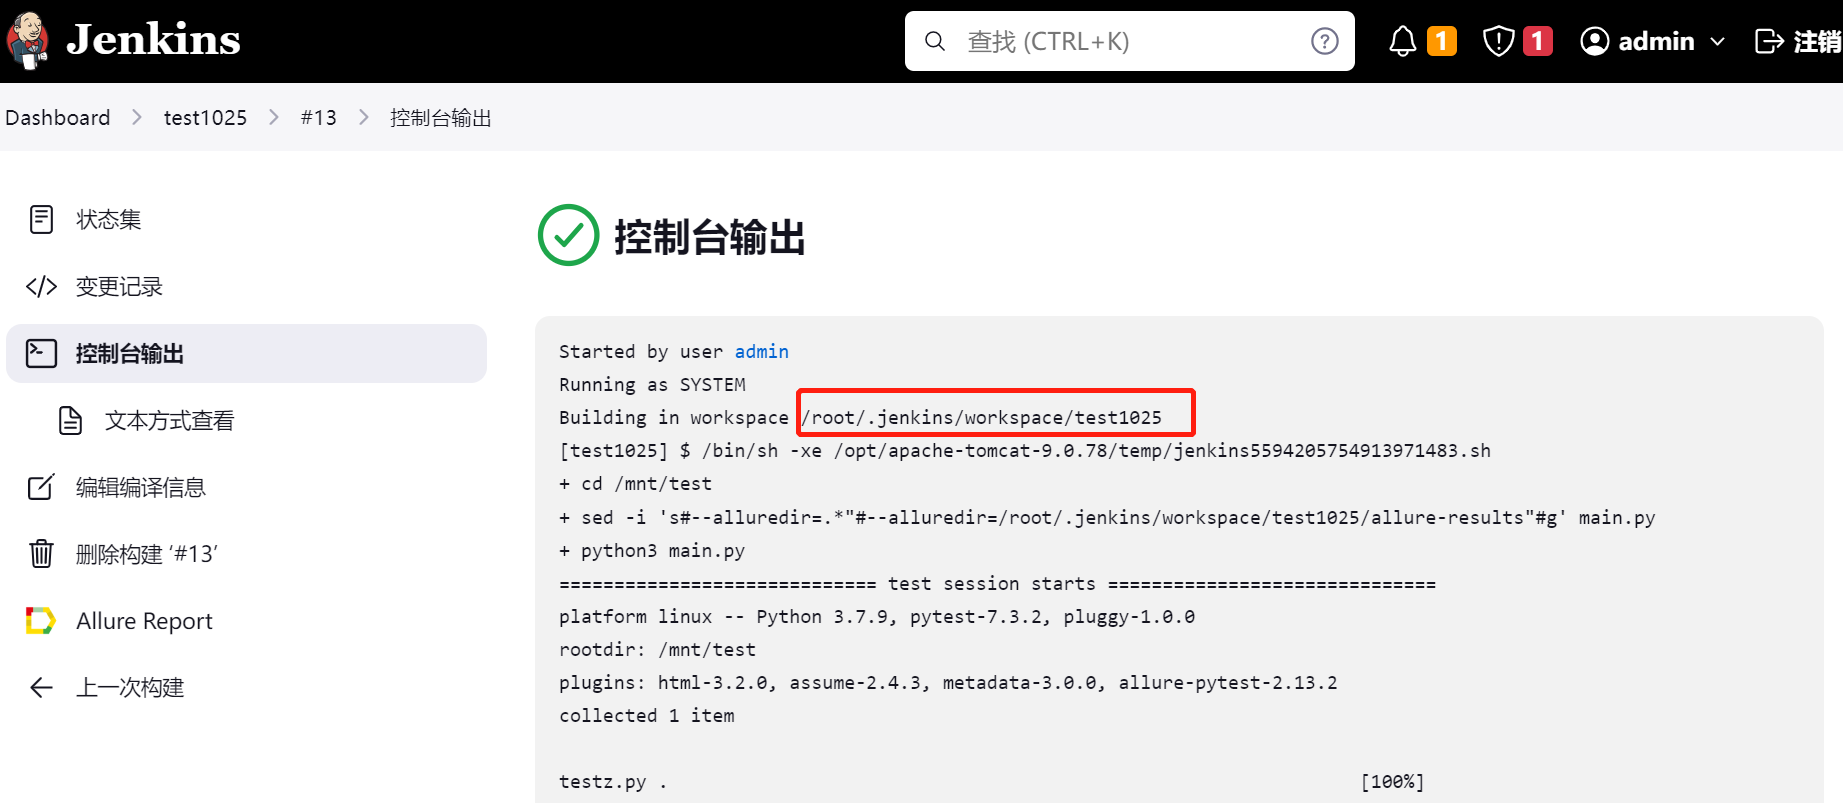
python3 main.py![]()
#生成的日志必须在工作工作空间目录里,目录是带job name的
![]()
- #查看allure报告
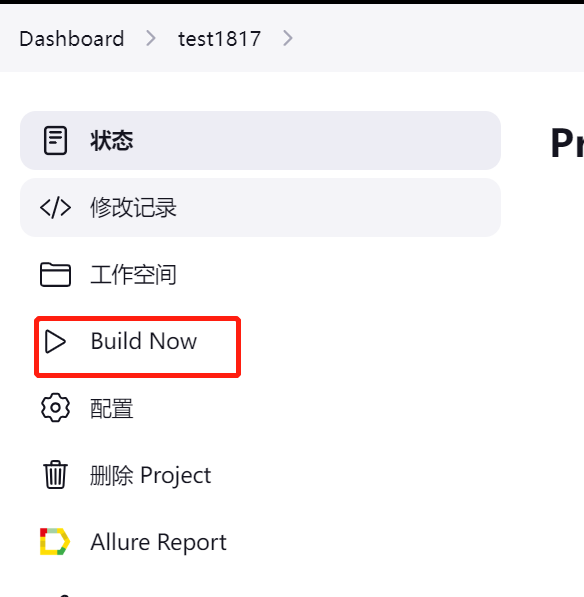
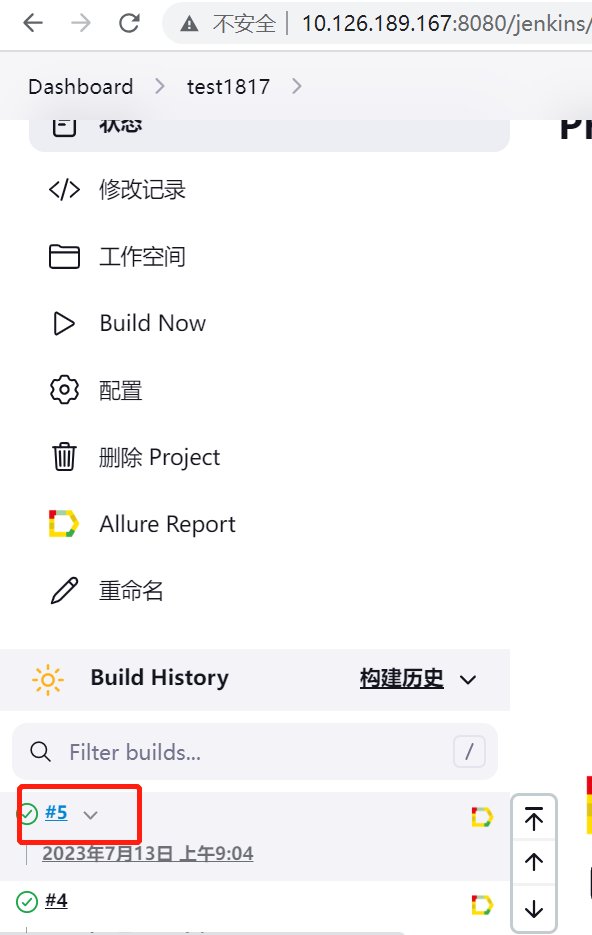
# 点击Allure Report ,跳转到如下图:
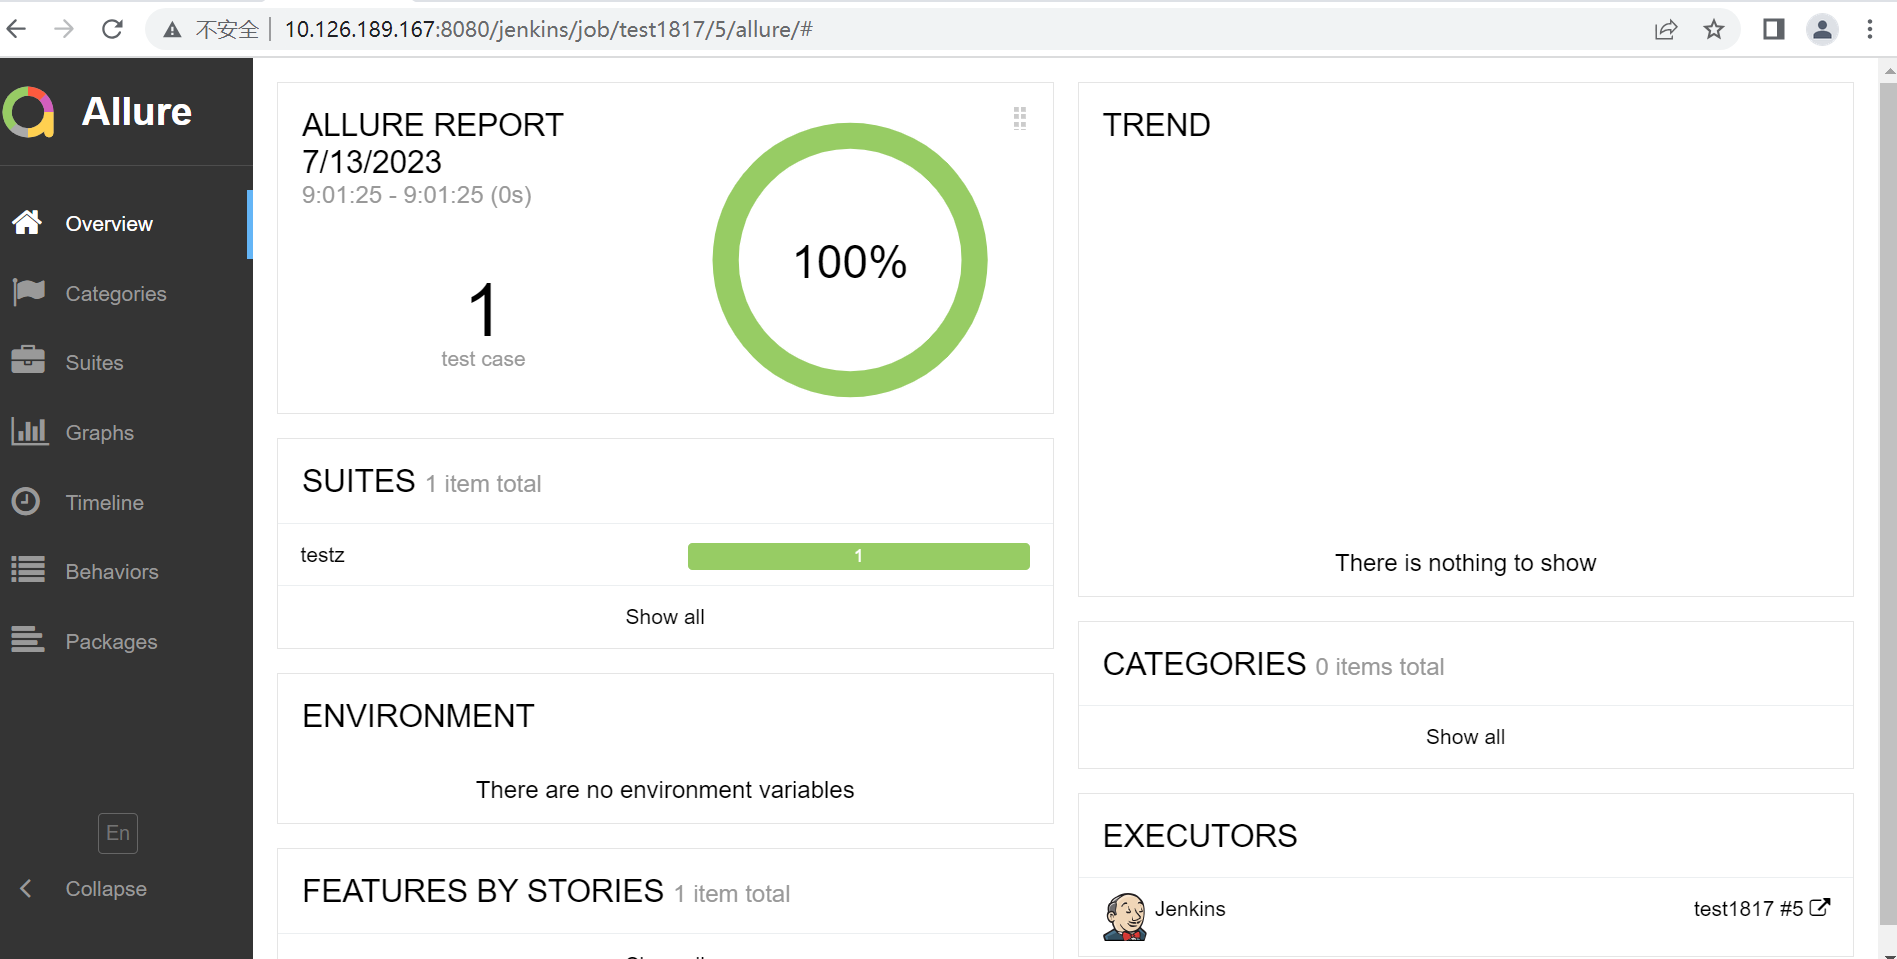
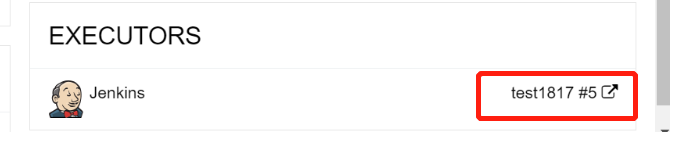
# 点击上图test1817,返回jenkins
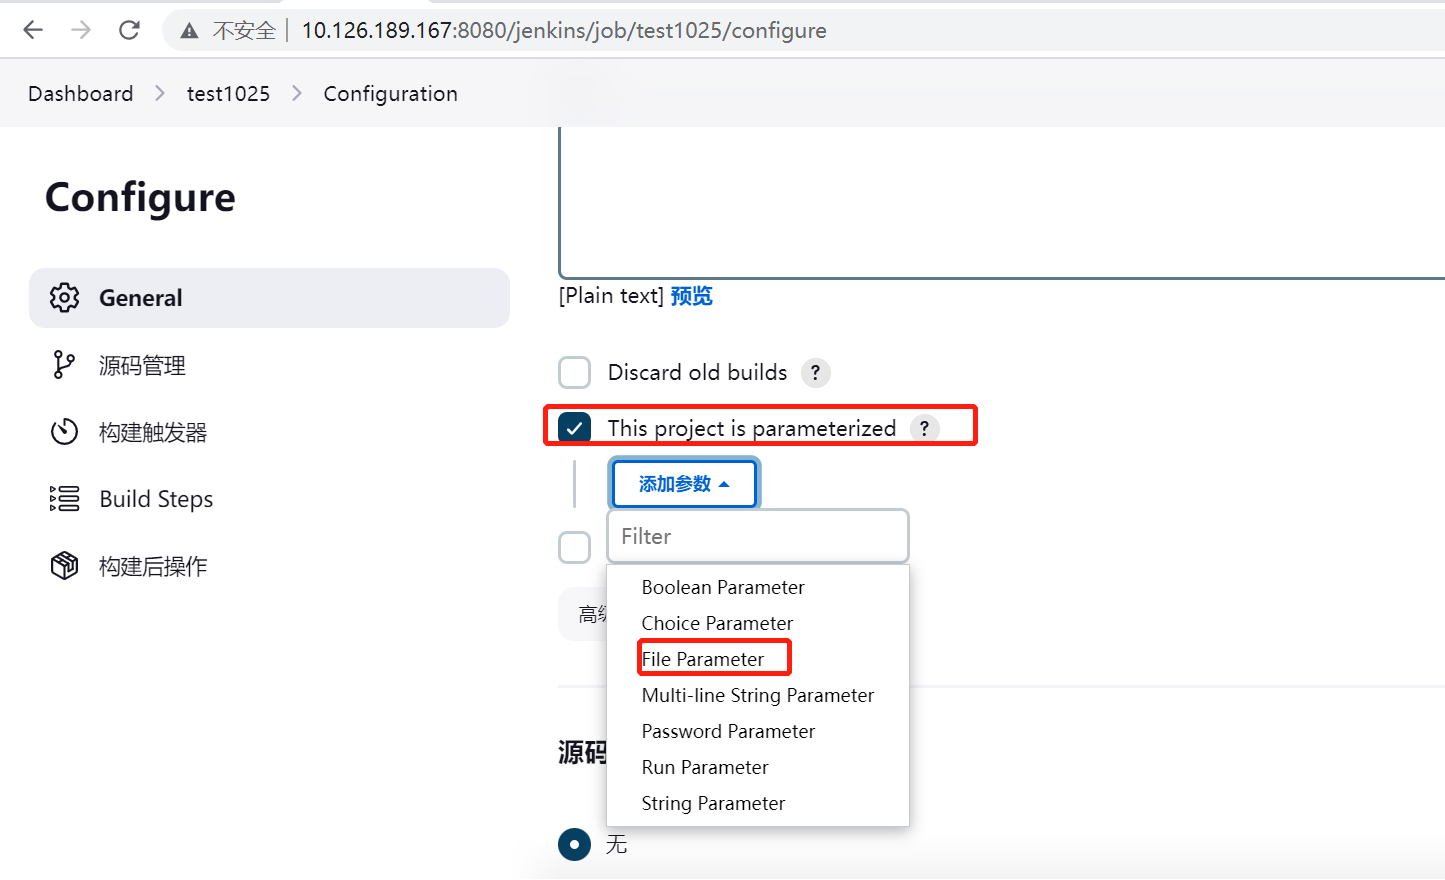
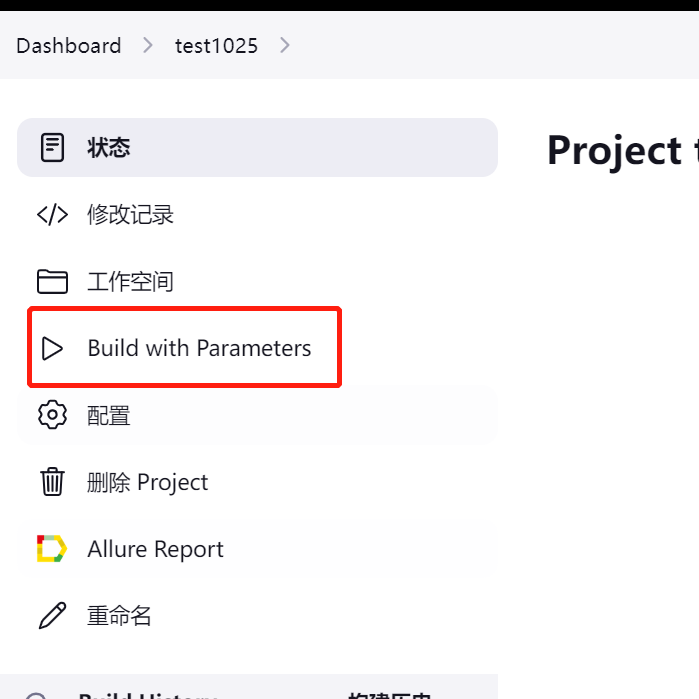
6、参数上传
6.1、File Parameter
#
# 上传目标路径,工作空间里
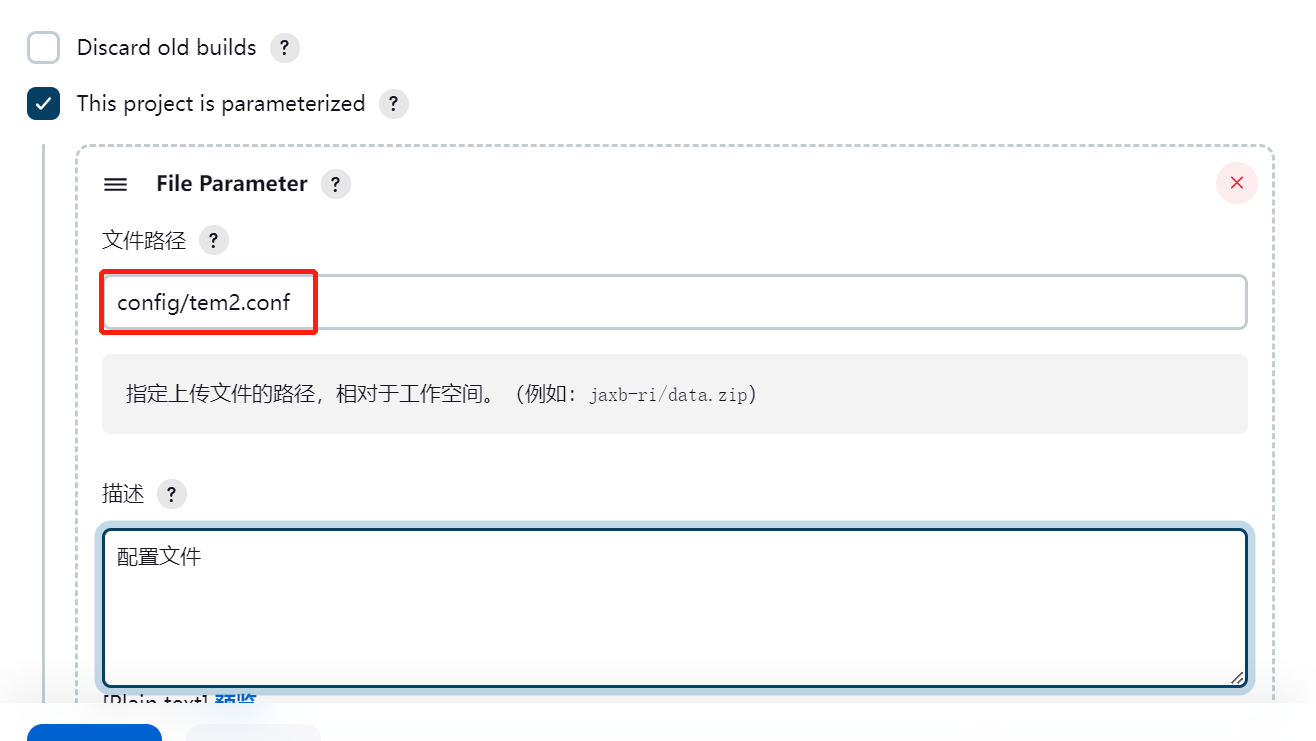
# 保存后
# 选择文件,文件的上传是可选的。如果用户不上传任何文件,Jenkins只是简单地跳过这个参数并不会替换 任何文件(但是也不会删除任何已经存在的文件)
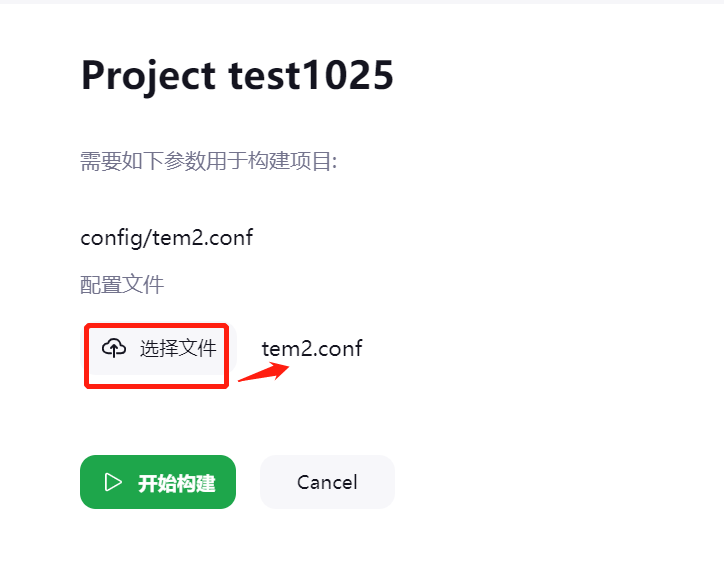
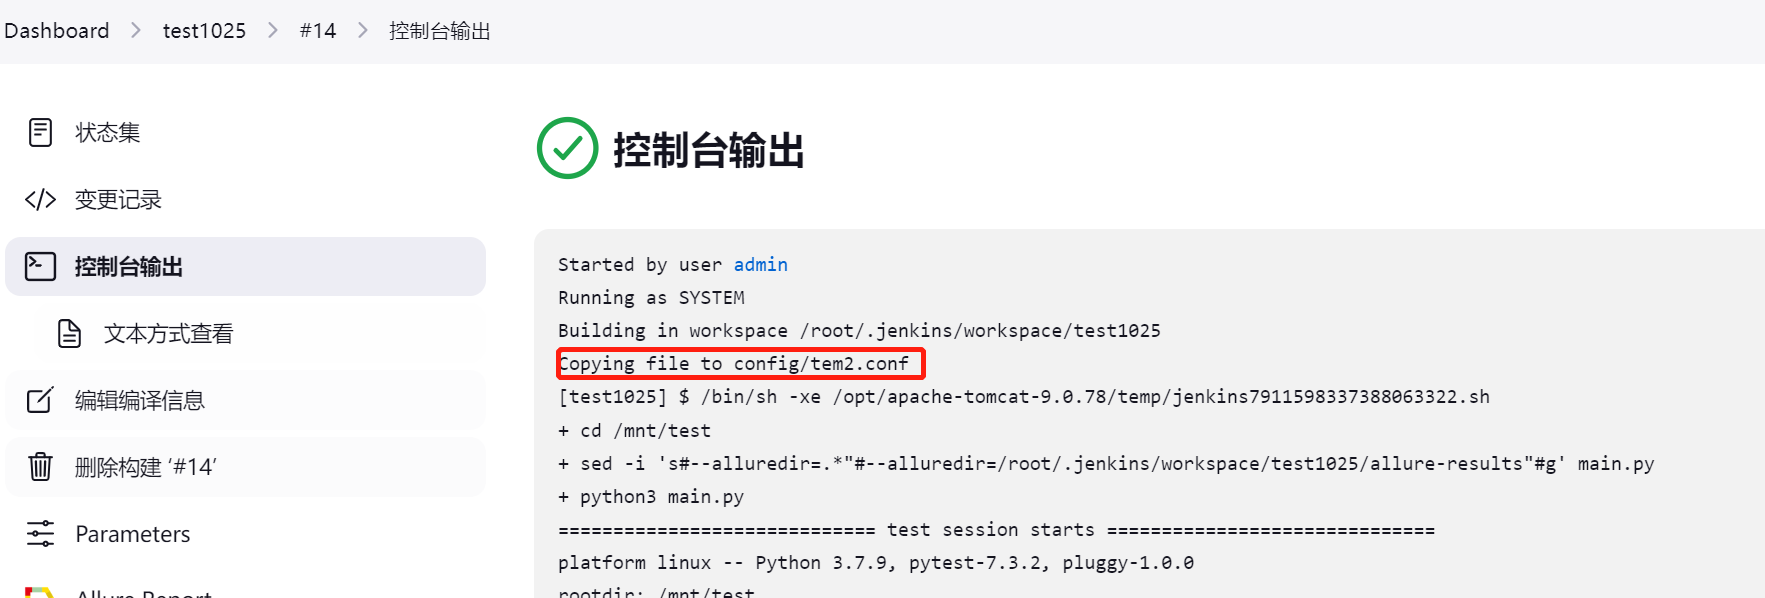
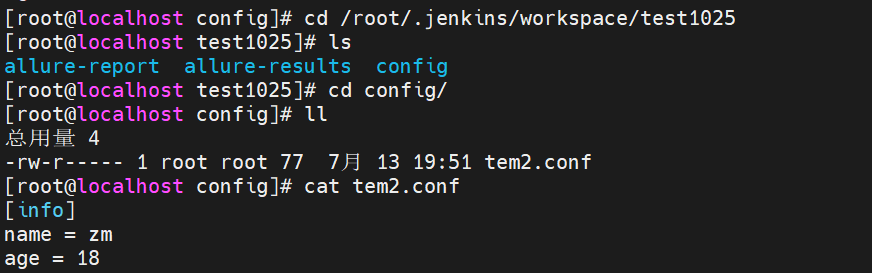
# 查看文件

 浙公网安备 33010602011771号