spring boot admin 集成的简单配置随笔
和我并肩作战的同事也要相继离职了,心里还是有很多不舍得,现在业务也陆陆续续落在了肩头,上午项目经理让我把spring boot admin集成到现在的项目中,已遍后续的监控。
哇!我哪里搞过这个!心里好慌,好在我面向对象虽然不是很精通,但是面向百度我倒是很拿手,于是开启了,面向百度编程,现在已经成功过了~写个博客继续一下,方便以后使用以及分享。
注:此写法适用于 2.0以下版本
高于2.0请直接官方文档走起:http://codecentric.github.io/spring-boot-admin/2.0.3/#register-client-applications
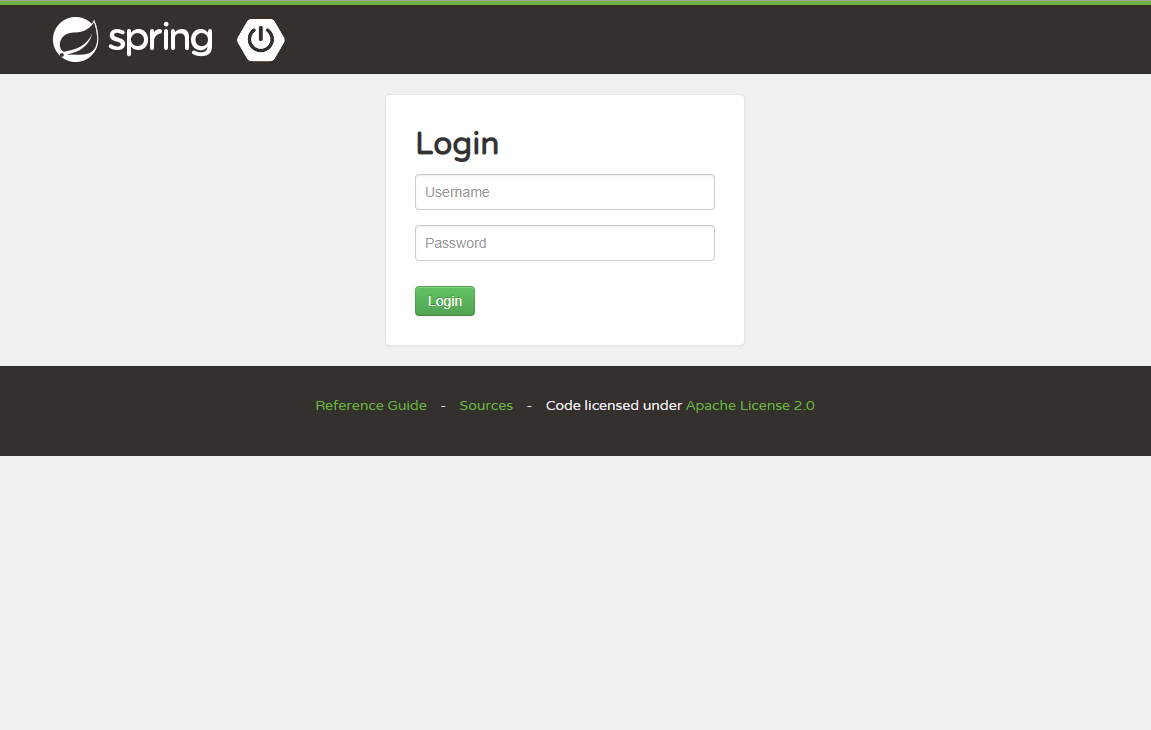
先上个成功的截图

配置Server端(监控服务端):
- 首先在start.spring.io中创建简单的admin应用,主要步骤如下:在Ops组选项中选择Actuator
- Group: org.sample.admin
- Artifact: spring-boot-admin-web
- Name: Spring Boot Admin Web
- Description: Spring Boot Admin Web Application
- Package Name: org.sample.admin
- Type: Maven Project
- Packaging: Jar
- Java Version: 1.8
- Language: Java
- Spring Boot Version: 1.5.9
- 在Ops中选择Actuator
- 选择Generate Project下载应用
- 使用IDEA打开工程,在pom.xml文件中添加下列依赖
<dependency>
    <groupId>de.codecentric</groupId>
    <artifactId>spring-boot-admin-server</artifactId>
    <version>1.5.6</version>
  </dependency>
  <dependency>
    <groupId>de.codecentric</groupId>
    <artifactId>spring-boot-admin-server-ui</artifactId>
    <version>1.5.6</version>
  </dependency>
5.给启动类加上@EnableAdminServer注解
6.在application.properties配置文件中加入如下配置
server.port=8899
spring.application.name=Spring Boot Admin Web
spring.boot.admin.url=http://localhost:${server.port}
spring.jackson.serialization.indent-output=true
endpoints.health.sensitive=false
进行以上配置后server端就算配置完成了!启动server,如果启动不了请检查项目version是不是2.0或以上版本
配置你的项目,使其被服务端发现:
1.首先在你的pom.xml中加入一下代码:
<dependency>
    <groupId>de.codecentric</groupId>
    <artifactId>spring-boot-admin-starter-client</artifactId>
    <version>1.5.6</version>
</dependency>
2.在xxxxxx.properties配置文件中加入一下属性:
spring.boot.admin.url=http://localhost:8899
management.security.enabled=false
注:此处的8899与server端配置的8899对应
到此简单配置完成!
------------------------------------------------------------------------------------------------------------------------------此处为分割线-----------------------------------------------------------------------------------------------------------------------------------------------
没过几天项目经理告诉我说不能直接就可以进去,要一个登录页让我给加上,我以为要重新做页面了,没想到一百度发现spring boot admin自带登录页,此处高呼一声牛逼!然后开始登录页面的添加,也为以后忘记的时候写一个随笔
首先在spring boot admin服务端pom.xml中引入依赖
<dependency>
    <groupId>de.codecentric</groupId>
    <artifactId>spring-boot-admin-server-ui-login</artifactId>
    <version>1.5.6</version>
</dependency>

<dependency>
    <groupId>org.springframework.boot</groupId>
    <artifactId>spring-boot-starter-security</artifactId>
    <version>1.4.5.RELEASE</version>
</dependency>
添加一个类
/**
 * 配置HTTPBASIC权限验证
 *
 * @author yesh
 *         (M.M)!
 *         Created by 2017/5/15.
 */
@Configuration
@EnableWebSecurity
@EnableGlobalMethodSecurity(securedEnabled = true, prePostEnabled = true, proxyTargetClass = true)
public class SecurityConfig extends WebSecurityConfigurerAdapter {
    @Override
    public void configure(WebSecurity web) throws Exception {
        //忽略css.jq.img等文件
        web.ignoring().antMatchers("/**.html","/**.css", "/img/**", "/**.js","/third-party/**");
    }

    @Override
    protected void configure(HttpSecurity http) throws Exception {

        http
                .csrf().disable() //HTTP with Disable CSRF
                .authorizeRequests() //Authorize Request Configuration
                .antMatchers( "/login",
                        "/api/**",
                        "/**/heapdump",
                        "/**/loggers",
                        "/**/liquibase",
                        "/**/logfile",
                        "/**/flyway",
                        "/**/auditevents",
                        "/**/jolokia").permitAll() //放开"/api/**":为了给被监控端免登录注册并解决Log与Logger冲突
                .and()
                .authorizeRequests()
                .antMatchers("/**").hasRole("USER")
                .antMatchers("/**").authenticated()
                .and() //Login Form configuration for all others
                .formLogin()
                .loginPage("/login.html")
                .loginProcessingUrl("/login").permitAll()
                .defaultSuccessUrl("/")
                .and() //Logout Form configuration
                .logout()
                .deleteCookies("remove")
                .logoutSuccessUrl("/login.html").permitAll()
                .and()
                .httpBasic();

    }
}
在application-xxx.yml中加入一下属性
security:
  user:
    name: 'test'
    password: '123456'
  basic:
    enabled: false
management:
  security:
    enabled: false
name与password对应登录人用户名和密码
启动你的服务就可以啦~