Kudu安装(官网推荐的步骤)(installing build Kudu from source)
不多说,直接上干货!
Kudu安装前的建议说明(博主推荐)
这是安装Kudu的另一种方法
Kudu安装(官网推荐的步骤)(installing Kudu using parcels or packages)
http://kudu.apache.org/docs/installation.html#rhel_from_source

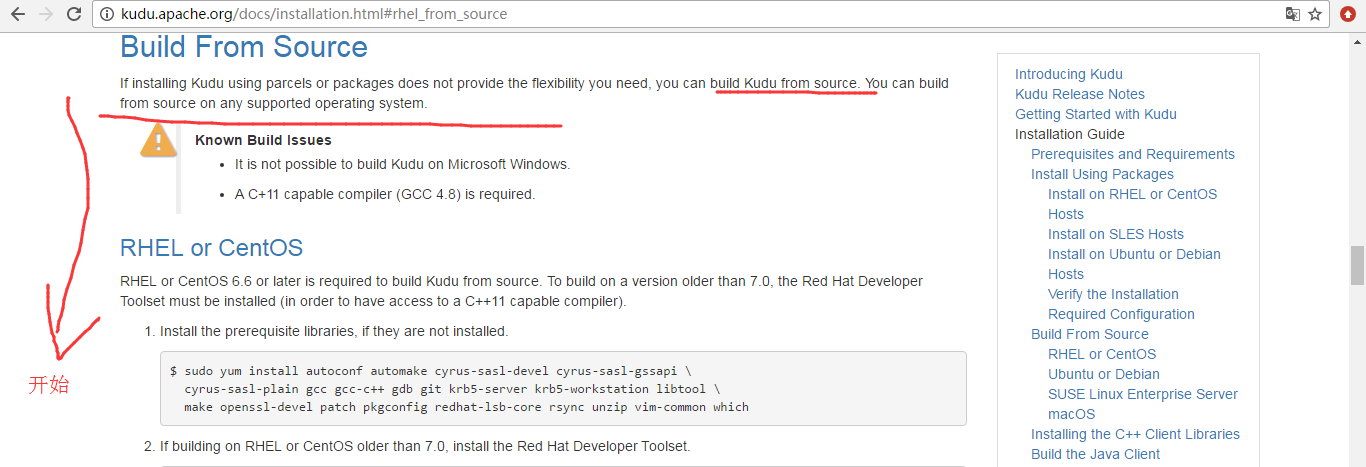
Build From Source
If installing Kudu using parcels or packages does not provide the flexibility you need, you can build Kudu from source. You can build from source on any supported operating system.
|
Known Build Issues
|
我们把它翻译过来,叫做
从source里选择安装Kudu,然后编译环境任意可以选择。
我这里还是以RHEL or CentOS为例。其实大家可以去看官网

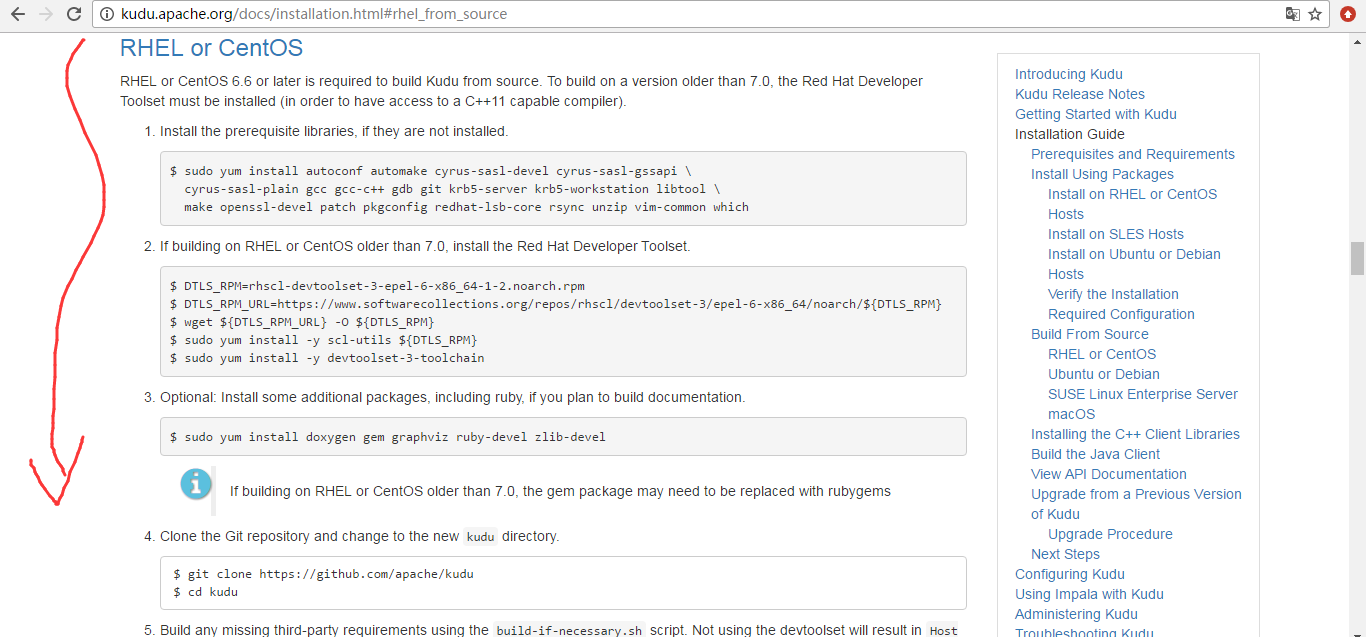
第一步:安装必要的libraries
sudo yum install autoconf automake cyrus-sasl-devel cyrus-sasl-gssapi \
  cyrus-sasl-plain gcc gcc-c++ gdb git krb5-server krb5-workstation libtool \
  make openssl-devel patch pkgconfig redhat-lsb-core rsync unzip vim-common which
第二步:如果centos版本低于7.0(比如CentOS6.5),安装toolset,下载不了手动下载一下。
$ DTLS_RPM=rhscl-devtoolset-3-epel-6-x86_64-1-2.noarch.rpm
$ DTLS_RPM_URL=https://www.softwarecollections.org/repos/rhscl/devtoolset-3/epel-6-x86_64/noarch/${DTLS_RPM}
$ wget ${DTLS_RPM_URL} -O ${DTLS_RPM}
$ sudo yum install -y scl-utils ${DTLS_RPM}
$ sudo yum install -y devtoolset-3-toolchain
第三步:可选项,安装gem、ruby-devel、ascidoctor。
$ sudo yum install doxygen gem graphviz ruby-devel zlib-devel
注意:如果建立在7.0以上的RHEL或CentOS上,则可能需要使用rubygems替换gem包。
第四步:下载kudu工程,最新版本建议使用cloudera kudu git
$ git clone https://github.com/apache/kudu
$ cd kudu
第五步:安装第三方必要的包,很耗时
$ build-support/enable_devtoolset.sh thirdparty/build-if-necessary.sh
第六步:cmake构建makefile文件,然后make编译工程,若cmake剔除test,加入参数-DNO_TESTS=1
$ cd kudu
$ mkdir -p build/release
$ cd build/release ../../build-support/enable_devtoolset.sh \ ../../thirdparty/installed/bin/cmake \ -DCMAKE_BUILD_TYPE=release \ ../..
$ make -j4
第七步:Optional: Install Kudu binaries, libraries, and headers. If you do not specify an installation directory through the DESTDIRenvironment variable, /usr/local/ is the default.
sudo make DESTDIR=/opt/kudu install
第八步:Optional: Build the documentation. NOTE: This command builds local documentation that is not appropriate for uploading to the Kudu website.
$ make docs
总的是
This script provides an overview of the procedure to build Kudu on a newly-installed RHEL or CentOS host, and can be used as the basis for an automated deployment scenario. It skips the steps marked Optional above.

#!/bin/bash

sudo yum -y install autoconf automake cyrus-sasl-devel cyrus-sasl-gssapi \
  cyrus-sasl-plain gcc gcc-c++ gdb git krb5-server krb5-workstation libtool \
  make openssl-devel patch pkgconfig redhat-lsb-core rsync unzip vim-common which
DTLS_RPM=rhscl-devtoolset-3-epel-6-x86_64-1-2.noarch.rpm
DTLS_RPM_URL=https://www.softwarecollections.org/repos/rhscl/devtoolset-3/epel-6-x86_64/noarch/${DTLS_RPM}
wget ${DTLS_RPM_URL} -O ${DTLS_RPM}
sudo yum install -y scl-utils ${DTLS_RPM}
sudo yum install -y devtoolset-3-toolchain
git clone https://github.com/apache/kudu
cd kudu
build-support/enable_devtoolset.sh thirdparty/build-if-necessary.sh
mkdir -p build/release
cd build/release
../../build-support/enable_devtoolset.sh \
  ../../thirdparty/installed/common/bin/cmake \
  -DCMAKE_BUILD_TYPE=release \
  ../..
make -j4
第九步:目录结构
..bin
..CMakeCache.txt
..CMakeFiles
..cmake_install.cmake
..CTestTetFile.cmake
..lib
..Makefile
..src
作者:大数据和人工智能躺过的坑
出处:http://www.cnblogs.com/zlslch/
本文版权归作者和博客园共有,欢迎转载,但未经作者同意必须保留此段声明,且在文章页面明显位置给出原文链接,否则保留追究法律责任的权利。
如果您认为这篇文章还不错或者有所收获,您可以通过右边的“打赏”功能 打赏我一杯咖啡【物质支持】,也可以点击右下角的【好文要顶】按钮【精神支持】,因为这两种支持都是我继续写作,分享的最大动力!


