Github项目链接:https://github.com/facebookresearch/maskrcnn-benchmark
maskrcnn_benchmark 安装步骤:
- 安装Anaconda3,创建虚拟环境。
conda activate maskrcnn

conda create -n maskrcnn python=3

conda activate maskrcnn
- 在虚拟环境中安装依赖包。
conda install ipython

pip install ninja yacs cython matplotlib tqdm opencv-python
- 安装PyTorch。
conda install -c pytorch pytorch-nightly torchvision cudatoolkit=9.0
- 选择安装目录。
mkdir maskrcnn

export INSTALL_DIR=$PWD

cd $INSTALL_DIR
- 卸载torchvision 0.3.0,安装torchvision 0.2.2
pip uninstall torchvision

pip install torchvision==0.2.2
- 安装pycocotools。
git clone https://github.com/cocodataset/cocoapi.git

cd cocoapi/PythonAPI

python setup.py build_ext install
- 安装apex。
cd $INSTALL_DIR

git clone https://github.com/NVIDIA/apex.git

cd apex

python setup.py install --cuda_ext --cpp_ext
- 安装maskrcnn-benchmark。
cd $INSTALL_DIR

git clone https://github.com/facebookresearch/maskrcnn-benchmark.git

cd maskrcnn-benchmark

python setup.py build develop
unset INSTALL_DIR
maskrcnn-benchmark 测试:
- 进入maskrcnn-benchmark安装目录下的demo文件夹。
conda activate maskrcnn

cd maskrcnn/maskrcnn-benchmark/demo/
- 在demo目录下新建demo.py文件。
 1 from maskrcnn_benchmark.config import cfg
 2 from predictor import COCODemo
 3 import matplotlib.pylab as pylab
 4 import matplotlib.pyplot as plt
 5 import cv2
 6
 7
 8 pylab.rcParams['figure.figsize'] = 20, 12
 9
10
11 def show_image(image):
12     plt.imshow(image[:, :, [2, 1, 0]])
13     plt.axis('off')
14     plt.show()
15
16
17 config_file = '../configs/caffe2/e2e_mask_rcnn_X-152-32x8d-FPN-IN5k_1.44x_caffe2.yaml'
18 cfg.merge_from_file(config_file)
19
20 coco_demo = COCODemo(
21     cfg,
22     confidence_threshold=0.7,
23     min_image_size=800
24 )
25
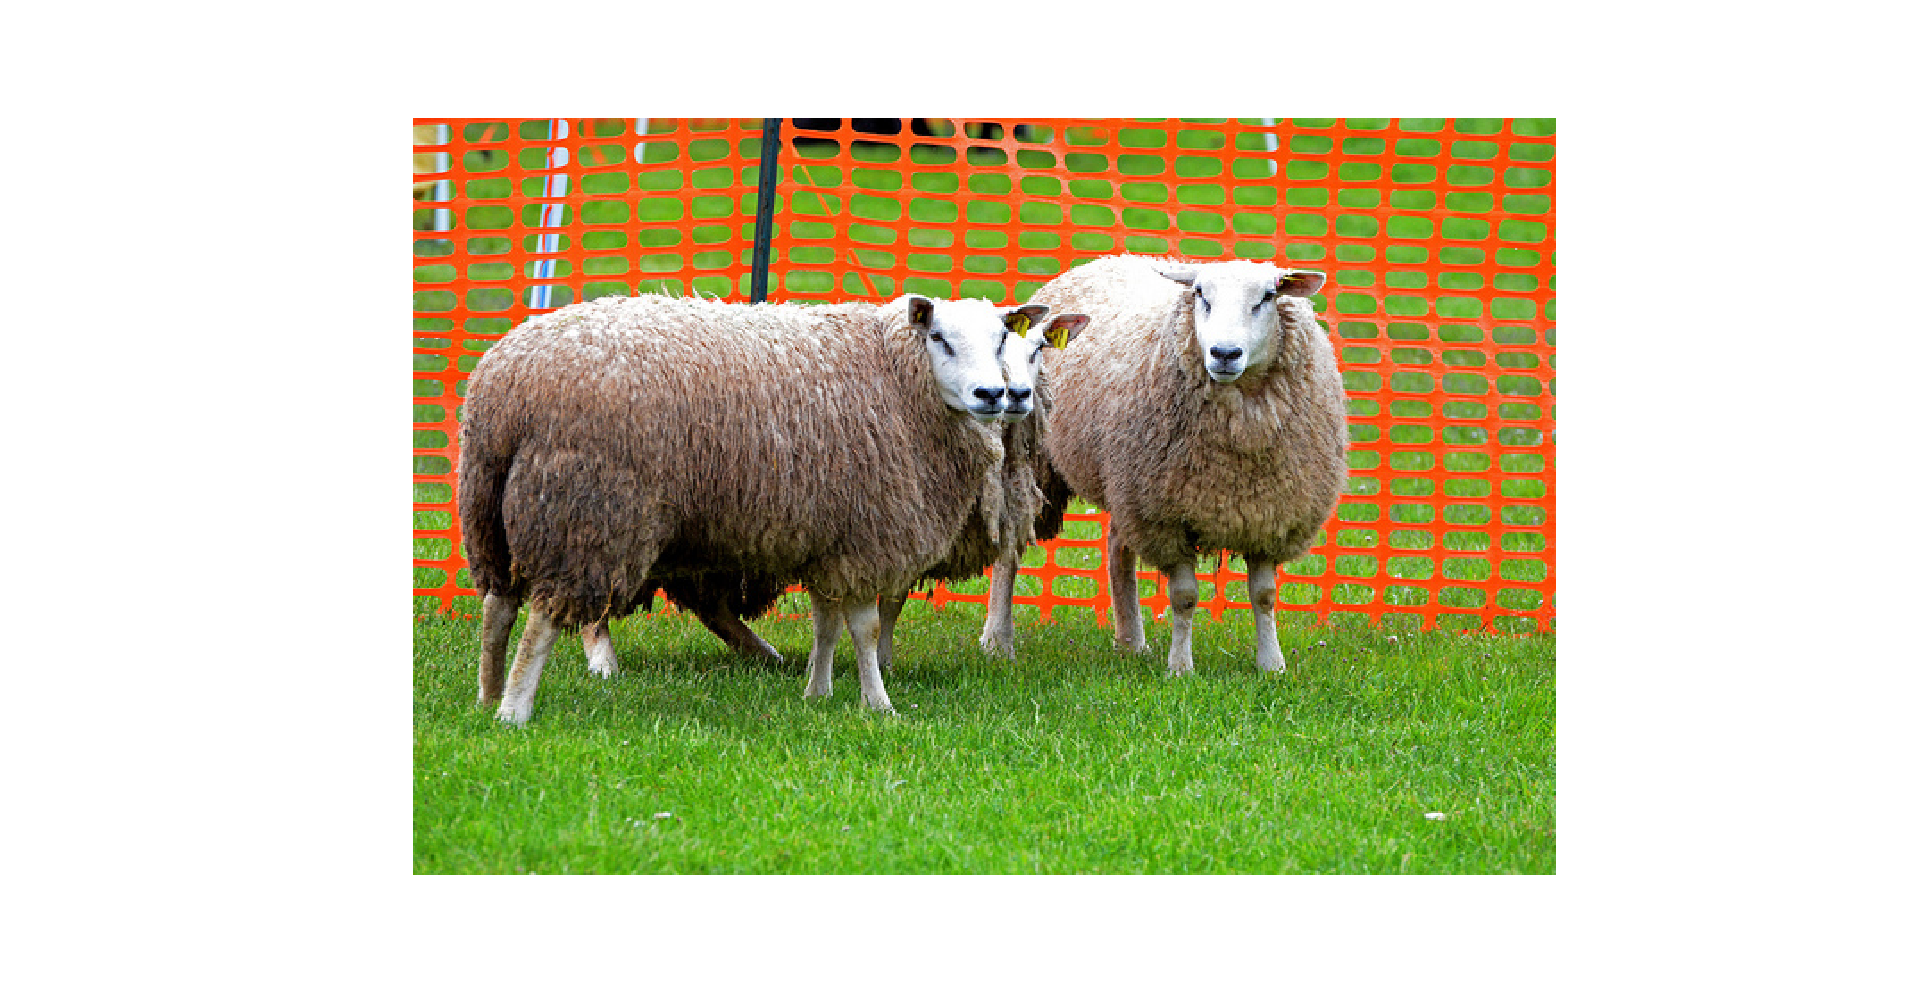
26 img = cv2.imread('path-to-coco2014/val2014/COCO_val2014_000000000772.jpg')
27 show_image(img)
28
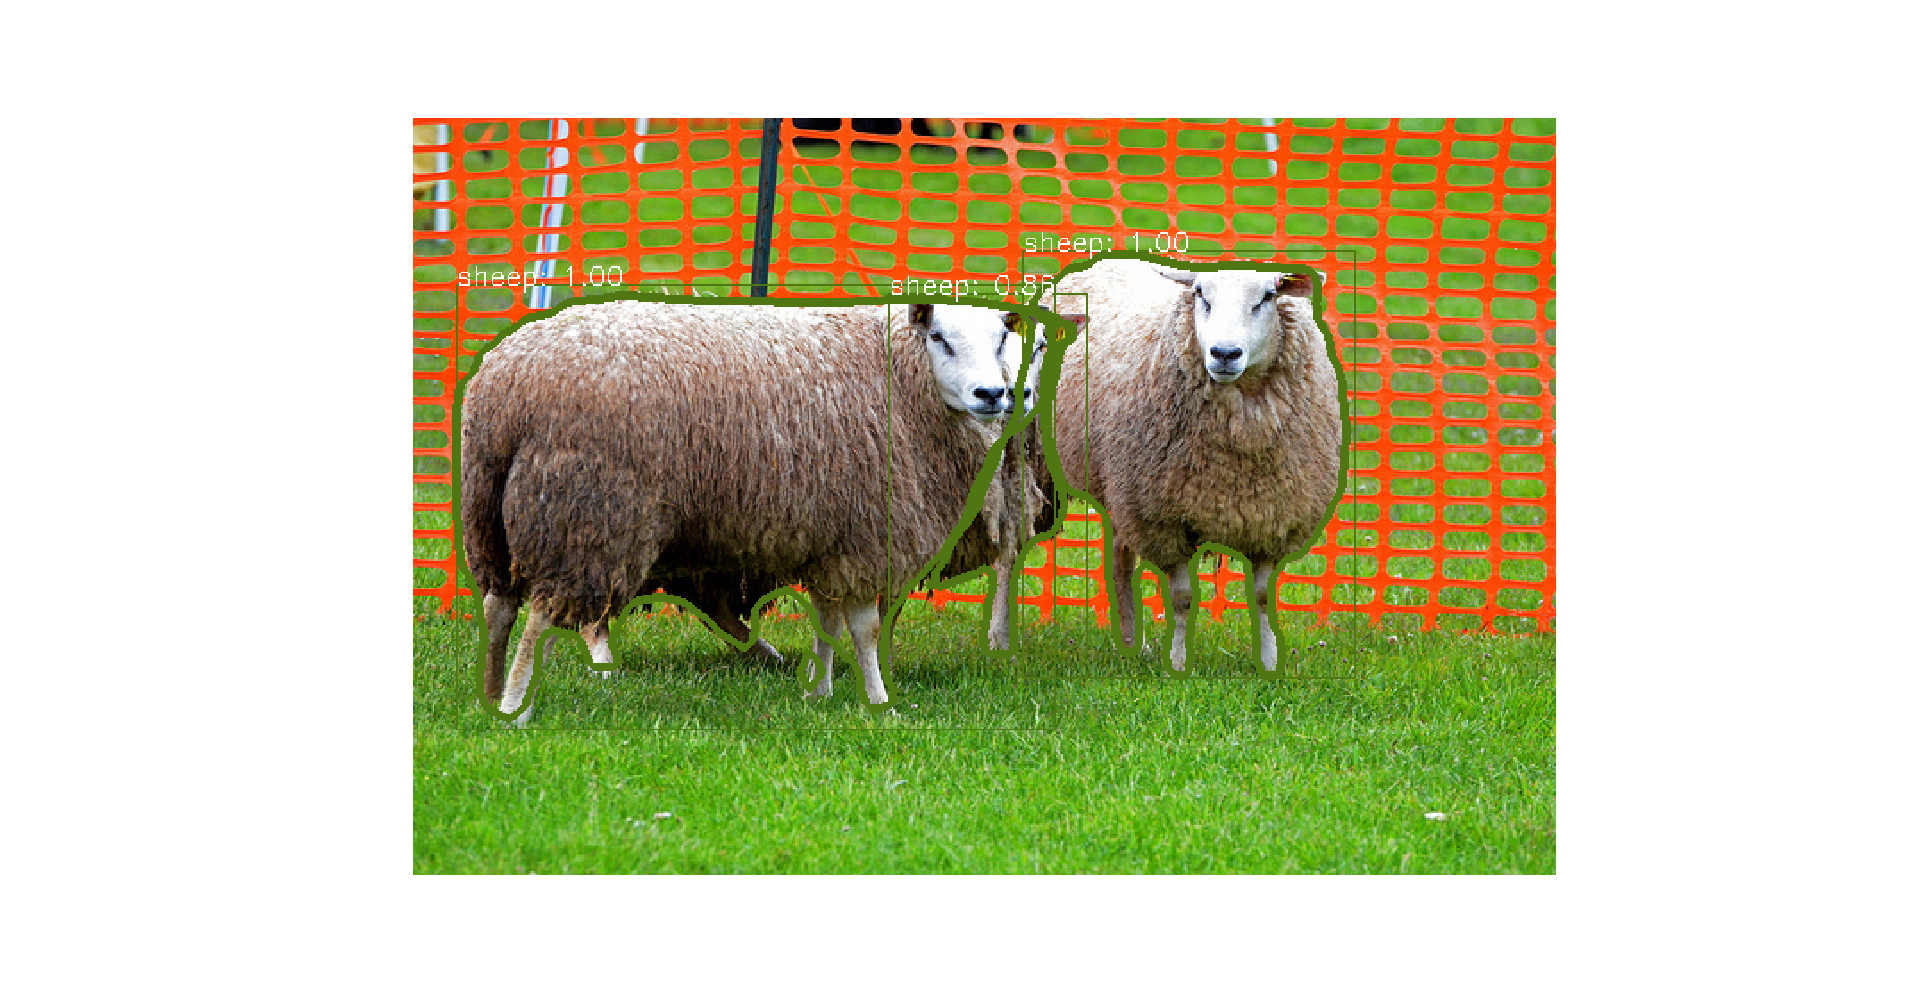
29 predictions = coco_demo.run_on_opencv_image(img)
30 show_image(predictions)


