
VS Code WebApi系列——1、配置
Knowledge should be Shared in Free.
最近在研究VS code下的webapi,看了很多文档,还是微软官方的例子好,不过不太适应国人习惯,所以写点东西。
直接了当
开发环境系统信息:
os:windows 10 1909 64位;
vs code:1.45.1 system setup
net core sdk:1.1.14(x64)
net core version:3.1.201
安装与配置:
1)vs code下载安装
网址:https://code.visualstudio.com/#alt-downloads
选择:

下载后安装,一路next(想换安装路径的注意一下路径选择对话框)
2)net core下载安装
网址:https://dotnet.microsoft.com/download
选择:
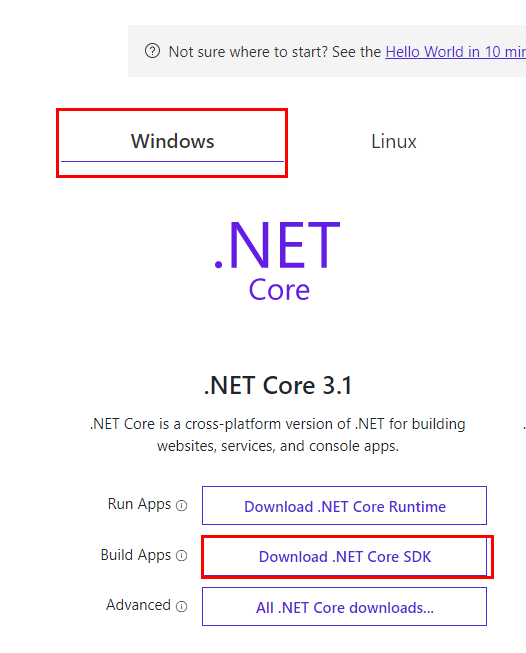
一样,一路next
3)打开vs code,左侧最后一个选项,Extension,安装以下拓展
C#(必装)
C# Extensions(必装)
Visual Studio IntelliCode(必装)
csharpwebapi(选装)
Dotnet Core Essentials(选装)
ASP.NET Core Snippets(选装)

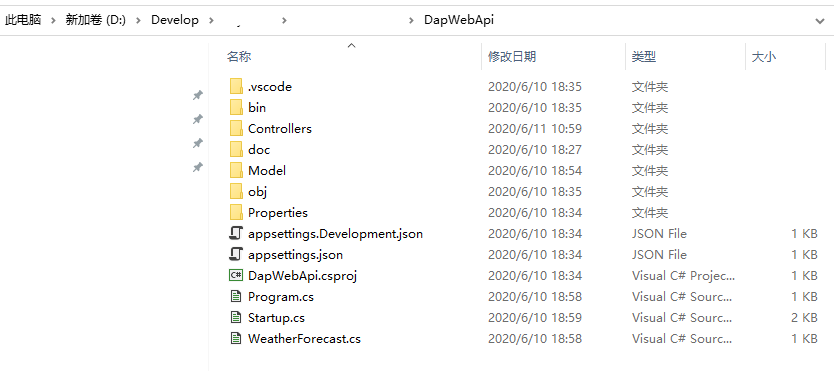
4)新建包(包就是文件夹),这里选择了DapWebApi文件夹
5)命令生成项目
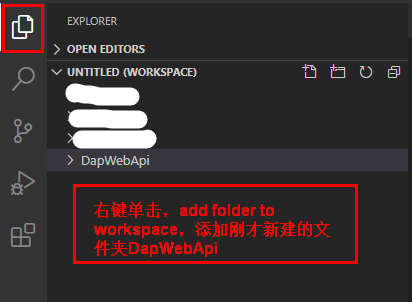
首先,在vscode中添加工作区
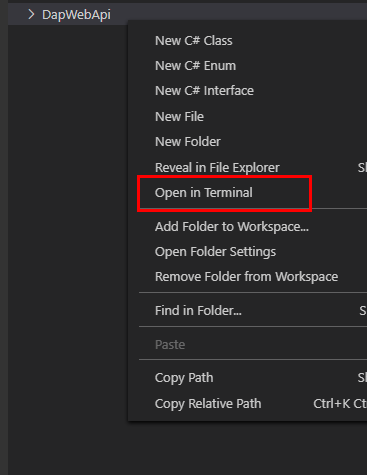
6)文件夹上右键选择Open in Terminal
7)在vs code下部生成的命令行中输入如下命令:
dotnet new webapi,静候片刻,等其运行完毕,即可得到如4)中的项目文档结构
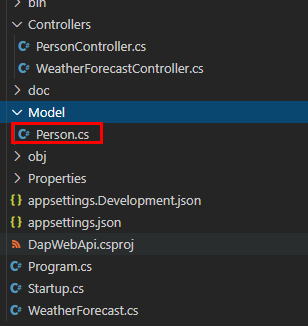
8)添加实体文件夹Model,并在文件夹内添加实体类,如下图所示
实体代码:
9)控制器添加PersonControl,用实体list集合代替数据库请求,代码如下:
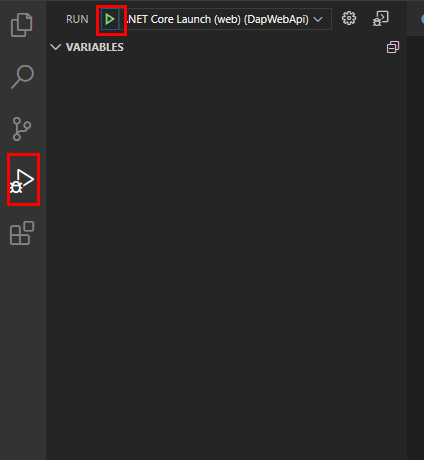
在弹出的网页中输入webapi网址请求:https://localhost:5001/api/person,浏览器内应该显示以下内容

如果以上步骤都正常实现了,那么赶快楼下喝酒撸个串吧
