
CentOS7 nginx + php + redis + mysql
https://www.jb51.net/article/137124.htm
-
安装nginx
yum install nginx -
启动nginx
systemctl start nginx -
设置开机自启
systemctl enable nginx.service
安装php
1、如果之前已经安装我们先卸载一下
|
1
|
yum -y remove php* |
2、由于linux的yum源不存在php7.x,所以我们要更改yum源
3、yum 安装php72w和各种拓展,选自己需要的即可
systemctl enable httpd
5.查看php版本
php-v
6.此时php虽然安装完成,但是要想可以运行指定的项目,需要修改 nginx 配置
6.1
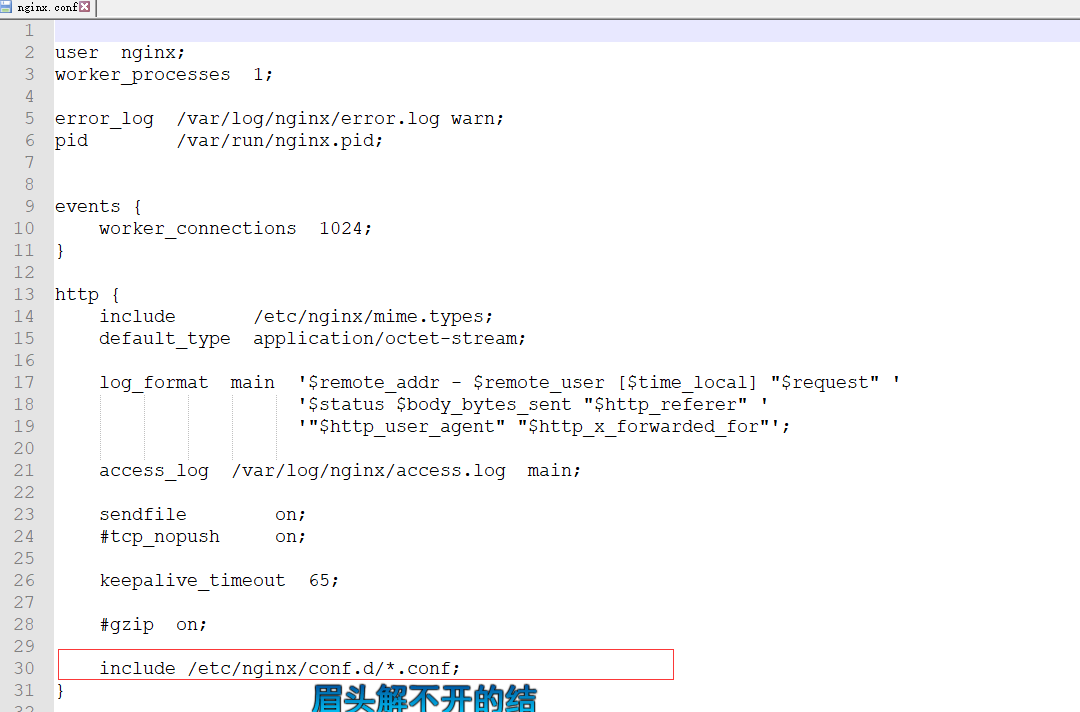
find / -name nginx.conf

6.2
打开对应的文件,展示了nginx 的配置文件对应的位置(/etc/nginx/conf.d)下的所有文件,还没有配置域名,所以修改default.conf 文件即可
6.3 对应修改文件

 server {
    listen       80;
    server_name  localhost;


    location / {
        root   /var/www;
        index  index.html index.htm;
		if (!-e $request_filename) {
		rewrite ^/index.php(.*)$ /index.php?s=$1 last;
		rewrite ^(.*)$ /index.php?s=$1 last;
		break;
		}
    }
    error_page   500 502 503 504  /50x.html;
    location = /50x.html {
        root   /var/www;
    }

    location ~ \.php$ {
        root           /var/www/share/public;
        fastcgi_pass   127.0.0.1:9000;
        fastcgi_index  index.php;
        fastcgi_param  SCRIPT_FILENAME  /var/www/share/public$fastcgi_script_name;
        include        fastcgi_params;
		fastcgi_split_path_info ^(.+\.php)(.*)$;
    }

}

6.4 查看nginx 配置文件是否正确 (有 successful 说明正确)

6.5 重新加载nginx
nginx -s reload
|
1
|
yum -y install php72w php72w-cli php72w-common php72w-devel php72w-embedded php7 |
6,绑定域名 并 修改为https 协议
在上面找到的 nginx 配置文件所在的文件夹下 新建一个 你的域名.conf 文件。文件内容如下:
server {
listen 80;
server_name www.shensing.cn;
rewrite ^(.*)$ https://$host$1 permanent;
root /var/www/share/public;
}
server {
listen 443 ssl;
index index.html index.htm;
ssl_certificate /etc/nginx/cert/2676927_www.shensing.cn.pem;
ssl_certificate_key /etc/nginx/cert/2676927_www.shensing.cn.key;
ssl_session_timeout 5m;
ssl_ciphers ECDHE-RSA-AES128-GCM-SHA256:ECDHE:ECDH:AES:HIGH:!NULL:!aNULL:!MD5:!ADH:!RC4;
ssl_protocols TLSv1 TLSv1.1 TLSv1.2;
ssl_prefer_server_ciphers on;
server_name www.shensing.cn;
root /var/www/share/public;
location / {
index index.php index.html index.htm;
if (!-e $request_filename) {
rewrite ^(.*)$ /index.php?s=$1 last;
break;
}
}
location ~ \.php {
fastcgi_pass 127.0.0.1:9000;
fastcgi_index index.php;
fastcgi_split_path_info ^(.+\.php)(.*)$;
fastcgi_param PATH_INFO $fastcgi_path_info;
fastcgi_param SCRIPT_FILENAME $document_root$fastcgi_script_name;
include fastcgi_params;
}
}

6.4 查看nginx 配置文件是否正确 (有 successful 说明正确)
6.5 重新加载nginx
nginx -s reload

