从零构建vue-cli项目 和 vite项目
安装nvm
windows 安装
去github 上下载 https://github.com/coreybutler/nvm-windows
安装包地址: https://github.com/coreybutler/nvm-windows/releases
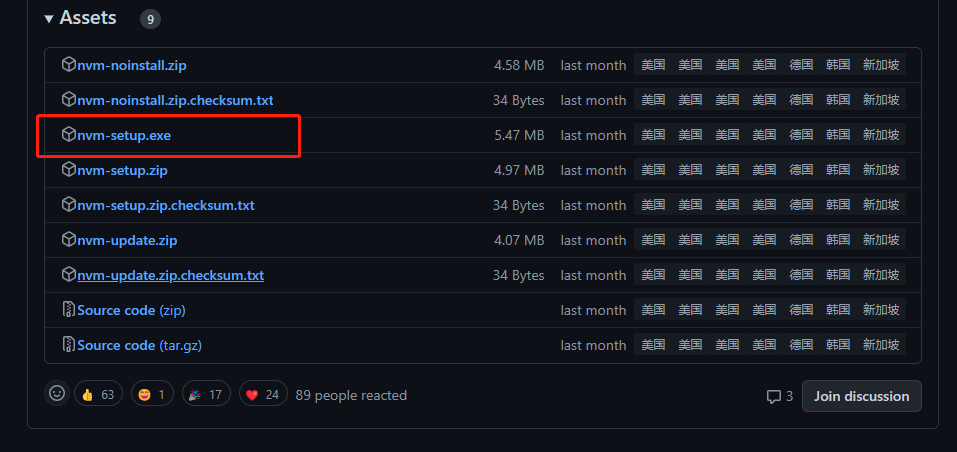
直接下载安装即可。
安装完了 持续下一步
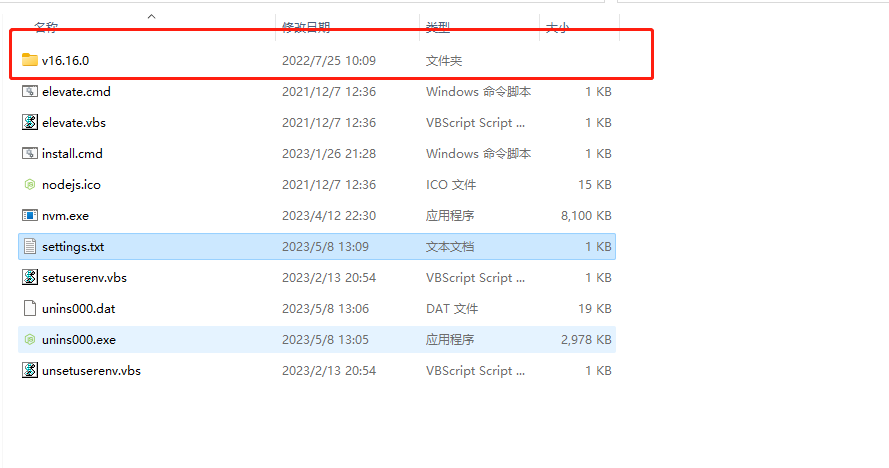
进入目录中

然后修改settings中
添加如下内容
node_mirror: https://npm.taobao.org/mirrors/node/
npm_mirror: https://npm.taobao.org/mirrors/npm/
验证
验证NVM是否安装成功

以上代表已经安装成功了。
ubuntu 安装
执行如下命令即可。
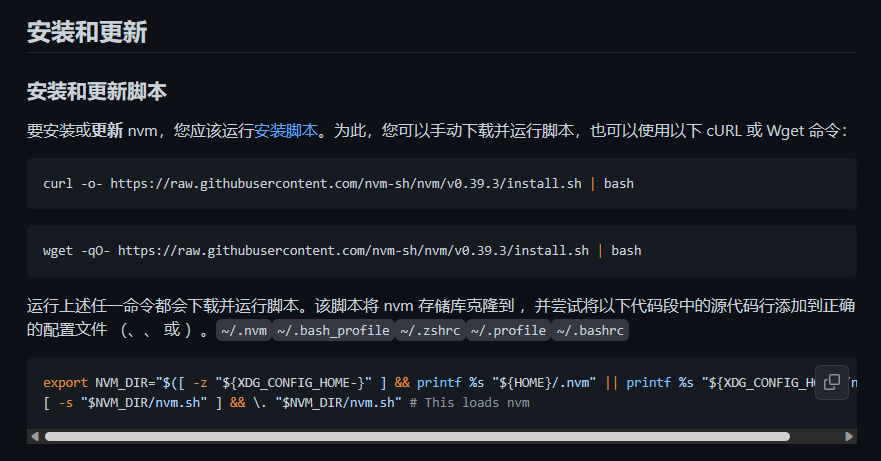
curl -o- https://raw.githubusercontent.com/nvm-sh/nvm/v0.39.3/install.sh | bash
wget -qO- https://raw.githubusercontent.com/nvm-sh/nvm/v0.39.3/install.sh | bash
修改hosts
sudo vim /etc/hosts
199.232.96.133 raw.githubusercontent.com
重启网卡
systemctl restart NetworkManager.service
这样就算安装成功了
更换淘宝源
在安装nodejs的时候特别慢,安装了好久都安装不上去,网速实在是太慢了,需要将nvm的默认下载地址改为国内的,我使用了淘宝的镜像,在.bashrc文件中追加如下内容
vim ~/.bashrc

# nvm淘宝镜像
export NVM_NODEJS_ORG_MIRROR=http://npm.taobao.org/mirrors/node
安装cnpm
npm install -g cnpm --registry=https://registry.npm.taobao.org
安装node
nvm install v16.13.0
卸载node
nvm uninstall v16.13.0
使用nvm
使用 16.13.0
nvm use v16.13.0
注意: 如果在windows下 要使用超级管理员 不然会出现错误
查看安装环境
nvm current
nvm list
更换默认环境
nvm alias default v16.13.0
安装yarn
安装源添加镜像
curl -sS https://dl.yarnpkg.com/debian/pubkey.gpg | sudo apt-key add -
echo "deb https://dl.yarnpkg.com/debian/ stable main" | sudo tee /etc/apt/sources.list.d/yarn.list
更新源并且安装
sudo apt update && sudo apt install yarn
卸载
sudo apt-get remove yarn
sudo apt-get autoremove
添加淘宝源
npm config set registry http://registry.npm.taobao.org/
安装完毕 后 输入
yarn -v
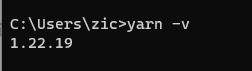
代表安装成功!!!
初始化一个yarn项目
yarn init
vue-cli
安装
# 速度不行可以考虑换源 npm
npm install -g @vue/cli

yarn add global @vue-cli
常规安装
vue create vueproject
vite
安装vite
中文文档: https://cn.vitejs.dev/guide/
使用 NPM:
$ npm create vite@latest
使用 Yarn:
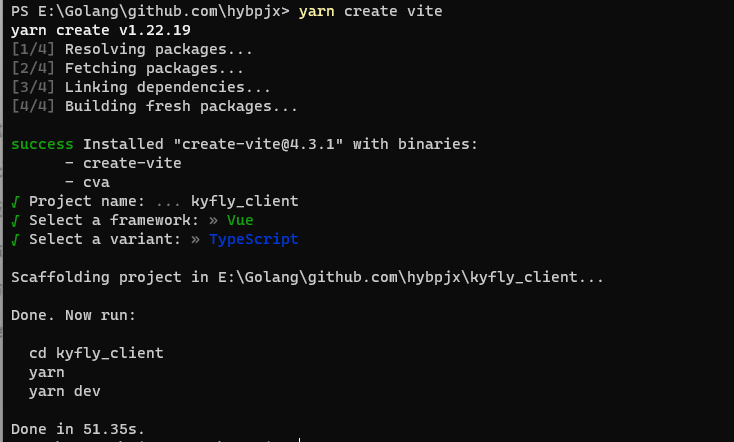
$ yarn create vite
结果如下
使用
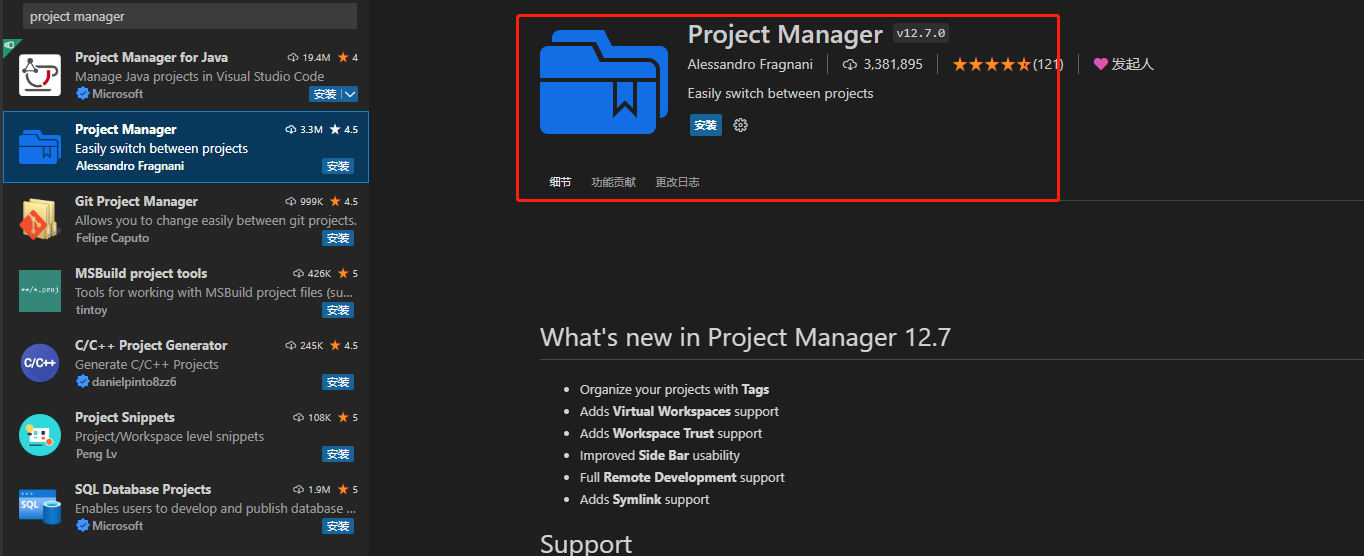
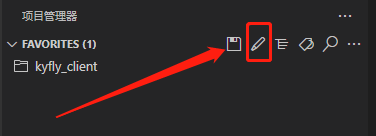
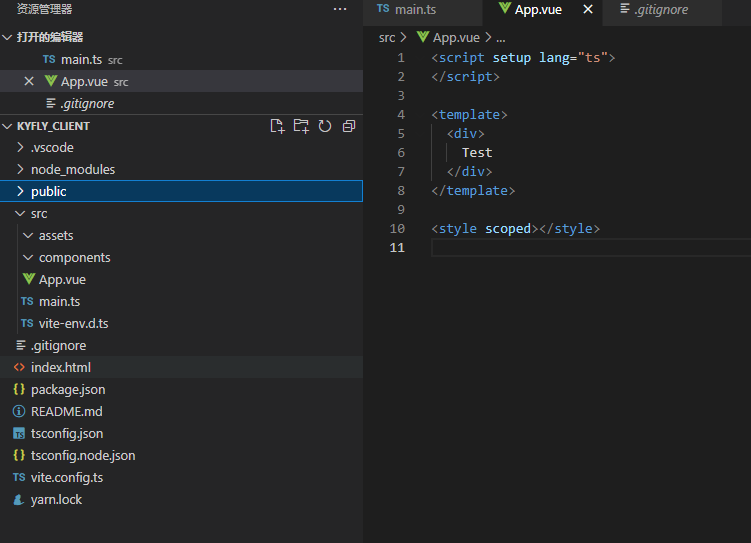
然后使用vscode中的project manager 来对我们的项目进行管理
然后修改project.json
[
	{
		"name": "kyfly_client",
		"rootPath": "E:\\Golang\\github.com\\hybpjx\\kyfly_client",
		"paths": [],
		"tags": [],
		"enabled": true
	}
]
执行yarn 命令 安装资源包
yarn
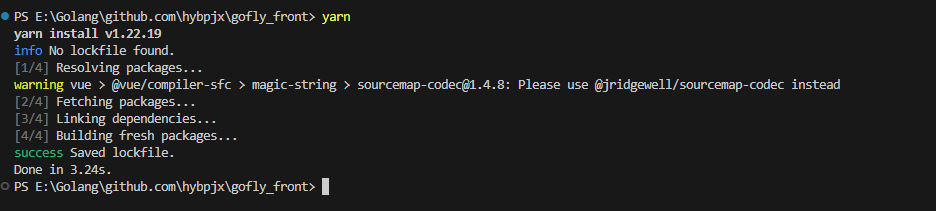
然后执行yarn dev
yarn dev
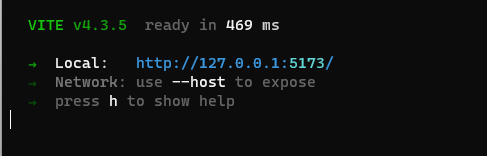

启动成功!!
然后置空所有其他无用的东西
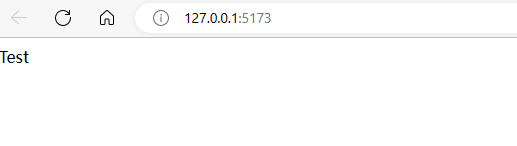
效果如上图

 浙公网安备 33010602011771号