Centos7下安装postgresql(tar包形式安装)
Centos7下安装postgresql(tar包形式安装)
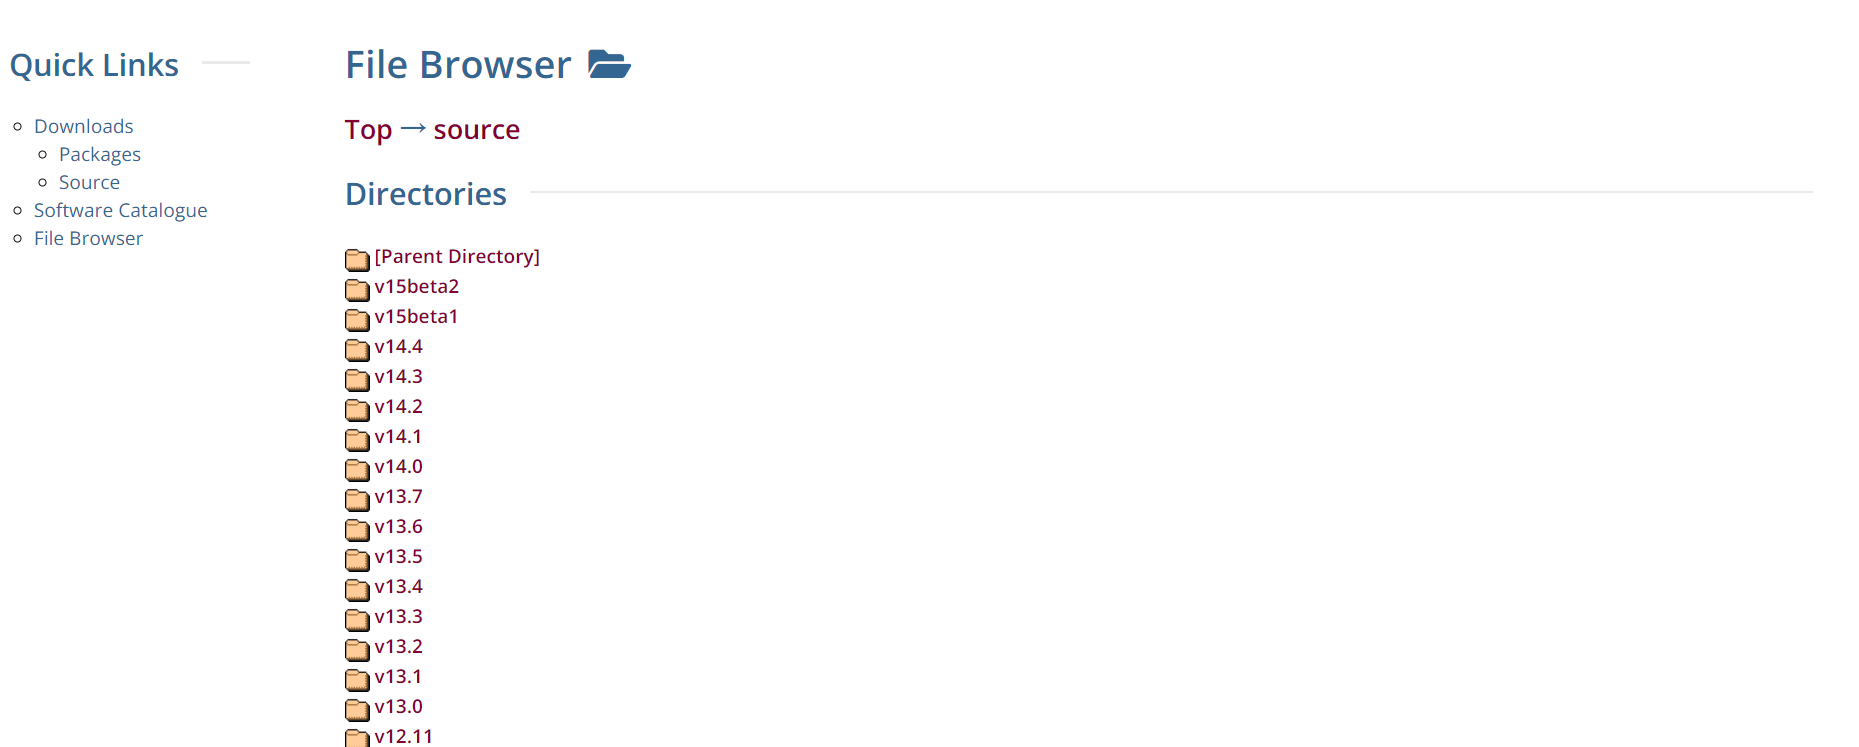
1、官网下载地址:
https://www.postgresql.org/ftp/source/

2、将下载来tar包上传到linux服务器上

3、将tar包解压到指定目录下
# -C 后面是解压后存放的目录
tar -zxvf postgresql-14.4.tar.gz -C /opt/module/

4、编译,进入到postgresql-14.2目录下,执行下面的命令
- 执行编译命令前先安装依赖
- 安装C语言编译器
yum install gcc -y
- 安装编译需要的依赖
yum install -y readline-devel
yum install zlib-devel
- 执行编译命令
./configure --prefix=/usr/local/postgresql
安装完编译所需的依赖后,执行以上编译命令就可以编译成功喽!
5、安装
make && make install
执行完毕,在/usr/local目录下就会有pgsql这个目录

6、创建data和log目录
 mkdir /usr/local/postgresql/data
 mkdir /usr/local/postgresql/log

7、加入系统环境变量
- 打开系统环境配置文件
# 本安装示例中此处的my_env.sh是自己新建的,也可以直接在/etc/profile 中配置
vim /etc/profile.d/my_env.sh
- 配置环境变量
export PGHOME=/usr/local/postgresql
export PGDATA=/usr/local/postgresql/data
export PATH=$PATH:$JAVA_HOME/bin:$PGHOME/bin

- 使配置生效
source /etc/profile
8、增加用户 postgres 并赋权
useradd postgres
chown -R postgres:root /usr/local/postgresql/

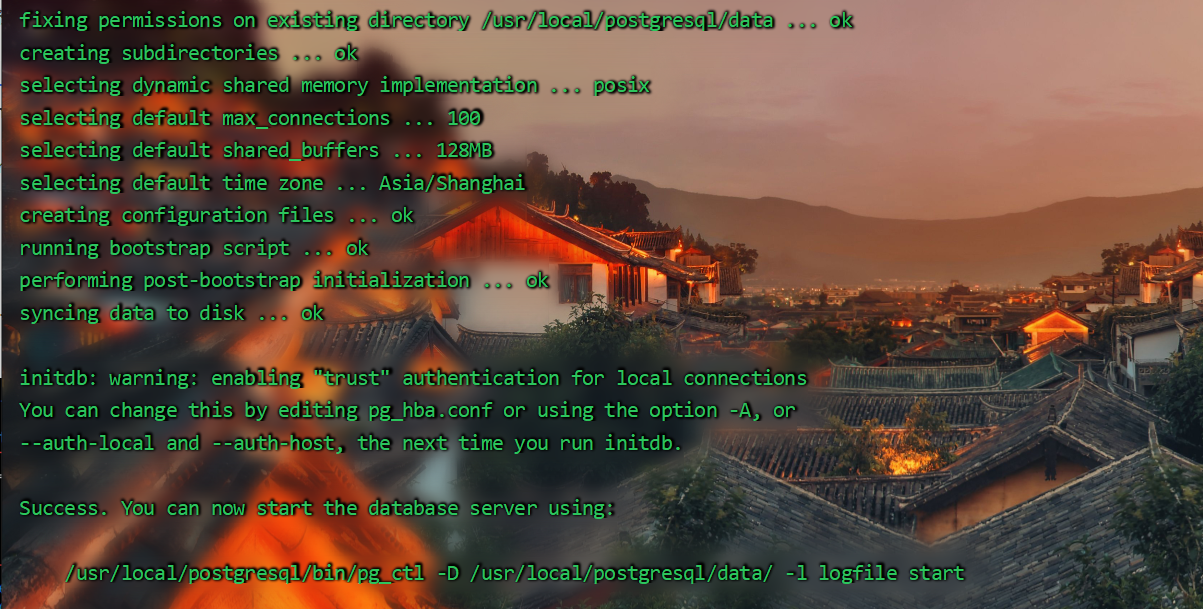
9、初始化数据库
# 切换为自己前面创建的用户
su postgres
# 初始化数据库操作
/usr/local/postgresql/bin/initdb -D /usr/local/postgresql/data/

注:不能在 root 用户下初始数据库,否则会报错
[root@develop-env~]# /usr/local/postgresql/bin/initdb -D /usr/local/postgresql/data/
initdb: cannot be run as root
Please log in (using, e.g., "su") as the (unprivileged) user that will
own the server process.
10、编辑配置文件
- 打开postgresql.conf配置文件
vim /usr/local/postgresql/data/postgresql.conf
- 修改配置信息
# 设置所有ip可连接
listen_addresses = '*'

# 设置监听端口
port = 5432

- 打开pg_hba.conf配置文件
vim /usr/local/postgresql/data/pg_hba.conf
- 修改配置信息
# 所有数据库(all)、所有用户(all)、从本机(127.0.0.1/32)均可免密访问(trust)
host    all             all             0.0.0.0/0               trust
注:
TYPE:pg的连接方式,local:本地unix套接字,host:tcp/ip连接
DATABASE:指定数据库
USER:指定数据库用户
ADDRESS:ip地址,可以定义某台主机或某个网段,32代表检查整个ip地址,相当于固定的ip,24代表只检查前三位,最后一位是0~255之间的任何一个
METHOD:认证方式,常用的有ident,md5,password,trust,reject。
-
md5是常用的密码认证方式。
-
password是以明文密码传送给数据库,建议不要在生产环境中使用。
-
trust是只要知道数据库用户名就能登录,建议不要在生产环境中使用。
-
reject是拒绝认证。
11、启动服务
pg_ctl start -l /usr/local/postgresql/log/pg_server.log

12、查看版本
psql -v

13、登录数据库
psql -U postgres -d postgres

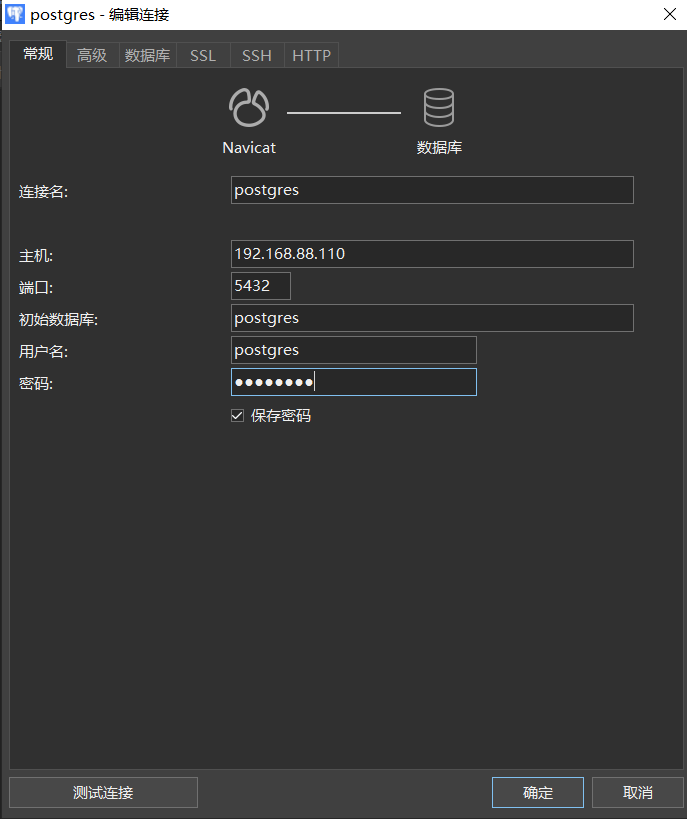
14、第三方可视化工具连接
Navicat Premium


15、无法远程访问
取消了远程访问ip的限制后,还是无法远程访问的问题
可能原因:5432端口未开放
解决措施:
- 直接关闭防火墙
# 关闭防火墙
systemctl stop firewalld
# 开启防火墙
systemctl start firewalld
# 查看防火墙状态
systemctl status firewalld
# 重启防火墙
systemctl restart firewalld
- 配置防火墙,开启5432端口
- 开放5432端口
firewall-cmd --zone=public --add-port=5432/tcp --permanent
- 关闭5432端口
firewall-cmd --zone=public --remove-port=5432/tcp --permanent
- 让配置立即生效
firewall-cmd --reload
- 重启防火墙
systemctl restart firewalld
- 查看已开放的端口
firewall-cmd --list-ports
至此postgresql安装完成O(∩_∩)O哈哈~ヾ(◍°∇°◍)ノ゙

 Centos7下以tar包形式安装postgresql
