多线程之OMP
记录在学习games101的时候碰到的多线程知识
以下所有结果均在Ubuntu 22.04.2 LTS操作系统下使用g++ 11.3.0运行

所有的问题来自下面这段代码,这是games101 的第七次作业的一部分,需要使用多线程加速Path Tracing
		int use_critical =0;
        float pocess=0;
        float scale = tan(deg2rad(scene.fov * 0.5));
        float imageAspectRatio = scene.width / (float)scene.height;
        Vector3f eye_pos(278, 273, -800);
        std::cout << "SPP: " << spp << "\n";
        int cpuNum= sysconf(_SC_NPROCESSORS_CONF);
		std::cout<<"Cpu Num :" <<cpuNum<<std::endl;
        omp_set_num_threads(cpuNum);
        //int handle[cpuNum];
        float minY=0.0f,maxY=0.0f;
        int m = 0;
        int hxw=scene.width*scene.height;
        #pragma omp parallel for shared(pocess)
            for (uint32_t p = 0; p < hxw; ++p)
            {
                int i = p % scene.height;
                int j = p / scene.height;
                // generate primary ray direction
                float x = (2 * (i + 0.5) / (float)scene.width - 1) *
                          imageAspectRatio * scale;
                float y = (1 - 2 * (j + 0.5) / (float)scene.height) * scale;

                Vector3f dir = normalize(Vector3f(-x, y, 1));
                for (int k = 0; k < spp; k++)
                {
                    framebuffer[p] += scene.castRay(Ray(eye_pos, dir), 0) / spp;
                }
                pocess++;
                #pragma omp critical
                    UpdateProgress(pocess / (float)(scene.height * scene.width));
            }
             //Threadlist[i]=std::thread(RenderWithMultiThread,minY,maxY);
            minY=maxY+1.0f;
        UpdateProgress(1.f);
        // save framebuffer to file
        string filename ="binaryWithMultiThread";
        filename +=std::to_string(std::chrono::duration_cast<std::chrono::seconds>(std::chrono::system_clock::now()-start).count())+".ppm";
        FILE* fp = fopen(filename.c_str(), "wb");
        (void)fprintf(fp, "P6\n%d %d\n255\n", scene.width, scene.height);
        for (auto i = 0; i < scene.height * scene.width; ++i) {
            static unsigned char color[3];
            color[0] = (unsigned char)(255 * std::pow(clamp(0, 1, framebuffer[i].x), 0.6f));
            color[1] = (unsigned char)(255 * std::pow(clamp(0, 1, framebuffer[i].y), 0.6f));
            color[2] = (unsigned char)(255 * std::pow(clamp(0, 1, framebuffer[i].z), 0.6f));
            fwrite(color, 1, 3, fp);
        }
        fclose(fp);
OMP如何跑起来?
在linux操作系统下,使用g++ test.cpp -fopenmp -o test编译。先测试一下这段代码,以确保你会使用g++进行编译:
#include <iostream>
using std::cout;
using std::endl;
int main()
{
    #pragma omp parallel
    cout<<"hello,openmp!\n";
    cout.flush();
}
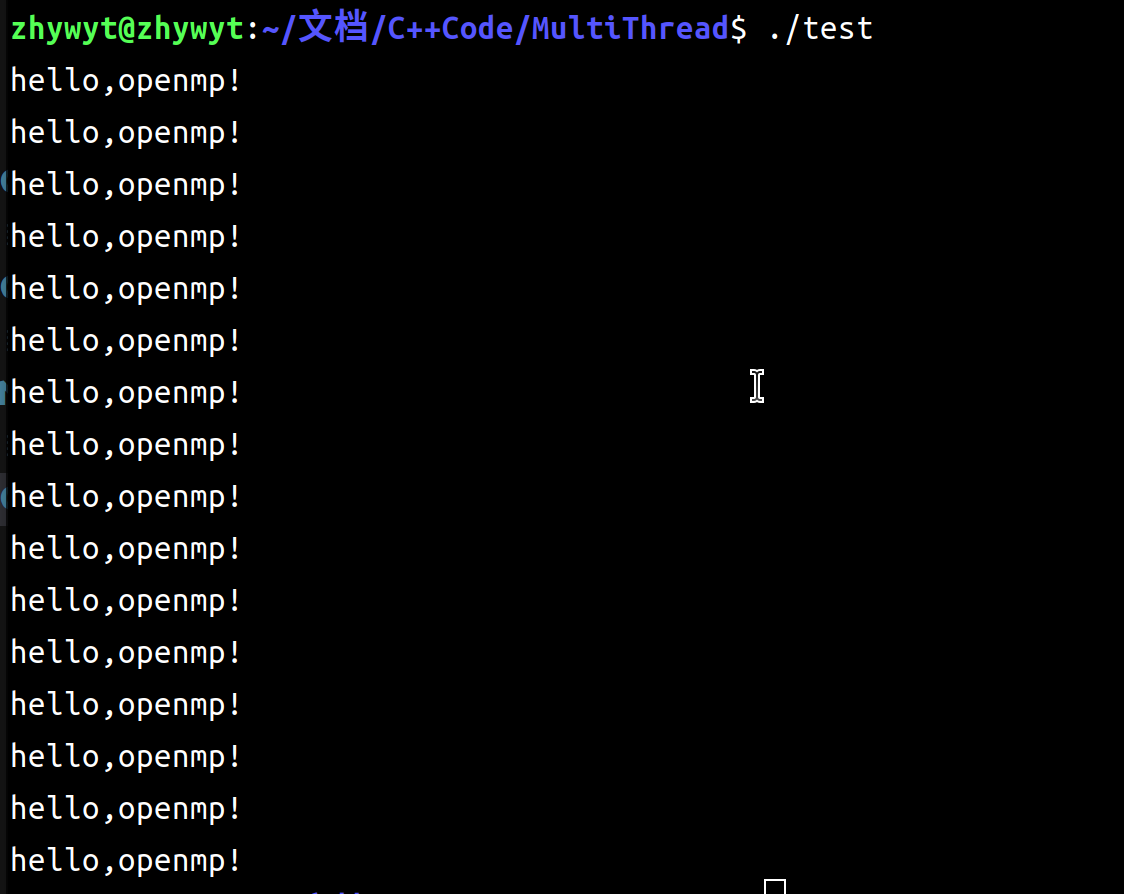
编译运行:
g++ test.cpp -fopenmp -o test
./test
你可能得到的是不同的结果,但应该也只是数量上的不同,这取决于你电脑的核心数目。
我们正式开始
#pragma omp parallel
这个预处理用于开启多线程,上面已经实验过了,这里不进行过多的解释。接下来让我们控制线程的数量:
线程数量
#pragma omp parallel num_threads(2)
#include <iostream>
using std::cout;
using std::endl;
int main()
{
    #pragma omp parallel num_threads(2)
    cout<<"hello,openmp!\n";
    cout.flush();
}
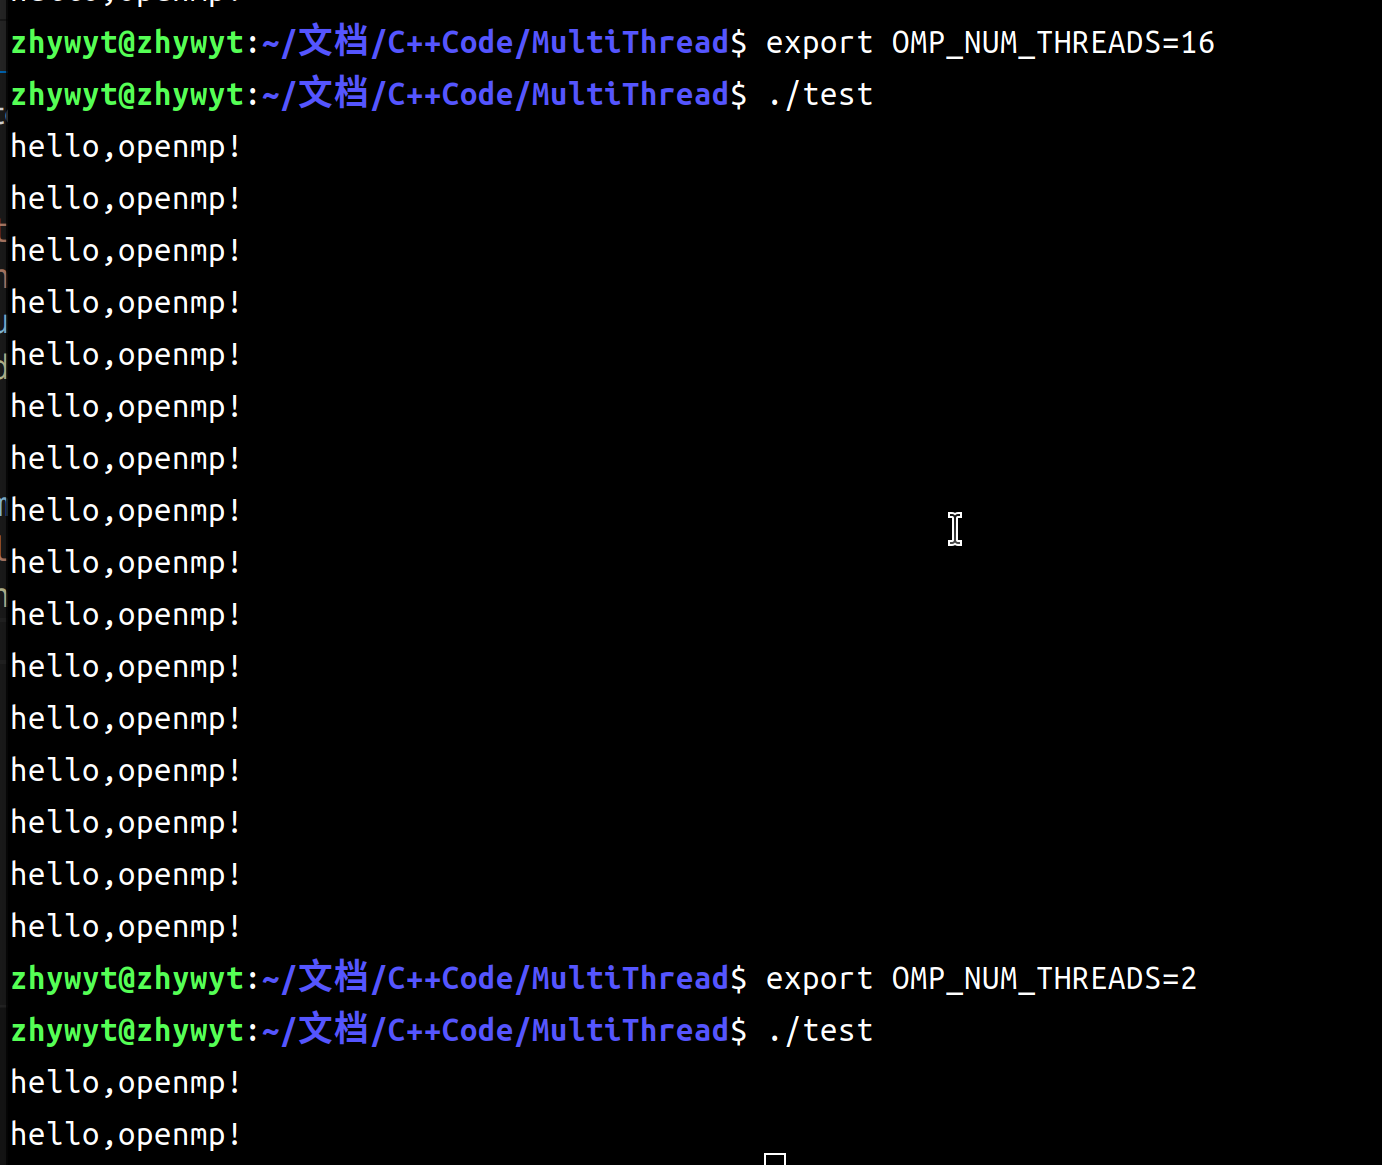
运行这段代码,你可以看到hello 只剩下了两个。
APIomp_set_num_threads()
首先添加头文件#include"omp.h",然后使用APIomp_set_num_threads()
#include <iostream>
#include"omp.h"
using std::cout;
using std::endl;
int main()
{
    omp_set_num_threads(2);
    #pragma omp parallel
    cout<<"hello,openmp!\n";
    cout.flush();
}
可以得到和上面一样的结果。
环境变量OMP_NUM_THREADS
在编译之前,加上这句修改环境变量的指令,就可以实现运行前,编译后修改线程数量了。
export OMP_NUM_THREADS=2
在此之前,把你的测试代码修改为这样:并重新编译,然后你便可以控制你的线程数量了
#include <iostream>
#include"omp.h"
using std::cout;
using std::endl;
int main()
{
    #pragma omp parallel
    cout<<"hello,openmp!\n";
    cout.flush();
}
加速for循环
#omp pragma parallel for
#include <iostream>
#include <chrono>
#include "omp.h"
using std::cout;
using std::endl;
int main()
{
    long long sum = 0;
    auto start = std::chrono::system_clock::now();
    #pragma omp parallel reduction(+:sum)
    #pragma omp for
    for (int i = 3; i < 500000; i++)
    {
        bool flag = true;
        for (int j = 2; j < i; j++)
        {
            if (i % j == 0)
            {
                flag = false;
                break;
            }
        }
        if (flag)
            sum += i;
    }
    auto end = std::chrono::system_clock::now();
    cout<<std::chrono::duration_cast<std::chrono::microseconds>(end-start).count()<<endl;
    cout << "sum: " << sum << endl;
    cout.flush();
}
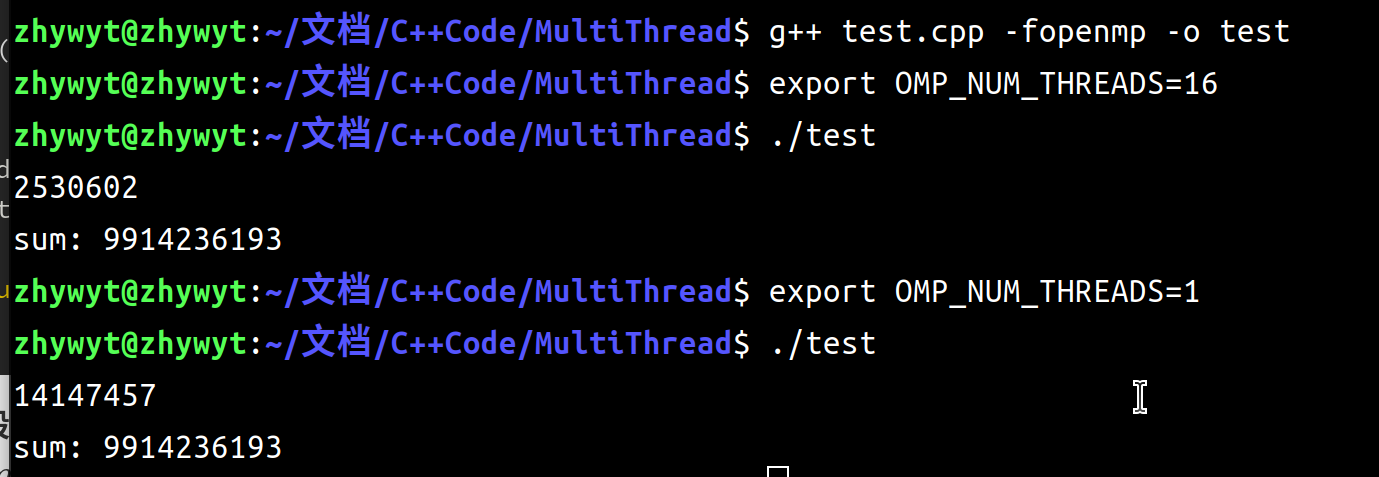
我随便写了一段,来对比多线程与单线程的差距:图中第一个是16线程跑出来的\(2530ms\),也就是2.5s,第二个是单线程,\(14147ms\),也就是14.1s接近7倍的差距,没有16倍的速度是很正常的,我这个测试程序写的非常随意。只是单纯的说明加速情况而已。当然,答案是一样的。
上面代码中还出现了reduction(+:sum)这样的指令,这是我们接下来要讲的东西。
规约操作
使用reduction()来制定规约操作
reduction(<operator>: <variable list>)
这个指令可以让所有线程的结果通过规约合并在一起,比如上面程序的+:sum,就是每个线程分别计算sum,再累加在一起。
本文参考
本文来自博客园,作者:zhywyt,转载请注明原文链接:https://www.cnblogs.com/zhywyt/p/17599676.html

 浙公网安备 33010602011771号