2、thymeleaf-Springboot环境搭建
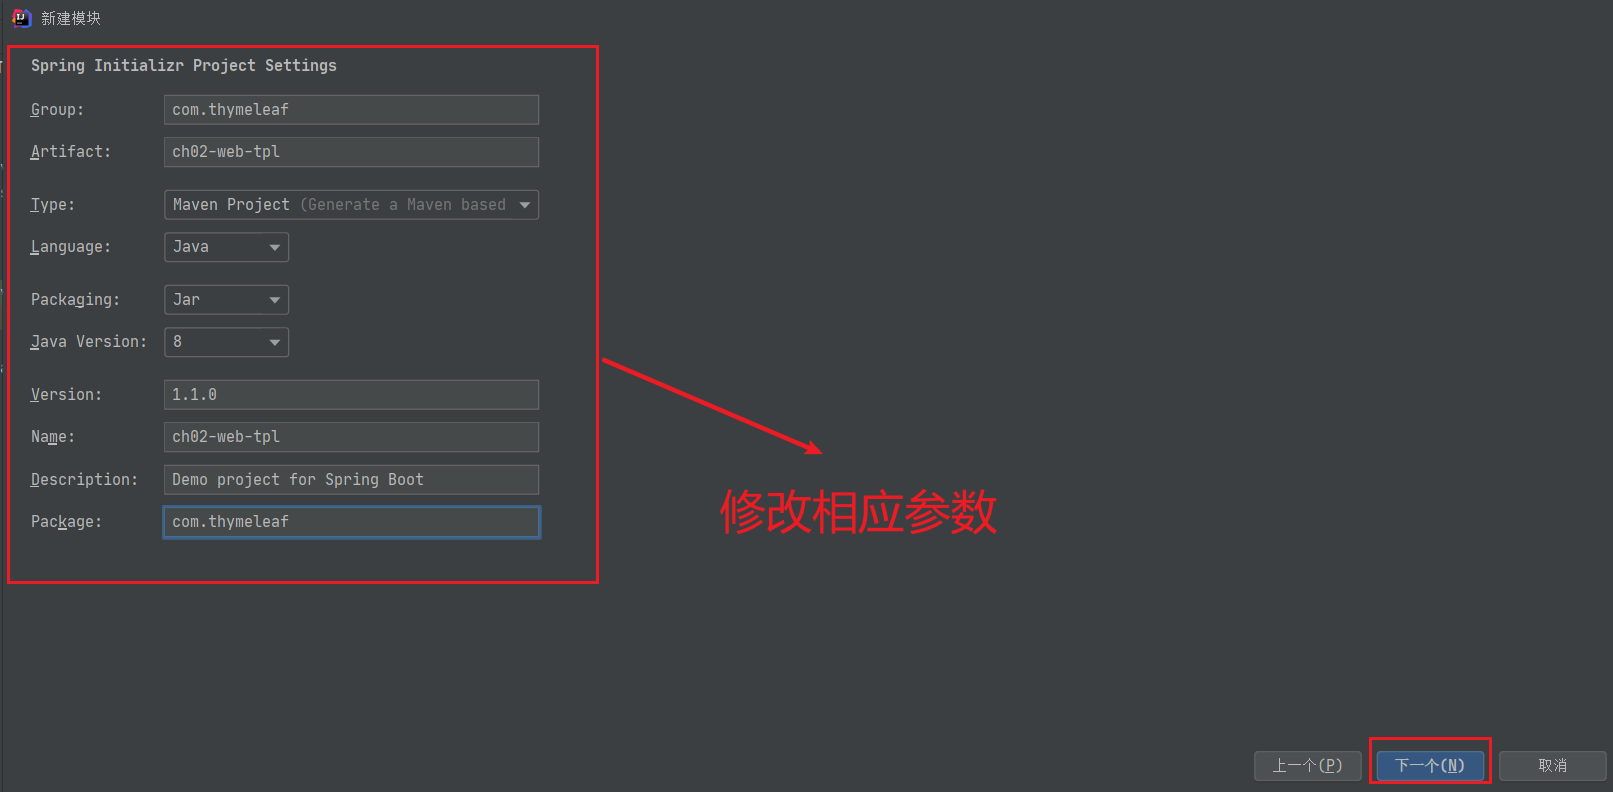
1、创建SpringBoot项目

修改相应的参数
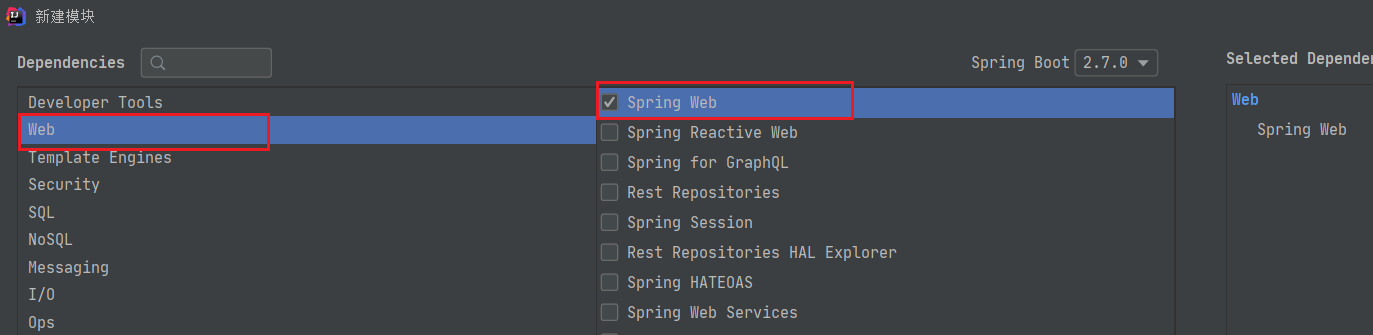
选择web,选择SpringWeb
模板引擎选择Thymeleaf
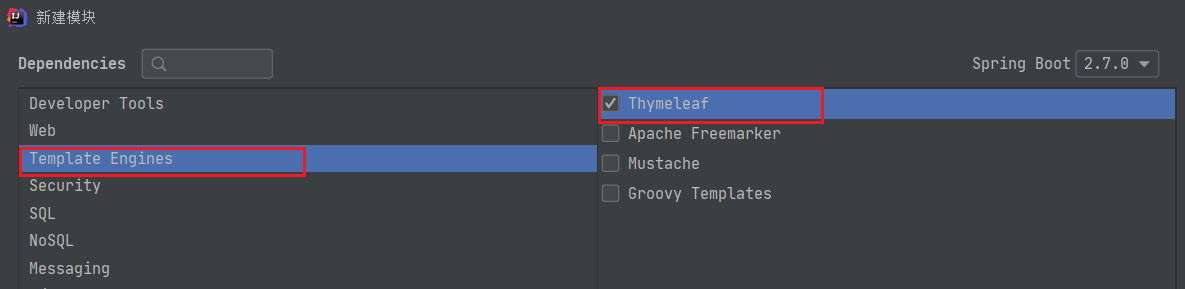
点击下一步之后完成即可
完成后会自动帮我们新建很多文件,其中在application.properties中我们需要进行一些配置(有些版本创建时已配置)

# 应用名称
spring.application.name=ch02-web-tpl
# 应用服务 WEB 访问端口
server.port=8080
# THYMELEAF (ThymeleafAutoConfiguration)
# 开启模板缓存(默认值: true )
spring.thymeleaf.cache=true
# 检查模板是否存在,然后再呈现
spring.thymeleaf.check-template=true
# 检查模板位置是否正确(默认值 :true )
spring.thymeleaf.check-template-location=true
#Content-Type 的值(默认值: text/html )
spring.thymeleaf.content-type=text/html
# 开启 MVC Thymeleaf 视图解析(默认值: true )
spring.thymeleaf.enabled=true
# 模板编码
spring.thymeleaf.encoding=UTF-8
# 要被排除在解析之外的视图名称列表,⽤逗号分隔
spring.thymeleaf.excluded-view-names=
# 要运⽤于模板之上的模板模式。另⻅ StandardTemplate-ModeHandlers( 默认值: HTML5)
spring.thymeleaf.mode=HTML5
# 在构建 URL 时添加到视图名称前的前缀(默认值: classpath:/templates/ )
spring.thymeleaf.prefix=classpath:/templates/
# 在构建 URL 时添加到视图名称后的后缀(默认值: .html )
spring.thymeleaf.suffix=.html
2、在Springboot项目中创建网页
在templates目录当中新建一个html文件(上面的配置中配置了前缀和后缀)
<!DOCTYPE html>
<html lang="en">
<head>
    <meta charset="UTF-8">
    <title>第一个Springboot的Thymeleaf</title>
</head>
<body>
    <p th:text="${name}"></p><!--th:text用于显示文本,把name的数据显示在标签体内-->
</body>
</html>
新建一个controller类用于传递数据到网页中
package com.thymeleaf.ch02webtpl.controller;

import org.springframework.stereotype.Controller;
import org.springframework.ui.Model;
import org.springframework.web.bind.annotation.RequestMapping;

@Controller
public class HelloController {
    /*
        参数Model 可以存放数据,放入到request作用域当中
        返回值String:表示视图
     */
    @RequestMapping("/hello")   //访问hello这个地址,就会返回index.html
    public String hello(Model model){//这里使用的是Model,就是将数据放到request作用域,亦可以使用HttpServletRequest
        //public String hello(Model model,HttpServletRequest request){
        //添加数据
        model.addAttribute("name","张三");
//        request.addAttribute("name","张三");
        //指定模板视图
        return "index"; //在application中已经设置前缀和后缀,这里只需要提供文件名称即可
    }
}


【推荐】国内首个AI IDE,深度理解中文开发场景,立即下载体验Trae
【推荐】编程新体验,更懂你的AI,立即体验豆包MarsCode编程助手
【推荐】抖音旗下AI助手豆包,你的智能百科全书,全免费不限次数
【推荐】轻量又高性能的 SSH 工具 IShell:AI 加持,快人一步
· AI与.NET技术实操系列:基于图像分类模型对图像进行分类
· go语言实现终端里的倒计时
· 如何编写易于单元测试的代码
· 10年+ .NET Coder 心语,封装的思维:从隐藏、稳定开始理解其本质意义
· .NET Core 中如何实现缓存的预热?
· 分享一个免费、快速、无限量使用的满血 DeepSeek R1 模型,支持深度思考和联网搜索!
· 25岁的心里话
· 基于 Docker 搭建 FRP 内网穿透开源项目(很简单哒)
· ollama系列01:轻松3步本地部署deepseek,普通电脑可用
· 按钮权限的设计及实现