金蝶中间件AAS创建域-AAS域管理
应用服务器域的管理包括创建域,删除域,创建域模板三部分。当您安装 Apusic 应用服务器后,可
以在%APUSIC_HOME%/bin 下发现一个 config.cmd(非 Windows 下为 config)的命令,使用该命令能够完
成应用服务器域的全部管理功能:
创建域:为该应用服务器创建一个域空间,来实现在一份 Apusic 应用服务器中运行多个实例;
删除域:为该服务器删除一个不需要的域空间;
创建域模板:创建一个域模板文件,用于在构建域的时候指定合适的模板。
方式一:
**金蝶默提供创建域的工具:/AAS/tools/create-domain.sh **
命令:
./create-domain.sh -n zhbdomain -p 6999


创建成功!!!!
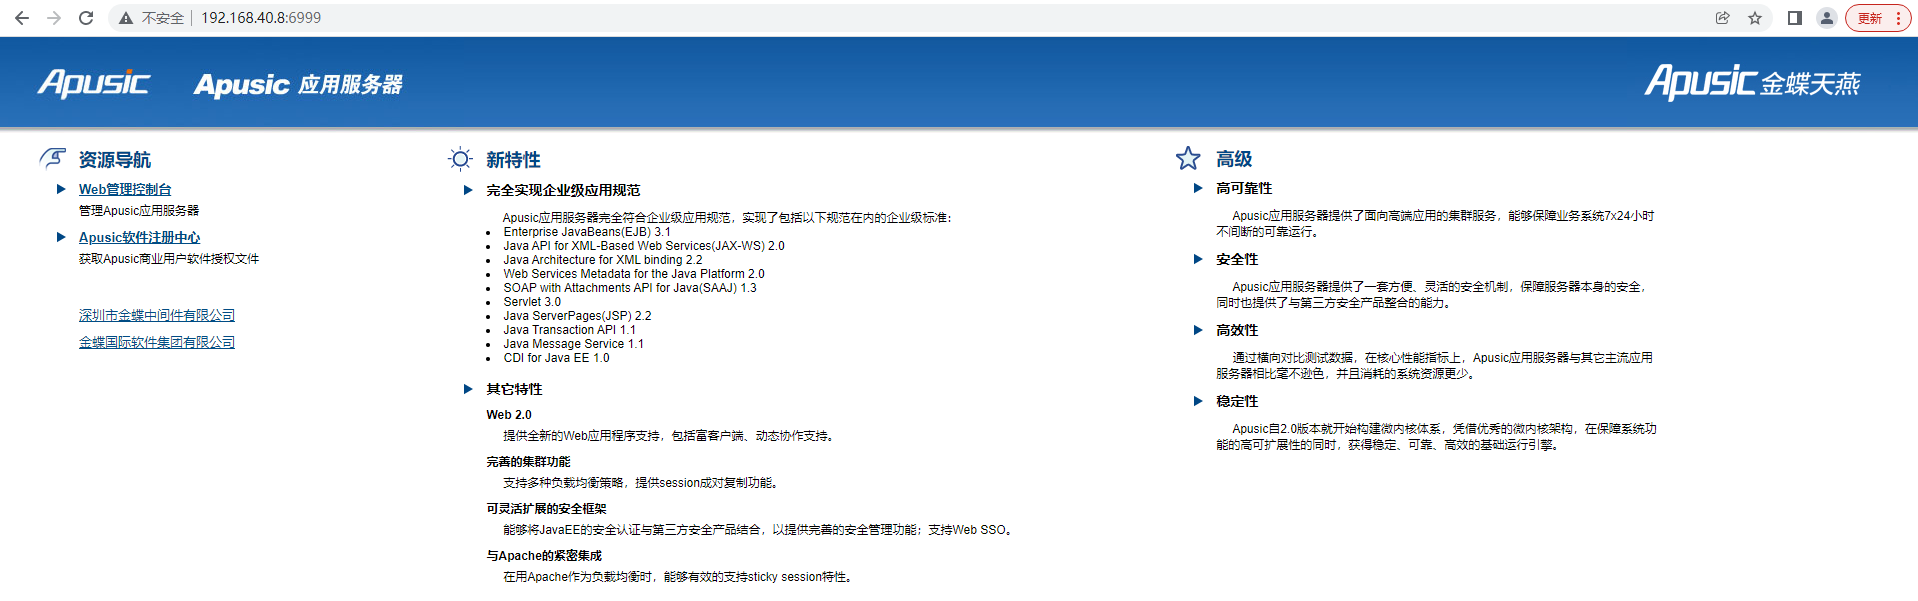
访问地址:hostname:6999/admin
方式二:比较慢,本人不使用,更不喜欢使用这种方式!!!!
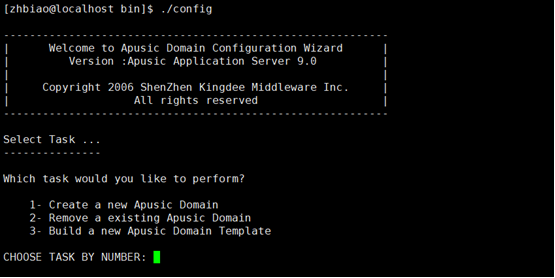
./config
第二步:
第三步:

第四步:

等等等
根据提示一步一步往下走。
管理页面:http://hostname:6888/admin
Windows创建域
`C:\Users\AAS-V9.0_2019-1-7\bin>config.cmd
Using APUSIC_ENDORSED_DIRS: C:\Users\AAS-V9.0_2019-1-7\lib\endorsed
| 欢迎进入Apusic域配置向导 |
| 版本 :Apusic Application Server 9.0 |
| |
| 深圳市金蝶中间件有限公司 |
| 版权所有 |
|---|
选择任务 ...
您希望执行下面的哪一个任务?
1- 创建一个新的Apusic域
2- 删除一个现有的Apusic域
3- 构建一个新的Apusic域模板
请选择相应的数字: 1
欢迎进入域创建向导中心
该向导将会帮助您创建一个全新的Apusic域,同时也会在您的计算机上创建一些相关文件和需要的目录.
按
选择域来源 ...
选择将要创建的域的来源.您能够指定一个域模板来创建域,也可以不使用域模板创建域.
->1- 选择系统默认模板
2- 选择自定义模板
请选择相应的数字,或按
选择系统默认模板 ...
标准模板与集群模板的区别是: 基于集群模板创建的domain拥有集群服务。
->1- 标准
2- 集群
请选择相应的数字,或按
域配置 ...
您想在哪一位置安装该域?
默认位置 = C:\Users\AAS-V9.0_2019-1-7\domains
请输入一个绝对路径,或按
安装路径:
请为该域输入一个有效的名称,域名称是该域的有效标识.
已存在的域名称:
1- mydomain
域名称: sqh
服务器配置 ...
设置服务器监听端口
默认端口 = 6888
请输入您的服务器监听端口,按
监听端口 : 8888
设置服务器SSL安全监听端口
默认端口 = 6889
请输入您的服务器SSL安全监听端口,按
SSL监听端口 : 7888
高级选项配置 ...
这里将会帮助您继续进行数据源配置,J2EE应用程序配置.
默认选择 = 否
请选择,或按
是否希望配置一些高级选项? (Y|N):
请稍后...
..................................................................................................................................................................................
您所选择的任务成功执行完毕.
Linux创建域zhbiao@localhost:/usr/local/aas/bin# ./config
| Welcome to Apusic Domain Configuration Wizard |
| Version :Apusic Application Server 9.0 |
| |
| Copyright 2006 ShenZhen Kingdee Middleware Inc. |
| All rights reserved |
|---|
Select Task ...
Which task would you like to perform?
1- Create a new Apusic Domain 创建一个新域
2- Remove a existing Apusic Domain
3- Build a new Apusic Domain Template
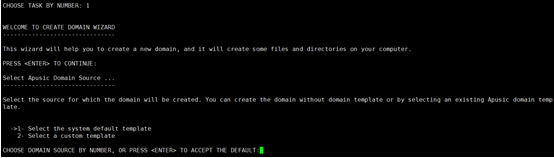
CHOOSE TASK BY NUMBER: 1
WELCOME TO CREATE DOMAIN WIZARD 欢迎来到创建域向导
This wizard will help you to create a new domain, and it will create some files and directories on your computer.
PRESS
Select Apusic Domain Source ... 选择Apusic域来源
Select the source for which the domain will be created. You can create the domain without domain template or by selecting an existing Apusic domain template.
->1- Select the system default template 选择系统默认模板
2- Select a custom template
CHOOSE DOMAIN SOURCE BY NUMBER, OR PRESS
Select The System Default Template ...
The difference between Standard Edition template and Cluster Edition template is that Cluster Edition is a cluster enable domain template.
->1- Standard Template 标准模板
2- Cluster Template
CHOOSE DEFAULT TEMPLATE BY NUMBER, OR PRESS
Apusic Domain Configuration ...
Where would you like to install the domain?
Defalut location = /usr/local/aas/domains
ENTER AN ABSOLUTE PATH, OR PRESS
Domain Location:
Enter the name for the domain,the name is a valid identity of the domain.
Domain names already exists:
1- mydomain
2- samples
Domain Name: screenshot
Apusic Server Configuration ...
Set up the server listening port 设置该域监听端口 HTTP
default port = 6888 Apusic默认使用6888
Please enter your server listening port,PRESS
Listen Port : 4444
Set up the server security listening port HTTPS端口
default port = 6889
Please enter your server security listening port,PRESS
SSL Listen Port : 5555
Apusic Advanced Options Configuration ...
Here will help you to to continue the data source configuration, J2EE application configuration.
Default value = NO
ENTER YOUR CHOOSE, OR PRESS
Do you want to define advanced options? (Y|N): n
Please wait...
...............
The task has been finished successfully.
`
apusic.conf
创建域之后,可以通过修改配置文件APUSIC_HOME/domains/mydomain/config/ apusic.conf来修改端口号
在配置文件中apusic.conf中,关注参数Port和SecurePort、SSLEnabled
本文来自博客园,作者:后山人,转载请注明原文链接:https://www.cnblogs.com/zhuhuibiao/p/16627787.html
经营好自己的现在,等待未来向我飞奔而来。