VuePress教程
下面全部操作都基于 VuePress 1.X
[1] VuePress初体验
创建一个文件夹,博主就创建”VuePress“
进入VuePress目录
执行下面命令
yarn init # npm init
# 安装VuePress
yarn add -D vuepress # npm install -D vuepress
在package.json文件中添加:
{
  "scripts": {
    "docs:dev": "vuepress dev docs",
    "docs:build": "vuepress build docs"
  }
}
创建目录docs 即在VuePress > docs
启动
yarn docs:dev # npm run docs:dev
访问:http://localhost:8080/ ,发现什么都没有
创建文件 README.md 目录,即在 VuePress > docs > README.md
# 哈哈
再执行 yarn docs:dev 命令,访问 http://localhost:8080/ ,发现就有了

以上均来自官网:https://vuepress.vuejs.org/zh/guide/getting-started.html
再将 VuePress > docs > README.md 修改好看点
---
home: true
heroImage: /hero.png
heroText: Hero 标题
tagline: Hero 副标题
actionText: 快速上手 →
actionLink: /zh/guide/
features:
- title: 简洁至上
  details: 以 Markdown 为中心的项目结构,以最少的配置帮助你专注于写作。
- title: Vue驱动
  details: 享受 Vue + webpack 的开发体验,在 Markdown 中使用 Vue 组件,同时可以使用 Vue 来开发自定义主题。
- title: 高性能
  details: VuePress 为每个页面预渲染生成静态的 HTML,同时在页面被加载的时候,将作为 SPA 运行。
footer: MIT Licensed | Copyright © 2018-present Evan You
---
想要以下效果?
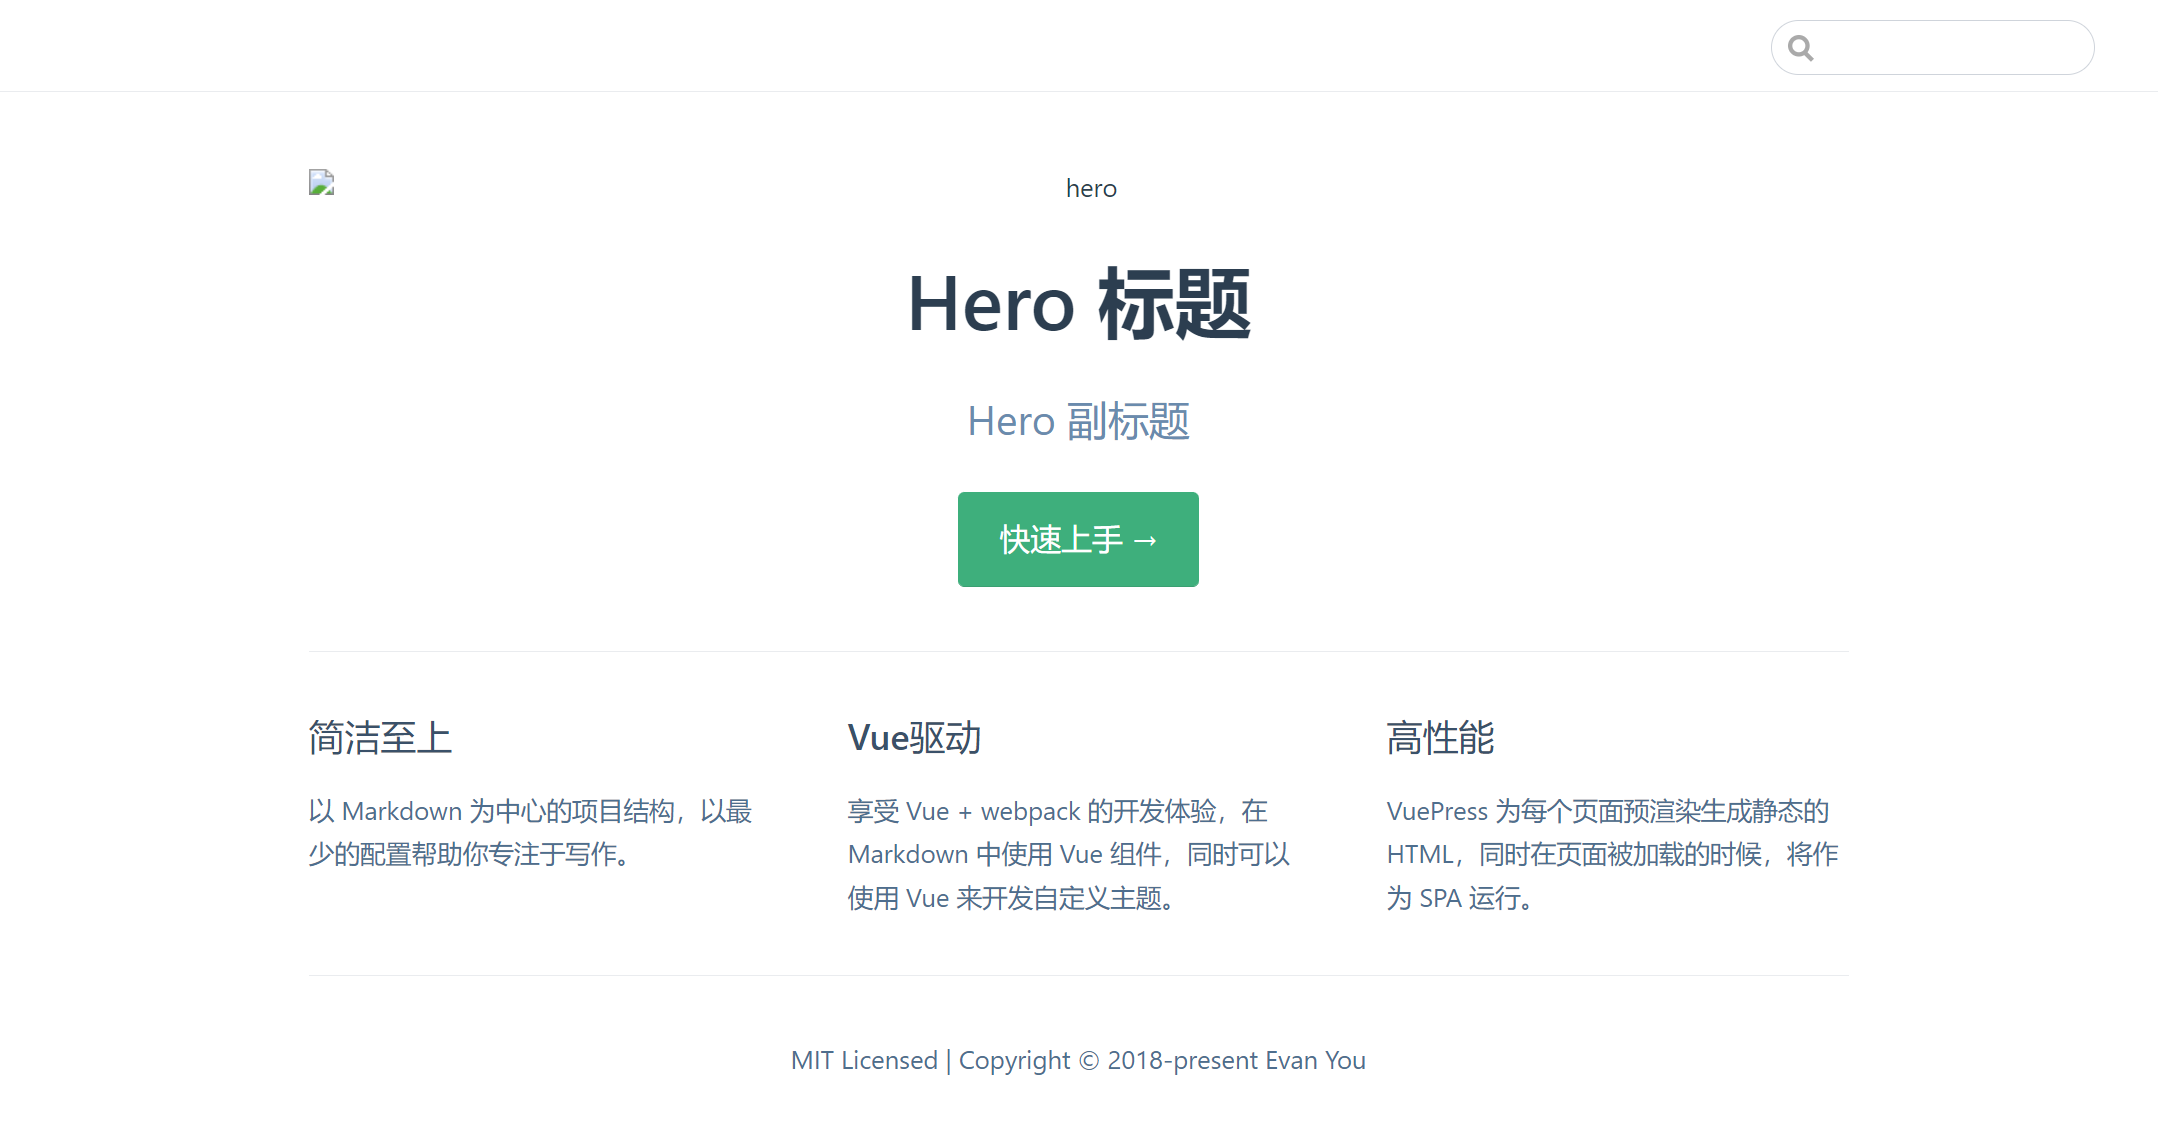
上面图片有问题,没事,往下看。
[2] 导航栏配置
下面使用的是默认主题 https://vuepress.vuejs.org/zh/theme/default-theme-config.html#首页
我们先创建几个文件夹文件来放静态文件与配置文件。
创建文件(目录也要创建) VuePress > .vuepress > public > imgs > logo.png (logo图片,随便找个)
创建文件 VuePress > .vuepress > public > config.js
module.exports = {
  // 应用于标签名与下图的左上角名
  title: "肥小猪",
  description: "肥小猪的笔记",
  themeConfig: {
    logo: '/imgs/logo.png'
  }
}
编辑 VuePress > docs > README.md
...
heroImage: /imgs/logo.png
...
重新启动,就有:

正式开始设置导航栏项
创建目录文件 VuePress > docs > note > Js.md
## Js

### 变量
### 函数
配置导航栏 , 配置VuePress > .vuepress > public > config.js 文件 添加内容
module.exports = {
  themeConfig: {
    nav: [
      { text: 'Js', link: '/note/Js.html' },
      { text: 'Guide', link: '/note/' },
      { text: 'External', link: 'https://google.com' },
    ]
  }

}
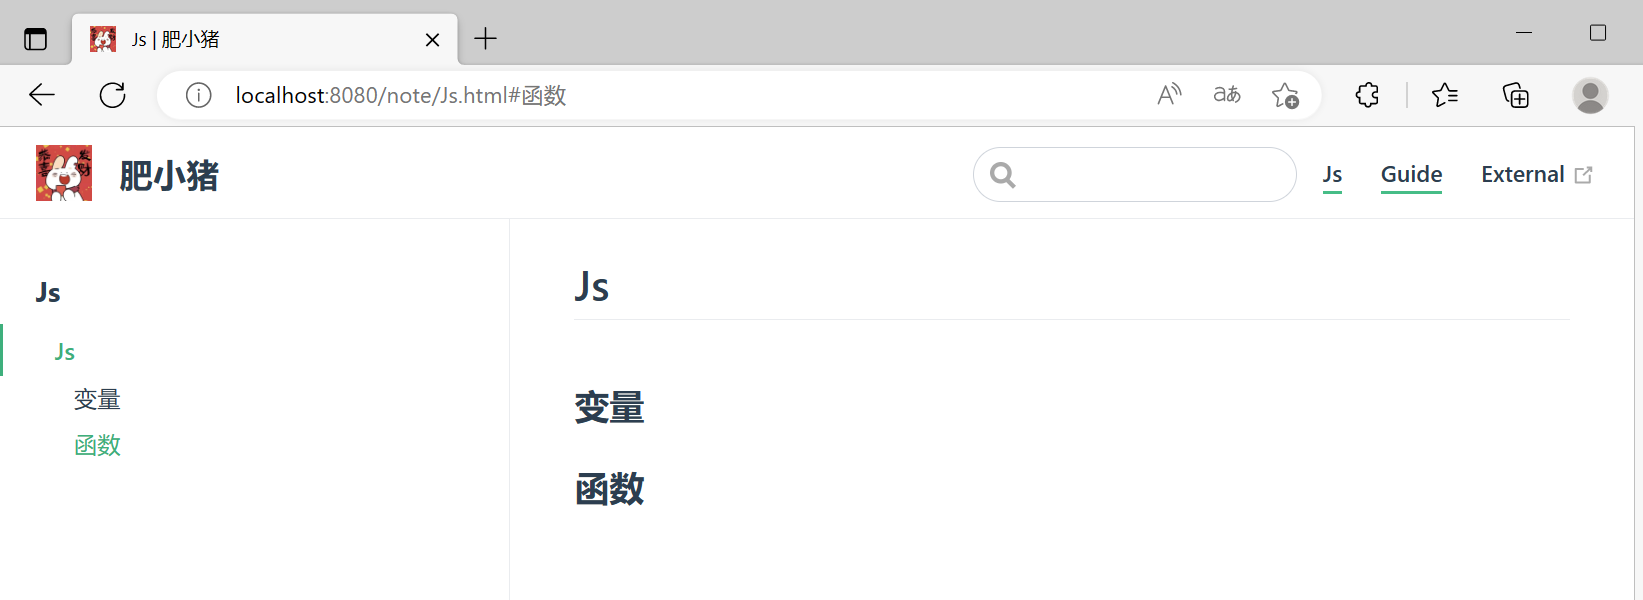
重新启动,访问:http://localhost:8080/

发现右上角就有东西了。你可以点Js 内容就是刚写的Js.md的内容。
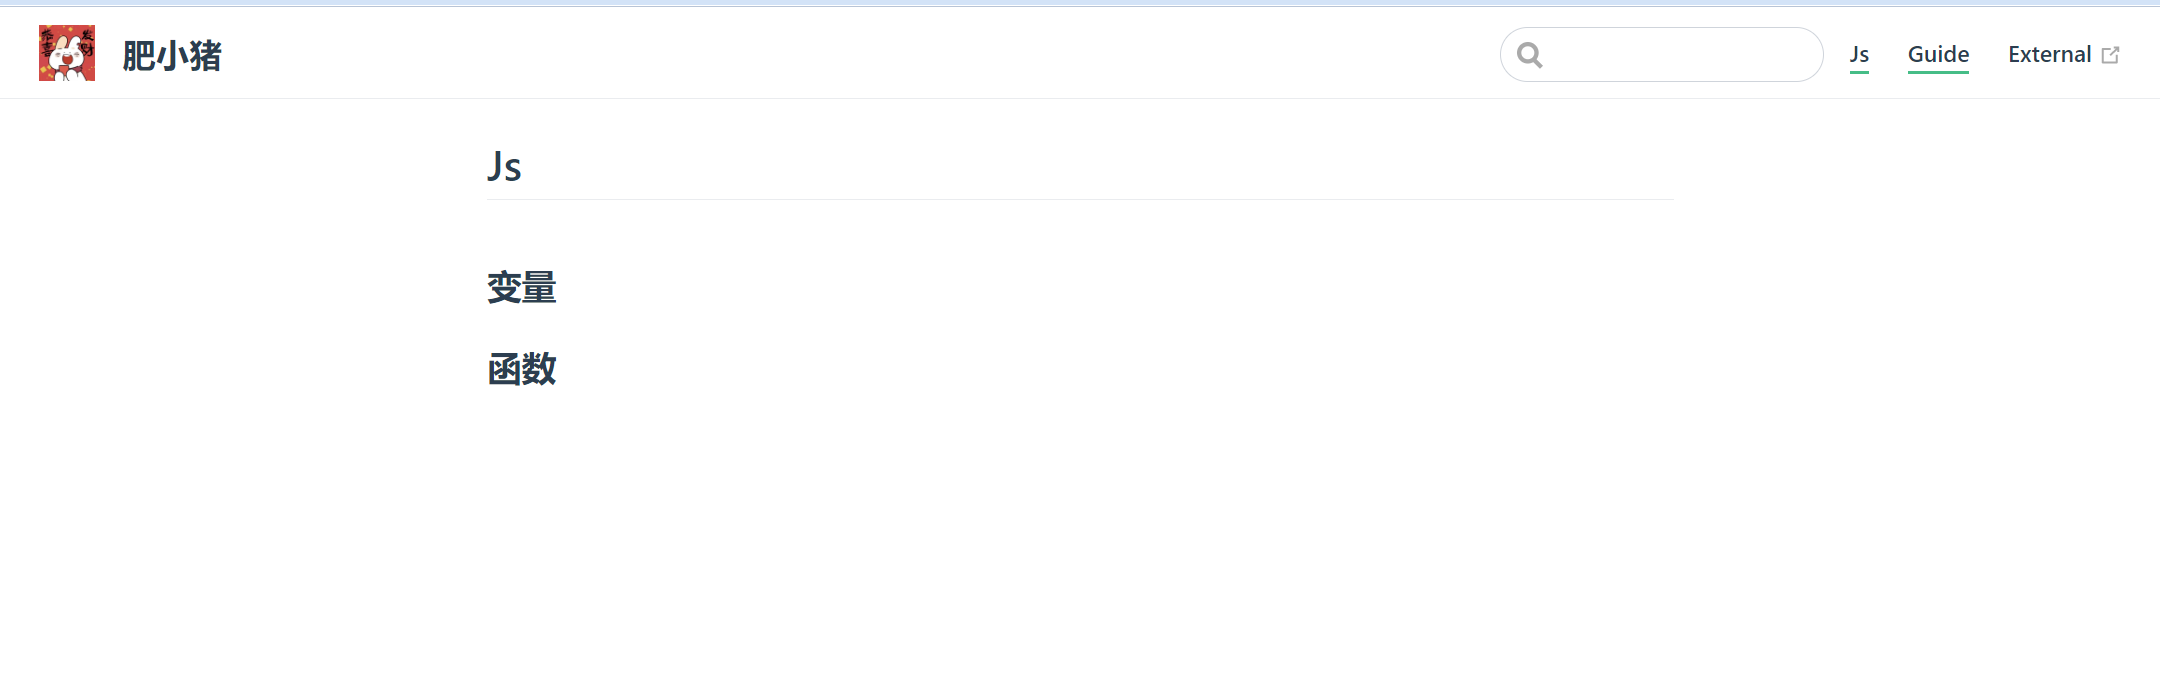
但有一个点,我们上面写的"Js"、"变量"、"函数"都是标题,并没有标题导航。
下面就来讲讲这个
[3] 侧边栏配置
向 VuePress > .vuepress > public > config.js 文件追加内容:
module.exports = {
  themeConfig: {
    sidebar: 'auto'
  }
}
这样,就会给我们在侧边生成文档的标题导航了,重启,再访问:
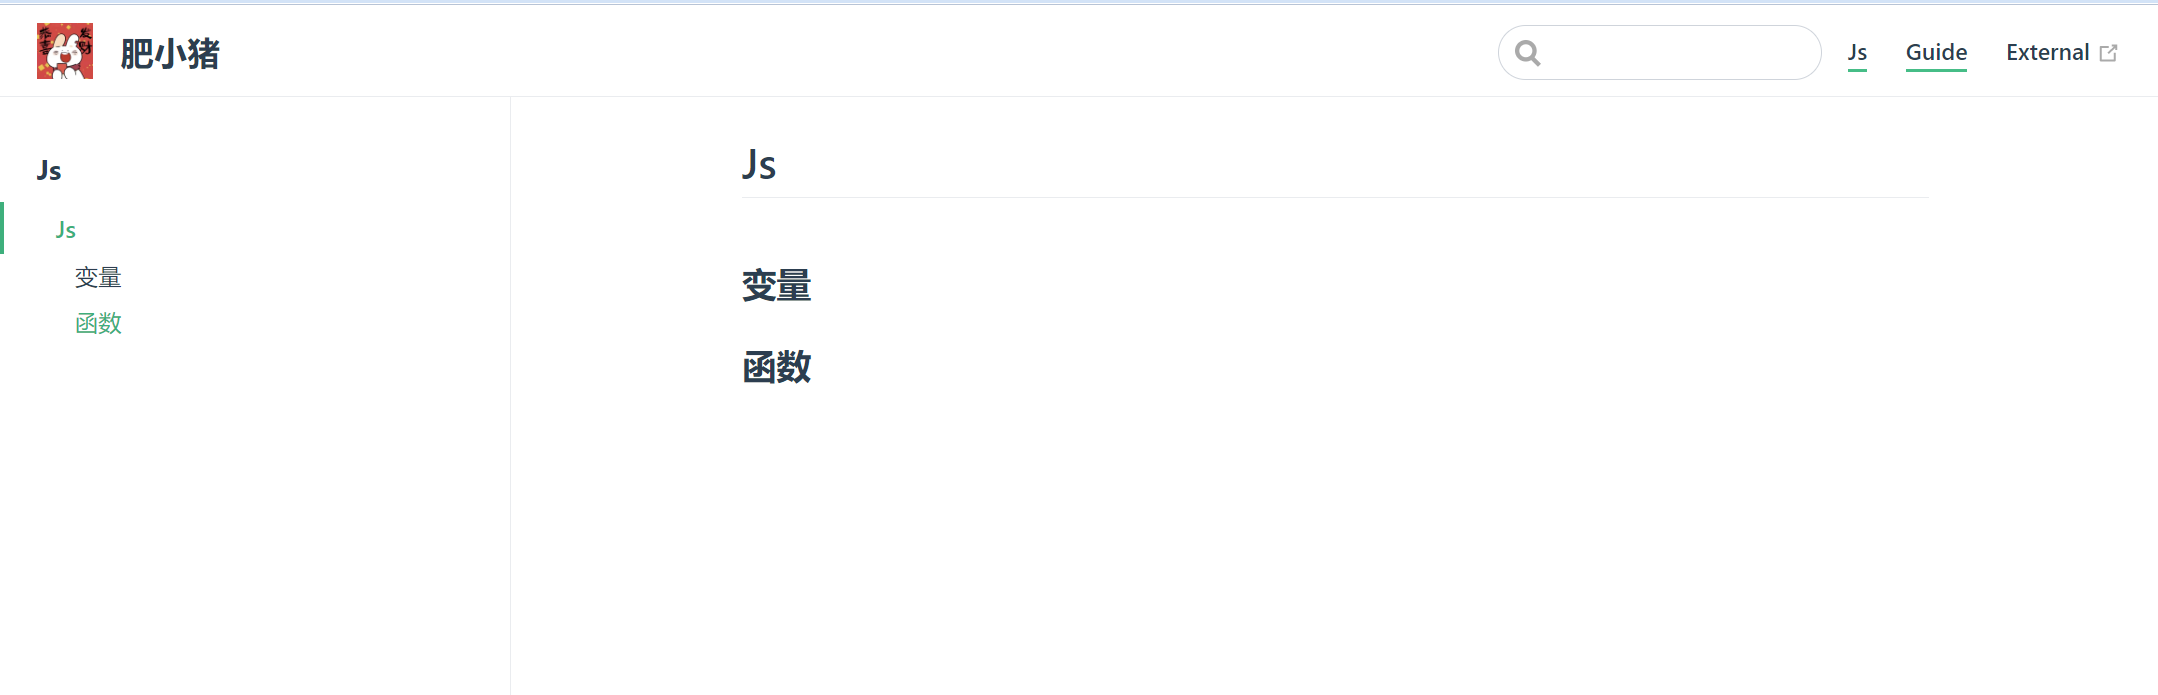
我们还有一个问题 , 不知道发现没有
标签的图标还没有,下面我们就配置这块
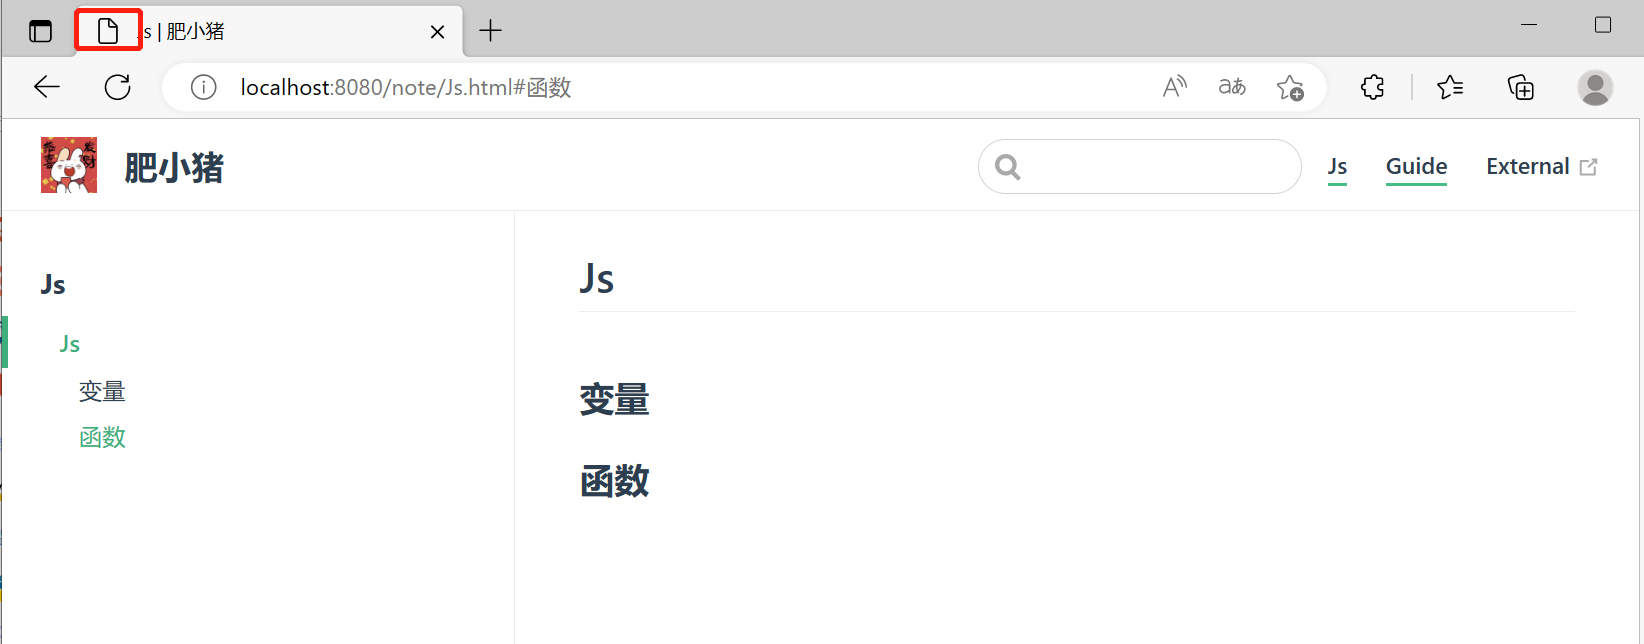
[4] 网站LOGO与SEO 信息
准备一个favicon.ico图片文件 路径为 : VuePress → docs → .vuepress → public → favicon.ico
编辑 VuePress > .vuepress > public > config.js ,追加以下信息
module.exports = {
  head: [
    ['link', { rel: 'icon', href: '/favicon.ico' }],
    ['meta', { name: 'author', content: '肥小猪' }],
    ['meta', { name: 'keywords', content: '肥小猪博客 肥小猪' }]
  ]
}
重启启动,网站标签上就有logo
上面主要讲解的内容是官网:https://vuepress.vuejs.org/zh/theme/default-theme-config.html#首页
如果每一个笔记页都有一个更新时候,是挺好的,下面就来做这件事
[5] 更新时间插件
因为更新时间是用git的提交时间来定的,所以我们需要
创建文件 VuePress > .gitignore文件:
文件过长,这里直接给出链接 https://raw.githubusercontent.com/18476305640/typora/master/images/2022/12/30/.gitignore
然后初始化git ,然后提交:
# 初始化
git init
git add .
# 提交
git commit -m 'init'
编辑 VuePress > .vuepress > public > config.js ,追加以下信息
module.exports = {
themeConfig: {
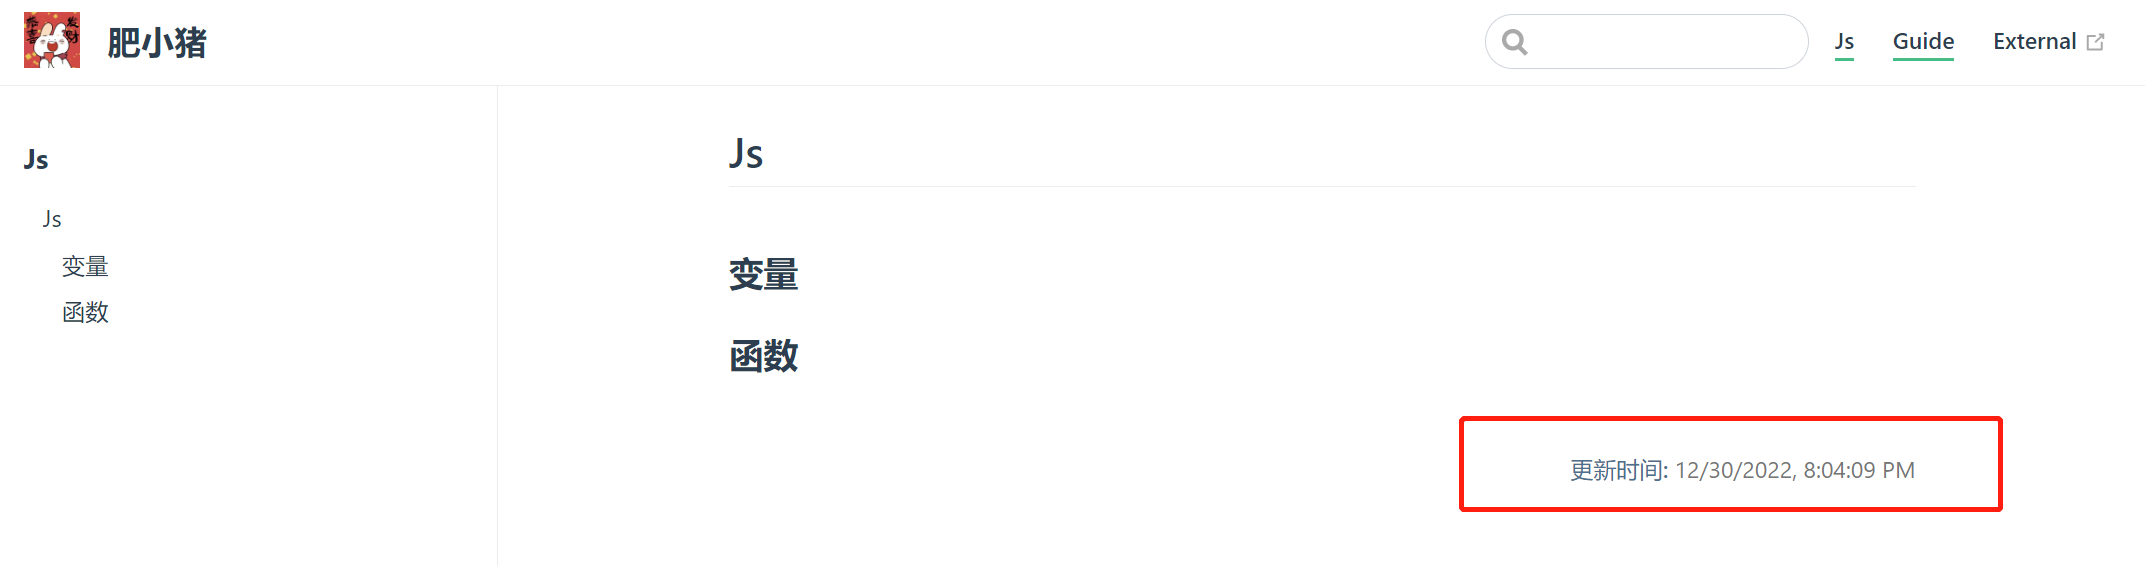
lastUpdated: "更新时间"
}
}
重启,再访问:
下面进行自定义显示时间格式
安装 moment
yarn add -D moment
编辑 VuePress > .vuepress > public > config.js ,追加以下信息
const moment = require('moment');
module.exports = {
  plugins: [
    [
    '@vuepress/last-updated',
      {
        transformer: (timestamp, lang) => {
          // 不要忘了安装 moment
          const moment = require('moment')
          moment.locale("zh-cn")
          return moment(timestamp).format("LLLL")
        }
      }
    ]
  ]
}
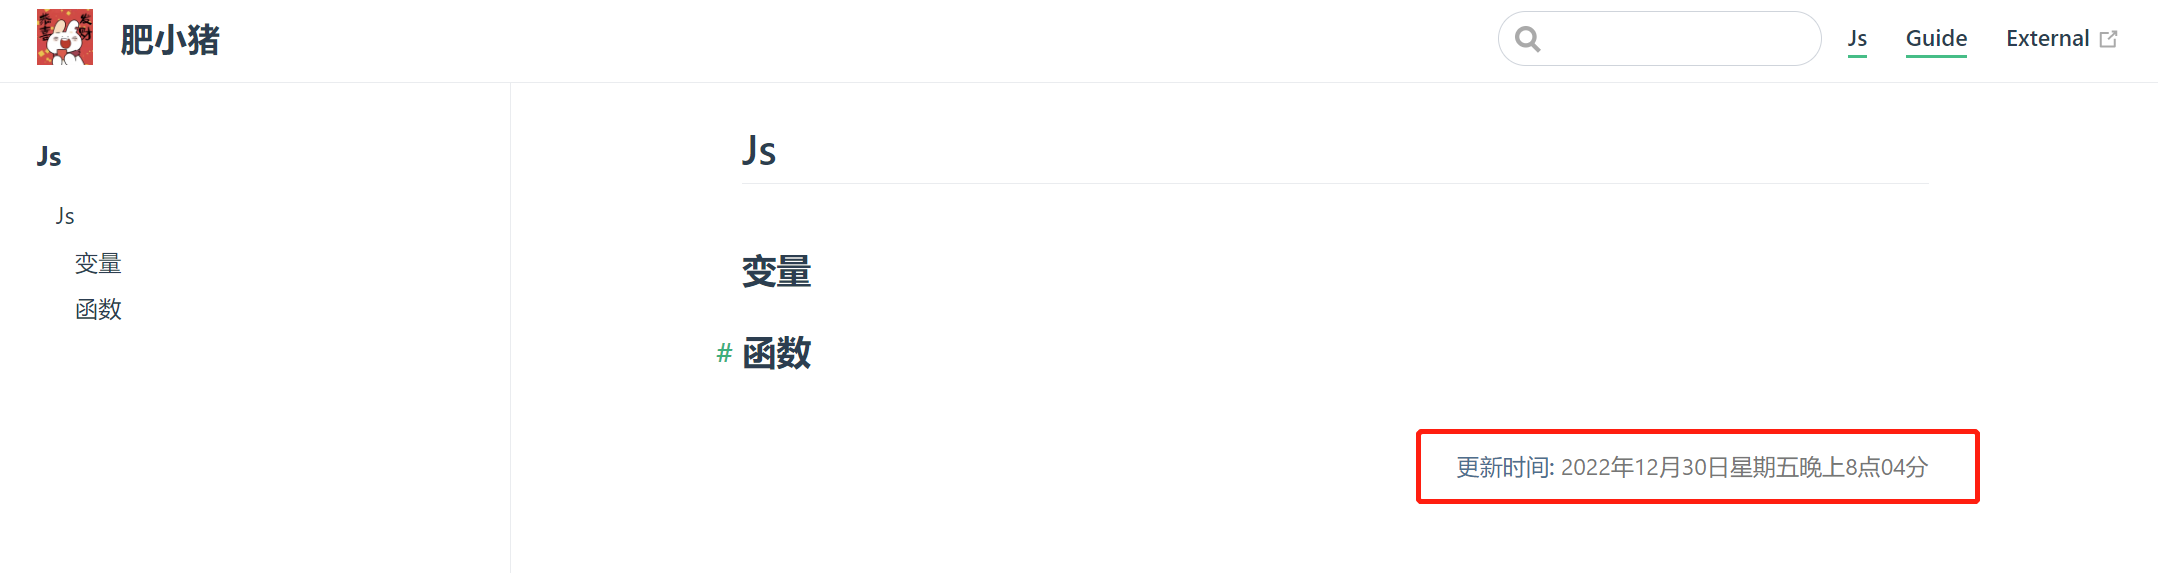
想查看为什么是"LLLL",请转看:http://momentjs.cn/docs/#/displaying/
重启,再访问
到这里我们就已经做的差不多了,现在就需要放到github.io 这里别人就可以访问到了
[6] 部署到github.io
创建一个仓库
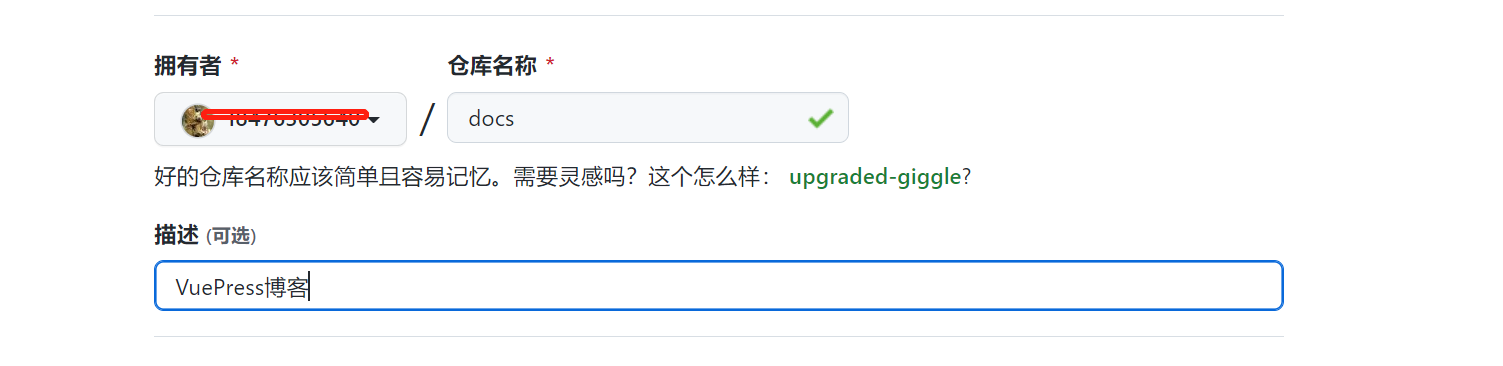
得到仓库的ssh链接:git@github.com:18476305640/docs.git
在VuePress目录下cmd
git remote add origin git@github.com:18476305640/docs.git
创建文件 VuePress → deploy.sh 文件
#!/usr/bin/env sh

# 确保脚本抛出遇到的错误
set -e

# 生成静态文件
npm run docs:build

# 进入生成的文件夹
cd docs/.vuepress/dist

# 如果是发布到自定义域名
# echo 'www.example.com' > CNAME

git init
git add -A
git commit -m 'deploy'

# 如果发布到 https://<USERNAME>.github.io
# git push -f git@github.com:<USERNAME>/<USERNAME>.github.io.git master

# 如果发布到 https://<USERNAME>.github.io/<REPO>
git push -f git@github.com:18476305640/docs.git master:gh-pages

cd -
在VuePress → package.json文件中添加以下配置:
{
  "scripts": {
    "deploy": "bash deploy.sh"
  }
}
注意,之前我们是直接访问的,是没有前缀的,但部署后可能会有前缀如:https://github.com/18476305640/docs/
docs就是前缀,而不是 https://github.com/18476305640 ,所以还需要配置
编辑 VuePress > .vuepress > public > config.js
module.exports = {
   base: "/docs/"
}
然后切换到根目录 ,VuePress/ 目录cmd
yarn deploy
执行完后
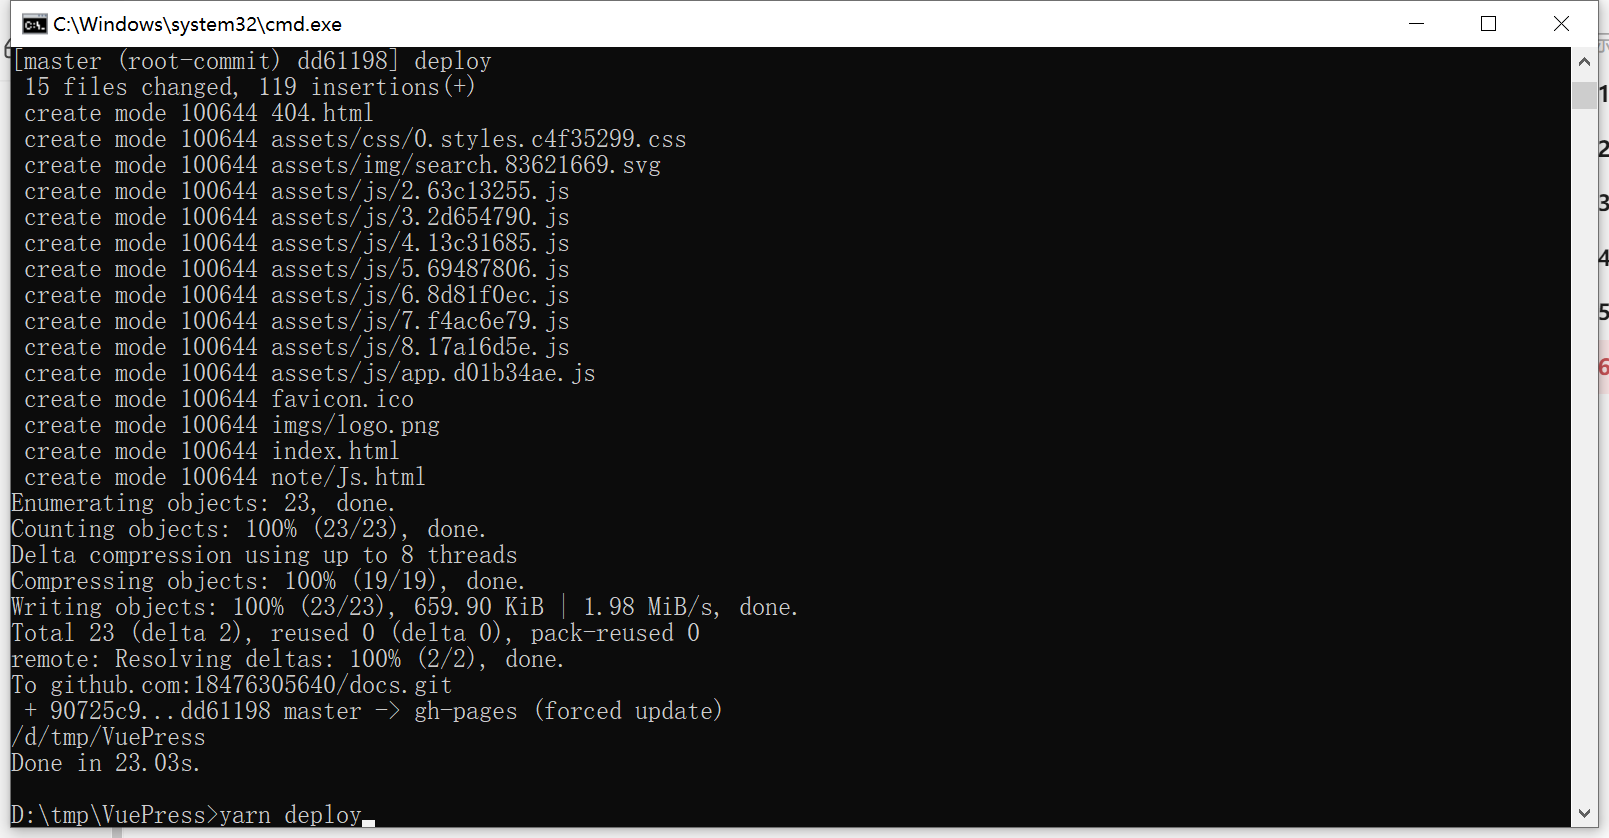
再github上, 是下面这个状态后,我们就可以访问了
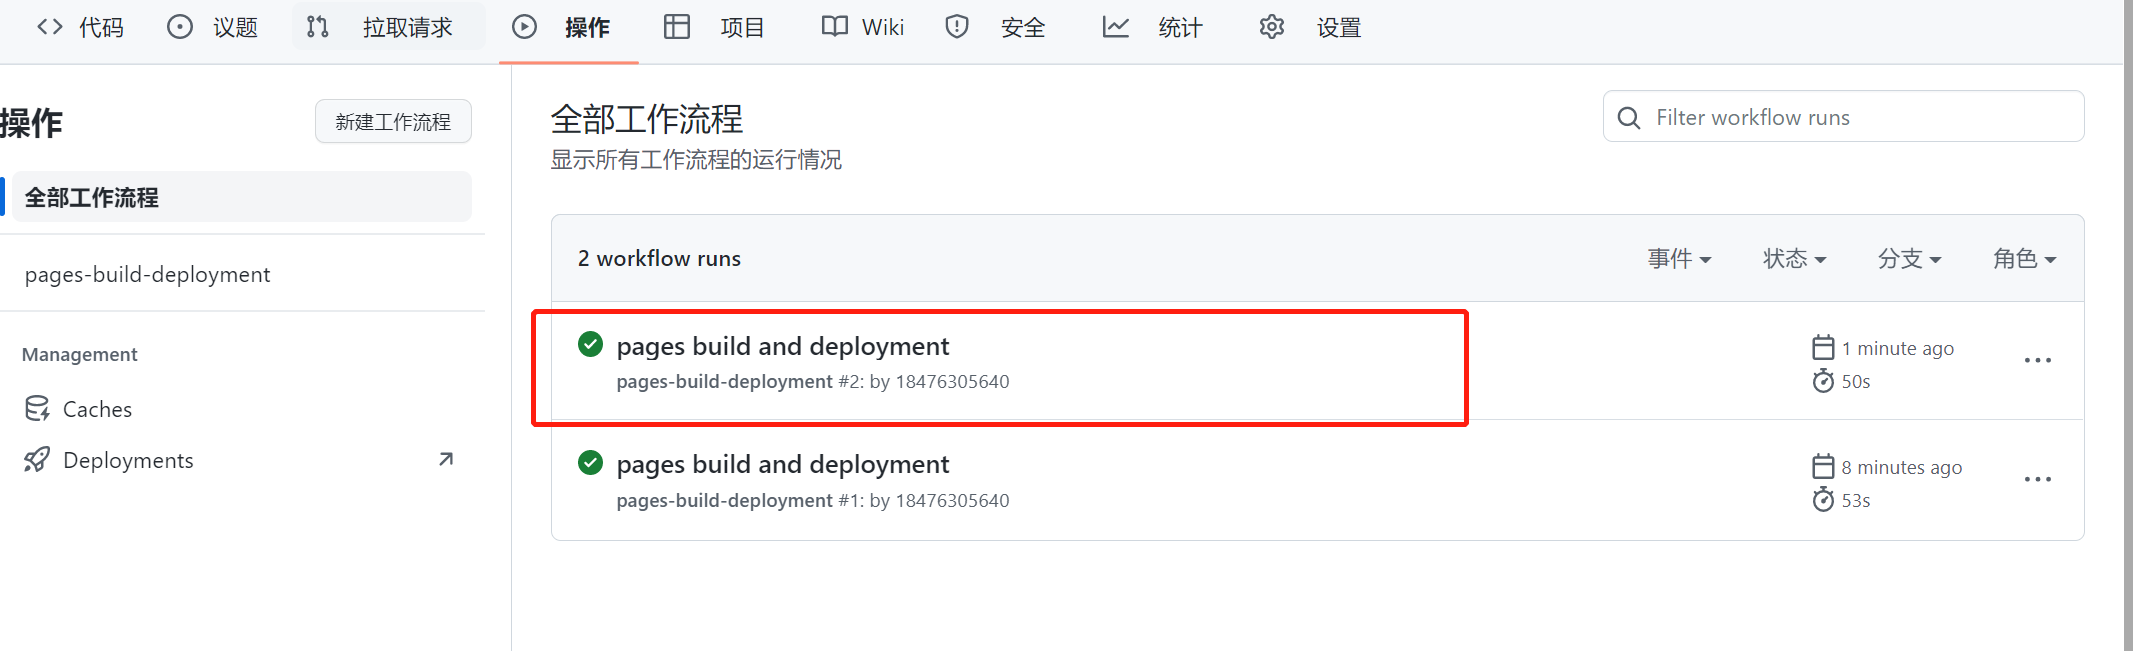
访问: https://<用户名>.github.io/<仓库名>
效果如下:

将VuePress/目录下面的代码上传到github, 切换到VuePres/ 根目录,执行:
git add .
git commit -m 'deploy'
git push origin master
部署的使用的分支在执行部署命令时,就已经创建了,分支名是 gh-pages ,这是由deploy.sh部署脚本决定的。
[7] 自定义域名
假如你设置的自定义域名是 zhuangjie.uplog.top
编辑 VuePress > deploy.sh
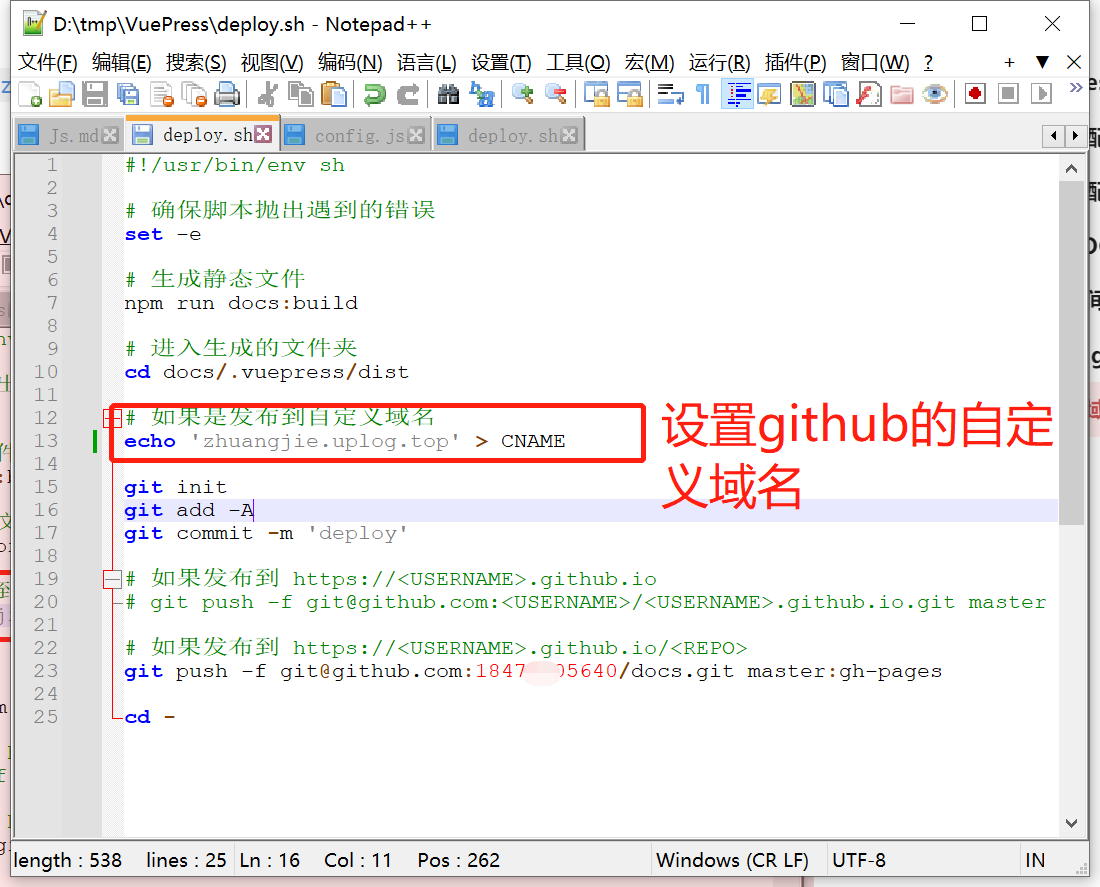
因为到时候访问是没有前缀的,不像之前访问 http://<用户名>.github.io/docs 加 docs 仓库名前缀,自定义后是直接访问 https://zhuangjie.uplog.top ,所以我们需要去掉前缀配置。
编辑 VuePress > .vuepress > public > config.js
去掉 base: "/docs/"
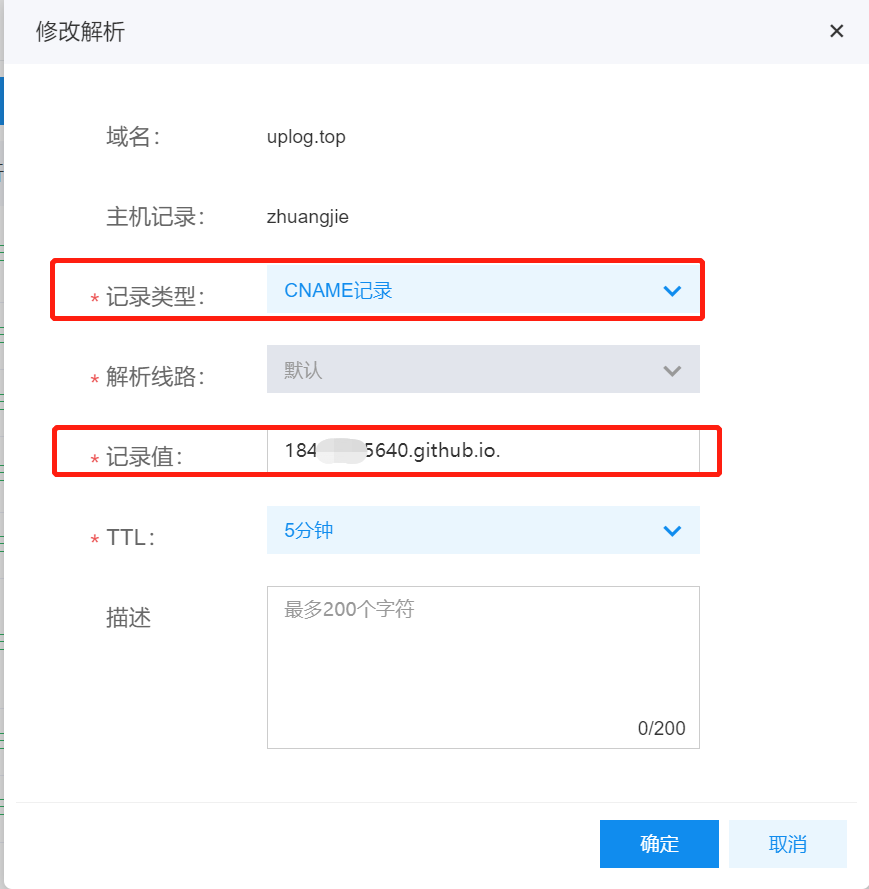
到域名提供商上,添加域名解析记录:
切换到 VuePress/ 目录下,执行部署命令:
yarn deploy
到github仓库的设置上 > Pages > (勾选)强制执行HTTPS
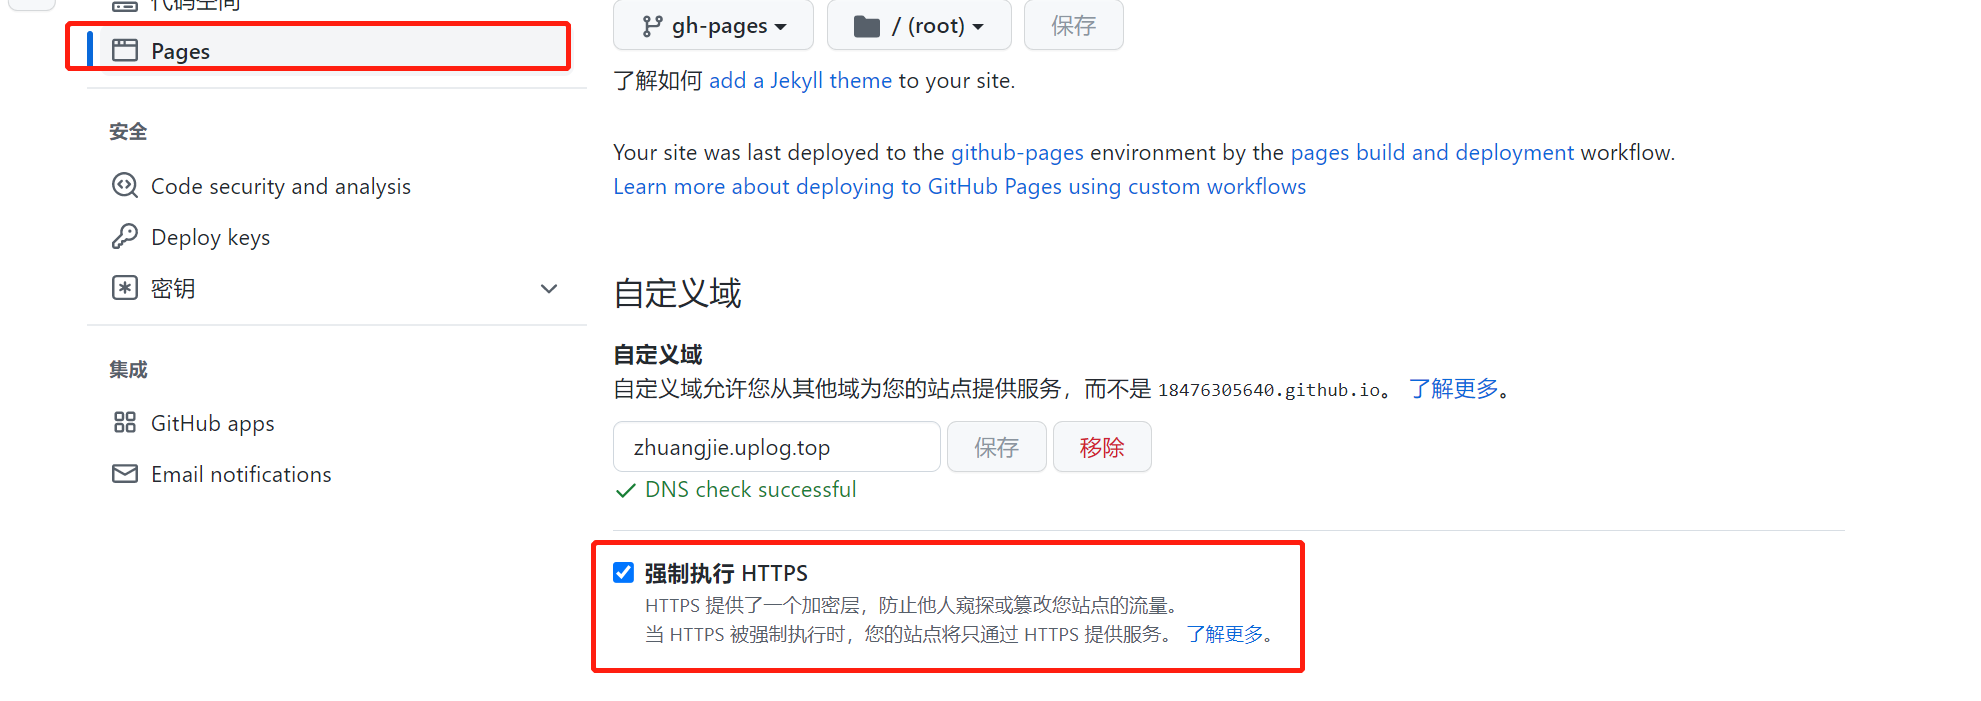
这样等项目部署完成,就可以使用 https://zhuangjie.uplog.top 访问到了。
