如何添加新节点到现有SQL Server高可用集群
Introduction
In the previous articles (see TOC at the bottom), we configured a two-node SQL Server Always On Availability Group. We performed the following steps at a high level.
- Build three Virtual Servers with Windows Server 2016
- SQLNode1 and SQLNode2 acts as failover cluster nodes
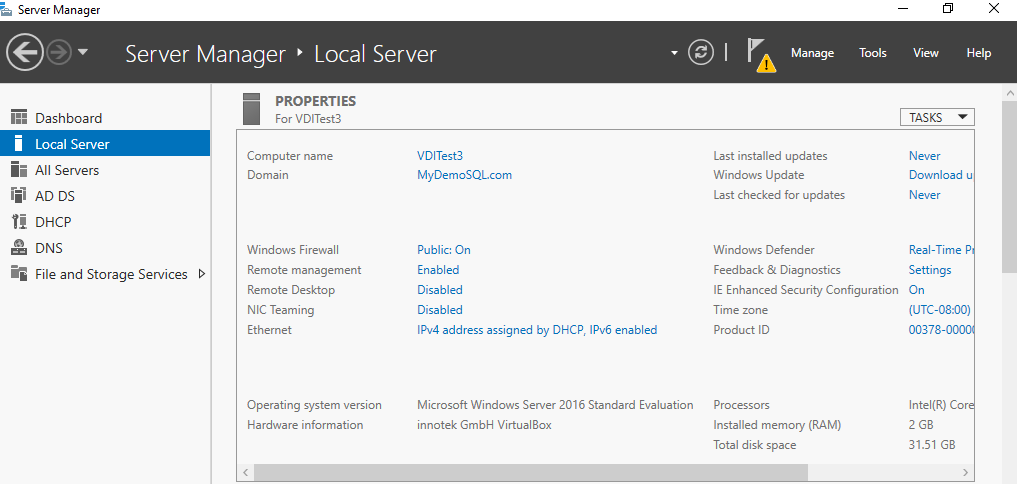
- VDITest3 works as a domain controller and active directory
- Configured Domain Controller for [MyDemoSQL] domain, Active Directory in Windows Server 2016
- Join SQLNode1 and SQLNode2 into [MyDemoSQL] domain
- Failover Cluster, Quorum and Storage configurations
- SQL Server 2019 installation
- Synchronous mode Always On configurations for SQLNode1 and SQLNode2
Suppose you get a requirement to add a new node in the existing cluster and always on configuration.
In this article, we will learn the steps to add a new node in the existing AG configuration.
- Note: In this article, we will go over the required steps at a high-level. The previous article in this series already covers the things in detail.
Steps to add a new node into existing SQL Server Always On Availability Groups
Server build
Build a new virtual machine in the Oracle VirtualBox. Its configurations should be similar to existing cluster nodes SQLNode1 and SQLNode2. You can follow this article, A comprehensive guide to SQL Server Always On Availability Groups on Windows Server 2016 for reference purposes.
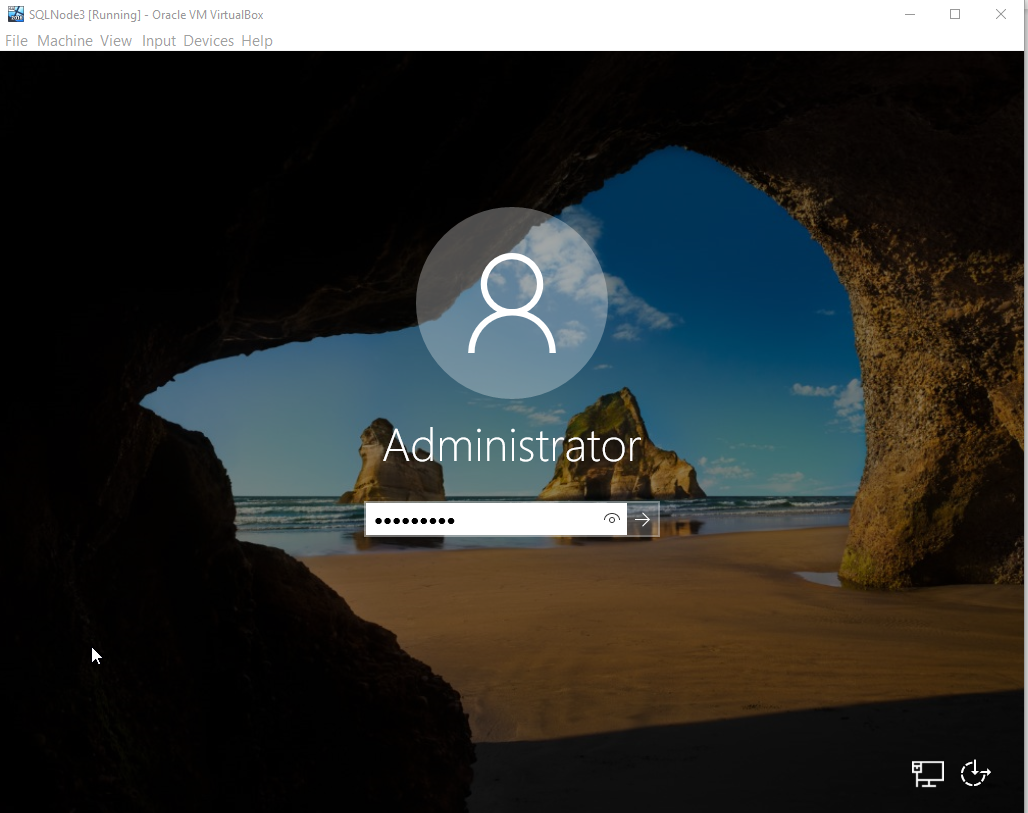
Take an RDP session for the newly created VM and log in using the Administrator account.
Assign static IP address
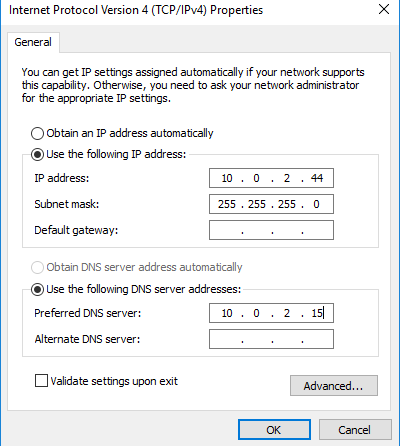
Open the network properties for Ipv4 and assign a static IP, DNS server IP as per your earlier configurations.
- In our case, DNS server IP address is 10.0.2.15
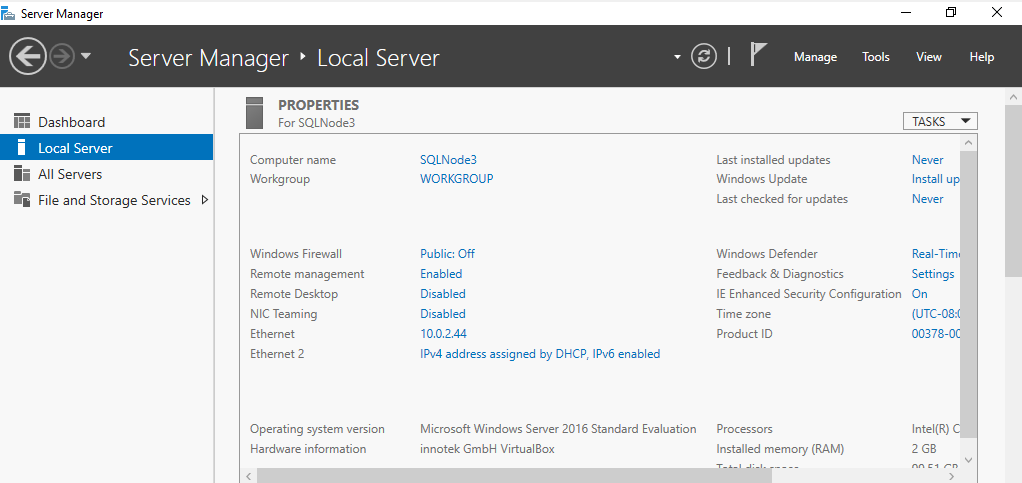
- I assign IP address 10.0.2.44 for the new VM.
You can refer to the article, Configure Domain Controller and Active Directory for SQL Server Always On Availability Groups for static IP assignments.
Turn off the Windows firewall
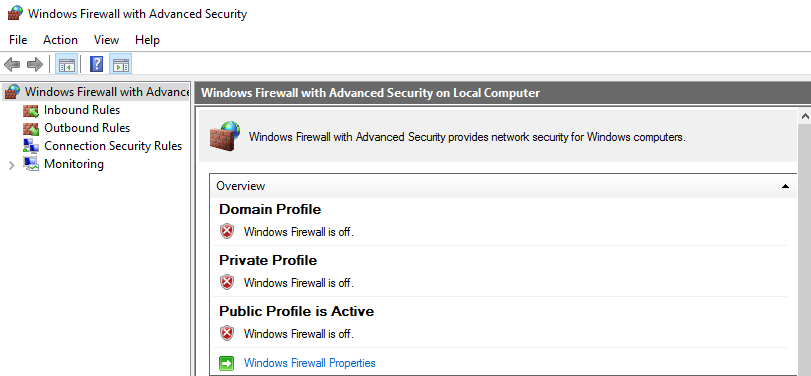
You should turn off firewalls in your new virtual machine. If you use the firewall, you should open the ports for communication with the domain controller and failover cluster nodes.
Hostname and IP Verification
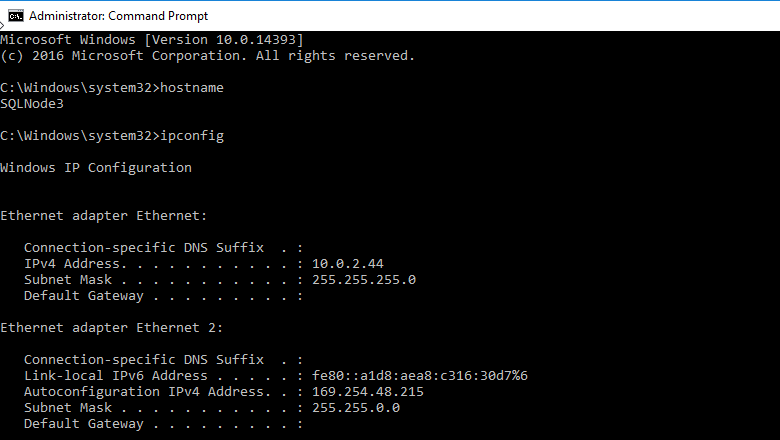
Verify the hostname and IP address for the new VM. You can use the HOSTNAME and IPCONFIG commands for this purpose.
Verify ping response from the SQLNode3 to the Domain Controller IP address.

Add SQLNode3 as a domain member
Add the SQLNode3 as a member of [MyDemoSQL] domain: Open the server manager and click on the workgroup.
In the Computer name/domain changes section, enter the domain name, authenticate with domain admin credentials and restart the system after you get a Welcome message.
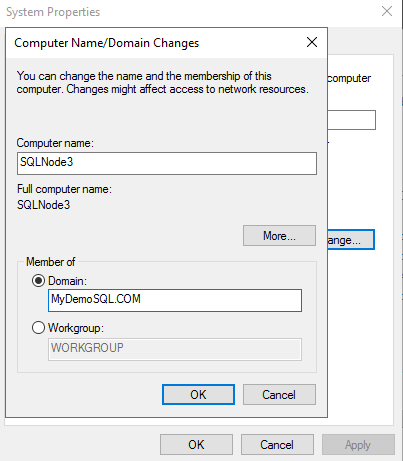
You should log in with the domain credential after a server reboot.
Enable Failover Cluster feature
Enable Failover Clustering from the Add Roles and Features Wizard.
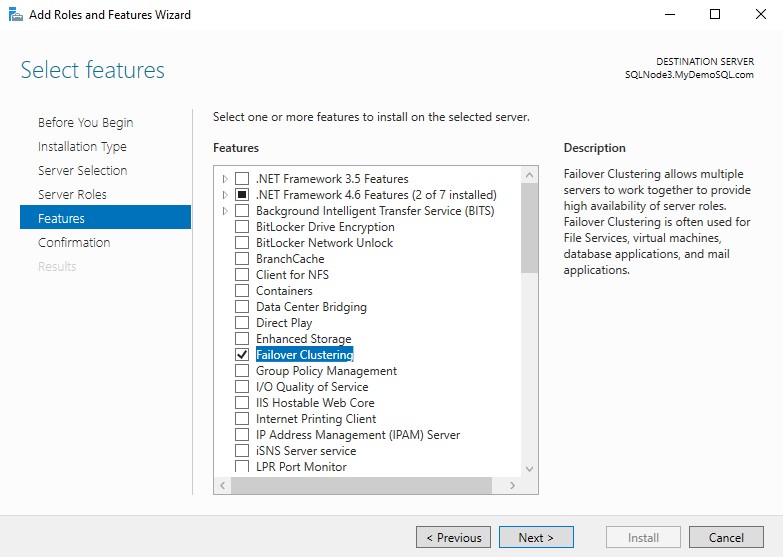
Now, we need to add this new node to the existing cluster. Launch failover cluster manager and click on Add Node.
Add a new node into the existing failover cluster
It opens the Add Node Wizard. You should run a cluster validation to know any existing issues in the cluster.
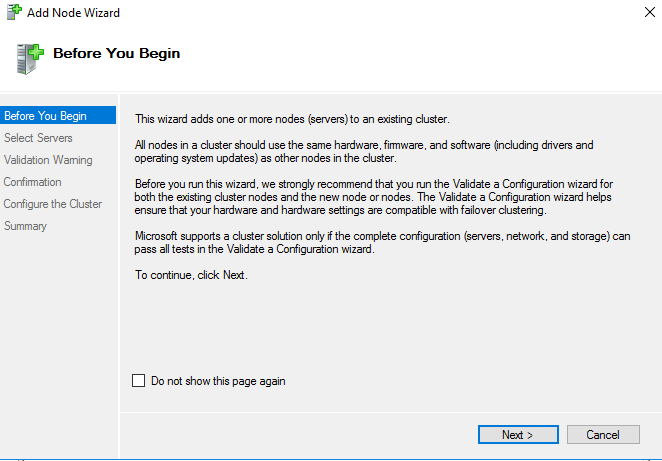
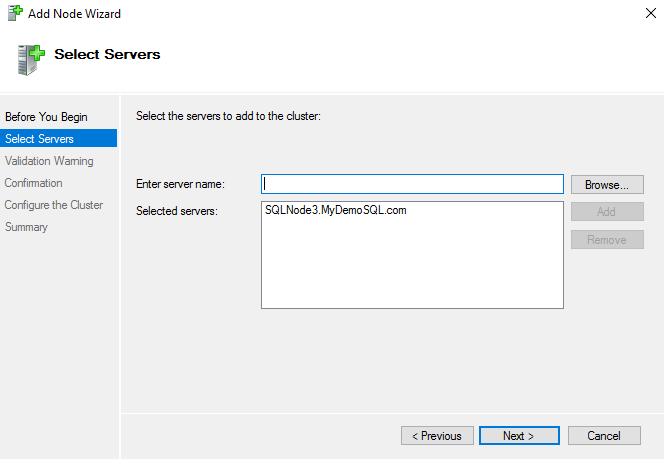
Click Next and enter the hostname of the newly created virtual machine. This server is a member of the domain; therefore, it shows you FQDN of the server.
You get a validation warning because we haven’t performed the failover cluster validation with the existing and new virtual machine.
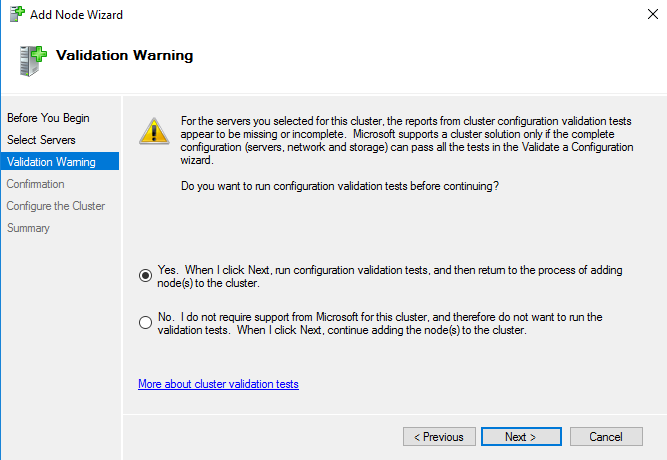
We selected the cluster validation option; therefore, it opens the cluster validation wizard.
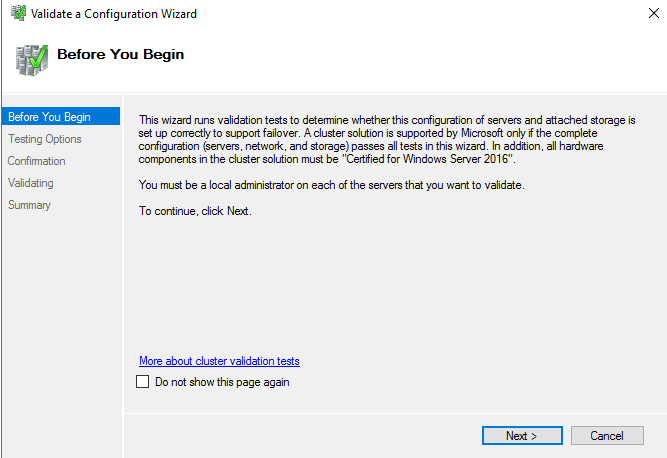
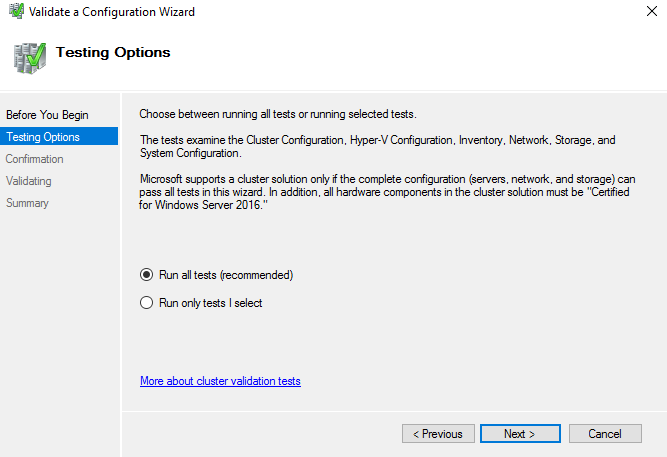
In the cluster validation, it checks the configuration for the cluster, Hyper-V configuration. Storage, inventory and system configuration. We can choose specific tests or run all validation tests. I would recommend you to run all tests for validation.
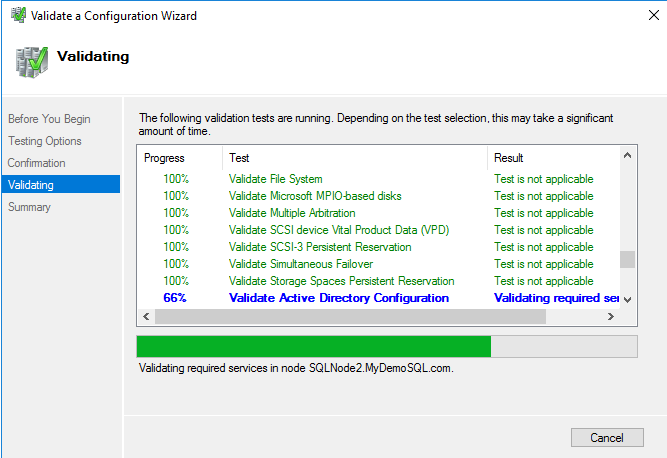
You get progress status for every validation tests. Few tests might not be valid for your configuration. In this case, you get the result as the test is not applicable.
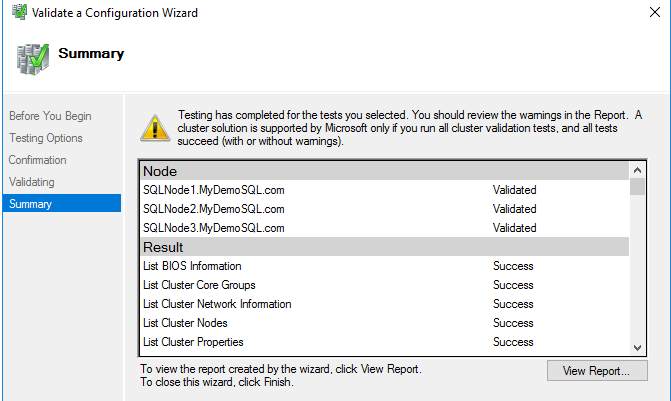
Finally, once all the tests are completed, you can open the validation report and fix issues, if required.
On the next page, you get a confirmation page that the new node is ready to add nodes in the existing cluster.
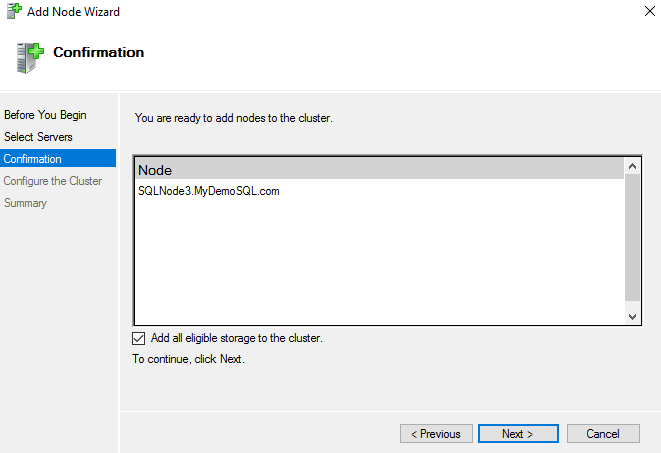
Click Next, and you get the message once it successfully adds the node into an existing failover cluster.
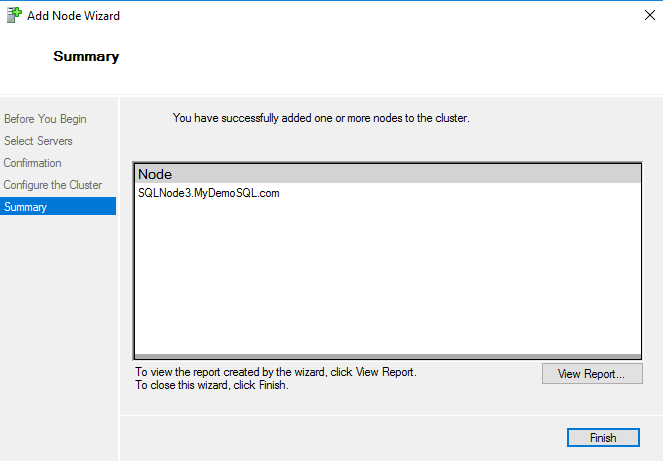
Click Finish. Launch the failover cluster manager and click on Nodes. Here, you can verify that all three nodes are part of the failover cluster. Each node is eligible for a vote to determine resource majority.
Install SQL Server 2019 and enable AG feature
The next step is to install SQL Server 2019 on the new virtual machine. In a SQL Server Always On Availability Group, we install SQL Server as a standalone configuration. You can refer to the article, Install SQL Server 2019 on Windows Server 2016 with SQL Server Always On Availability Groups to learn more about this.
The below screenshot shows a successful database engine service installation on the new virtual machine SQLNode3.
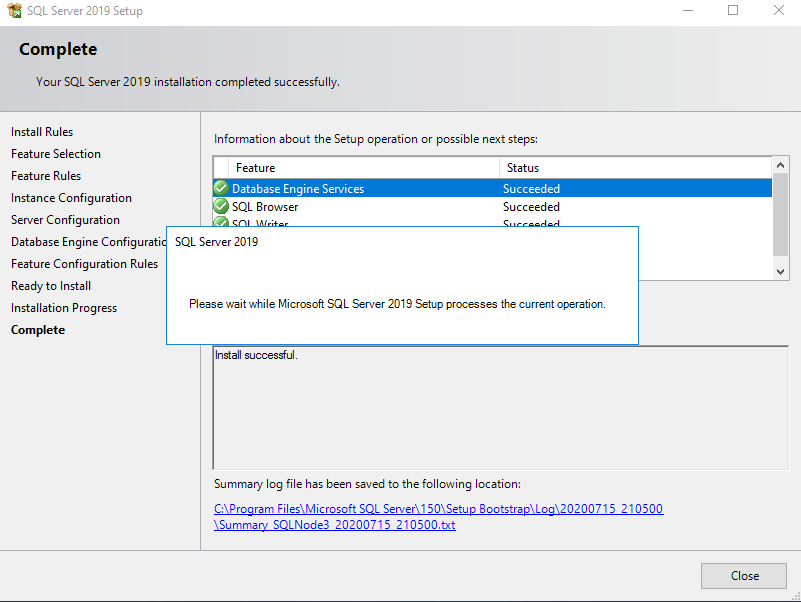
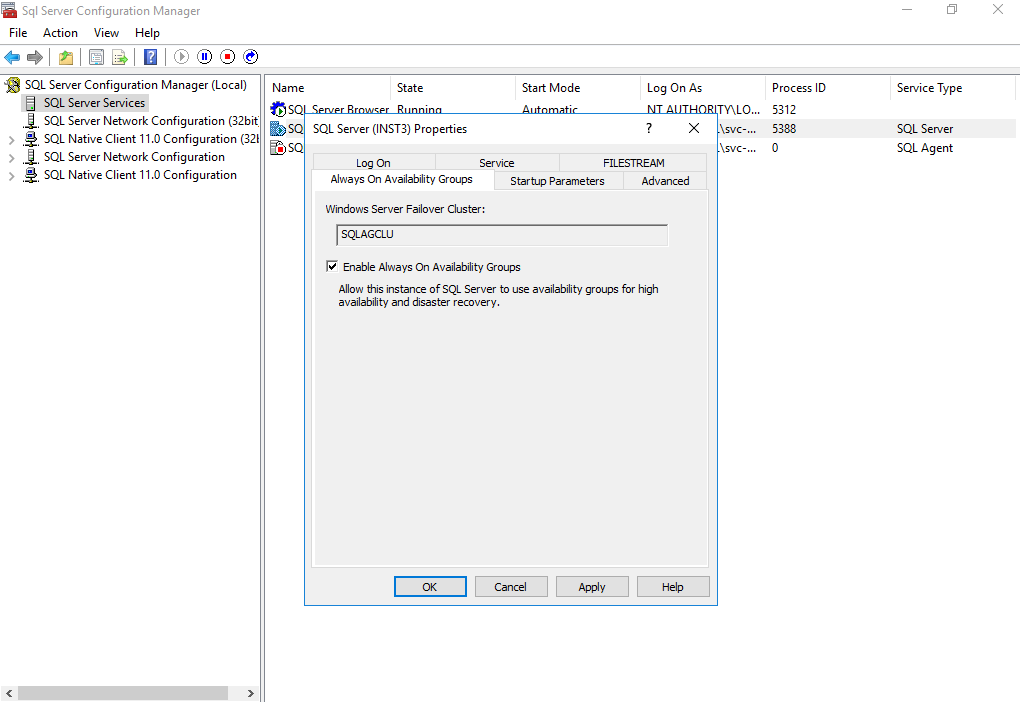
Now, enable Always on Availability Groups features in the SQL Server Configuration Manager of the SQLNOde3. You must restart SQL Services after enabling AG features.
Verify SQL Server Always On Availability Groups dashboard health
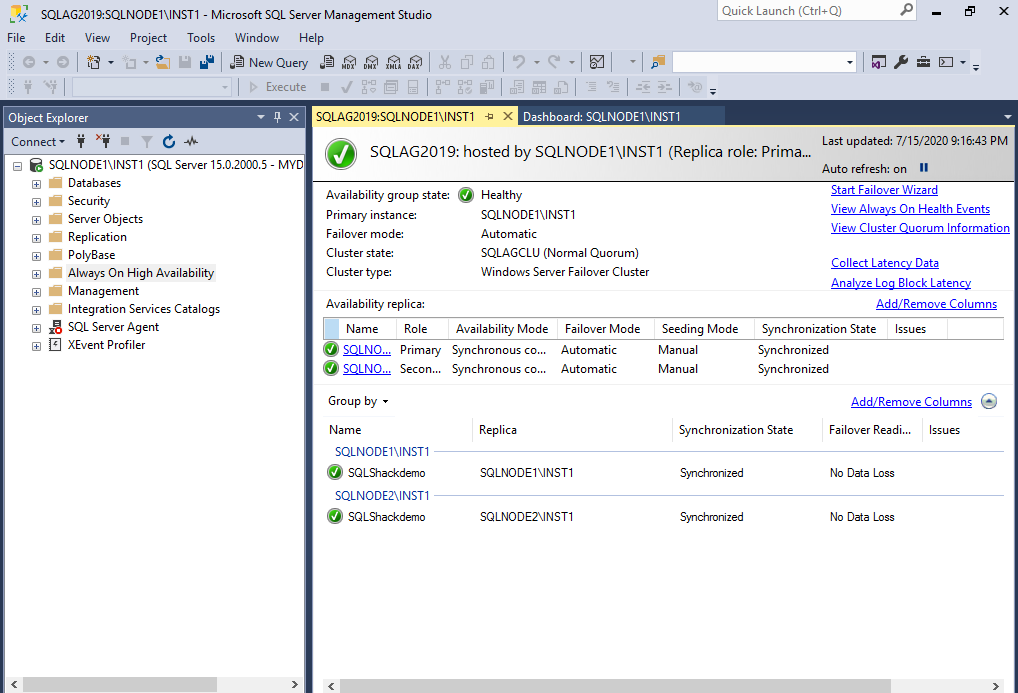
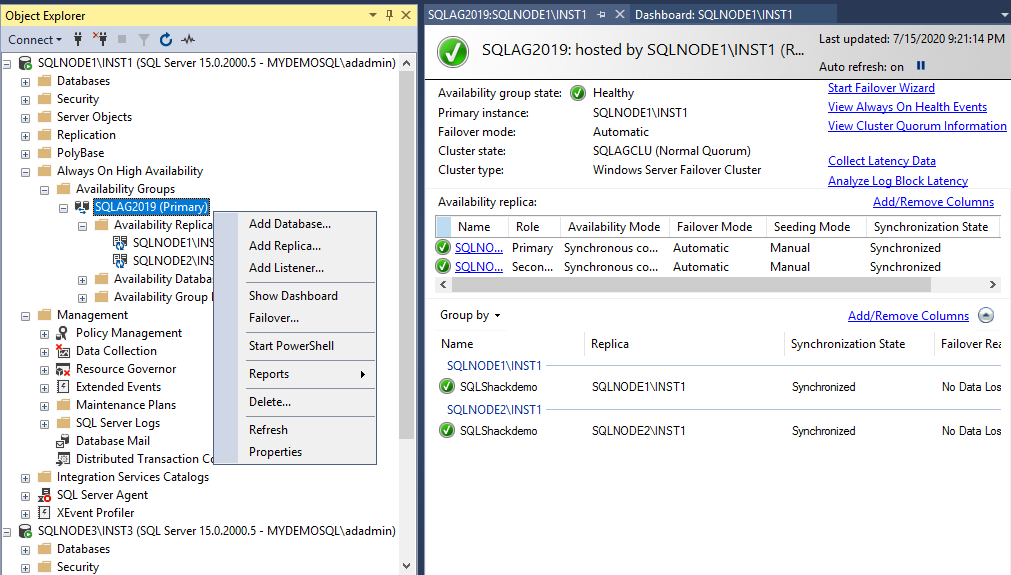
Connect to the primary always on replica and view dashboard. It should show healthy always on the dashboard. If there are any data synchronization issues, you should fix them before adding the 3rd node in AG configuration. It helps you to troubleshoot issues in case of any failures after the 3rd node configuration.
You get a healthy AG replica with no expected data loss for existing SQLNode1 and SQLNode2.
SQL Server network configurations
You should also verify the TCP port for SQL Server connections. You should use a static TCP port. In case your SQL instance uses a dynamic port, open the SQL Server Configuration Manager and TCP/IP protocol properties. On this page, set the static port. By default, SQL Server works on the TCP port 1433.
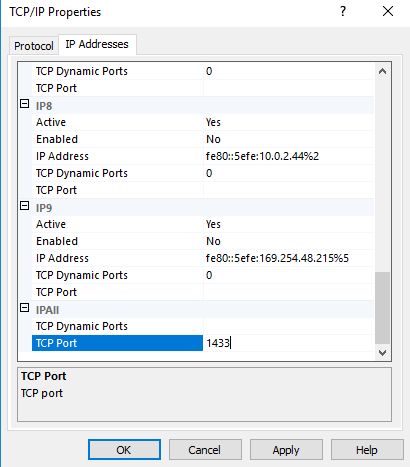
Restore SQL Server Always On Availability Group database on the new replica SQL instance
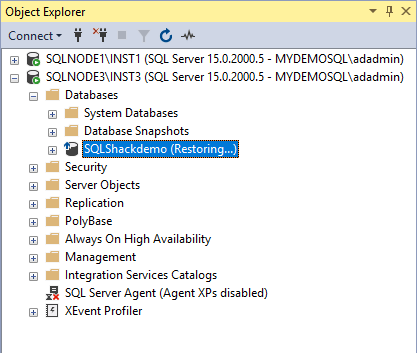
Before adding the new node into AG configuration, restore a full backup and subsequent transaction log backup of the AG database from the primary replica to the new server SQL instance. This database should be in the restoring (Norecovery) mode.
Add replica into existing always on replica
In the primary replica instance, right-click on the SQL Server Always On Availability Group and choose Add Replica.
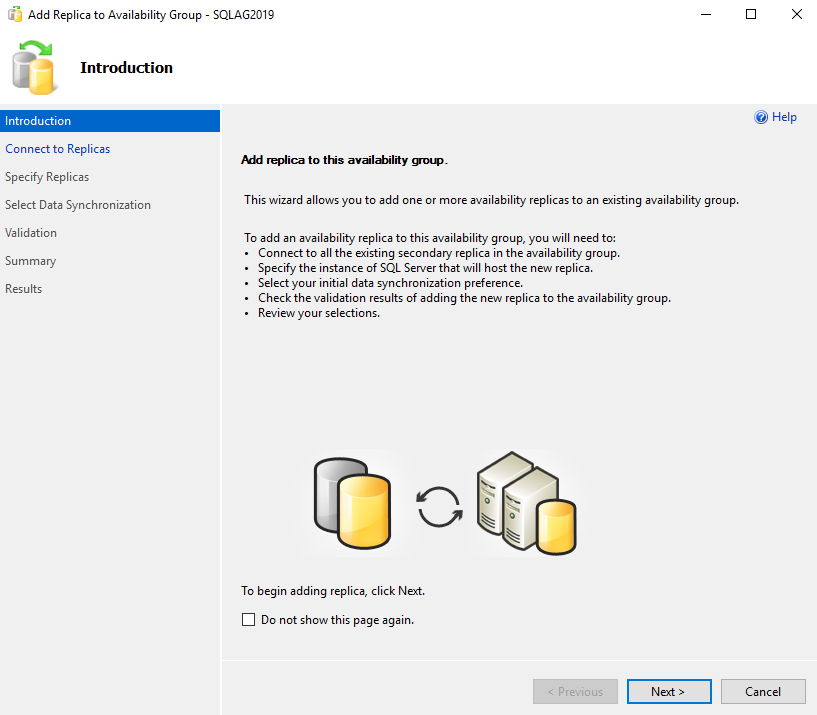
It opens the wizard to add replica into an existing availability group. The wizard gives you a high-level summary of the further steps as well.
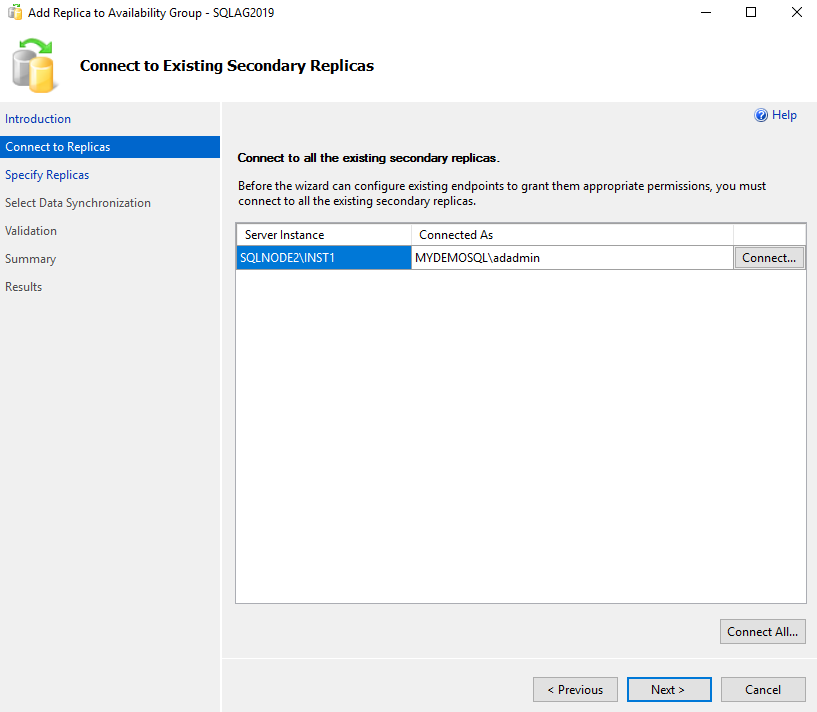
On the next page, it asks you to connect to existing replicas. We are already connected to the primary replica using SSMS. Therefore, you see it highlights secondary AG replica for connection.
Click Next, and you can see existing configuration for replica, endpoint, backups, listener and read-only routing.
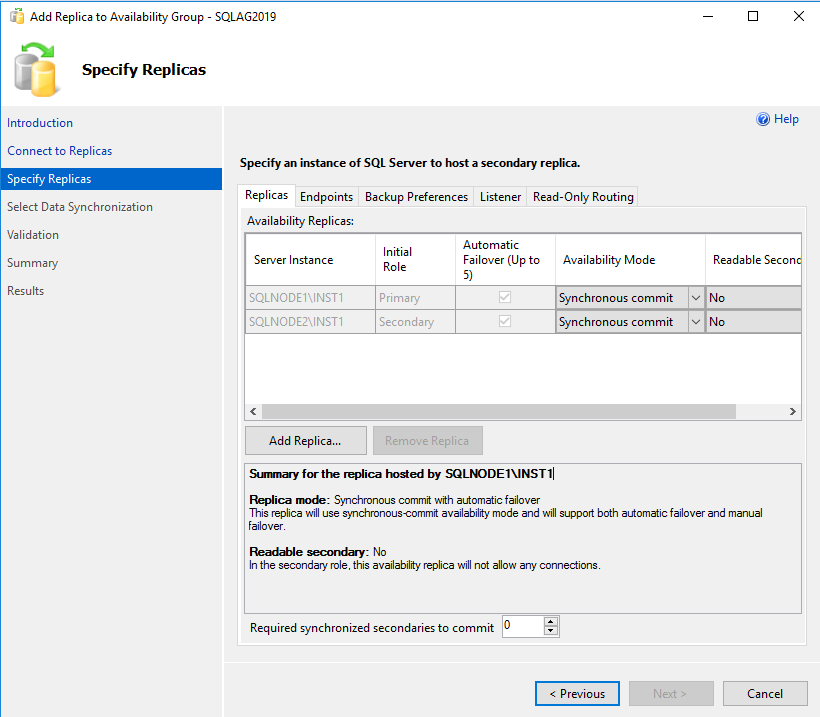
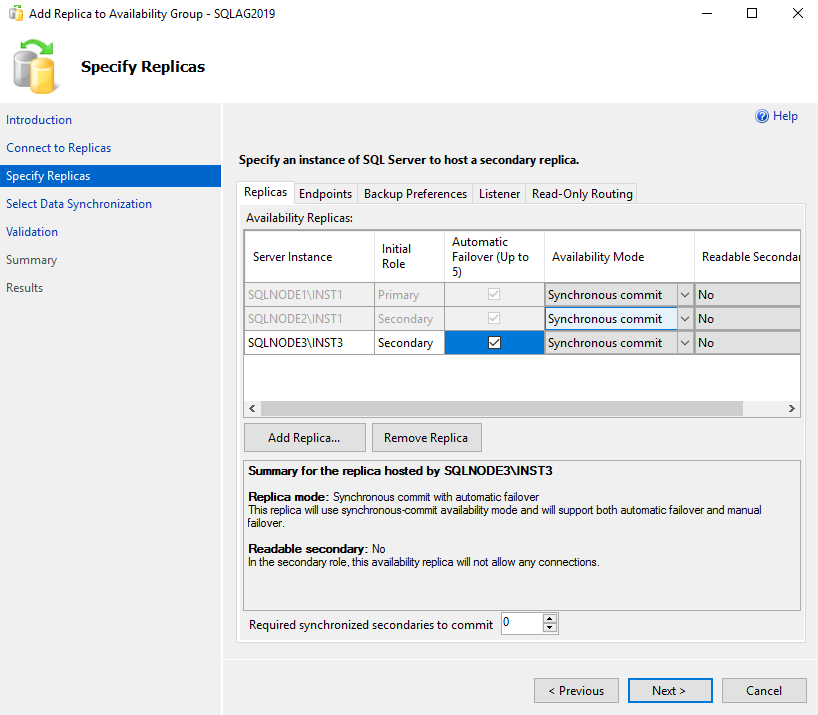
Click on Add Replica, specify SQL Instance name for the new instance that we wish to join into existing AG replica and connect to it. You have an option to choose either the synchronous or asynchronous data commit mode. If you click on an automatic failover checkbox, it automatically selects the synchronous commit mode.
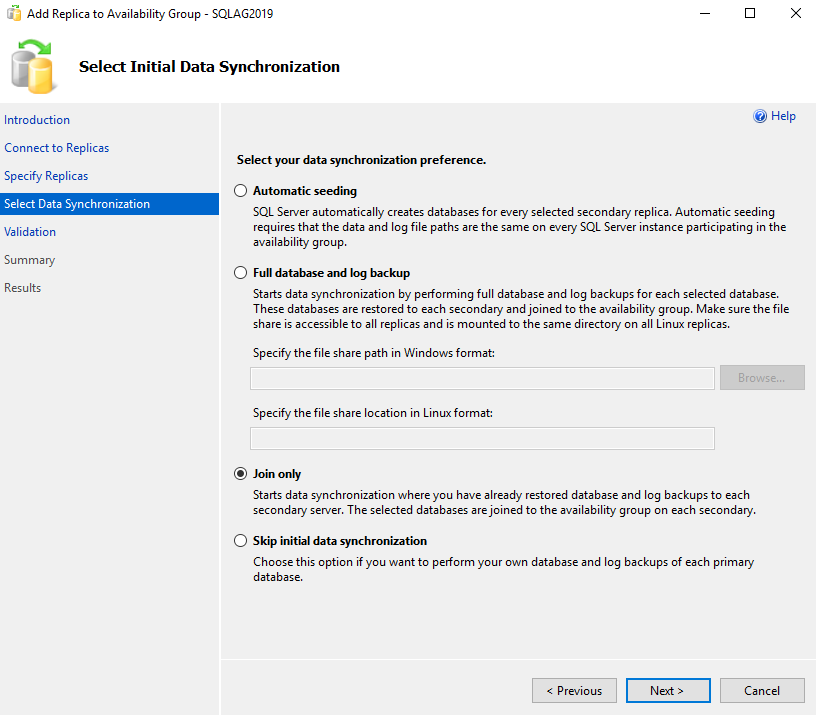
On the next page, select the data synchronization method. We already restored a database copy in the SQLNode3 from the primary replica; therefore, choose the method as Join only.
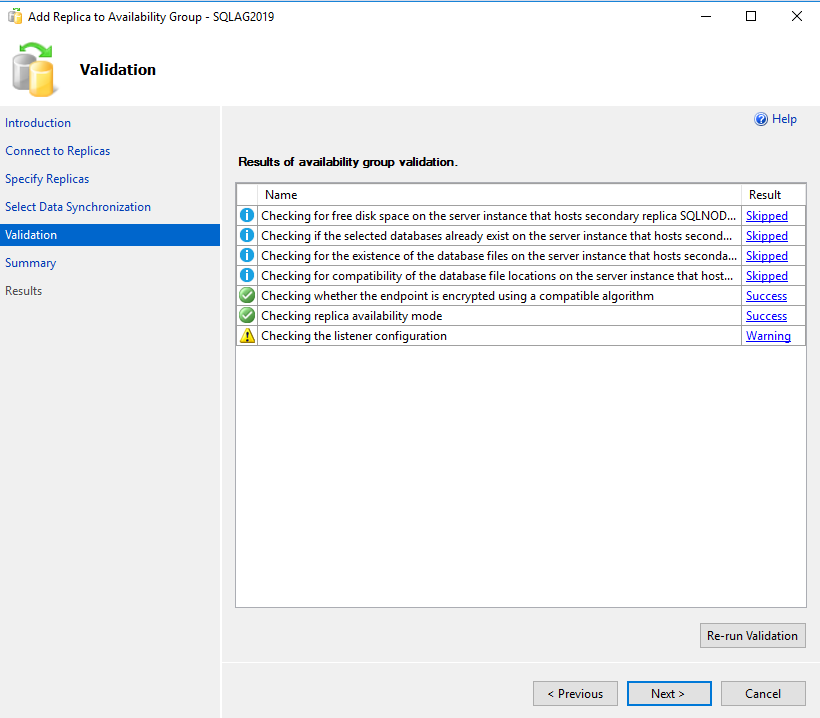
Add replica wizard performs validations as per your inputs.
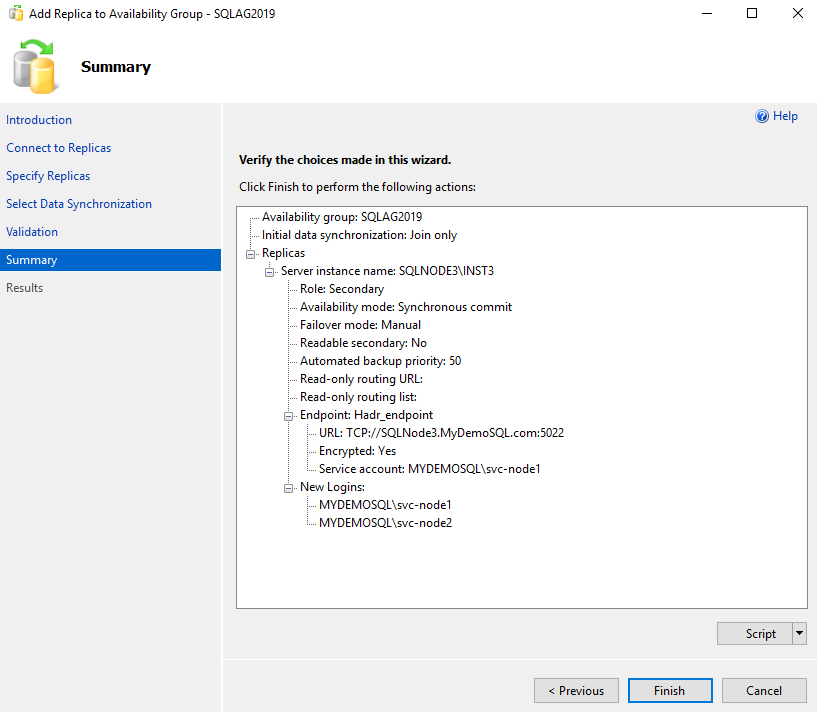
View the summary of the add replica wizard tasks. You can also generate a script for your actions or click on Finish to complete the wizard actions.
On the next page, you see the status of each task it took to add a node in the existing SQL Server Always on Availability Group.
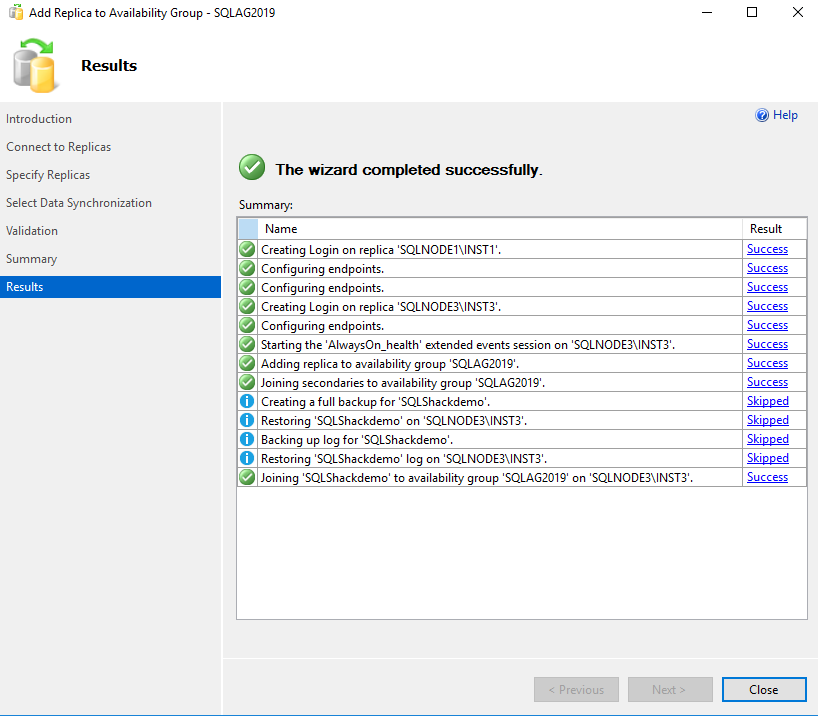
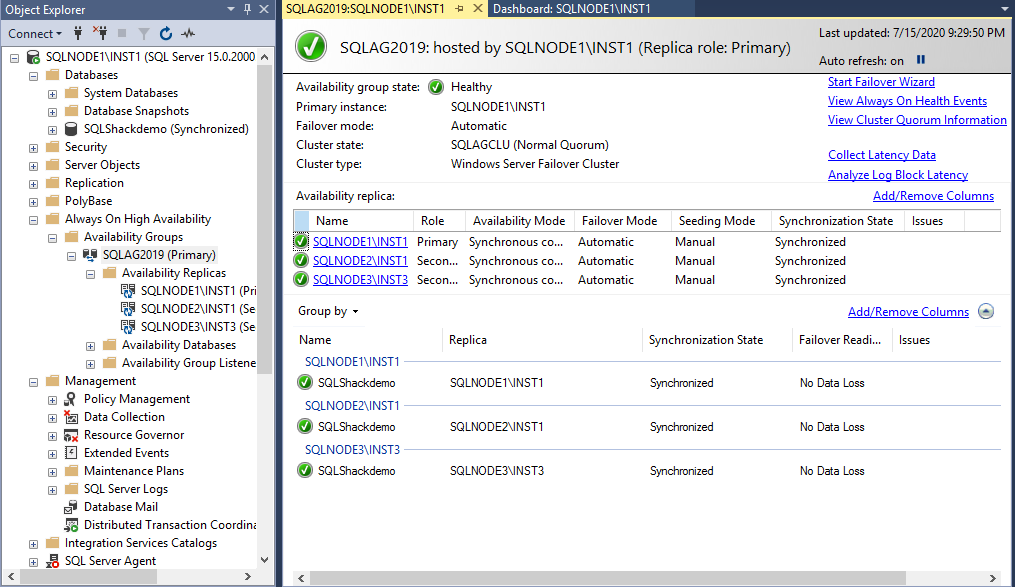
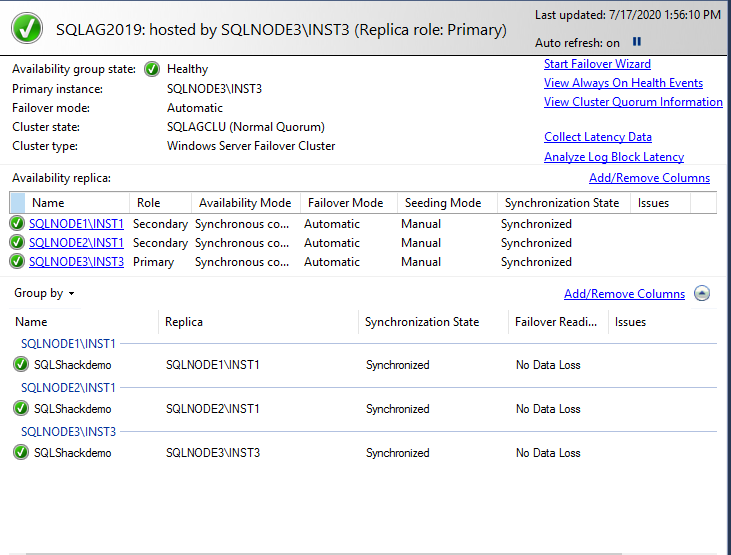
Launch the AG dashboard, and it shows all SQL instances in the synchronized mode. It might take time for the dashboard to become healthy depending upon the transactions performed after the backups.
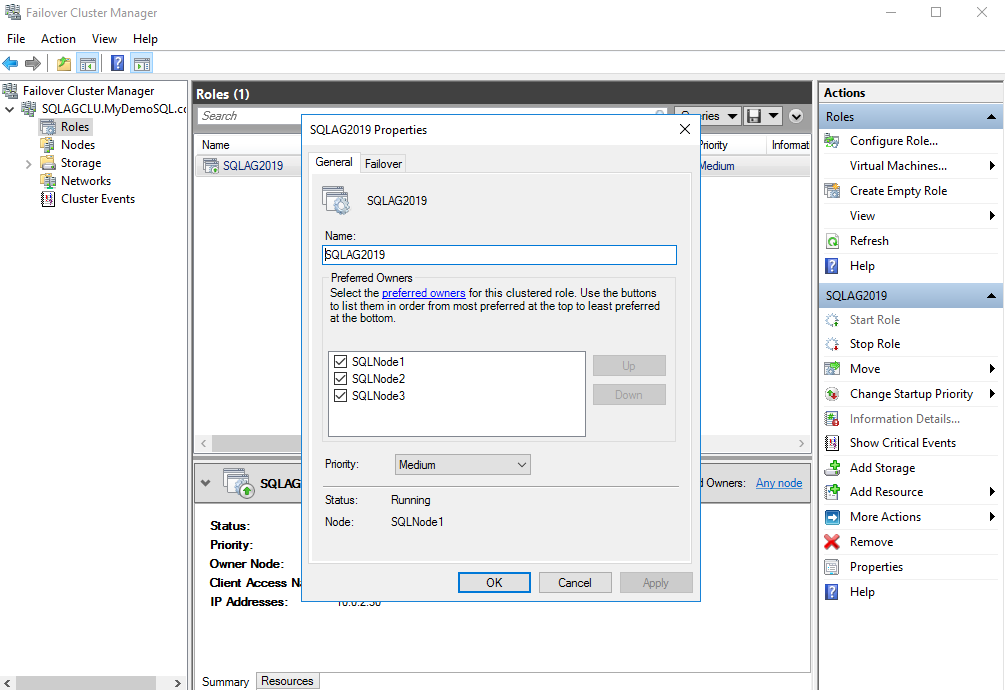
In the failover cluster manager, open the listener properties, and it has all nodes in the preferred owner’s list.
Failover testing for the SQL Server Always on Availability group
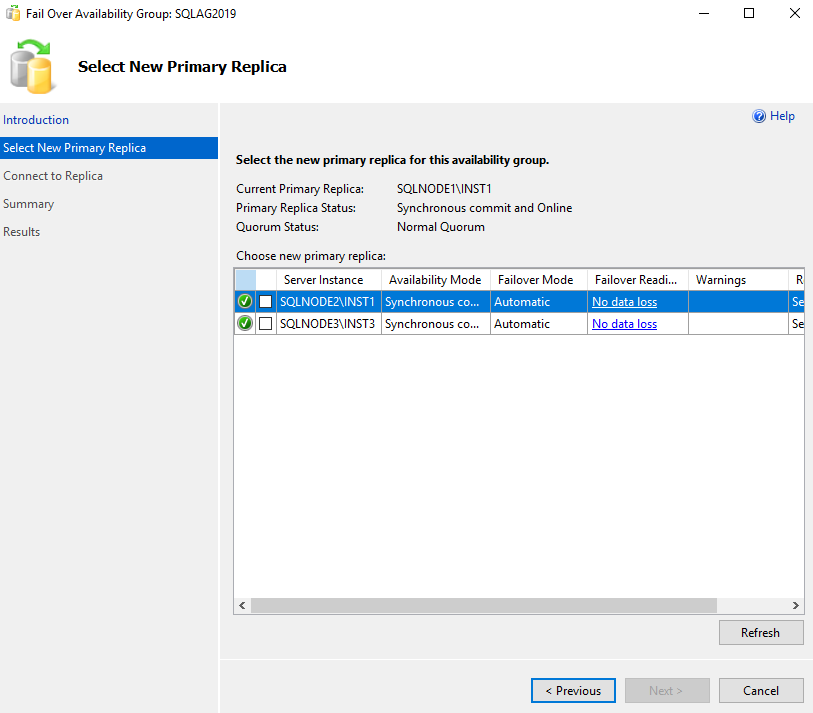
We should perform a failover testing as well after adding a new node into the existing AG configurations. In the failover wizard, you should verify the failover readiness. It should show status as No data loss for a successful failover without any estimated data loss.
Select the new primary replica (in my case SQLNode3) and click on Next.
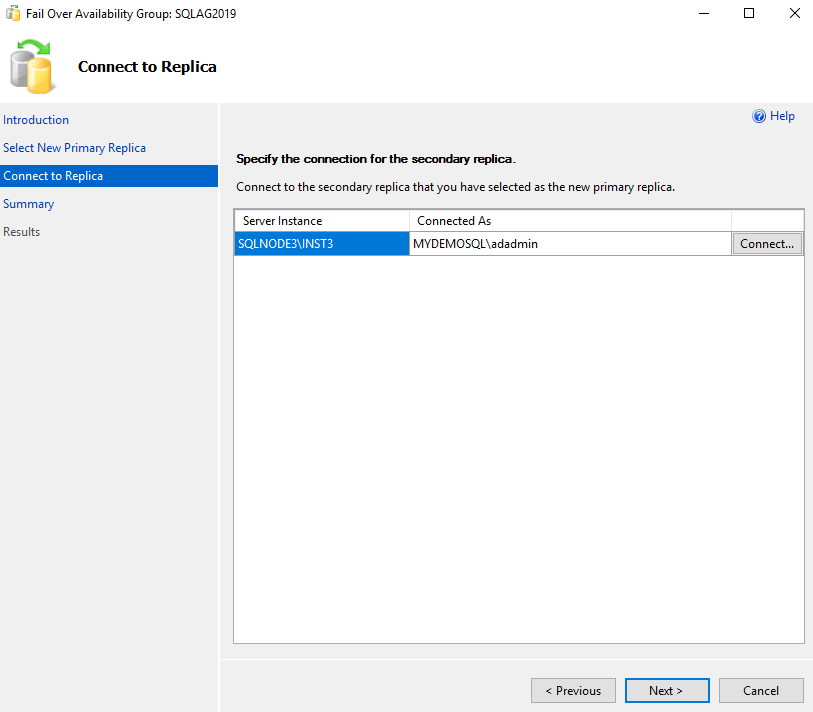
Connect to the new primary replica.
Verify your choice of the new AG replica. It also shows you the affected databases as part of this failover. We have configured [SQLShackDemo] in the AG replica, so you get this database name in the list.
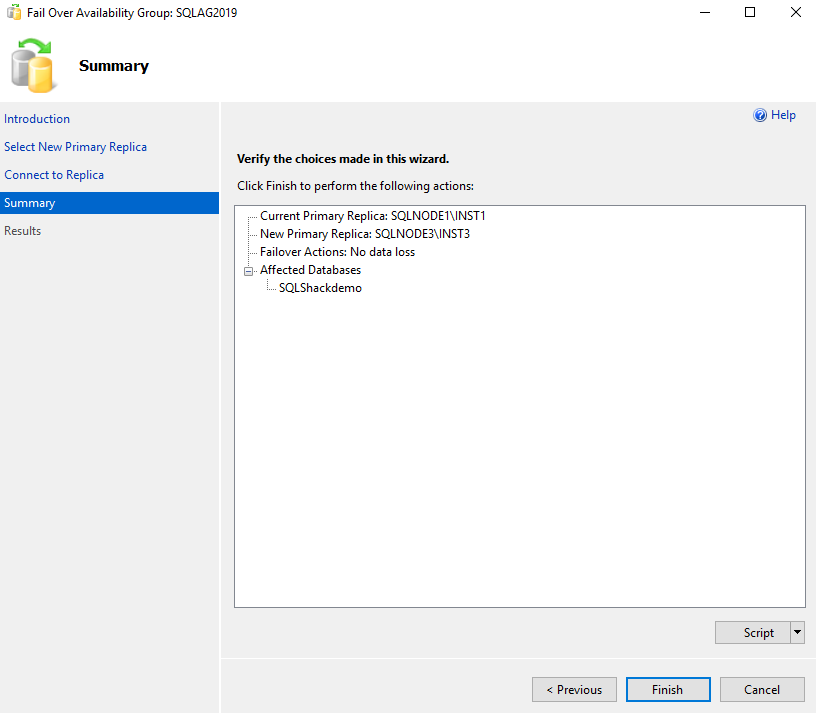
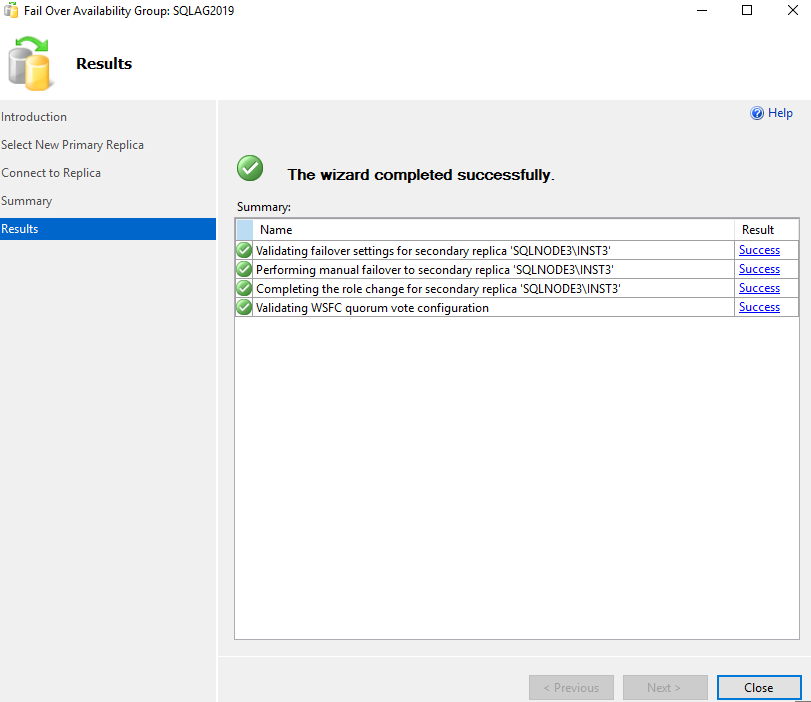
Click Finish to initial failover process, and it performs a manual failover successfully as shown below.
Verify the new replica and data synchronization status using the AG dashboard.
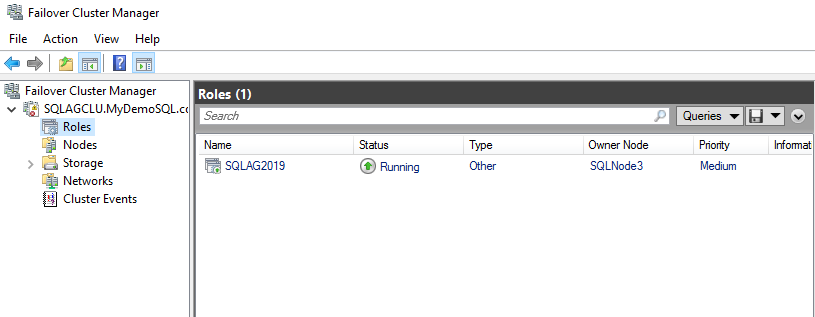
You can also verify that the failover cluster owner is the new primary replica SQLNode3.
Conclusion
In this article, we walk through the process to add a node into the existing SQL Server Always On Availability Group. We will further explore the availability group related configurations in the upcoming articles of this series.


