

四.使用vscode调试xv6内核
资料来源:
1.南京大学操作系统课程第18课:https://www.bilibili.com/medialist/play/202224425?from=space&business=space_collection&business_id=192498&desc=0
下方的评论:
  https://zhuanlan.zhihu.com/p/501901665
  https://www.bilibili.com/video/BV1Lv411g7EV/?spm_id_from=333.824.b_636f6d6d656e74.32

一.相关插件
1.vscode远程连接到自己xv6目录
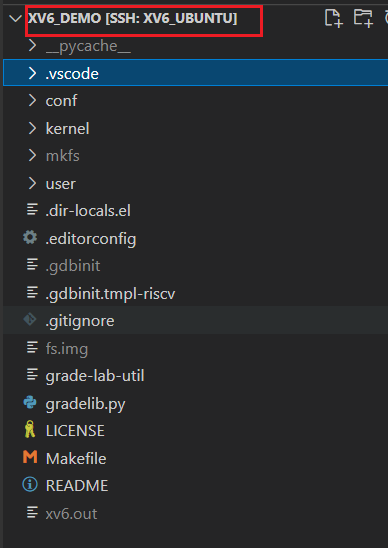
2.下载相关扩展

3.创建launch.json和task.json文件
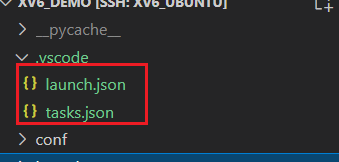
(1)launch.json

{
    "version": "0.2.0",
    "configurations": [
        {
            "name": "debug xv6",
            "type": "cppdbg",
            "request": "launch",
            "program": "${workspaceFolder}/kernel/kernel",
            "args": [],
            "stopAtEntry": true,
            "cwd": "${workspaceFolder}",
            "miDebuggerServerAddress": "localhost:25000",
            "miDebuggerPath": "/usr/bin/gdb-multiarch",
            "environment": [],
            "externalConsole": false,
            "MIMode": "gdb",
            "setupCommands": [
                {
                    "description": "pretty printing",
                    "text": "-enable-pretty-printing",
                    "ignoreFailures": true
                }
            ],
            "logging": {
                 "engineLogging": true,
                 "programOutput": true,
            },
            "preLaunchTask": "xv6build",
        }
    ]
}
(2)task.json
// xv6-riscv/.vscode/tasks.json
{
  "version": "2.0.0",
  "tasks": [
      {
          "label": "xv6build",
          "type": "shell",
          "isBackground": true,
          "command": "make qemu-gdb",
          "problemMatcher": [
              {
                  "pattern": [
                      {
                          "regexp": ".",
                          "file": 1,
                          "location": 2,
                          "message": 3
                      }
                  ],
                  "background": {
                      "beginsPattern": ".*Now run 'gdb' in another window.",
                      // 要对应编译成功后,一句echo的内容. 此处对应 Makefile Line:170
                      "endsPattern": "."
                  }
              }
          ]
      }
  ]
}
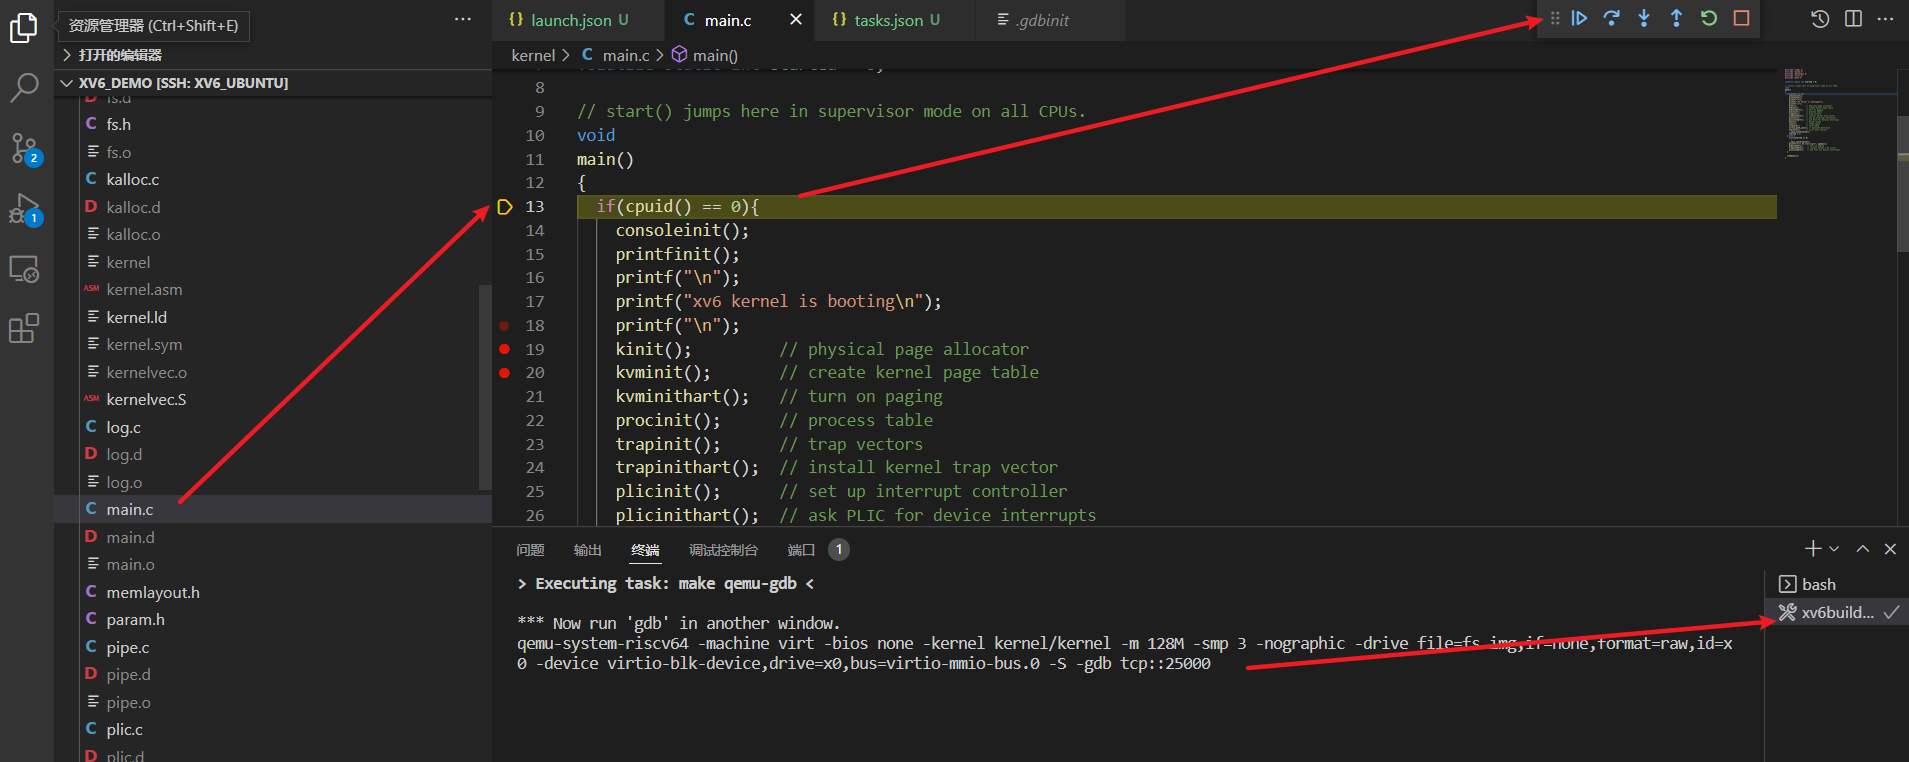
(3)在命令行中执行make qemu-gdb查看端口

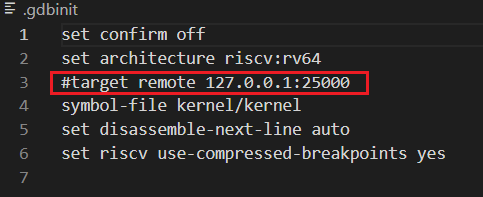
(4).gdbinit文件相关行注释
(5)launch.json文件相关行修改

(6)关闭所有终端,新建一个新的终端,在main中添加断点,按F5开始调试


【推荐】国内首个AI IDE,深度理解中文开发场景,立即下载体验Trae
【推荐】编程新体验,更懂你的AI,立即体验豆包MarsCode编程助手
【推荐】抖音旗下AI助手豆包,你的智能百科全书,全免费不限次数
【推荐】轻量又高性能的 SSH 工具 IShell:AI 加持,快人一步
· TypeScript + Deepseek 打造卜卦网站:技术与玄学的结合
· 阿里巴巴 QwQ-32B真的超越了 DeepSeek R-1吗?
· 【译】Visual Studio 中新的强大生产力特性
· 10年+ .NET Coder 心语 ── 封装的思维:从隐藏、稳定开始理解其本质意义
· 【设计模式】告别冗长if-else语句:使用策略模式优化代码结构