最近在翻《Spring In Action》Spring 实战这本书,重新了解了一下AOP的概念和思想并写了一个小Demo示例,记录在这里:
环境:intelliJ IDEA 2018、MAVEN管理依赖
一:项目的POM文件内容:

<?xml version="1.0" encoding="UTF-8"?>
<project xmlns="http://maven.apache.org/POM/4.0.0"
         xmlns:xsi="http://www.w3.org/2001/XMLSchema-instance"
         xsi:schemaLocation="http://maven.apache.org/POM/4.0.0 http://maven.apache.org/xsd/maven-4.0.0.xsd">
    <modelVersion>4.0.0</modelVersion>

    <groupId>com.cmhit.springinaction</groupId>
    <artifactId>Chapter3</artifactId>
    <version>1.0-SNAPSHOT</version>

    <dependencies>
        <dependency>
            <groupId>org.aspectj</groupId>
            <artifactId>aspectjrt</artifactId>
            <version>1.8.9</version>
        </dependency>
        <dependency>
            <groupId>org.aspectj</groupId>
            <artifactId>aspectjweaver</artifactId>
            <version>1.8.9</version>
        </dependency>

        <dependency>
            <groupId>log4j</groupId>
            <artifactId>log4j</artifactId>
            <version>1.2.17</version>
        </dependency>

        <dependency>
            <groupId>org.springframework</groupId>
            <artifactId>spring-core</artifactId>
            <version>4.3.5.RELEASE</version>
        </dependency>
        <dependency>
            <groupId>org.springframework</groupId>
            <artifactId>spring-context</artifactId>
            <version>4.3.5.RELEASE</version>
        </dependency>
        <dependency>
            <groupId>org.springframework</groupId>
            <artifactId>spring-test</artifactId>
            <version>4.3.5.RELEASE</version>
        </dependency>

        <dependency>
            <groupId>junit</groupId>
            <artifactId>junit</artifactId>
            <version>4.12</version>
        </dependency>
    </dependencies>

</project>
二:创建包来容纳用到的类文件:
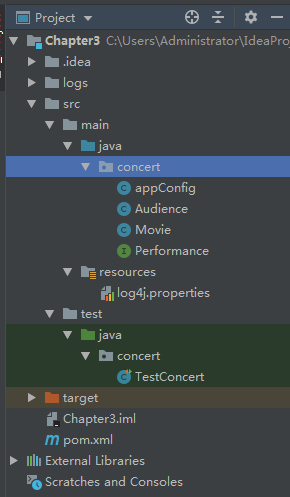
三:创建接口类Performance,该类仅有一个perform方法:

package concert;

public interface Performance {
    public void perform();
}

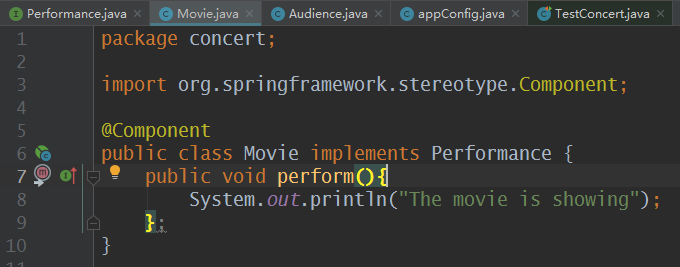
四:创建接口的实现类Movie

package concert;

import org.springframework.stereotype.Component;

@Component
public class Movie implements Performance {
    public void perform(){
        System.out.println("The movie is showing");
    };
}
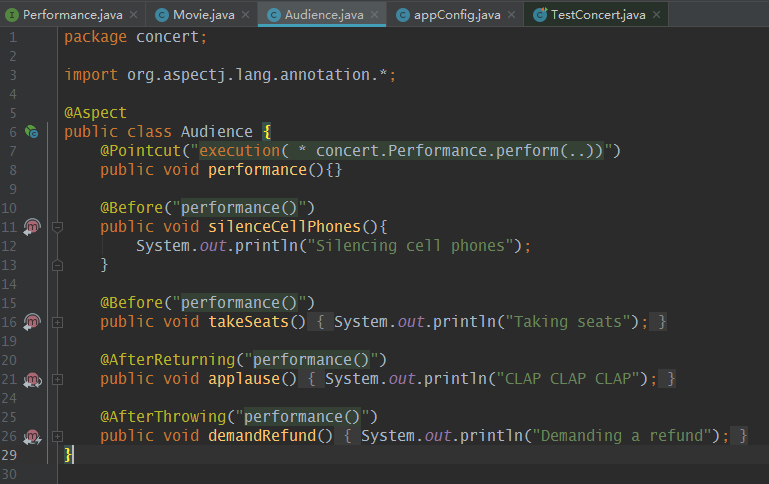
五:定义一个“观众”切面:

package concert;

import org.aspectj.lang.annotation.*;

@Aspect
public class Audience {
    @Pointcut("execution( * concert.Performance.perform(..))")
    public void performance(){}

    @Before("performance()")
    public void silenceCellPhones(){
        System.out.println("Silencing cell phones");
    }

    @Before("performance()")
    public void takeSeats(){
        System.out.println("Taking seats");
    }

    @AfterReturning("performance()")
    public void applause(){
        System.out.println("CLAP CLAP CLAP");
    }

    @AfterThrowing("performance()")
    public void demandRefund(){
        System.out.println("Demanding a refund");
    }
}
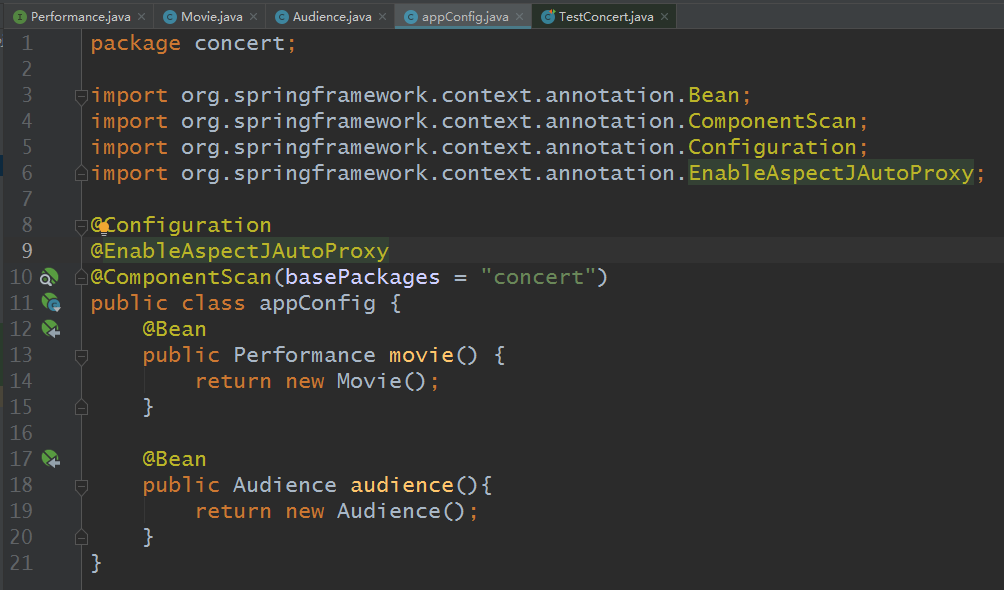
六:至此,基本的类都已经建立完毕了,下面创建配置类将它们装配起来:

package concert;

import org.springframework.context.annotation.Bean;
import org.springframework.context.annotation.ComponentScan;
import org.springframework.context.annotation.Configuration;
import org.springframework.context.annotation.EnableAspectJAutoProxy;

@Configuration
@EnableAspectJAutoProxy
@ComponentScan(basePackages = "concert")
public class appConfig {
    @Bean
    public Performance movie() {
        return new Movie();
    }

    @Bean
    public Audience audience(){
        return new Audience();
    }
}
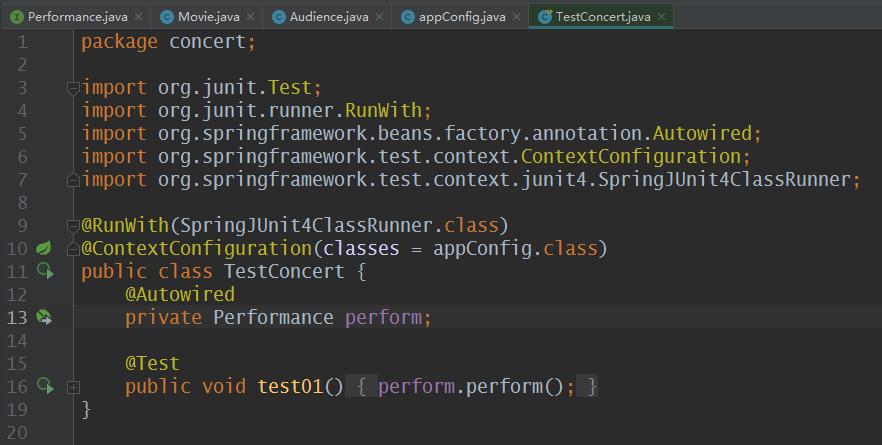
七:在test目录下面建立相同的package,并创建测试类:

package concert;

import org.junit.Test;
import org.junit.runner.RunWith;
import org.springframework.beans.factory.annotation.Autowired;
import org.springframework.test.context.ContextConfiguration;
import org.springframework.test.context.junit4.SpringJUnit4ClassRunner;

@RunWith(SpringJUnit4ClassRunner.class)
@ContextConfiguration(classes = appConfig.class)
public class TestConcert {
    @Autowired
    private Performance perform;

    @Test
    public void test01(){
        perform.perform();
    }
}
八:测试运行结果:

九:根据上面的demo,再次加深理解AOP的几个概念:通知、连接点、切点、切面、织入
通知:通知定义了切面要完成的工作以及在什么时候使用,上面的demo中,表演前的手机静音,表演前观众入座,表演成功结束后的鼓掌,表演失败后观众要求退票,这其中的每一项都是通知,通知可以分为前置通知(目标方法调用前执行),后置通知(方法完成后执行,且不管方法的输出是什么),返回通知(方法成功执行后调用通知),异常通知(方法执行发生异常时调用通知),环绕通知(通知包裹了被通知的方法,效果类似方法调用前后均调用,但是环绕通知可以将所有的通知方法放在一起);
连接点:连接点是应用执行过程中能插入到切面的点,这个点可以是方法被调用,抛出异常或者是属性被修改,切面的代码就是利用这些连接点将代码插入到应用程序的正常流程中,上面demo中的perform方法就是一个连接点;
切点:应用程序中存在数以千计的连接点,我们的切面程序代码不一定要插入到所有的连接点中,那些切面织入的连接点集合就是切点。
切面:切面是通知和切点的集合,即切面描述了需要做什么工作(手机静音、就坐、鼓掌、退票),在什么时候工作(perform方法执行前还是执行后,还是发生异常时),在哪些地方执行工作。
织入:将切面在指定的连接点织入到目标对象中的过程就是织入,织入的基本原理是创建原对象的代理对象,所有在原对象上的方法调用均会被代理对象拦截(代理类封装了目标类),在执行完切面逻辑代码后,再将调用转给真正的目标bean。
补充:可以使用环绕通知重写上面的audience类:

package concert;

import org.aspectj.lang.ProceedingJoinPoint;
import org.aspectj.lang.annotation.*;

@Aspect
public class Audience {

    @Pointcut("execution( * concert.Performance.perform(..))")
    public void performance(){}

    @Around("performance()")
    public void watchPerformance(ProceedingJoinPoint jp){
        try {
            System.out.println("Silencing cell phones");
            System.out.println("Taking seats");
            jp.proceed();
            System.out.println("CLAP CLAP CLAP");
        }catch (Throwable e){
            System.out.println("Demanding a refund");
        }
    }
}
执行的效果和上面是一样的,代码中的ProceedingJoinPoint对象用来控制被通知方法的调用:jp.proceed(),如果不调用这个方法,可以实现阻塞被通知方法(performance)的调用,而且可以反复调用jp.proceed(),相当于反复调用perform()方法。


