ng配置前后端同一个地址
其实讲到nginx服务,很多人都是一件很头疼的事情,其实他很简单的
第一:我们先来讲述一下nginx的安装和部署
第二:我们讲一下nginx的方向代理,端口映射配置对应的域名地址
第三:我们讲一个前后端如何共用一个域名地址,不然前端要配置一个域名,服务端也要配置一个域名,实属没必要
第一步:nginx的安装和部署
(1)其实我们做IT的都喜欢去官网下载资源和安装包,所以这里贴上nginx官网的地址
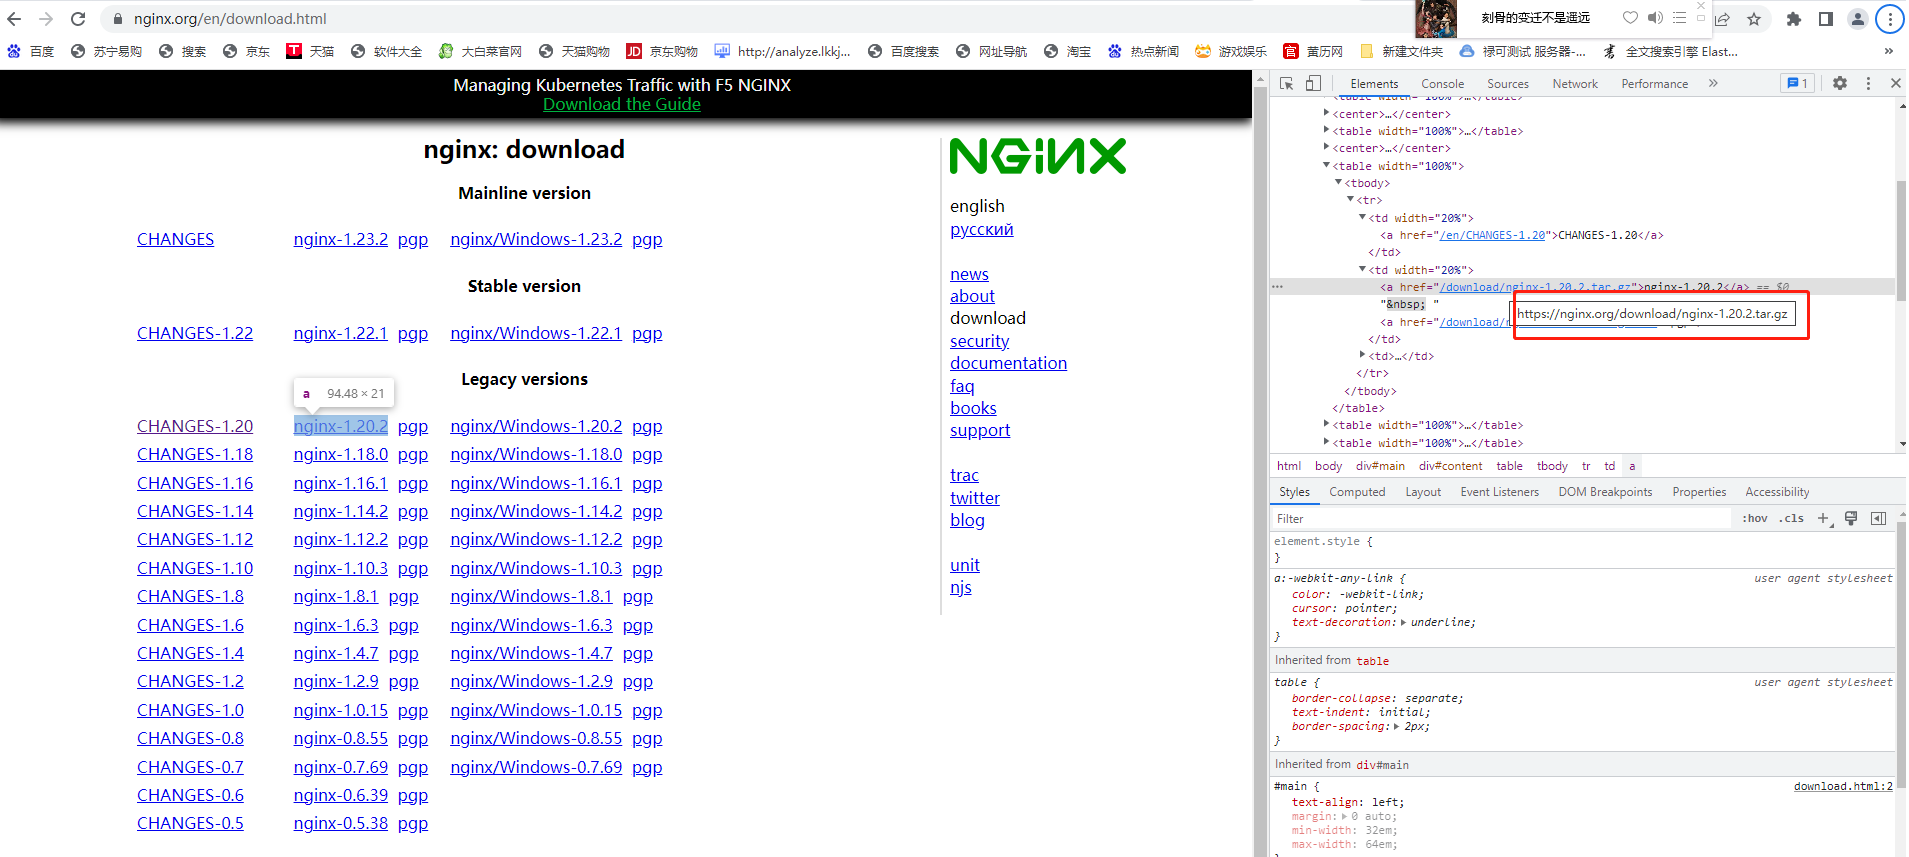
然后选择你们要的安装文件,把下载地址复制出来,我这边讲解是1.12.0的安装,其实什么版本都一样,下载地址可以这么获取哦

(2)使用wget命令下载(推荐)。确保系统已经安装了wget,如果没有安装,执行 yum install wget 安装,这边我的服务器用的是centos。
wget -c https://nginx.org/download/nginx-1.20.2.tar.gz
(3)解压
tar -zxvf nginx-1.12.0.tar.gz
cd nginx-1.12.0
(4)配置
其实在 nginx-1.12.0 版本中你就不需要去配置相关东西,默认就可以了。当然,如果你要自己配置目录也是可以的。
1.使用默认配置
./configure
2.自定义配置(不推荐)
./configure \
--prefix=/usr/local/nginx \
--conf-path=/usr/local/nginx/conf/nginx.conf \
--pid-path=/usr/local/nginx/conf/nginx.pid \
--lock-path=/var/lock/nginx.lock \
--error-log-path=/var/log/nginx/error.log \
--http-log-path=/var/log/nginx/access.log \
--with-http_gzip_static_module \
--http-client-body-temp-path=/var/temp/nginx/client \
--http-proxy-temp-path=/var/temp/nginx/proxy \
--http-fastcgi-temp-path=/var/temp/nginx/fastcgi \
--http-uwsgi-temp-path=/var/temp/nginx/uwsgi \
--http-scgi-temp-path=/var/temp/nginx/scgi
注:将临时文件目录指定为/var/temp/nginx,需要在/var下创建temp及nginx目录
(5)编译安装
make
make install
然后想要查询安装路径我们可以通过命令where nginx,服务器就会告诉你nginx在哪里啦
(6)关于nginx的一些命令,这些是我们比较常用的cd /usr/local/nginx/sbin/ ./nginx #这个是运行nginx ./nginx -s stop #停止nginx服务 ./nginx -s reload #重载nginx,如果你改了nginx的配置文件
(7)一般我们都会配置开机自启动,不然每次服务器挂起,我们重要去启动它,很多东西都可以在这个文件设置开机自启动哦
即在rc.local增加启动代码就可以了。
vi /etc/rc.local
增加一行 /usr/local/nginx/sbin/nginx
设置执行权限:
chmod 755 rc.local

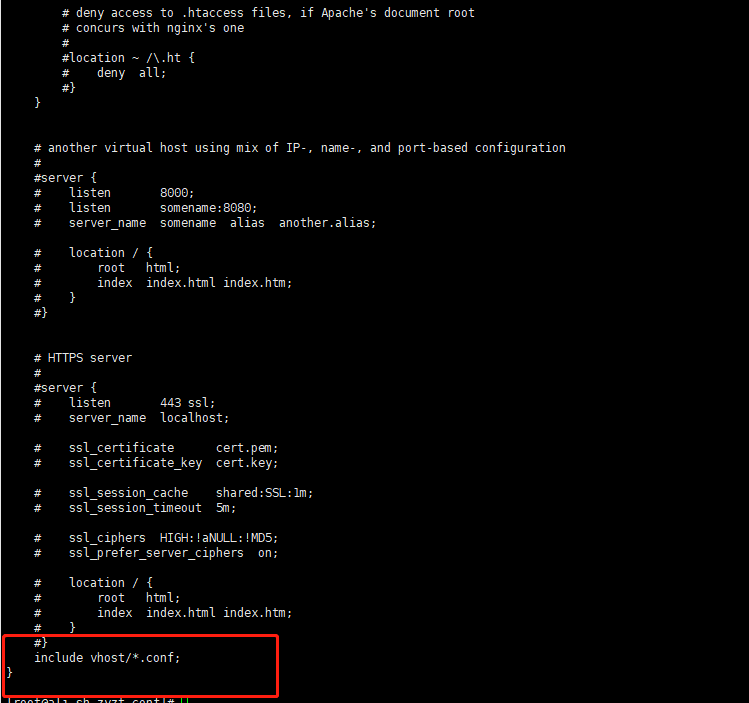
cd /usr/local/nginx/conf
mkdir vhost
#比如要配置2个域名,一个是前端的,一个是服务端的 http://www.xxxweb.com  http://www.xxxserver.com
touch www.xxxweb.com.conf #前端
touch www.xxxserver.com.conf #服务端
server {
    listen 80;  #端口
    server_name www.xxx.com;   #域名
    access_log  www.xxx.com:80.access.log;  #响应日志文件
    client_max_body_size 20m;#上传限制大小
    #自定义错误页
    error_page 403 /403.html;
    error_page 404 /404.html;
    error_page 502 /502.html;

        root /data/rcweb/dist;   #打包位置
        index index.html index.htm;

        location / {
          try_files $uri $uri/ /index.html last;
        }

}
后端以端口,通过80端口反向代理到某个映射服务端口,在进行配置域名,如下
server {
    listen 80;  #端口
    server_name www.xxx.com;   #域名
    access_log  www.xxx.com:80.access.log;  #响应日志文件
    client_max_body_size 20m;#上传限制大小
    #自定义错误页
    error_page 403 /403.html;
    error_page 404 /404.html;
    error_page 502 /502.html;


        #proxy_connect_timeout 400s;
        #proxy_send_timeout 400s;
        #proxy_read_timeout 400s;

        location / {
        proxy_pass http://127.0.0.1:8003;  #监听的端口
        proxy_connect_timeout 3600s;
        proxy_send_timeout 3600s;
        proxy_read_timeout 3600s;

        }
}
/usr/local/nginx/sbin/nginx -s reload
以上是比较简单的nginx服务就配置好了,像python配置flask的时候一般会配合uwsgi使用,有http和socket两种,这个自行研究,不展开啦
第三步:前后端使用同一个域名地址(顺便讲一下https的配置,第二步讲的是http)
比如前端地址是https://www.xxx.com 服务端也可以是https://www.xxx.com,https和http就差证书,所以我们的证书下载之后也是放在vhost的同级目录,建立一个cert的文件夹,把证书上传,然后接下来我们来搞事情
具体配置如下 前端可以配置https head里面配置
<meta http-equiv="Content-Security-Policy" content="upgrade-insecure-requests">
配置baseurl的时候直接配置https://www.xxx.com/api,nginx可以这么配置如下,前后端都会自动带上https
server {
    listen 443 ssl;
    server_name www.xxx.com;
    ssl_certificate /usr/local/nginx/conf/cert/www.xxx.com.crt;
    ssl_certificate_key /usr/local/nginx/conf/cert/www.xxx.com.key;
    ssl_protocols TLSv1 TLSv1.1 TLSv1.2;
    ssl_ciphers ECDHE-RSA-AES128-GCM-SHA256:ECDHE:ECDH:AES:HIGH:!NULL:!aNULL:!MD5:!ADH:!RC4;
    ssl_prefer_server_ciphers on;
    #ssl_session_cache shared:SSL:10m;
    ssl_session_timeout 10m;

    index index.html index.htm;
    root  /data/dataanah5/dist; #前端打包路径
    index index.html index.htm;

    location / {
        try_files $uri $uri/ /index.html last;
   }

   location /api/ {
        proxy_pass http://ip:port;  #  服务端接口地址

        }


}
然后这里就是要重载一个nginx,就可以访问这个地址啦
/usr/local/nginx/sbin/nginx -s reload


