怎样避免应用冷启动
近期在Android-weekly 上看到一篇关于怎样避免冷启动的文章。认为还是挺实用的特地来搬运给大家看看
什么是冷启动
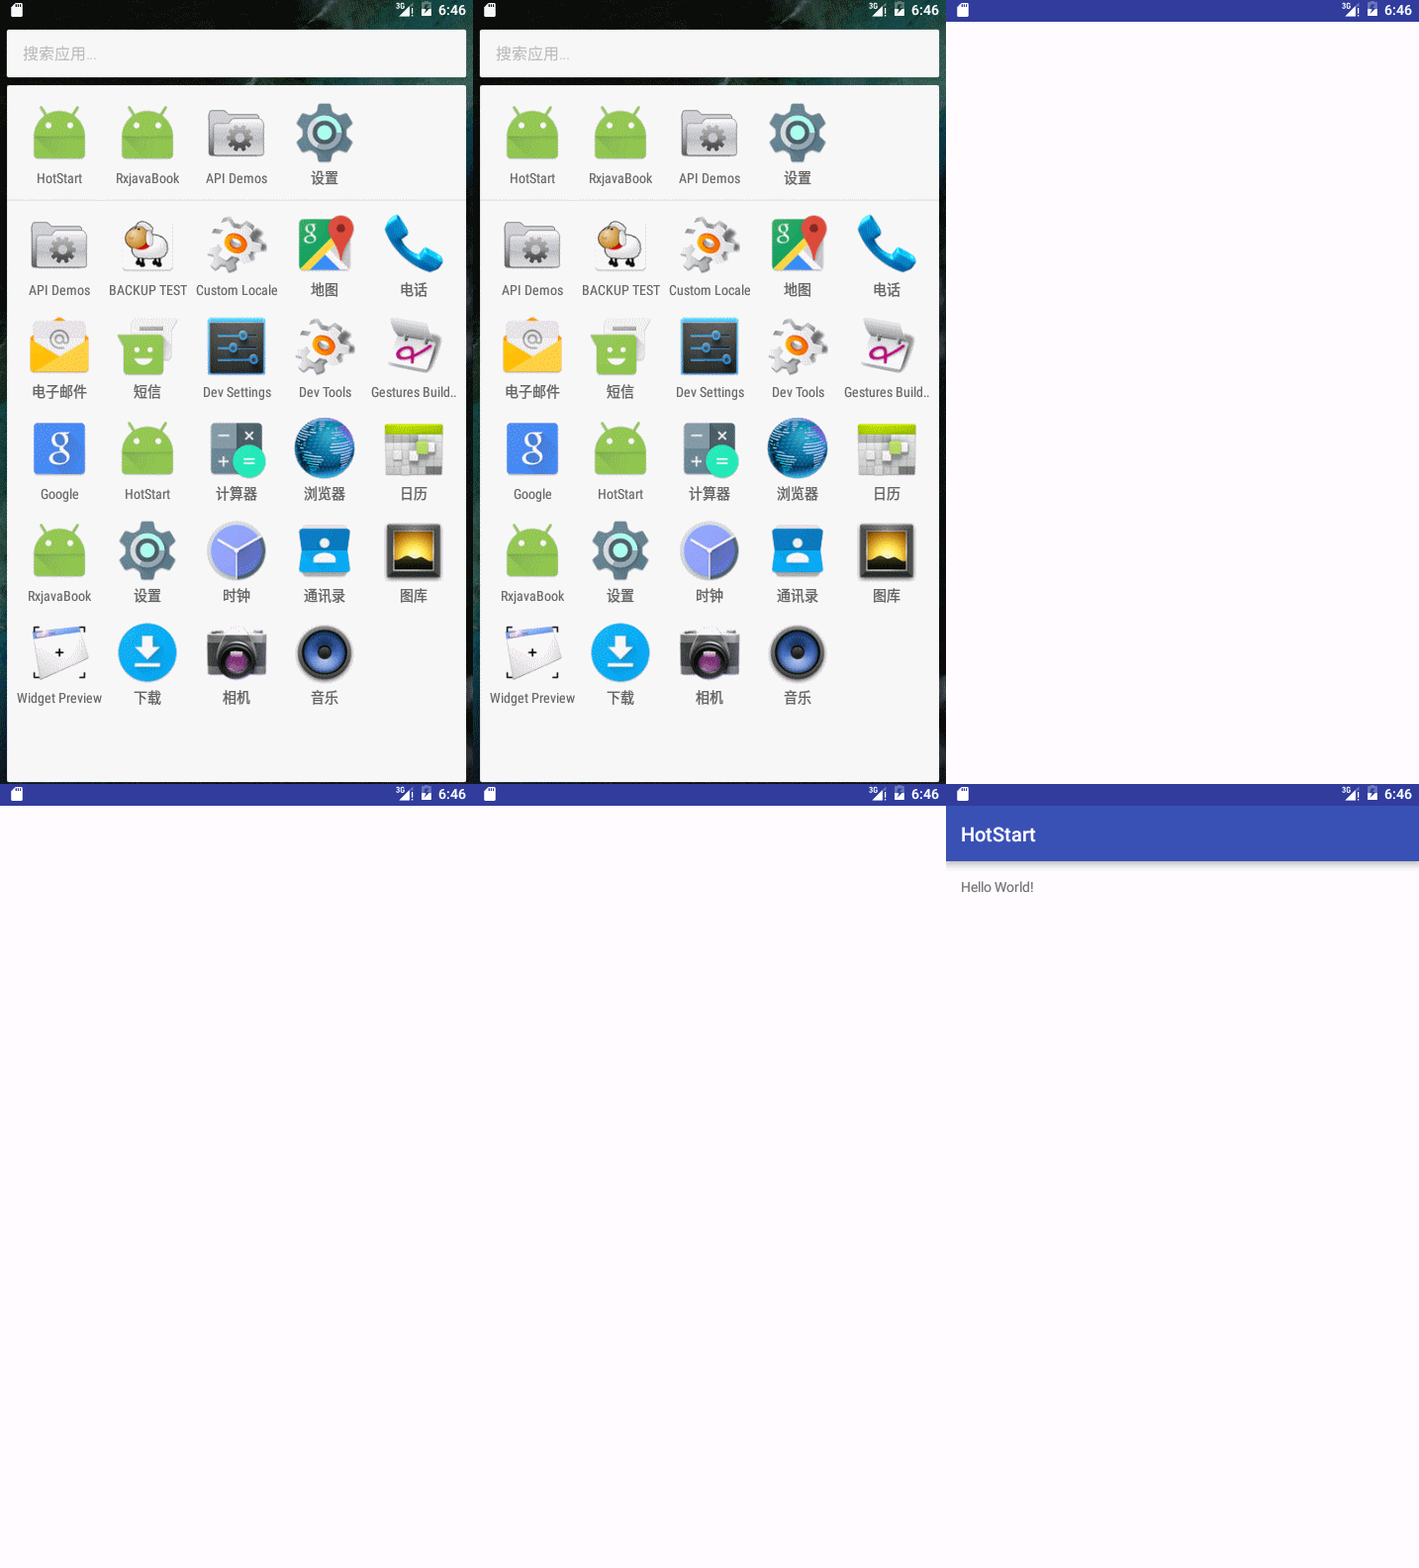
简单通俗一点就是应用第一次启动或者应用被杀掉之后再次启动,启动的效果就是会产生一个短时间的空白
比方这样 :
android:windowBackground
由于我们的app在第一次启动时。从启动到Launcher Activity初始化完毕是须要一点时间的。这样点击应用图标后就会产生一个短暂的空白屏幕,我们假设想优化这样的不太好的体验,改动布局文件layout.xml 是没有影响的,仅仅能通过改动theme主题中的配置来达到效果,所以找到了 android:windowBackground 来改变界面的背景
<resources>

    <!-- Base application theme. -->
    <style name="AppTheme" parent="Theme.AppCompat.Light.DarkActionBar">
        <!-- Customize your theme here. -->
        <item name="colorPrimary">@color/colorPrimary</item>
        <item name="colorPrimaryDark">@color/colorPrimaryDark</item>
        <item name="colorAccent">@color/colorAccent</item>
        <item name="android:windowBackground">@drawable/logo</item>
    </style>

</resources>
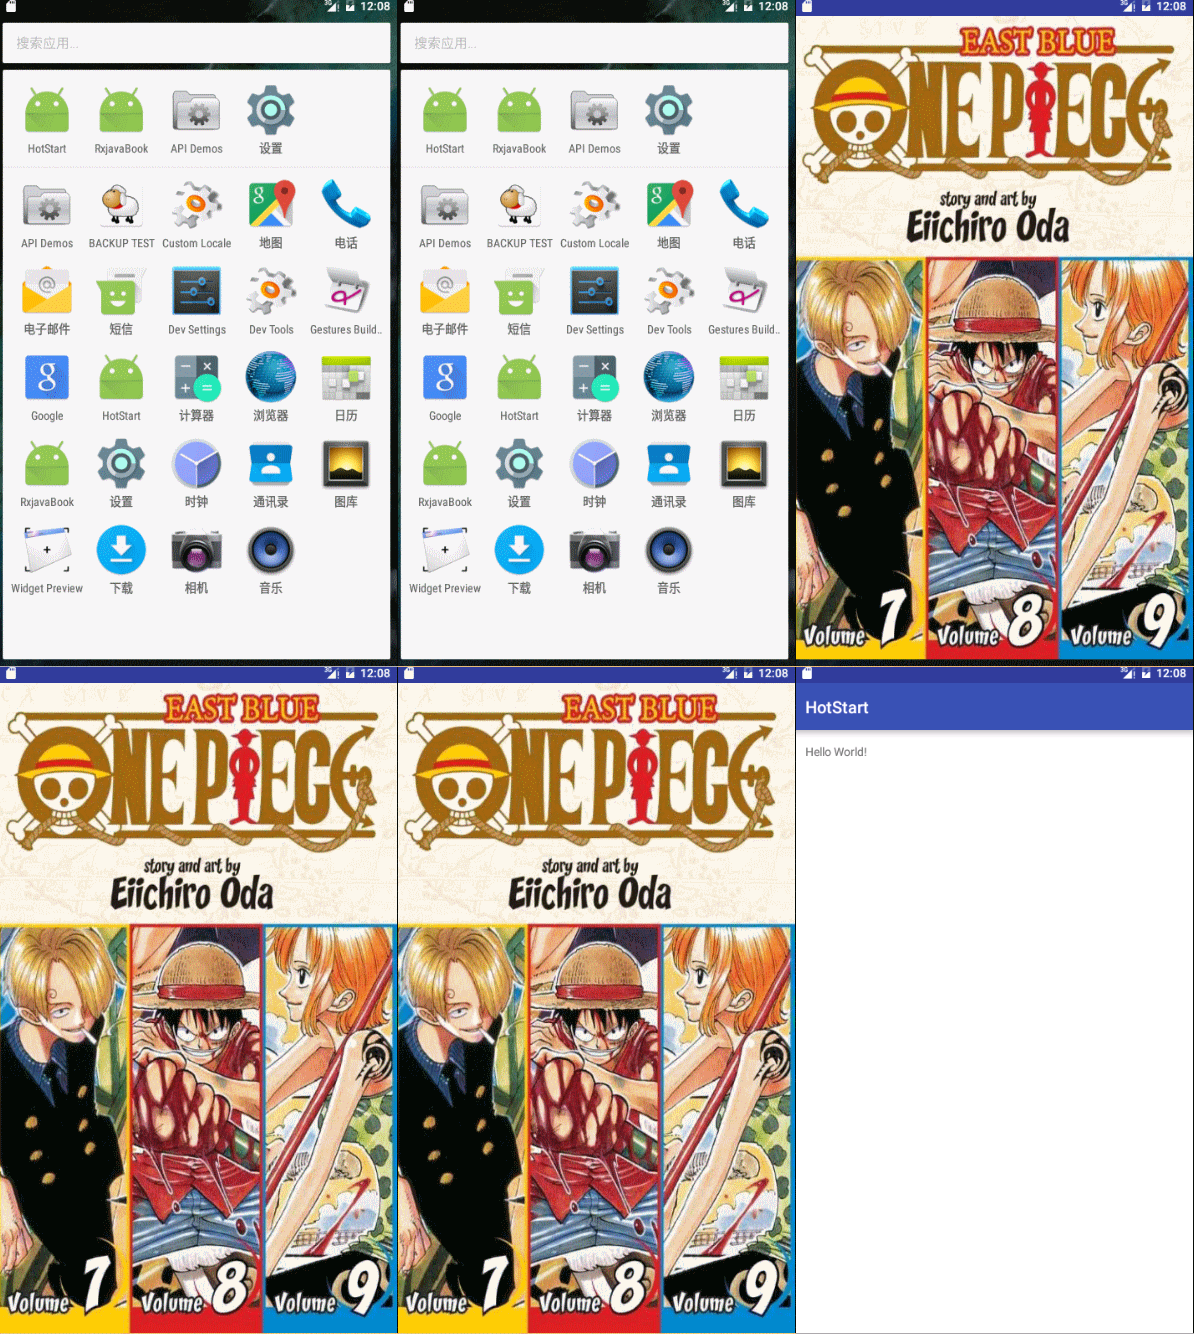
我下载了一张logo.jpg的大图 设置为android:windowBackground 来看看效果

简单粗暴啊,只是我这样简单粗暴的方式当然仅仅能验证问题能够这样解决。真正的项目肯定不会这么做。
原因有2个:一是不同分辨率适配的问题,二是我如今是直接改动的style.xml文件,android:windowBackground的效果会影响到全部的Activity。
PS: 这里我在后面的Activity设置了背景为白色,由于android:windowBackground 会影响全部的界面假设不设置Activity的背景也会变成 One Piece
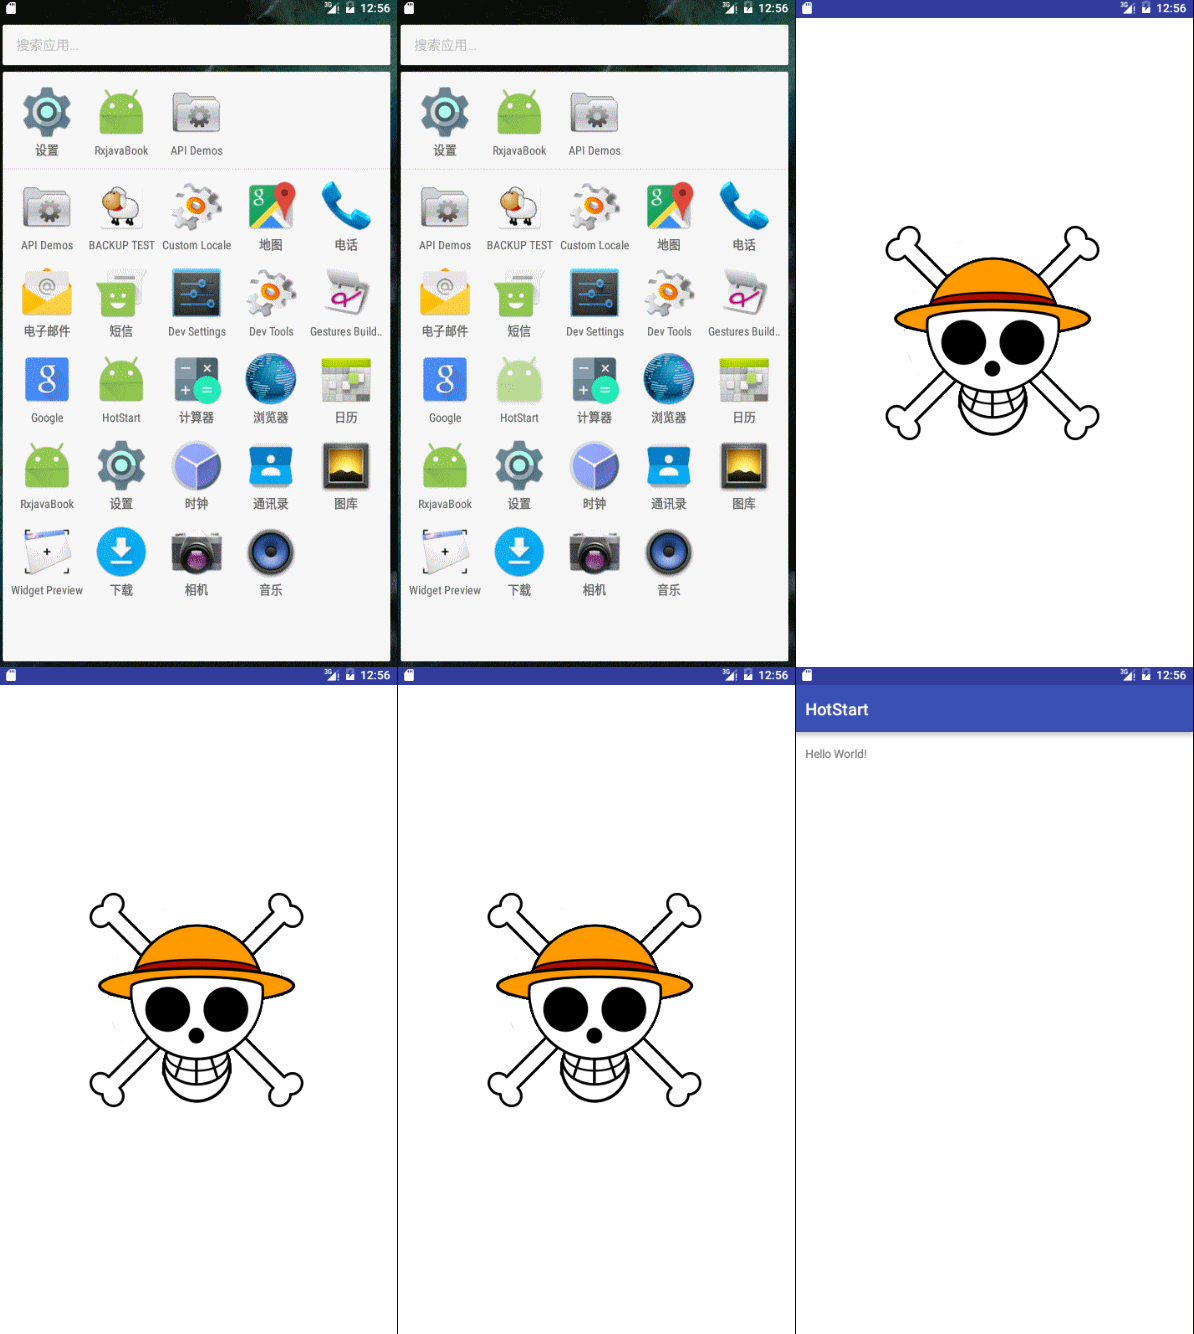
问题要一个一个解决,先来看问题一 纯粹用一张大图作为背景往往会导致不同手机分辨率变形的问题,可是用多个小图来组成一个界面,适配问题还是能够解决的。所以这里我们要使用LayerDrawable来放置多张图片
<?xml version="1.0" encoding="utf-8"?>
<layer-list xmlns:android="http://schemas.android.com/apk/res/android" android:opacity="opaque">
    <!-- 背景颜色设置为白色-->
    <item android:drawable="@android:color/white" />
    <!-- 位于屏幕中央的logo图片-->
    <item>
        <bitmap
            android:gravity="center"
            android:dither="true"
            android:antialias="true"
            android:filter="true"
            android:src="@drawable/onepiece" />
    </item>
</layer-list>
除了常规的bitmap配置以外,还要注意一个 android:opacity="opaque" 这个设置能够防止背景的闪烁。
图片已经设置完毕,可是theme的问题还没有解决,还须要给单个activity设置theme
<!-- AndroidManifest.xml -->
<activity
    android:name=".SplashActivity"
    android:theme="@style/AppTheme.Launcher">
    <intent-filter>
        <action android:name="android.intent.action.MAIN" />

        <category android:name="android.intent.category.LAUNCHER" />
    </intent-filter>
</activity>

<!-- style.xml -->
<style name="AppTheme.Launcher">
    <item name="android:windowBackground">@drawable/launcher_screen</item>
</style>
当Activity启动完毕之后假设你想还原theme能够onCreate()中调用setTheme()方法,就能够了。
可是必须在super.OnCreate()之前调用,由于在父类的OnCreate()方法中就会去settheme()
public class SplashActivity extends AppCompatActivity {

    @Override
    protected void onCreate(Bundle savedInstanceState) {
        setTheme(R.style.AppTheme);
        super.onCreate(savedInstanceState);
        setContentView(R.layout.activity_splash);
    }
}
更加丰富的特效
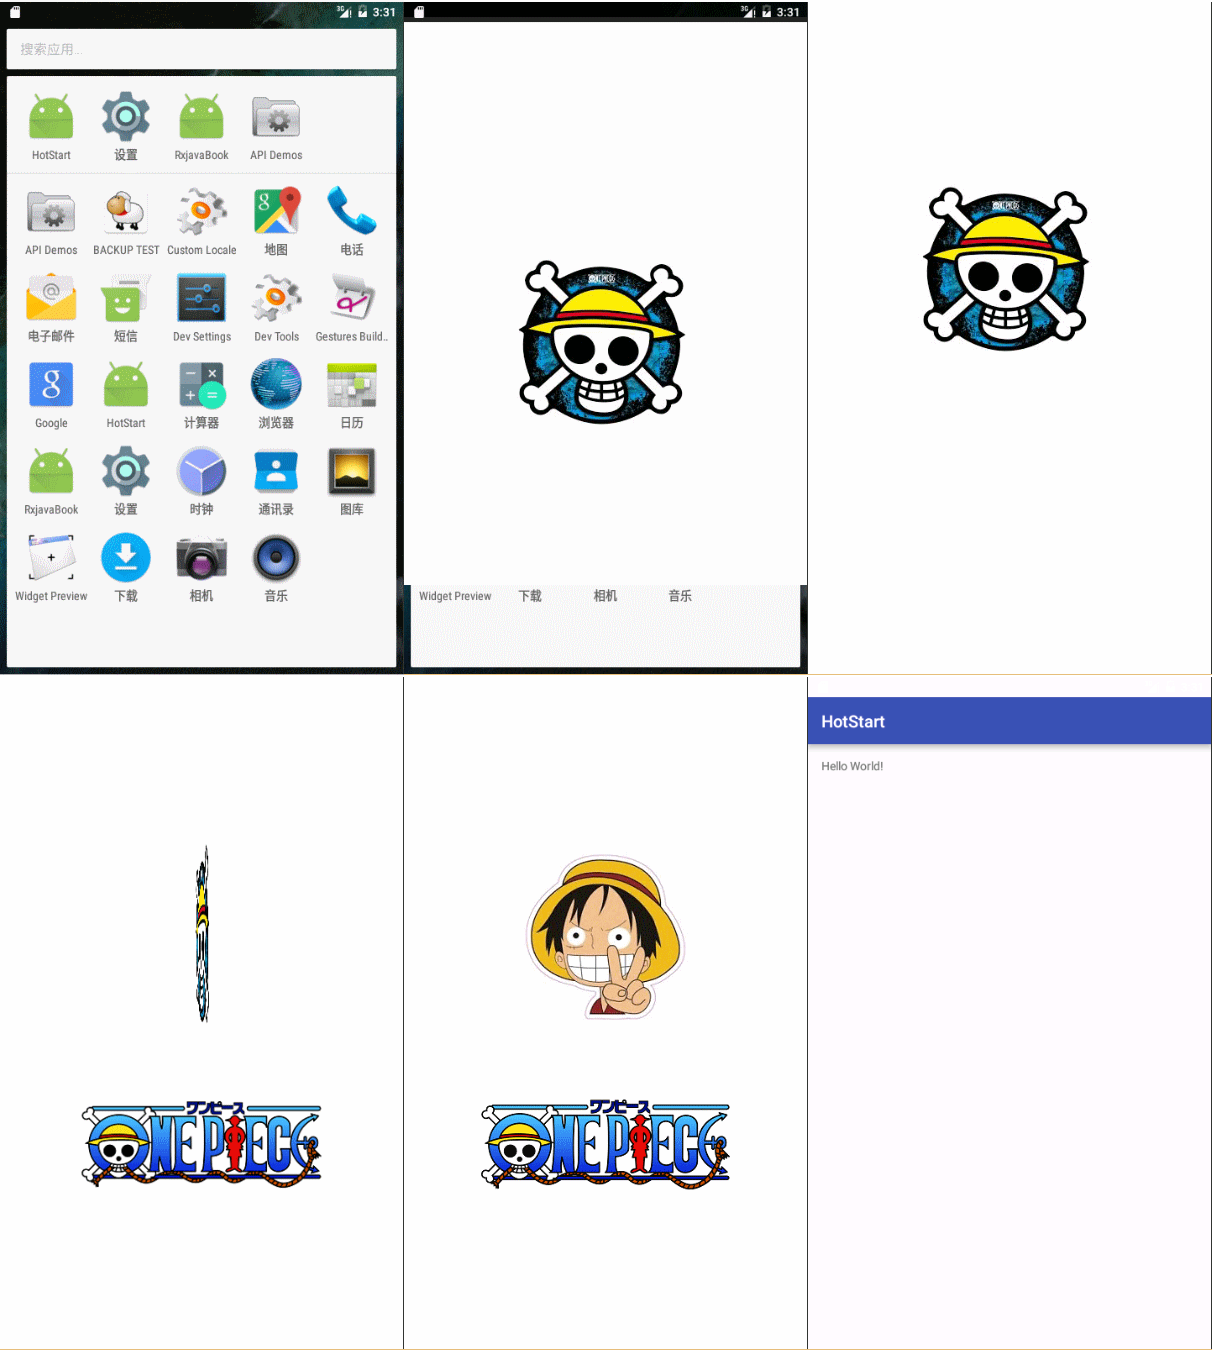
仅仅是填满空白还是太没意思了,让我们再加入一点动画效果比方这样 (gif 录制的比較卡 实际跑起来是非常流畅的 )
详细怎样加入动画也非常easy。界面完毕初始化的时候,跑动画就能够了。
怎样知道界面完毕初始化呢?
这里是通过Activity的 onWindowFocusChanged 方法来完毕监听
    @Override
    public void onWindowFocusChanged(boolean hasFocus) {
    //hasFocus为true的时候界面已经完毕了
        if (hasFocus) {
            animate();
        }
        super.onWindowFocusChanged(hasFocus);
    }

    //详细的动画
    public void animate() {
        //中央的logo图标
        logoImg = (ImageView) findViewById(R.id.logo_img);
        //下方的文字图片
        onePieceImg = (ImageView) findViewById(R.id.one_piece);
        //logo图标上移动画
        ObjectAnimator moveImg = ObjectAnimator.ofFloat(logoImg, "translationY", -90);
        moveImg.setDuration(1000);
        //设置延迟300毫秒開始动画
        moveImg.setStartDelay(300);
        moveImg.setInterpolator(new DecelerateInterpolator(1.2f));

        //logo图标的旋转动画完毕后
        final ObjectAnimator changeImg = ObjectAnimator.ofFloat(logoImg, "rotationY", 180);
        changeImg.setDuration(1000);
        changeImg.setStartDelay(200);
        changeImg.setInterpolator(new DecelerateInterpolator(1.2f));
        //设置动画监听器
        changeImg.addListener(new AnimatorListenerAdapter() {
            @Override
            public void onAnimationEnd(Animator animation) {
                super.onAnimationEnd(animation);
                //旋转动画完毕后,更换图片
                logoImg.setImageResource(R.drawable.lufi);
            }
        });

       //文字图片下移动画
        ObjectAnimator onePieceAnimate = ObjectAnimator.ofFloat(onePieceImg, "translationY", 20);
        onePieceAnimate.setDuration(1000);
        onePieceAnimate.setStartDelay(800);
        onePieceAnimate.setInterpolator(new DecelerateInterpolator(1.2f));

       //文字图片x轴方向的缩放动画
        ObjectAnimator scaleXAnimate = ObjectAnimator.ofFloat(onePieceImg, "ScaleX", 1);
        scaleXAnimate.setDuration(1000);
        scaleXAnimate.setStartDelay(200);
        scaleXAnimate.setInterpolator(new DecelerateInterpolator(1.2f));

        //文字图片Y轴方向的缩放动画
        ObjectAnimator scaleYAnimate = ObjectAnimator.ofFloat(onePieceImg, "ScaleY", 1);
        scaleYAnimate.setDuration(1000);
        scaleYAnimate.setStartDelay(200);
        scaleYAnimate.setInterpolator(new DecelerateInterpolator(1.2f));

        //使用AnimatorSet 播放多个动画
        AnimatorSet animatorSet = new AnimatorSet();
        animatorSet.playSequentially(moveImg,changeImg);
        animatorSet.playTogether(onePieceAnimate,scaleXAnimate,scaleYAnimate);
        animatorSet.addListener(new AnimatorListenerAdapter() {
            @Override
            public void onAnimationEnd(Animator animation) {
                super.onAnimationEnd(animation);
                handler.postDelayed(new Runnable() {
                    @Override
                    public void run() {
                       //动画完毕后的跳转Activity
                        startActivity(new Intent(SplashActivity.this, MainActivity.class));
                        finish();
                    }
                }, 500);
            }
        });
        animatorSet.start();
    }
logo的动画比較好理解,以下的one piece文字从没有到显示是利用缩放来完毕。默认在layout.xml布局文件里将android:scaleX="0" android:scaleY="0" scaleX 和 scaleY 设置缩放为0 ,然后通过ScaleX 和 ScaleY的属性动画来达成显示效果
    <ImageView
        android:id="@+id/one_piece"
        android:layout_centerInParent="true"
        android:layout_below="@id/logo_img"
        android:src="@drawable/one_piece_logo"
        android:layout_marginTop="-20dp"
        android:layout_width="wrap_content"
        android:scaleX="0"
        android:scaleY="0"
        android:layout_height="wrap_content" />


