

Linux安装nginx部署vue项目

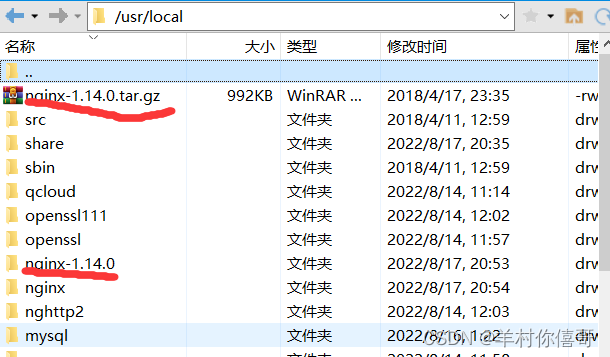
一、安装nginx
第一种方法:直接在Xshell里边安装
1、安装依赖和相关库:

[root@localhost ~]# yum -y install gcc-c++ zlib-devel openssl-devel libtool

2、下载nginx安装包并解压:

[root@localhost ~]# cd /usr/local
[root@localhost local]# wget http://nginx.org/download/nginx-1.14.0.tar.gz
[root@localhost local]# tar -zxvf nginx-1.14.0.tar.gz

3、配置和安装

[root@localhost local]# cd nginx-1.14.0
[root@localhost nginx-1.14.0]# ./configure --prefix=/usr/local/nginx
[root@localhost nginx-1.14.0]# make && make install

4、启动nginx:

[root@localhost nginx-1.14.0]# cd ../nginx/sbin
[root@localhost sbin]# ./nginx

5、查看nginx:

[root@localhost nginx]# ps -ef | grep nginx

(启动成功后可以删除下面两个文件夹)
6、停止和重启nginx:

./nginx -s reload   #重启
./nginx -s stop #关闭
二、安装中遇到的问题
nginx: [emerg] bind() to 0.0.0.0:80 failed (98: Address already in use)

nginx默认启动端口是80,80端口被占用了。

解决方法一
1.安装iptables服务
需要通过防火墙开放对外端口。如果服务器上没有iptables服务,需要安装。如果有,则跳过。

yum install iptables-services
systemctl mask firewalld.service
systemctl enable iptables.service
systemctl enable ip6tables.service

2.配置端口
进入iptables配置80端口,因为nginx默认是由80端口访问

vi /etc/sysconfig/iptables

打开后,默认的配置信息如下(按a进入编辑模式,加粗部分为新添加的):

INPUT ACCEPT [0:0] :FORWARD ACCEPT [0:0] :OUTPUT ACCEPT [6:696]
-A INPUT -m state --state RELATED,ESTABLISHED -j ACCEPT
-A INPUT -p icmp -j ACCEPT
-A INPUT -i lo -j ACCEPT
-A INPUT -p tcp -m state --state NEW -m tcp --dport 22 -j ACCEPT
-A INPUT -p tcp -m state --state NEW -m tcp --dport 21 -j ACCEPT
-A INPUT -p tcp -m state --state NEW -m tcp --dport 80 -j ACCEPT
-A INPUT -j REJECT --reject-with icmp-host-prohibited
-A FORWARD -j REJECT --reject-with icmp-host-prohibited COMMIT

后续需要开放其它端口,也是在此文件中添加修改即可!
修改完后,按一下esc,再按 :wq 保存退出文件编辑。

3.重启防火墙

systemctl restart iptables.service

4.查看80端口被占用的进程

lsof -i:80

5.通过kill命令干掉该进程

kill -9 进程号

6.重新启动nginx

/usr/local/nginx/sbin/nginx

以上内容参考了博主「梦醒的猪」
原文链接:https://blog.csdn.net/yufeng_lai/article/details/88819981

解决方法二
修改nginx的端口,改为想要的端口(修改端口后记得防火墙打开这个端口)
(默认端口为80,那么再输入网址访问时,可以省略80,也就是直接输入主机号就可以访问。如果改为其他端口号,那么访问网址时 要输入 主机号:端口号)
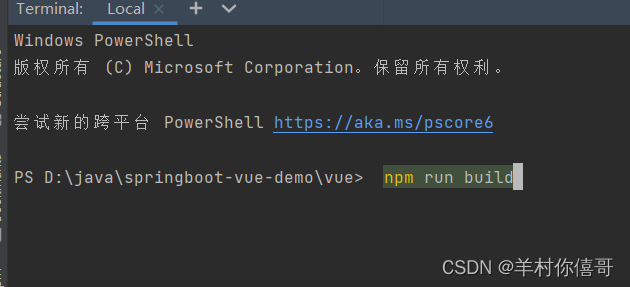
三、vue的打包和nginx的配置
1.将vue项目打包
在终端输入:

npm run build
会生成一个dist包
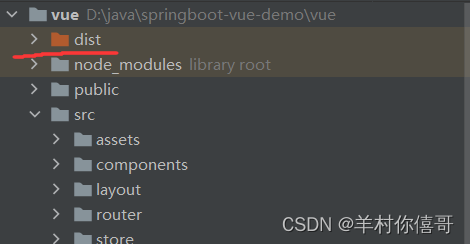
2.将dist包上传到服务器中
(我这里上传到了我自己项目的路径 /home/springbootVue/Vue/dist)

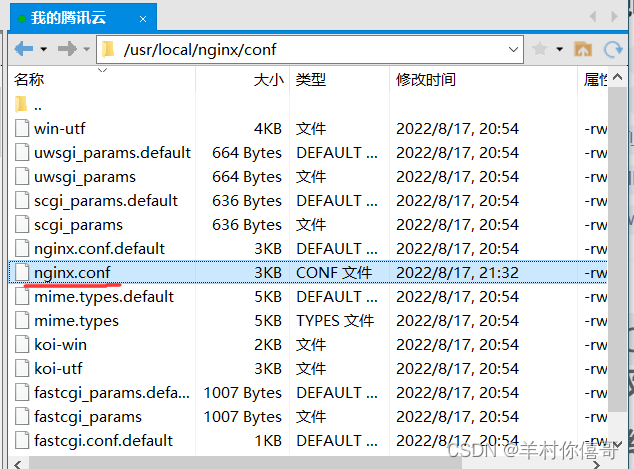
3.修改nginx.conf的配置
(nginx.conf在 /usr/local/nginx/conf中)

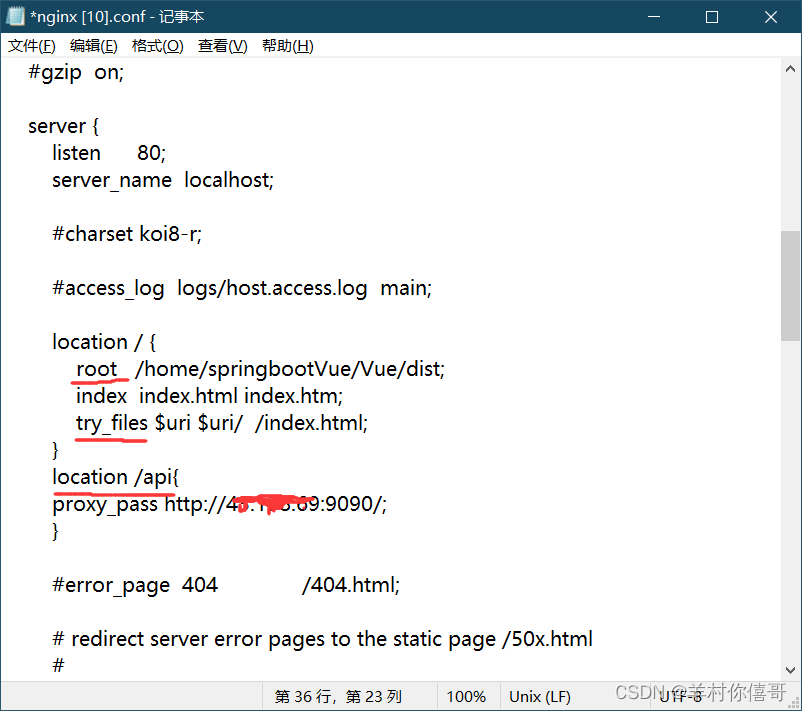
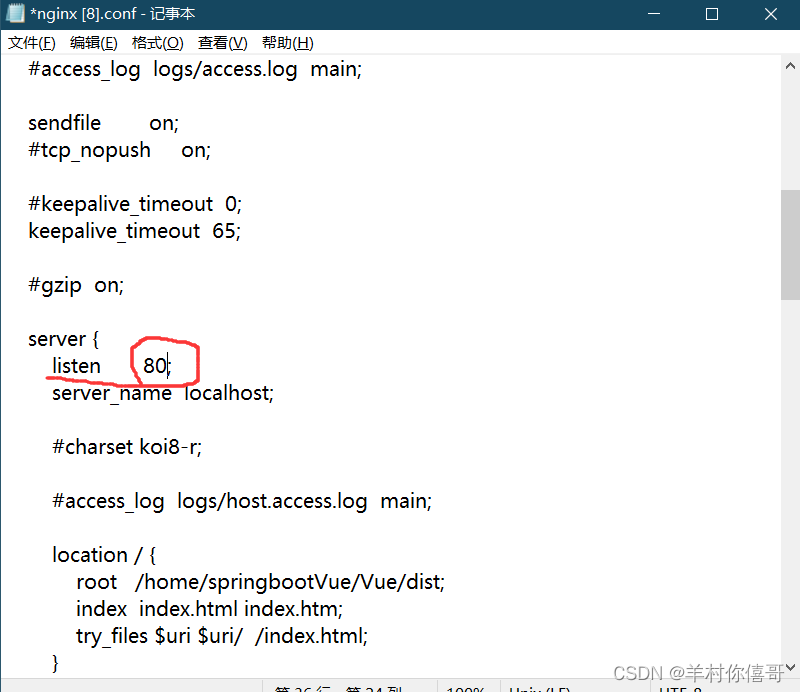
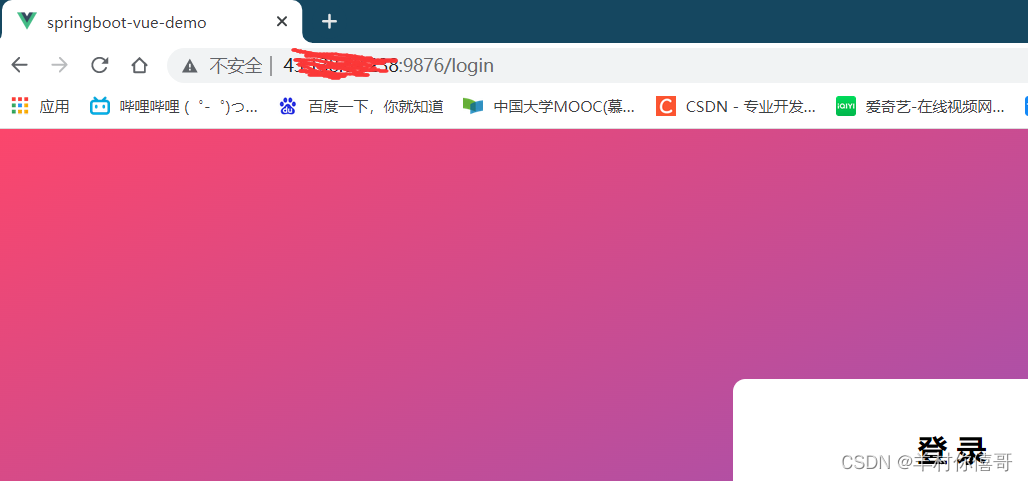
root后边是vue项目生成的dist文件的上传路径
try_files $uri $uri/ /index.html; 防止在通过浏览器访问时,进行刷新或访问不到在的路径时会直接跳到Nginx的404页面。
location /api 是 后端目标地址

location / {
root /home/springbootVue/Vue/dist;
index index.html index.htm;
try_files $uri $uri/ /index.html;
}
location /api{
proxy_pass http://主机号:9090/;
}

这样 nginx的部署就全部完成,可以通过通过浏览器访问vue的项目了


【推荐】国内首个AI IDE,深度理解中文开发场景,立即下载体验Trae
【推荐】编程新体验,更懂你的AI,立即体验豆包MarsCode编程助手
【推荐】抖音旗下AI助手豆包,你的智能百科全书,全免费不限次数
【推荐】轻量又高性能的 SSH 工具 IShell:AI 加持,快人一步
· Manus重磅发布:全球首款通用AI代理技术深度解析与实战指南
· 被坑几百块钱后,我竟然真的恢复了删除的微信聊天记录!
· 没有Manus邀请码?试试免邀请码的MGX或者开源的OpenManus吧
· 园子的第一款AI主题卫衣上架——"HELLO! HOW CAN I ASSIST YOU TODAY
· 【自荐】一款简洁、开源的在线白板工具 Drawnix
2022-02-21 Chrome扩展及应用开发实战