

Step 1 – Installing Ubuntu Desktop
sudo apt update
sudo apt upgrade -y
sudo apt install ubuntu-desktop -y
在GNOME安装过程中,“waiting for automatic snapd restart”这一步时间特别长。执行下面操作后约2分钟就过去了:
zzh@ZZHPC:~$ sudo systemctl restart snapd
Warning: The unit file, source configuration file or drop-ins of snapd.service changed on disk. Run 'systemctl daemon-reload' to reload units.
zzh@ZZHPC:~$ sudo systemctl daemon-reload
zzh@ZZHPC:~$ sudo systemctl restart snapd
最后安装成功。
Step 2 – Installing XRDP on Ubuntu
The installation of XRDP on Ubuntu is straightforward. The package is available in the official repositories, so we can simply install it with the apt package manager.
sudo apt update
sudo apt upgrade -y
sudo apt install xrdp -y
Once the installation is successfully finished, the XRDP service will be started automatically. You can check the status by executing the following command:
sudo systemctl status xrdp 
frank@ZZHPC:~$ sudo systemctl status xrdp
● xrdp.service - xrdp daemon
     Loaded: loaded (/usr/lib/systemd/system/xrdp.service; enabled; preset: enabled)
     Active: active (running) since Tue 2025-01-07 09:38:53 CST; 38s ago
       Docs: man:xrdp(8)
             man:xrdp.ini(5)
   Main PID: 4804 (xrdp)
      Tasks: 1 (limit: 18972)
     Memory: 860.0K ()
     CGroup: /system.slice/xrdp.service
             └─4804 /usr/sbin/xrdp

Jan 07 09:38:52 ZZHPC systemd[1]: Starting xrdp.service - xrdp daemon...
Jan 07 09:38:52 ZZHPC xrdp[4802]: [INFO ] address [0.0.0.0] port [3389] mode 1
Jan 07 09:38:52 ZZHPC xrdp[4802]: [INFO ] listening to port 3389 on 0.0.0.0
Jan 07 09:38:52 ZZHPC xrdp[4802]: [INFO ] xrdp_listen_pp done
Jan 07 09:38:52 ZZHPC systemd[1]: xrdp.service: Can't open PID file /run/xrdp/xrdp.pid (yet?) after start: No such file>
Jan 07 09:38:53 ZZHPC systemd[1]: Started xrdp.service - xrdp daemon.
Jan 07 09:38:54 ZZHPC xrdp[4804]: [INFO ] starting xrdp with pid 4804
Jan 07 09:38:54 ZZHPC xrdp[4804]: [INFO ] address [0.0.0.0] port [3389] mode 1
Jan 07 09:38:54 ZZHPC xrdp[4804]: [INFO ] listening to port 3389 on 0.0.0.0
Jan 07 09:38:54 ZZHPC xrdp[4804]: [INFO ] xrdp_listen_pp done
Step 3: Configuring XRDP
The installer will create a new account named “xrdp”. The xrdp session uses a certificate key file “/etc/ssl/private/ssl-cert-snakeoil.key”, which plays an important role with remote desktops.
In order to work it properly, add the xrdp user to the “ssl-cert” group with the following command.
sudo usermod -aG ssl-cert xrdpRestart the Xrdp service by running the command given below:
sudo systemctl restart xrdp Step 4: Configure System Firewall
The XRDP service listens on standard remote desktop port 3389. You need to adjust the firewall to allow access to port 3389 for the remote systems.
Systems running with a UFW firewall, use the following command to open port 3389 for the LAN network.
sudo ufw allow from 192.168.1.0/24 to any port 3389 Reload the UFW to apply the new rules.
sudo ufw reload All right, Your system is ready to access over RDP protocol.
The WSL2 Ubuntu doesn't have ufw installed by default, so skip this step.
frank@ZZHPC:~$ ufw
Command 'ufw' not found, but can be installed with:
sudo snap install ufw  # version 0.36.2, or
sudo apt  install ufw  # version 0.36.2-1
Step 5: Connect to Remote Desktop
The Xrdp service is successfully installed and ready to connect. On your Windows client, open the RDP client and enter the IP address of the Ubuntu system.
On the Windows system launch the RDP client:

Once connected successfully, the remote system prompt for authentication. Enter the login credentials of the remote Ubuntu system to get remote desktop access.
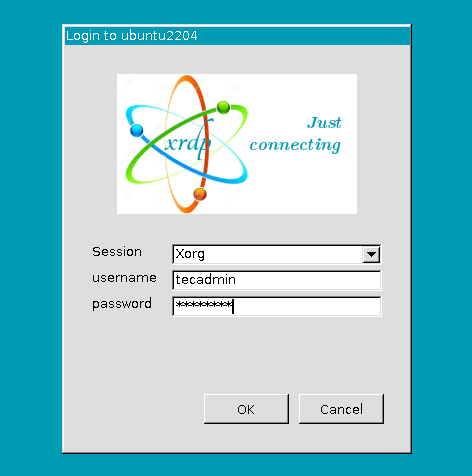
Once connected successfully, the remote system prompt for authentication. Enter the login credentials of the remote Ubuntu system to get remote desktop access.
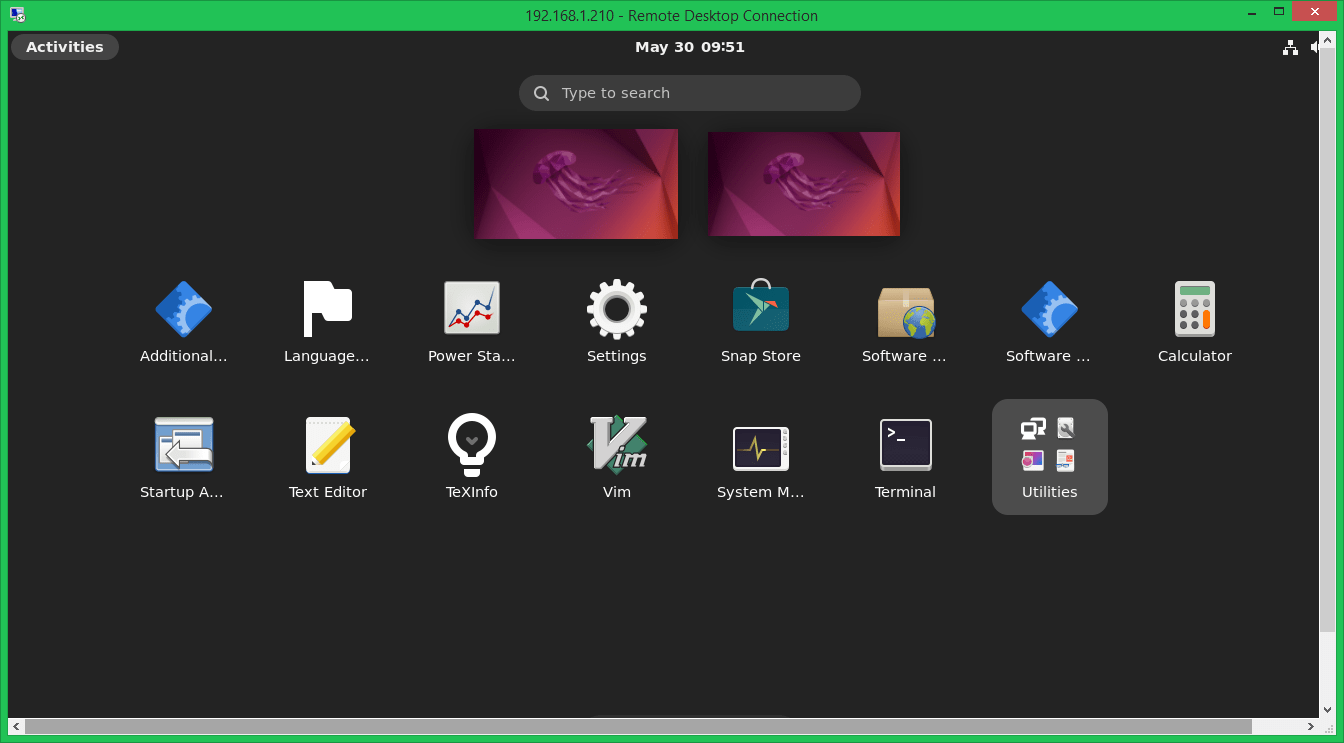
Now, you can manage your remote Ubuntu system graphically.

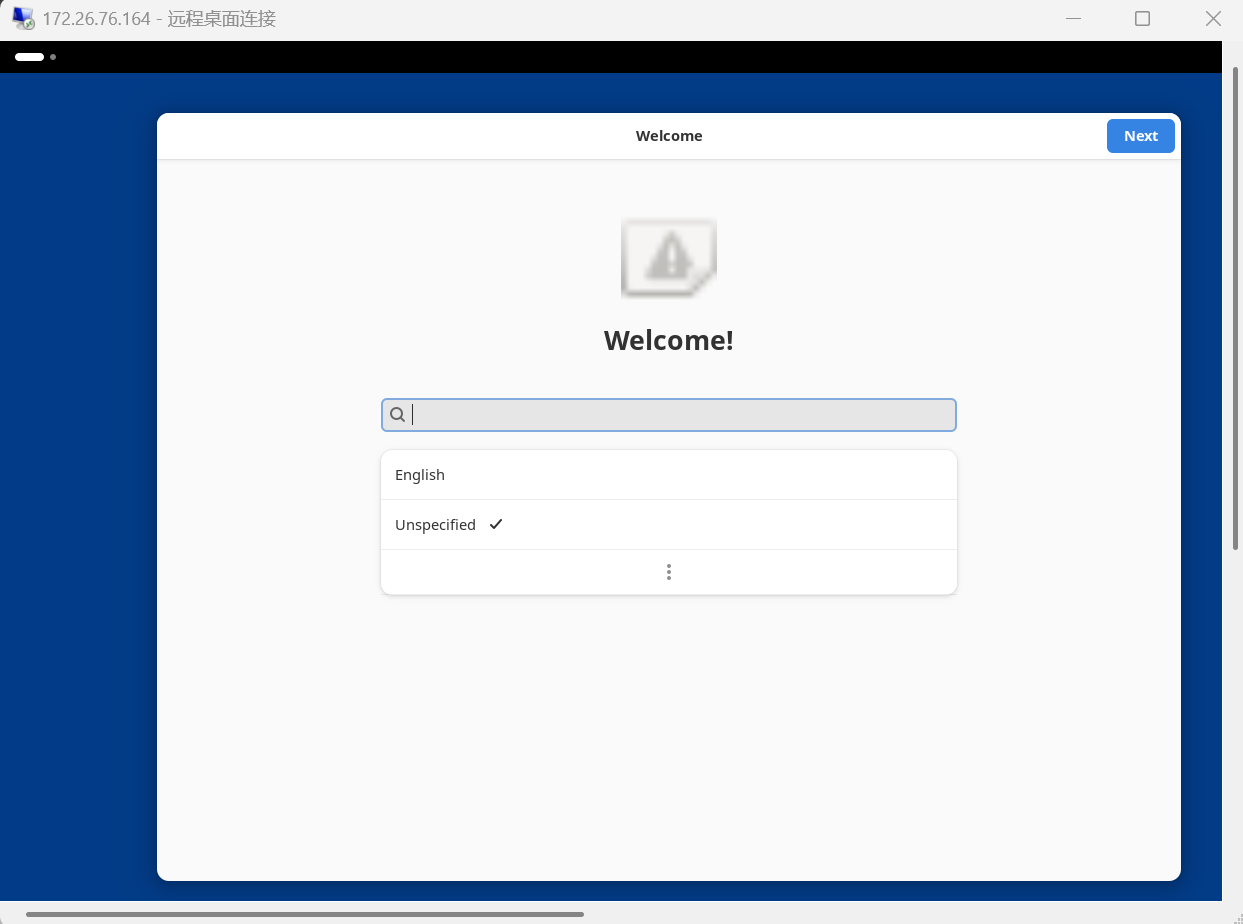

退出XLaunch以上界面也能出现,所以不需要在Windows上安装VcXsrv。


【推荐】国内首个AI IDE,深度理解中文开发场景,立即下载体验Trae
【推荐】编程新体验,更懂你的AI,立即体验豆包MarsCode编程助手
【推荐】抖音旗下AI助手豆包,你的智能百科全书,全免费不限次数
【推荐】轻量又高性能的 SSH 工具 IShell:AI 加持,快人一步
· 震惊!C++程序真的从main开始吗?99%的程序员都答错了
· 别再用vector<bool>了!Google高级工程师:这可能是STL最大的设计失误
· 单元测试从入门到精通
· 【硬核科普】Trae如何「偷看」你的代码?零基础破解AI编程运行原理
· 上周热点回顾(3.3-3.9)
2022-01-07 Pandas - Use multiindex
2022-01-07 Pandas - Get distinct values of a level of multiindex